How to Draw a Buffalo: Easy 10-Step Guide for Kids
Ready to bring a majestic buffalo to life? This tutorial is perfect for young artists ages 6+ looking to master animal anatomy using simple shapes. Grab your pencil, eraser, and paper, and let's start sketching this iconic creature together.
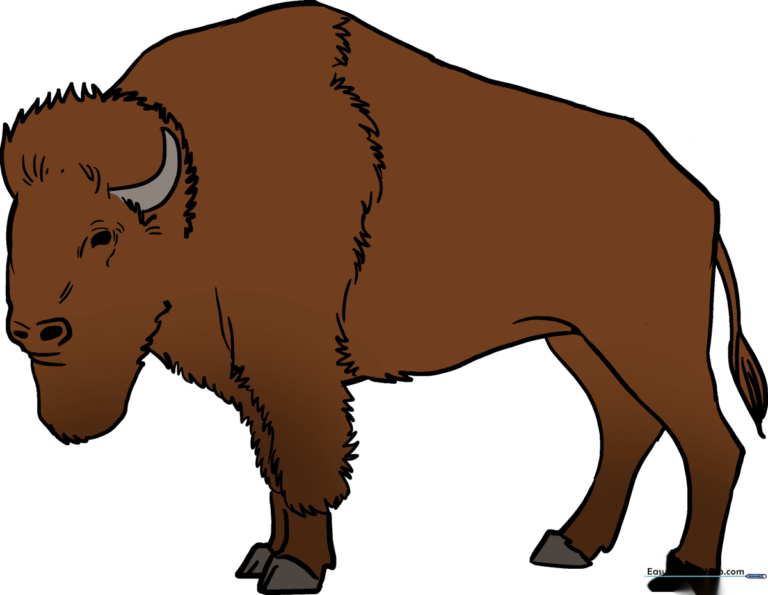
🎯 Final Result
Step-by-Step Instructions
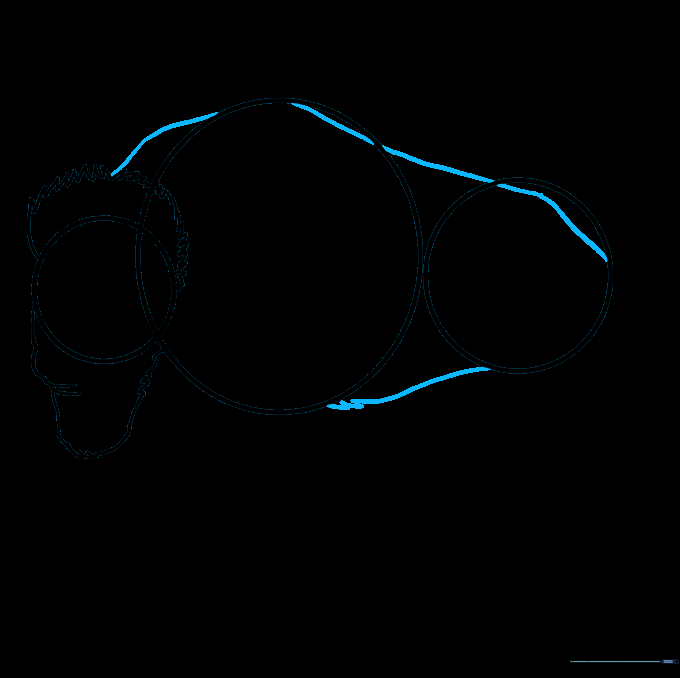
Step 1: Sketching the Base Shapes

Draw three circles of different sizes to represent the head, shoulders, and hips. Teacher's Tip: Keep these circles light and loose—they are just a map for your drawing and will be erased later!
Step 2: Defining the Snout and Beard

Use short, overlapping lines to create the snout and the shaggy beard. Teacher's Tip: Use quick, flicking motions with your pencil to make the beard look naturally fuzzy.
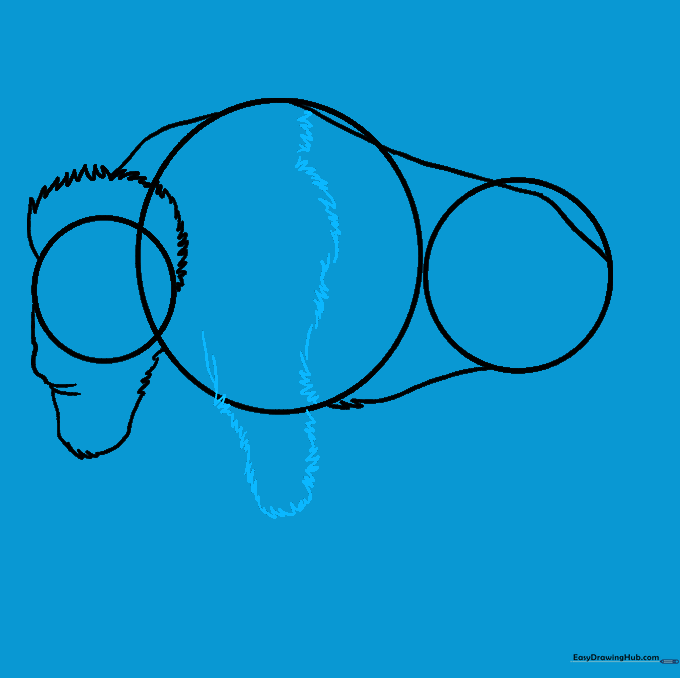
Step 3: Adding the Furry Crown

Draw a rounded, jagged shape above the head circle to form the buffalo's thick forehead fur. Teacher's Tip: Don't worry about making these lines perfect; the more irregular they are, the more realistic the fur will look.
Step 4: Connecting the Body
Connect your head, shoulder, and hip circles with long, sweeping lines to form the back and belly. Teacher's Tip: Use a confident, fluid motion to keep the back line smooth.
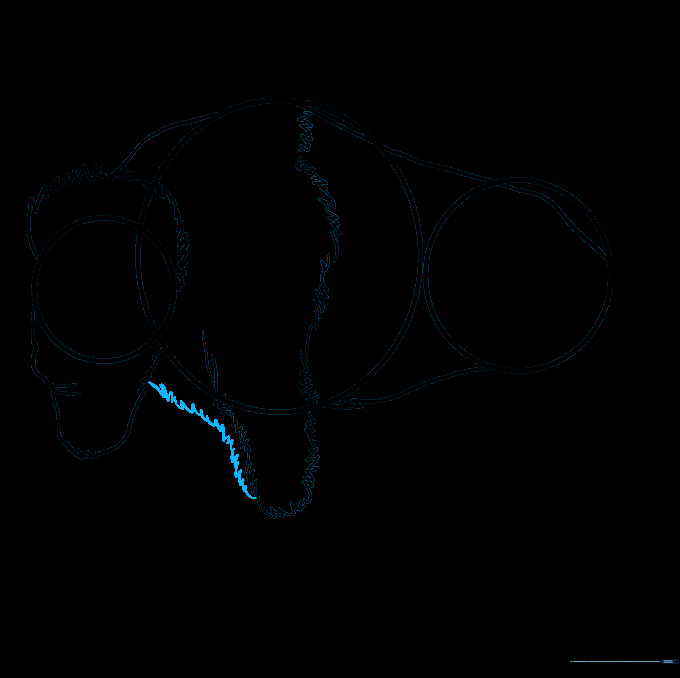
Step 5: Sketching the Front Leg
Draw the front leg using jagged lines to suggest thick fur. Ensure the line extends all the way up to the shoulder. Teacher's Tip: Think of the leg as a sturdy pillar supporting the heavy body.
Step 6: Adding the Second Front Leg
Sketch the far front leg using the same jagged, furry line technique. Teacher's Tip: Placing this leg slightly behind the first creates a sense of depth in your drawing.
Step 7: Legs, Hooves, and Tail
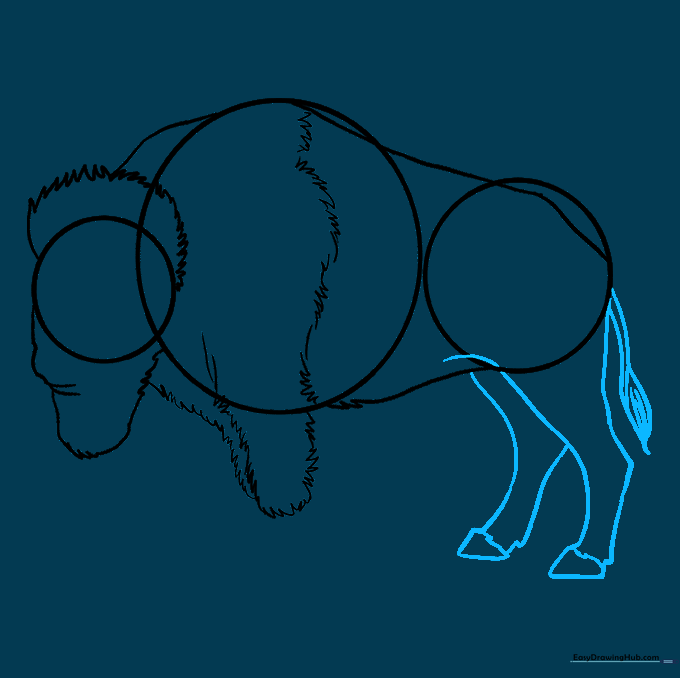
Draw the rear legs with a distinct ankle point, add triangular hooves, and attach a tail with a tufted end. Teacher's Tip: The tail should look like a teardrop shape at the end of two curved lines.
Step 8: Cleaning Up

Carefully erase the original circles and guidelines. Teacher's Tip: Use a clean eraser and brush away the crumbs with your hand to keep your paper smudge-free.
Step 9: Adding Final Details

Detail the face with nostrils, eyes, and a sharp horn. Add a line down the center of each hoof. Teacher's Tip: Use small, dark ovals for the eyes to give your buffalo a friendly expression.
Step 10: Coloring Your Buffalo
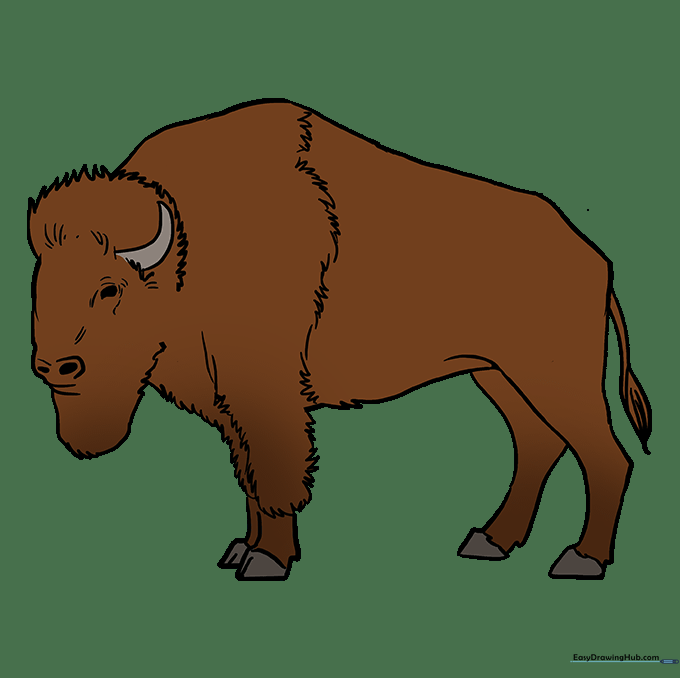
Bring your buffalo to life with color! Use earthy browns for the coat and darker tones for the horns. Teacher's Tip: Try using light and dark brown pencils to create a sense of shadow and depth.
More Tutorials


