How to Draw a Bucket Hat: Easy 10-Step Guide for Kids
Ready to design your own summer accessory? This tutorial is perfect for young artists ages 5 and up. Grab a pencil, an eraser, and your favorite markers to create a cool bucket hat with a functional chinstrap in just 10 simple steps.
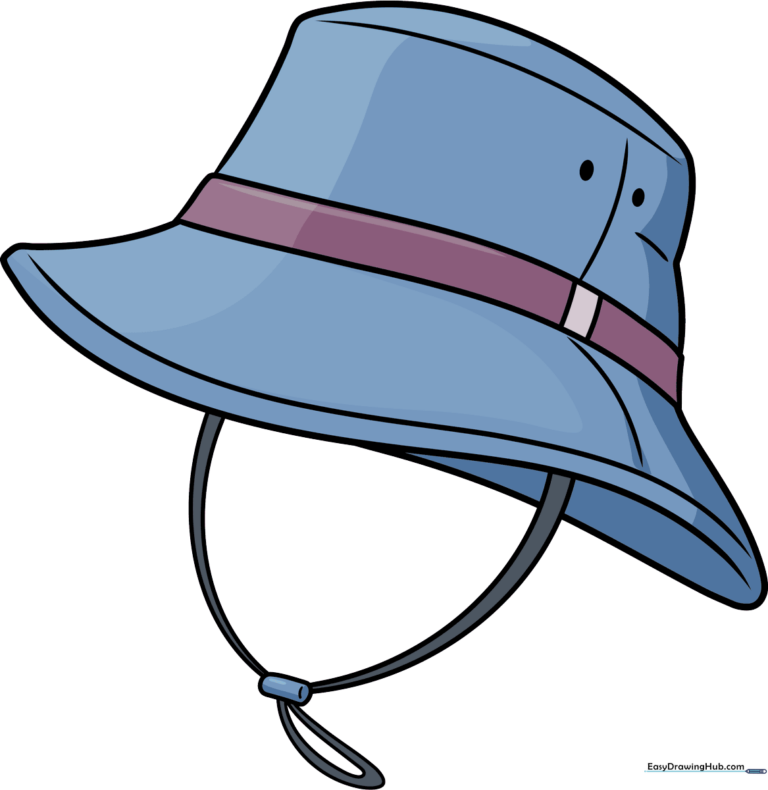
🎯 Final Result
Step-by-Step Instructions
Step 1: Sketching the Crown
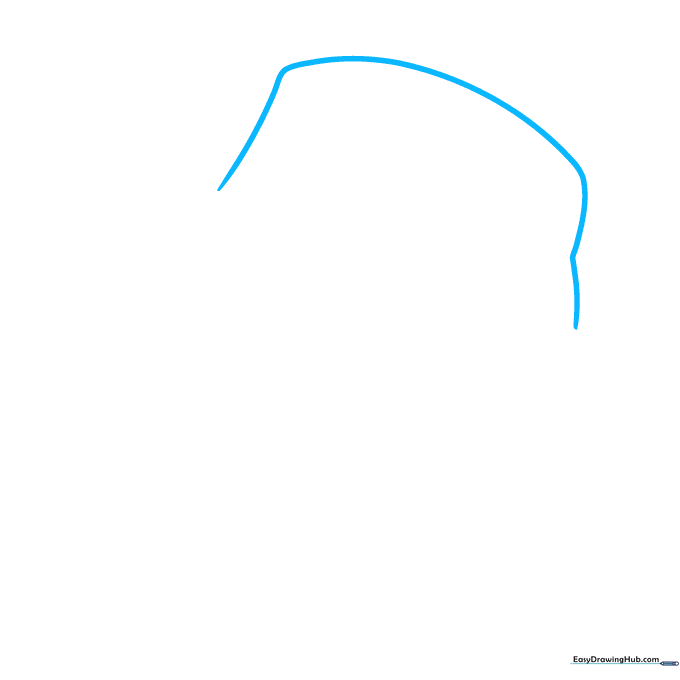
Start by drawing a soft, wide curved line to form the top of the hat. Teacher's Tip: Think of this as a gentle 'rainbow' shape; keeping it rounded gives the hat a natural, slouchy look.
Step 2: Defining the Hatband
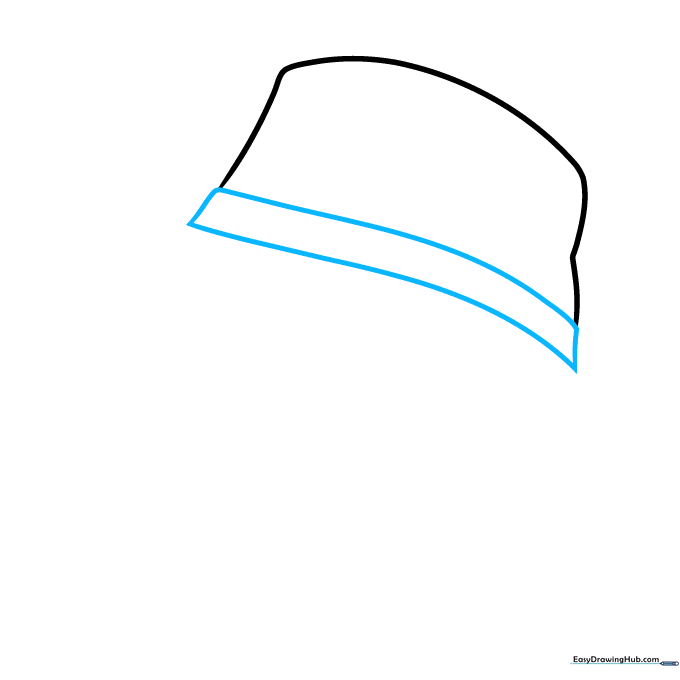
Draw a long curved line across the bottom to close the crown, then add two short vertical lines and a bottom curve to create the hatband. Tip: Keep the band consistent in height so the hat looks balanced.
Step 3: Forming the Brim
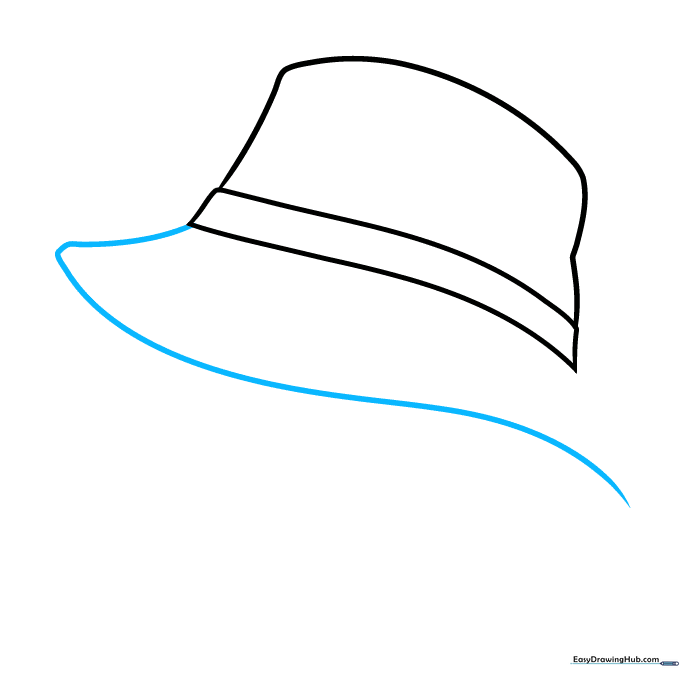
Draw a curved line from the front of the hatband and loop it back to create the brim. Tip: Imagine the brim is like a soft wave; keep your wrist loose to get that smooth, organic curve.
Step 4: Completing the Brim and Chinstrap
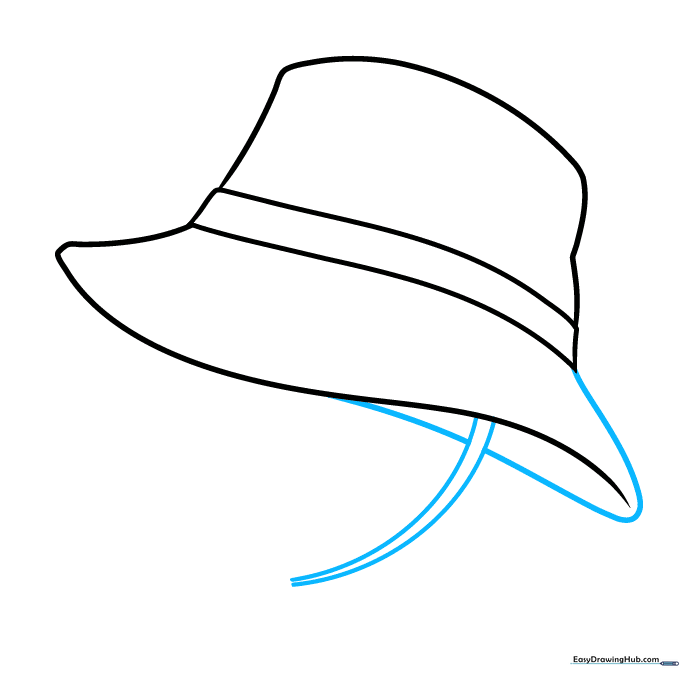
Extend the brim line around the back and start the chinstrap lines. Tip: If the lines overlap, use your eraser to clean up the intersection—this makes your drawing look professional.
Step 5: Adding the Chinstrap Detail
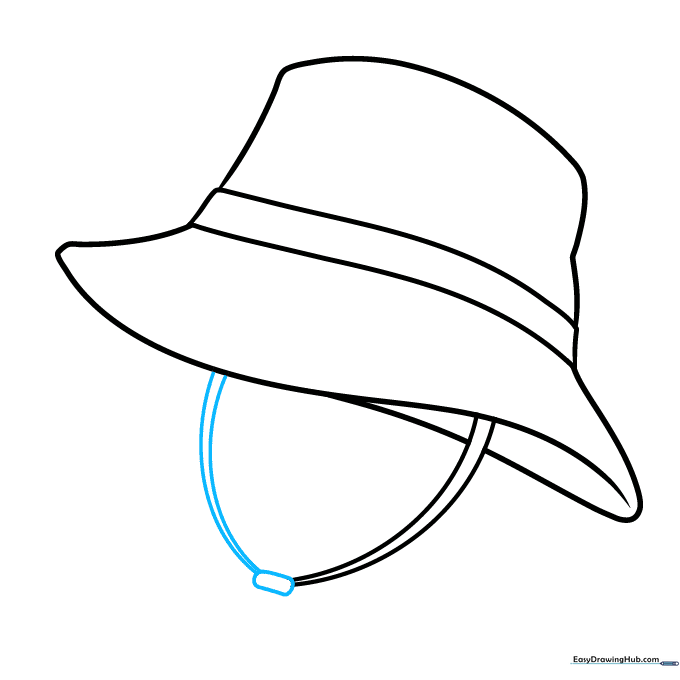
Draw a small rounded pill shape at the end of the straps to represent the adjuster. Tip: Make this shape slightly wider than the straps to show it's a separate piece of hardware.
Step 6: Adding Depth to the Strap
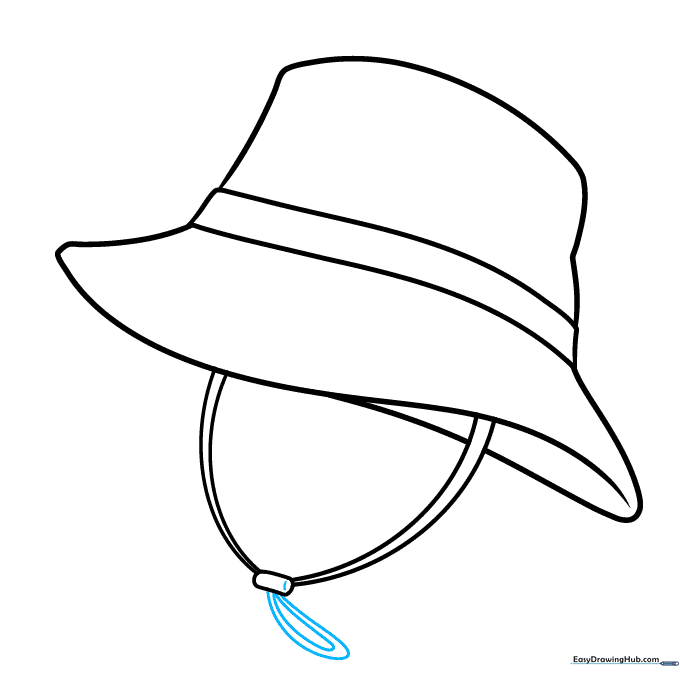
Add a curved line across the adjuster to give it a 3D cylindrical look. Tip: Adding these small details helps the drawing look more realistic rather than flat.
Step 7: Defining the Edges
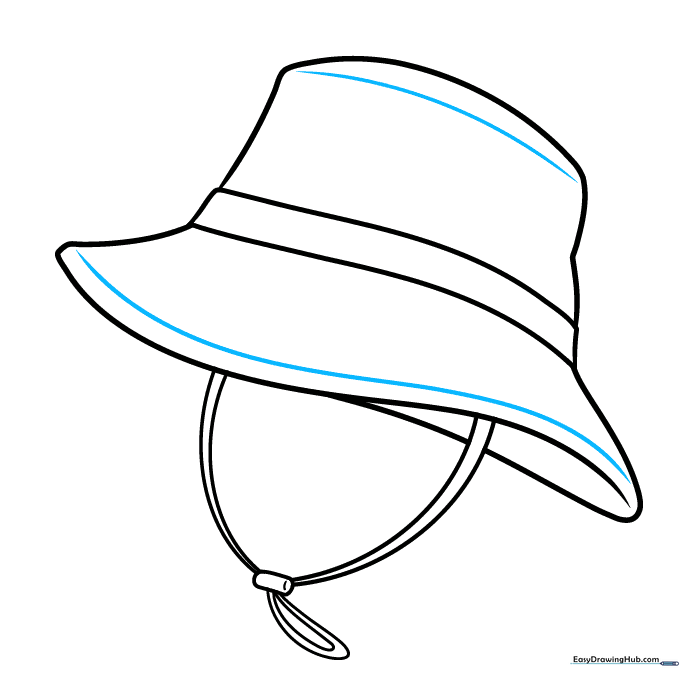
Draw a curved line across the top of the crown and along the edge of the brim. Tip: This creates a 'seam' effect, making the hat look like it was stitched together.
Step 8: Adding Contour Lines
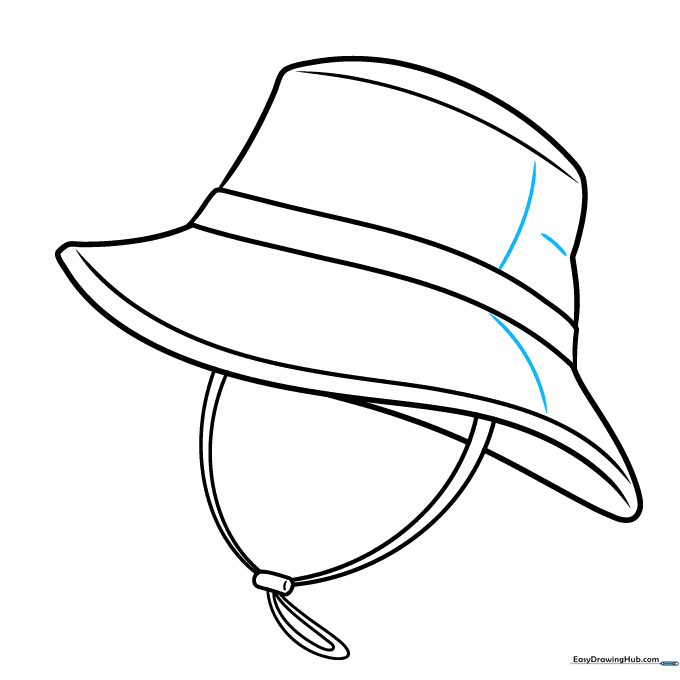
Add a few extra curved lines on the crown and brim to show the fabric's shape. Tip: Use very light pressure for these lines so they don't overpower the main outline.
Step 9: Adding Ventilation Holes
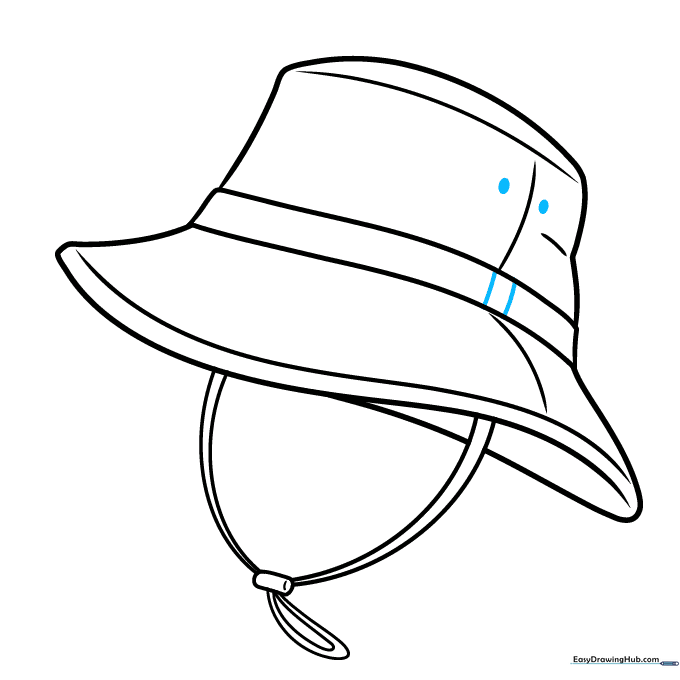
Draw two small ovals on the hatband to represent ventilation eyelets. Tip: Shade the inside of these ovals to make them look like small holes.
Step 10: Final Coloring
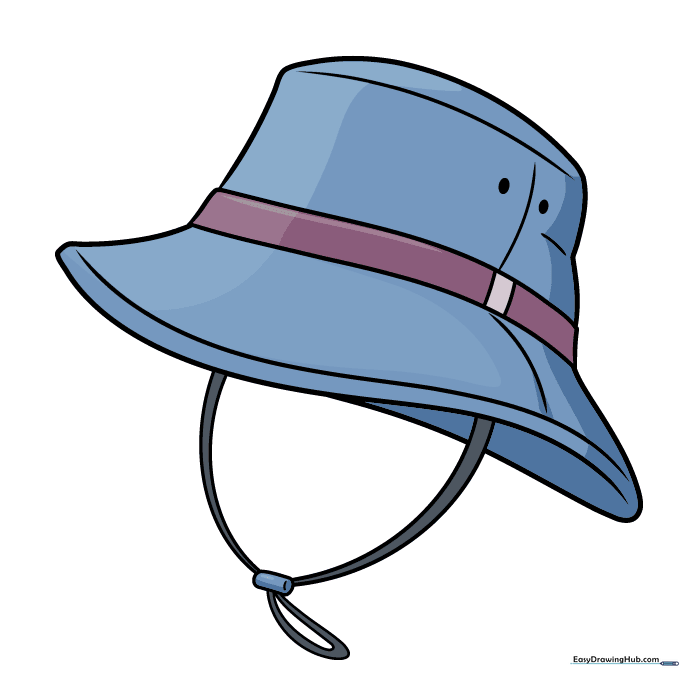
Your outline is finished! Now, pick your favorite colors. Tip: Try using a darker shade for the seams to make them pop, and a lighter shade for the main fabric.
More Tutorials


