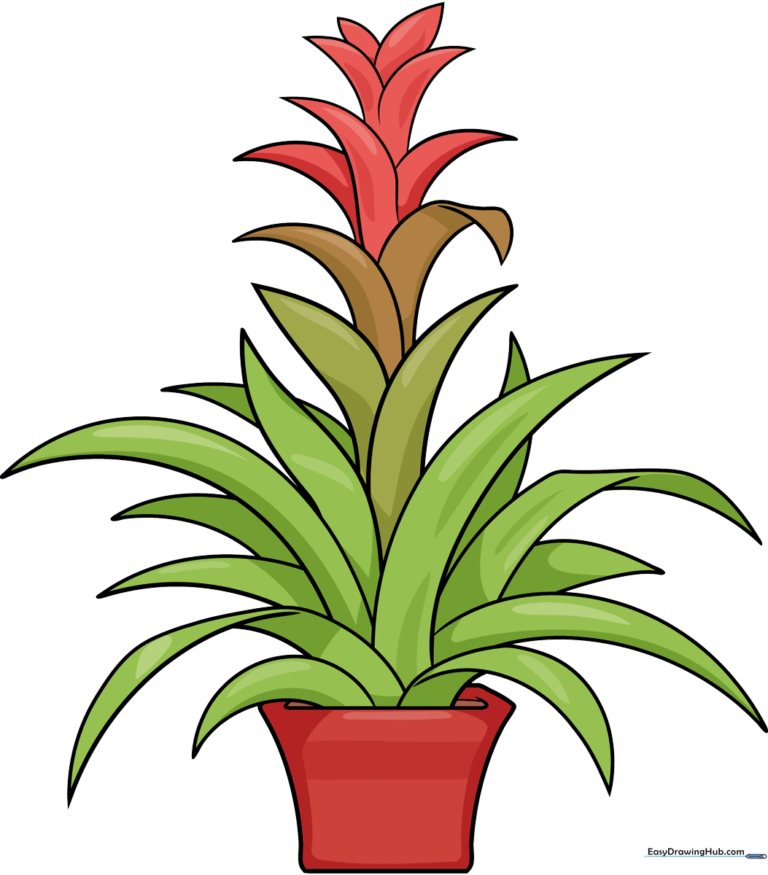
How to Draw a Bromeliad: Easy 10-Step Guide for Beginners
Bring a touch of the tropics to your sketchbook with this fun, beginner-friendly bromeliad tutorial. Designed for ages 5 and up, this activity requires only a pencil, eraser, and paper to build confidence in drawing organic, layered shapes. Follow along to create your own colorful houseplant masterpiece.
🎯 Final Result
Step-by-Step Instructions
Step 1: Sketching the Flower Pot
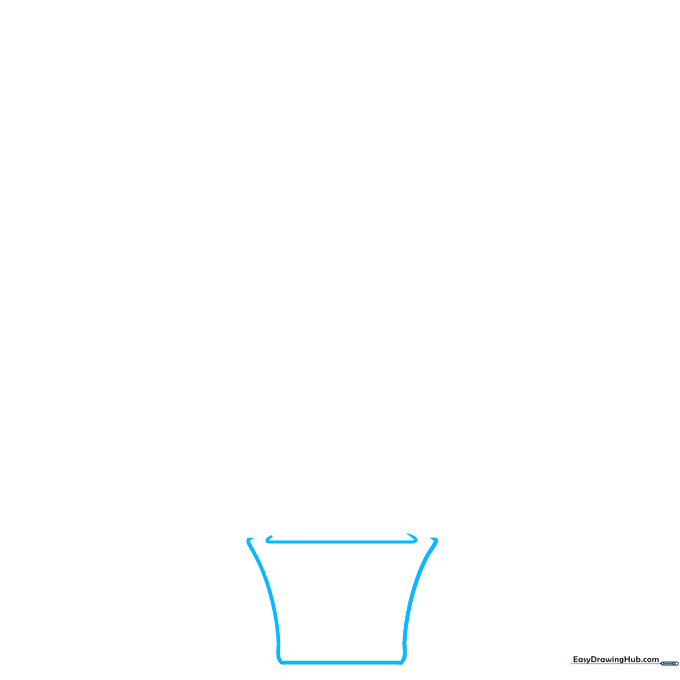
Draw a rectangular flower pot using slightly curved lines. Tip: Leave the top line open—this is where your plant will sprout from! Keep your lines light so you can adjust the width if needed.
Step 2: Adding the First Leaves
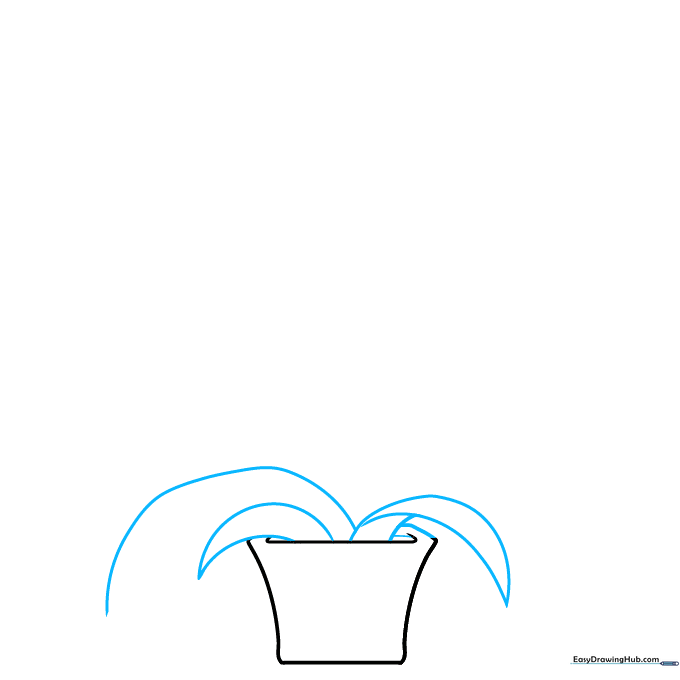
Draw long, curved leaves that meet at sharp points. Tip: Use a 'Y' shape where leaves overlap to create depth. Add small lines to the sides of the pot to give it a finished look.
Step 3: Building the Foliage
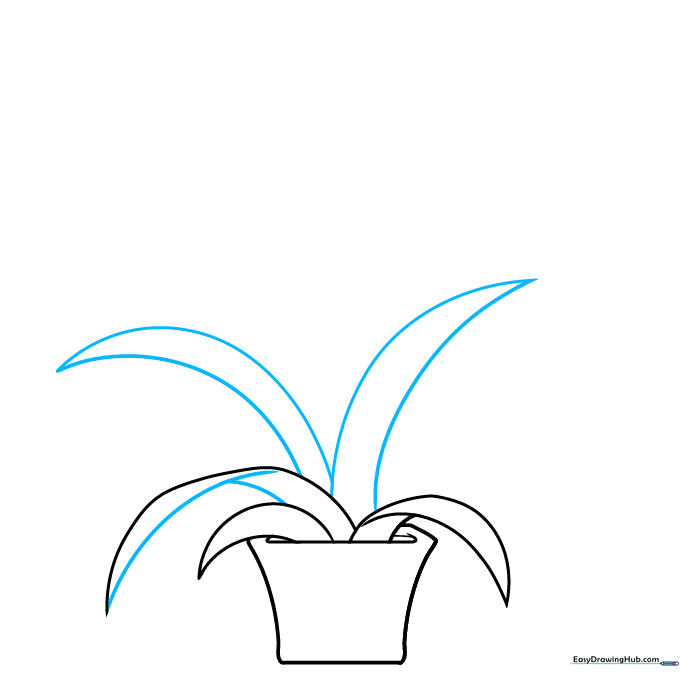
Continue adding leaves using the 'Y' technique. Tip: Vary the length of your leaves so the plant looks natural rather than perfectly symmetrical.
Step 4: Creating Leaf Points

Draw more pointy leaves by connecting pairs of curved lines. Tip: Make sure the tips of the leaves point in different directions to create movement.
Step 5: Expanding the Base
Add more leaves to the lower section. Tip: If your leaves look too similar, try curving one slightly more than the others to add variety.
Step 6: Adding Hidden Leaves
Draw leaves that appear to be tucked behind the front ones. Tip: Only draw the top half of these leaves to create the illusion of depth.
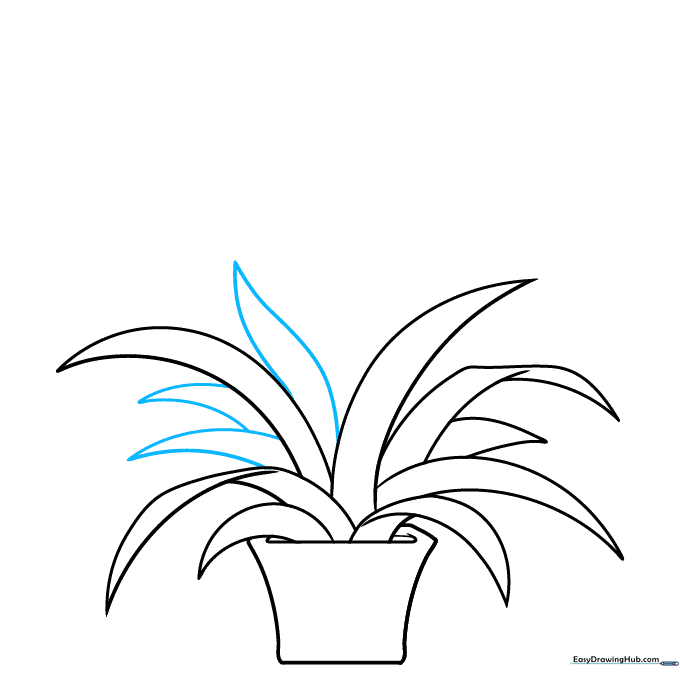
Step 7: Drawing the Top Leaves
Add leaves near the top, curving some of them downward at the tips. Tip: This drooping effect makes the plant look more realistic and organic.
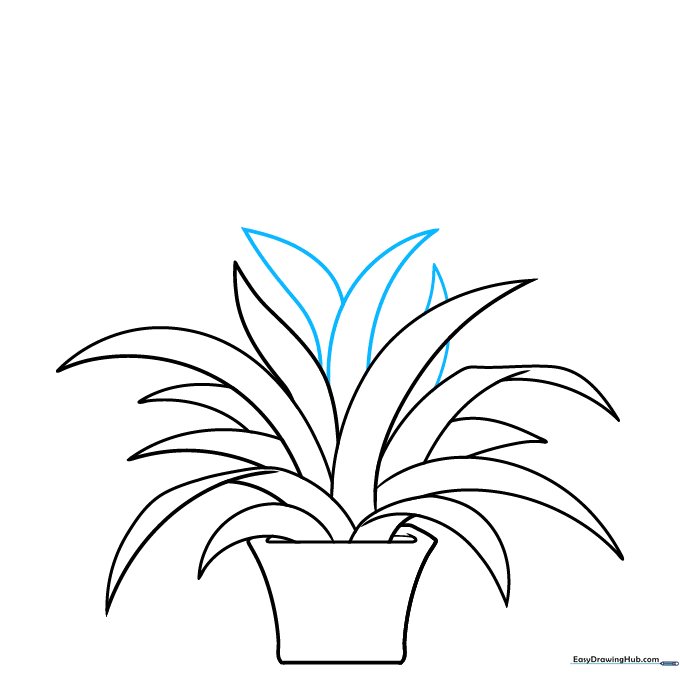
Step 8: The Central Stalk
Draw the central stalk rising from the middle of the leaves. Tip: Keep the stalk slightly thicker than the leaves to show it's the main support structure.
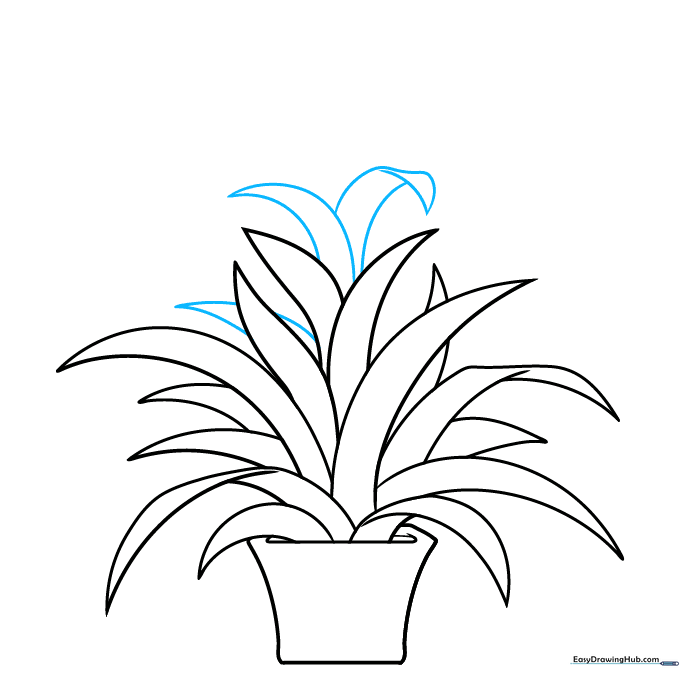
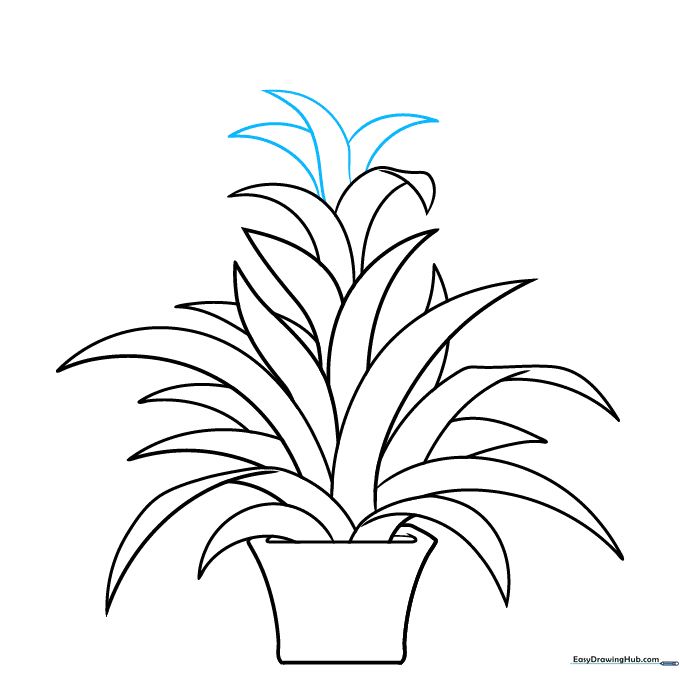
Step 9: Finalizing the Flower
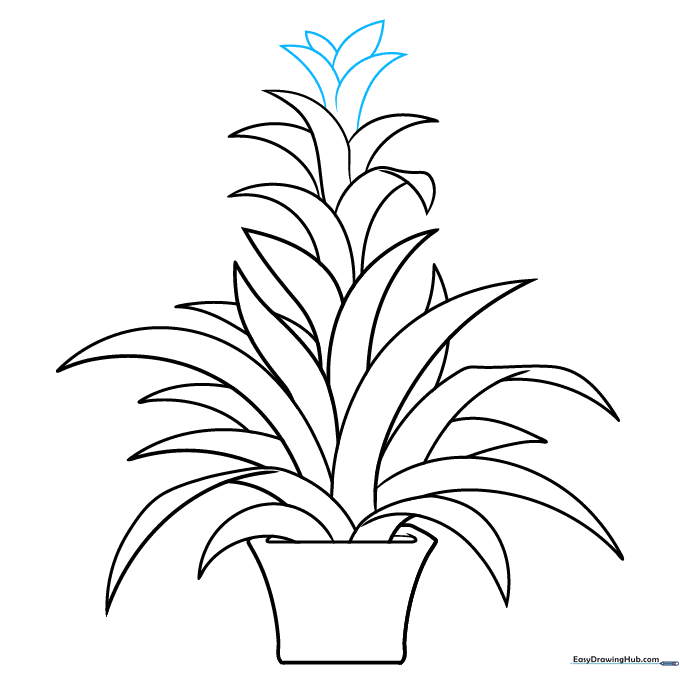
Draw smaller, overlapping leaves at the very top to form the flower-like center. Tip: Make these leaves smaller and tighter to create a focal point.
Step 10: Coloring Your Masterpiece
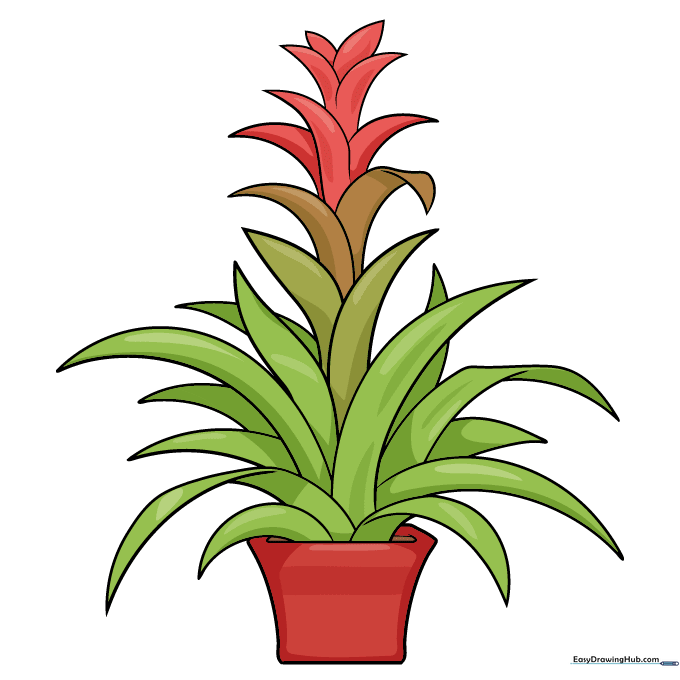
Time to color! Use bright greens for the base leaves and transition into vibrant reds, yellows, or oranges for the top flower. Tip: Use light pressure with your colored pencils to blend the colors smoothly.
More Tutorials


