How to Draw a Brain: Easy 10-Step Guide for Kids
Looking for a fun way to combine art and science? This tutorial is perfect for ages 5+ to learn the basic anatomy of a brain through a cute, cartoon style. All you need is a pencil, an eraser, and some paper to get started on this screen-free creative activity.
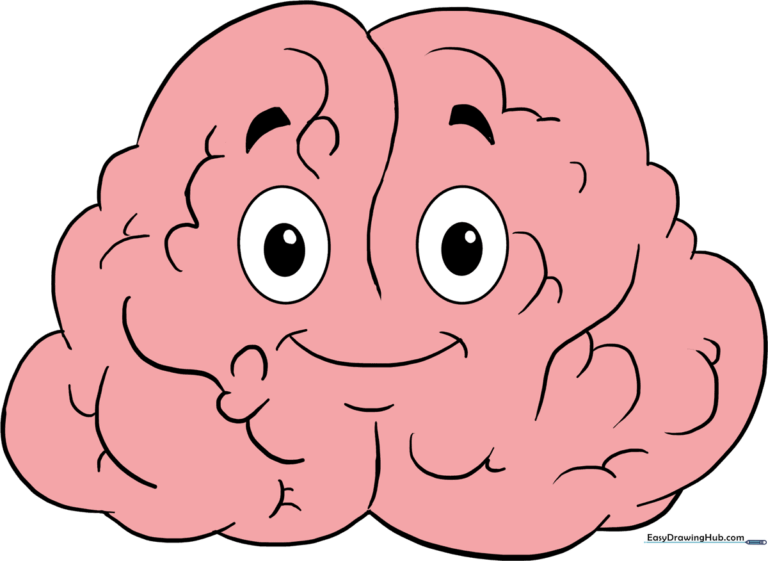
🎯 Final Result
Step-by-Step Instructions
Step 1: Establishing the Center

Draw a light, vertical line down the center of your page. Teacher's Tip: Use a ruler if you need to, but keep it faint—this is just a guide to help you balance the two halves of the brain.
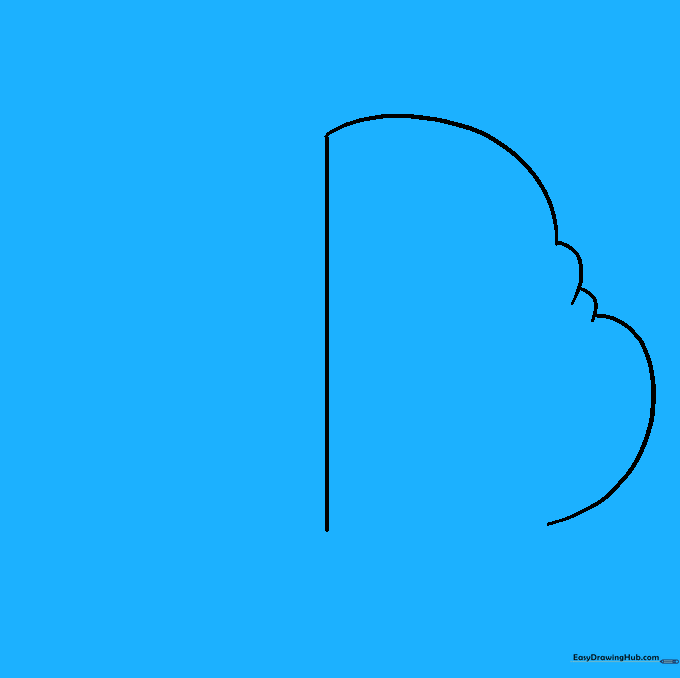
Step 2: Shaping the Left Hemisphere

Outline the left side of the brain using a series of connected, bumpy, curved lines. Teacher's Tip: Think of these as little hills and valleys; don't worry about making them perfectly symmetrical.
Step 3: Shaping the Right Hemisphere
Mirror your work by drawing the right side of the brain using similar bumpy, curved lines. Teacher's Tip: Try to keep the overall height of both sides roughly the same.
Step 4: Closing the Top
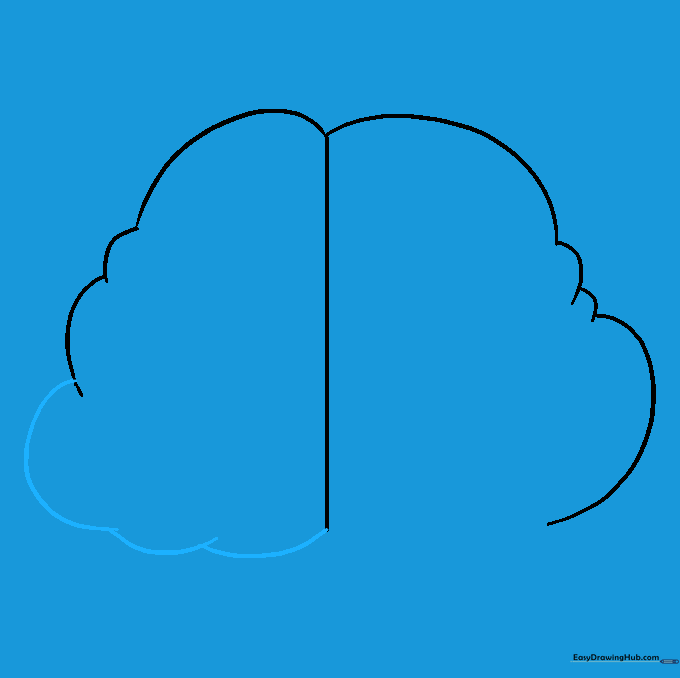
Connect the top of your two sides with more curved, bumpy lines to enclose the shape. Teacher's Tip: Make these curves slightly larger to give the brain a rounded, healthy look.
Step 5: Closing the Bottom

Finish the bottom outline with smaller, tighter curves. Teacher's Tip: Notice how the shape narrows slightly toward the middle—this helps it look more realistic.
Step 6: Cleaning Up

Gently erase your vertical guide line from the center. Teacher's Tip: Make sure your paper is clean of eraser crumbs before moving to the next step so your lines stay crisp.
Step 7: Adding Texture
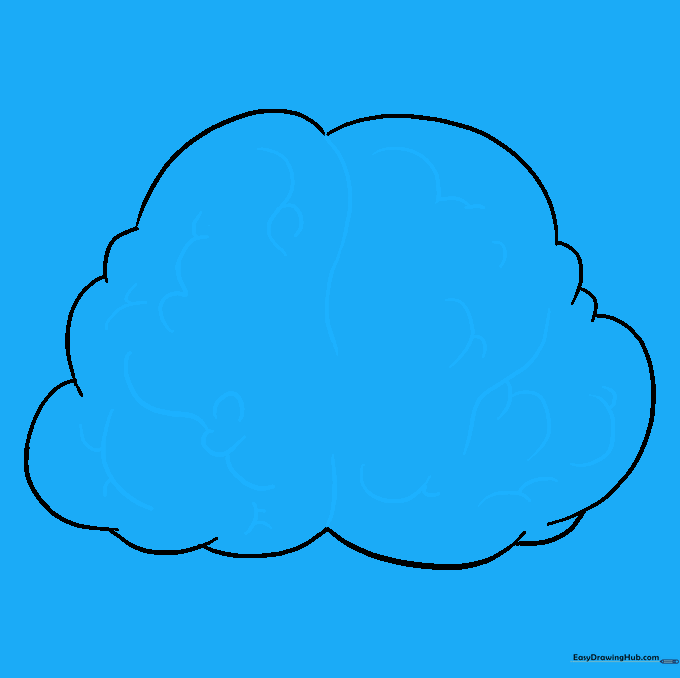
Draw small 'U' shaped lines inside the brain to represent the sulci and gyri (the folds). Teacher's Tip: Vary the size and direction of these 'U's to make the brain look complex and textured.
Step 8: Giving it Personality
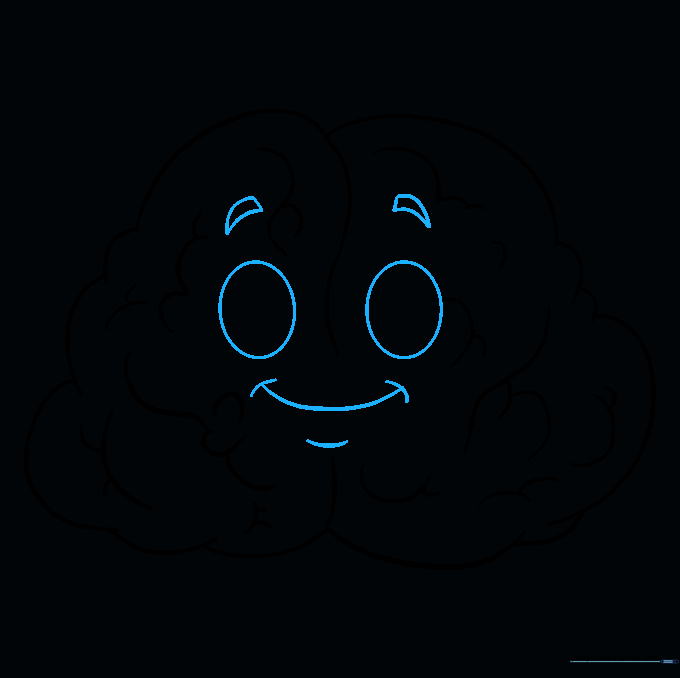
Draw two ovals for eyes and a curved line for a happy mouth. Add small eyebrows above the eyes. Teacher's Tip: A simple smile makes the brain look friendly and approachable!
Step 9: Adding Eye Detail

Draw a smaller oval inside each eye with a tiny circle for a highlight. Shade the area around the circle to create the pupil. Teacher's Tip: Leaving that tiny white circle uncolored makes the eyes look bright and alive.
Step 10: Adding Color
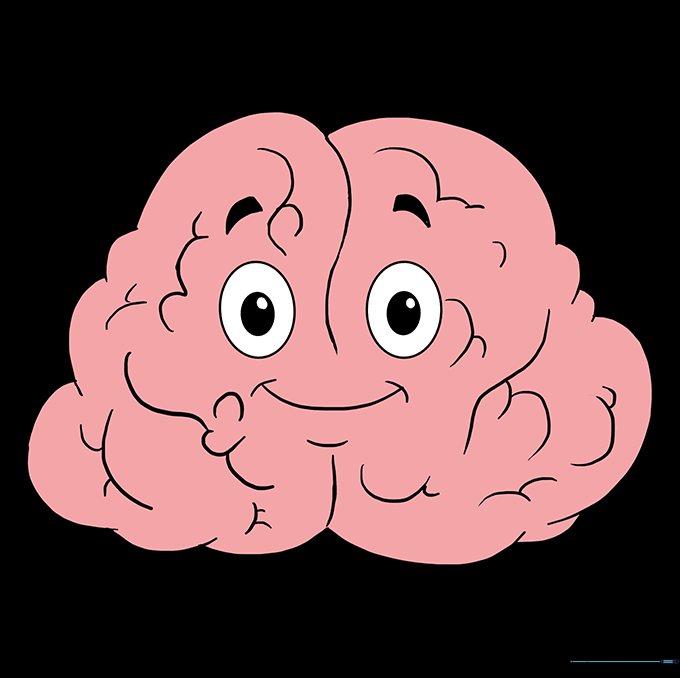
Color your brain! While we used pink for a fun, cartoon look, you can experiment with shades of grey to be more scientifically accurate. Teacher's Tip: Use a darker pink or grey to shade the 'folds' to give your drawing more depth.
More Tutorials


