How to Draw a Brain: Easy 9-Step Science Art Guide
Looking for a fun way to combine art and biology? This tutorial is perfect for students ages 7+ to visualize the human brain's structure. You only need a pencil, eraser, and paper to get started on this anatomical sketch.
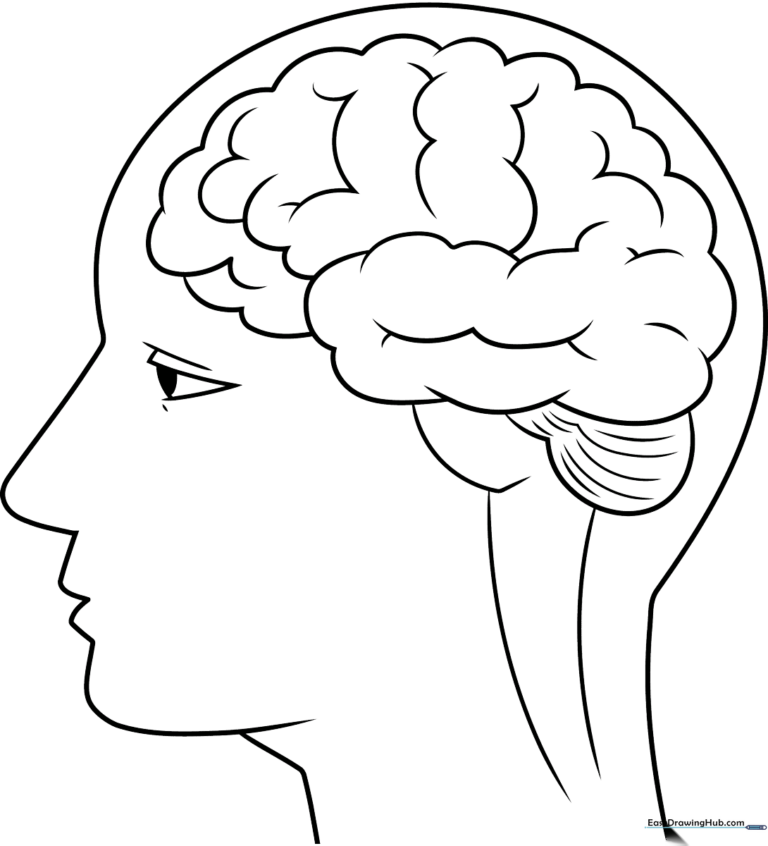
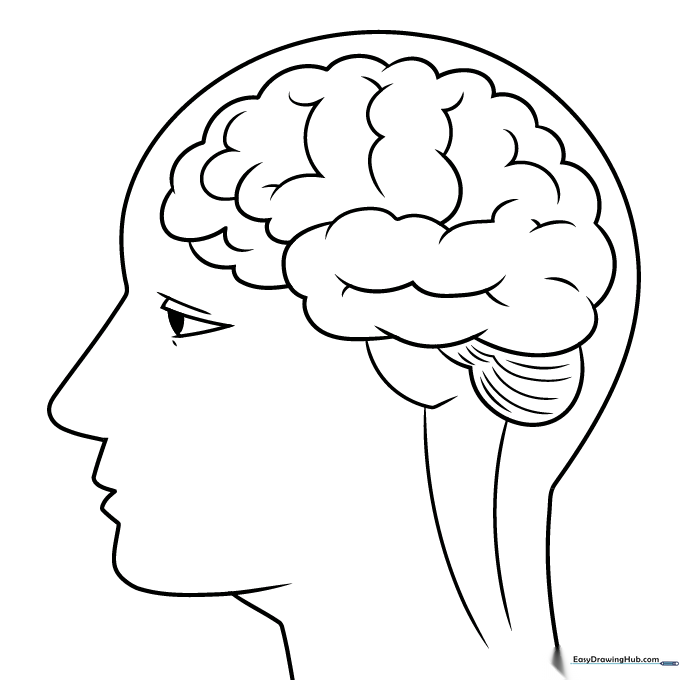
🎯 Final Result
Step-by-Step Instructions
Step 1: Sketching the Cranial Curve
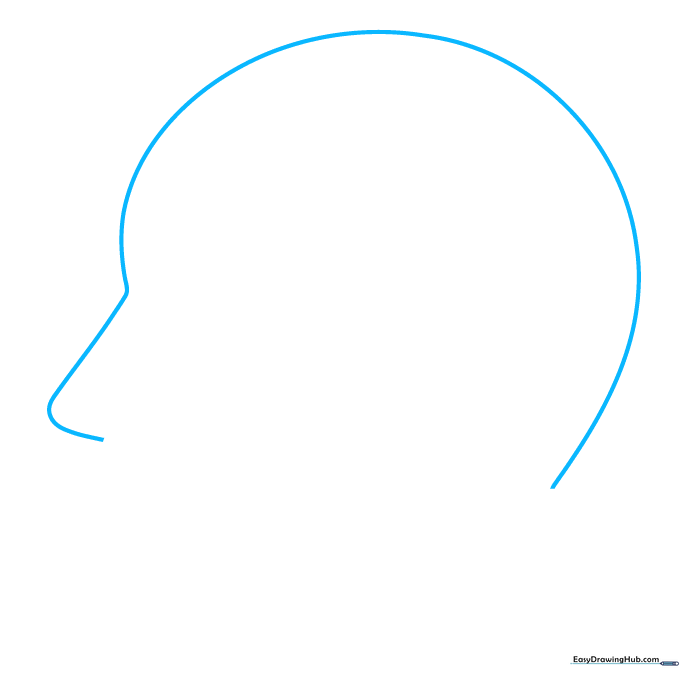
Draw a long, smooth curved line that looks like a wide letter 'C'. This forms the top of the cranium. Tip: Keep your hand loose to ensure the curve is fluid rather than jagged.
Step 2: Defining the Facial Profile
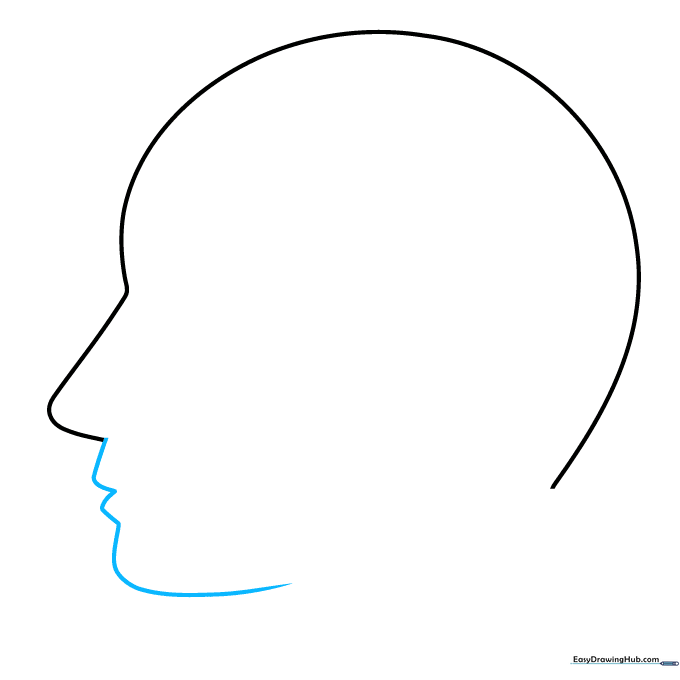
Extend a wavy line downward from the nose area to create the chin and jawline. Tip: Use short, rhythmic strokes to give the jaw a natural, soft appearance.
Step 3: Adding the Eye and Neck
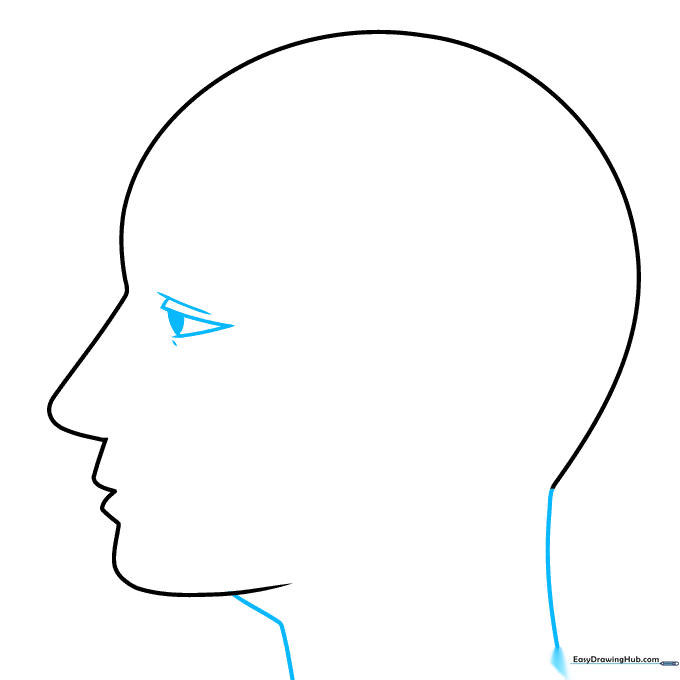
Draw the back of the neck and the eye structure. For the eye, use three curved lines to form a triangle and add a pupil. Tip: Keep the eye small to maintain the correct proportions of the head.
Step 4: Starting the Brain Folds
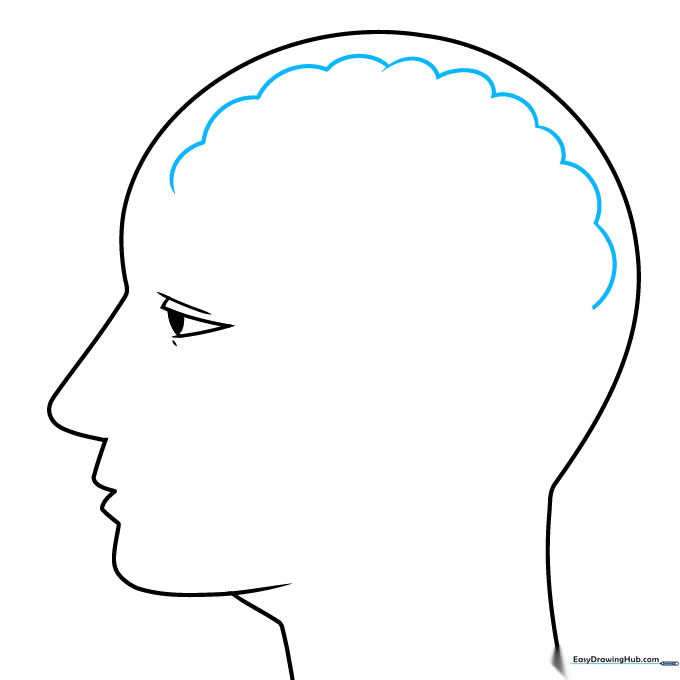
Draw a series of connected, scalloped lines parallel to the top of the head. Tip: Think of these as 'clouds'—they should be rounded and soft, not sharp or pointy.
Step 5: Developing the Lobes
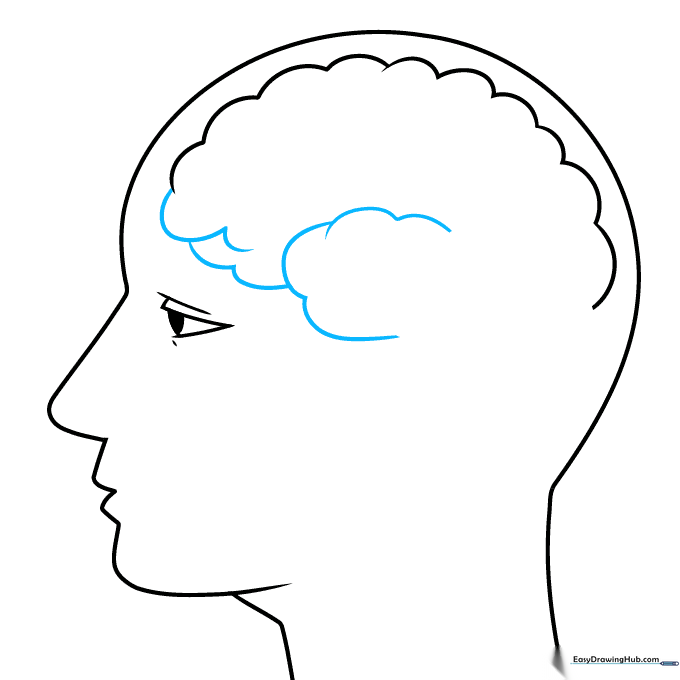
Add more overlapping scalloped lines to define the frontal and temporal lobes. Tip: Vary the size of your 'scallops' to make the brain look more organic and realistic.
Step 6: Enclosing the Brain Shape
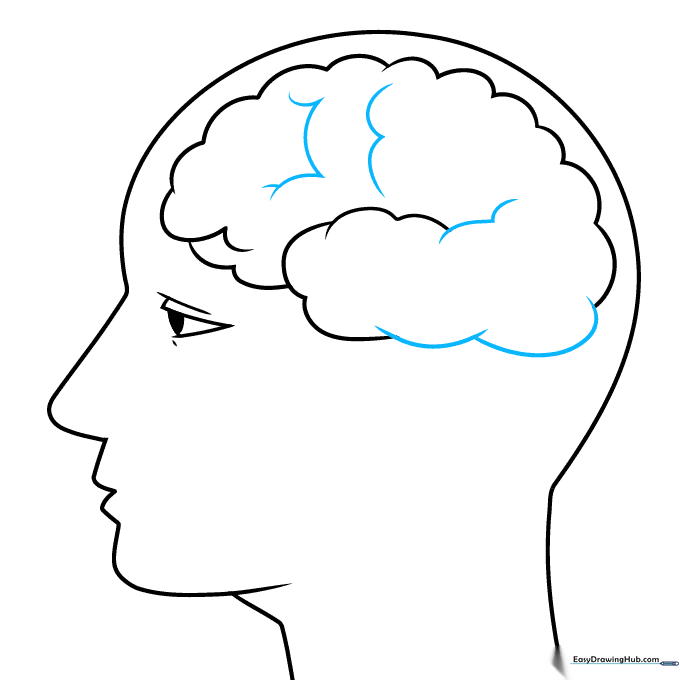
Continue the scalloped lines to close the main shape of the brain. Tip: Don't worry about perfection; brain tissue is naturally irregular and bumpy.
Step 7: Adding Internal Texture

Add smaller, internal curved lines to represent the folds (gyri) of the brain tissue. Tip: Keep these lines light so they don't overpower the main outline.
Step 8: Drawing the Cerebellum
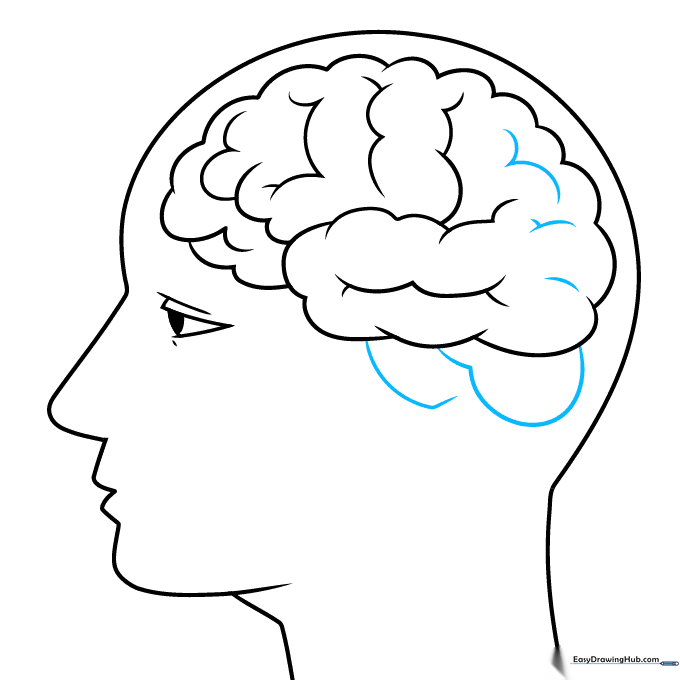
Draw the cerebellum at the base of the brain and add two lines for the spinal cord. Tip: The cerebellum is smaller and rounder than the main brain mass.
Step 9: Finalizing the Spinal Cord
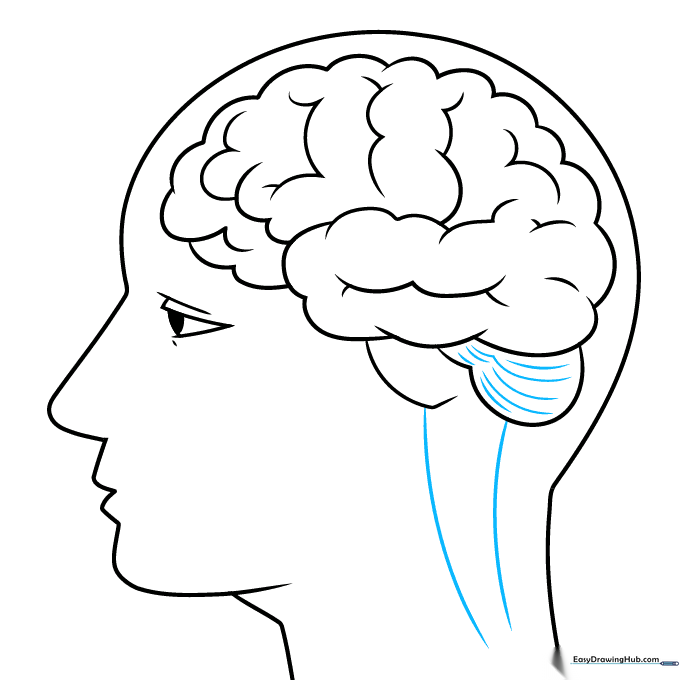
Add texture to the cerebellum and extend the spinal cord lines down into the neck. Tip: Use a slightly darker pencil pressure here to define the final outline.
Step 10: Adding Color
Time to color! Use soft pinks, grays, or light purples. Tip: Use a light touch with your colored pencils to create a soft, biological look.
More Tutorials


