How to Draw a Brain Diagram: Simple Science Lesson
This step-by-step tutorial is designed for students and visual learners who need to master the anatomy of the brain for school projects. You will need a pencil, an eraser, and a fine-tip marker to outline your work. By the end of this lesson, you will have a clean, accurate diagram that makes complex biology easy to understand.
🎯 Final Result
Step-by-Step Instructions
Step 1: Sketching the Frontal Lobe
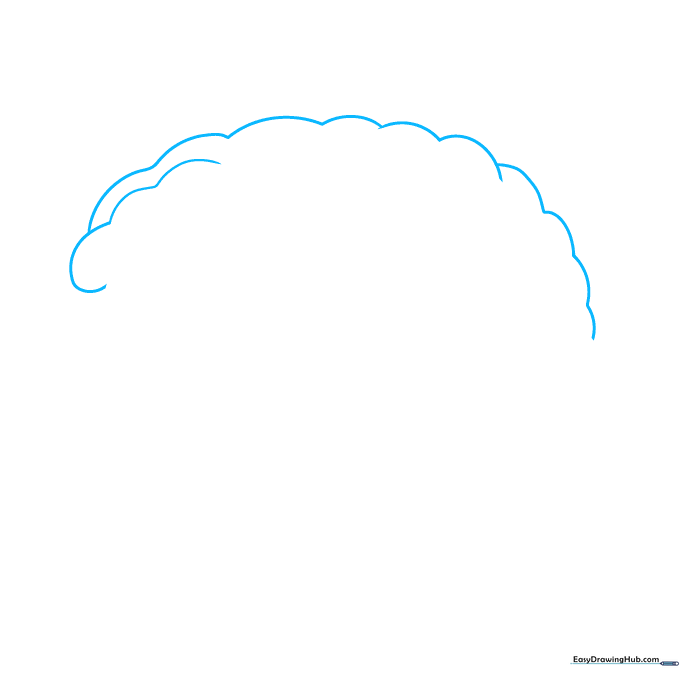
Start by drawing a series of connected, scalloped curves to form the top of the brain. Teacher's Tip: Keep your pencil pressure light here; these curves represent the complex folds of the frontal and parietal lobes, and you may need to adjust them as you go.
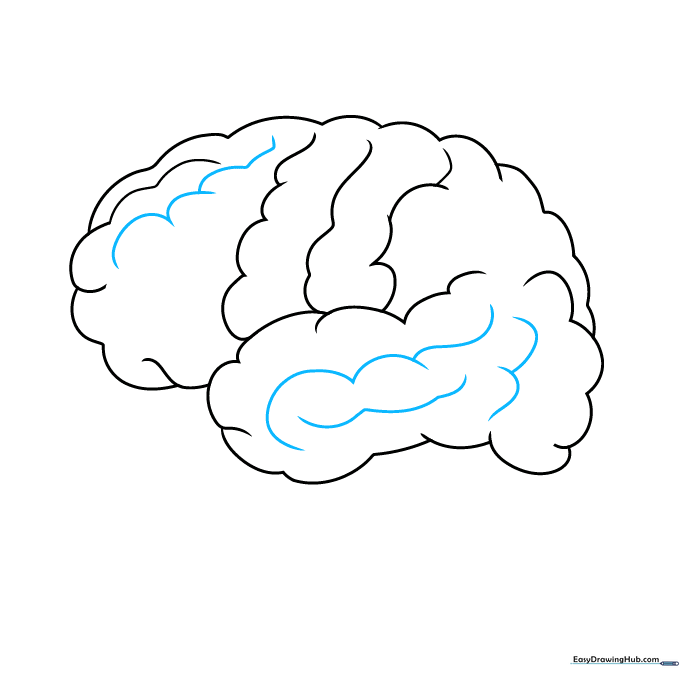
Step 2: Defining the Temporal Lobe
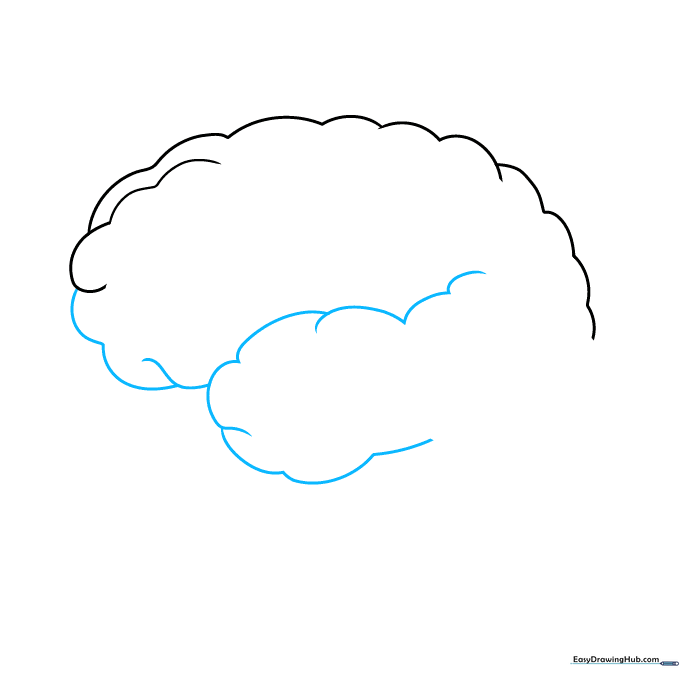
Continue your scalloped line downward to create the base of the frontal lobe and the rounded shape of the temporal lobe. Teacher's Tip: Think of these as 'bumpy clouds'—don't worry about making them perfectly symmetrical, as real brain tissue is organic and irregular.
Step 3: Outlining the Occipital Lobe
Close the back of the brain shape with more scalloped lines to represent the occipital lobe. Then, draw a few diagonal lines across the surface to suggest the brain's natural folds. Teacher's Tip: Use short, quick strokes to make the folds look more realistic.
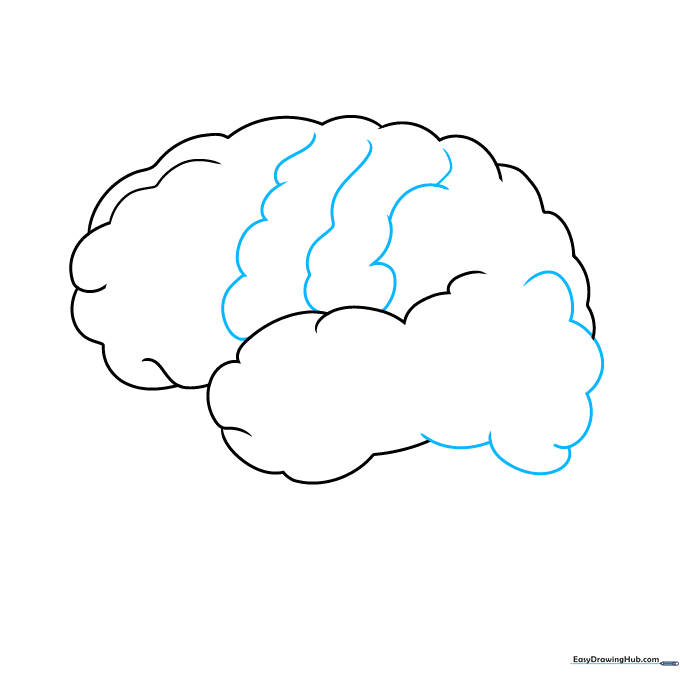
Step 4: Adding Surface Detail
Add more scalloped lines across the center of the brain, mixing horizontal and diagonal directions. Teacher's Tip: Varying the length of your lines will make the brain look more three-dimensional and textured.
Step 5: Refining the Texture
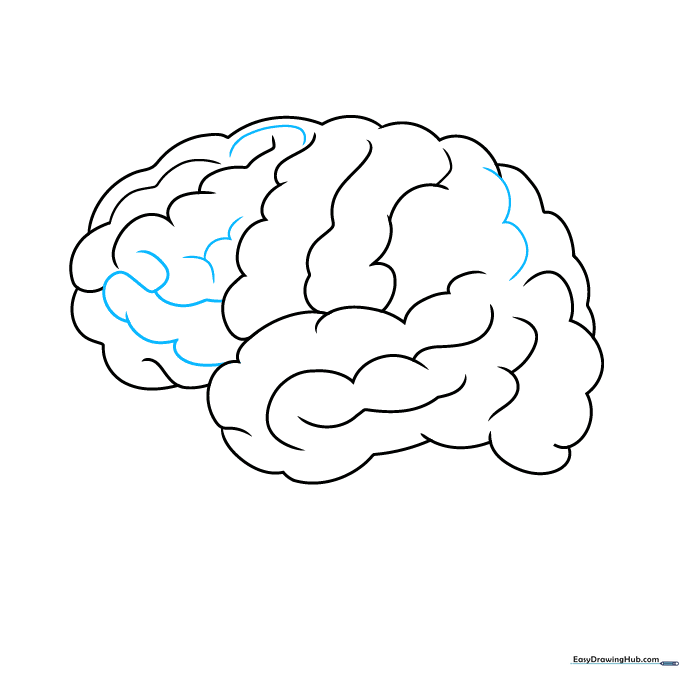
Fill in the gaps between your larger folds with smaller, tighter scalloped lines. Teacher's Tip: This creates the 'gyri' (the ridges of the brain). Don't overthink the pattern; just keep the lines flowing naturally.
Step 6: Drawing the Cerebellum
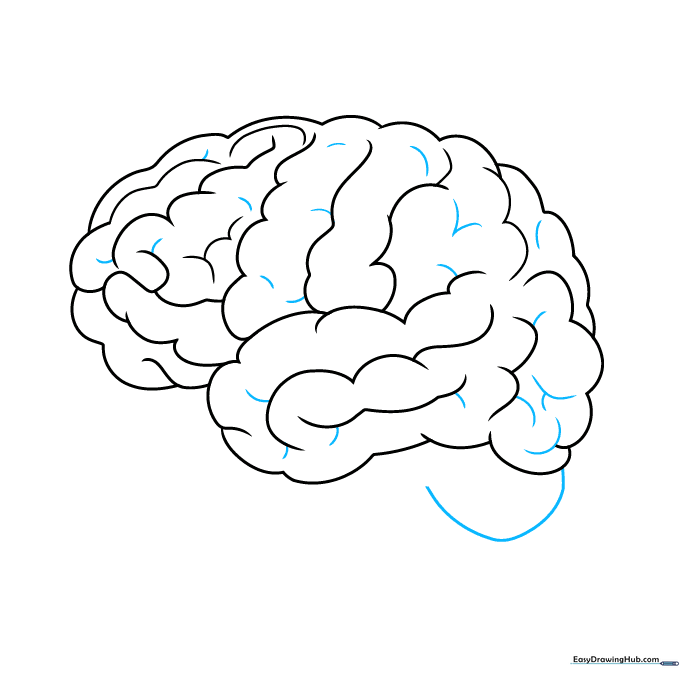
Add 'V' shaped lines near the larger folds for depth. At the bottom, draw a curved, distinct section—this is the cerebellum. Teacher's Tip: The cerebellum looks a bit like a small, separate cauliflower attached to the base of the brain.
Step 7: Adding the Spinal Cord
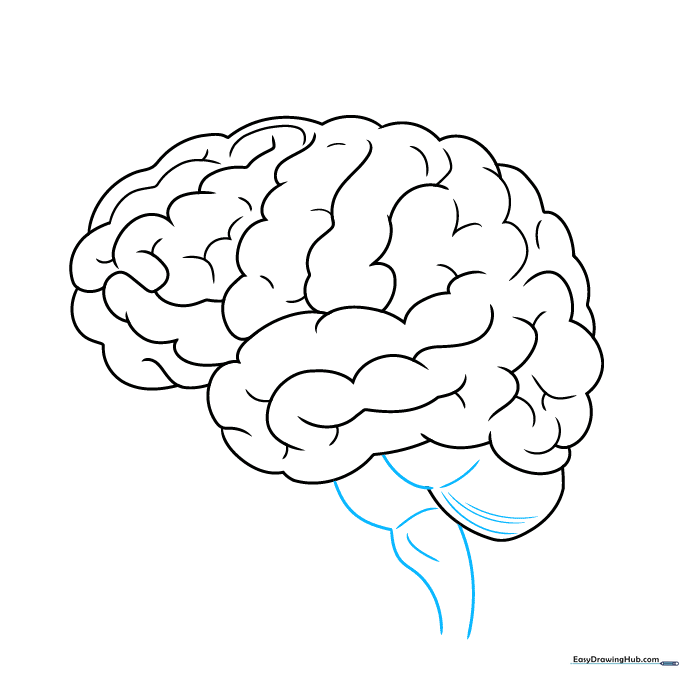
Complete the cerebellum and extend a curved shape downward to represent the spinal cord. Add horizontal lines to the spinal cord for texture. Teacher's Tip: Keep these lines parallel to show the structure of the cord.
Step 8: Final Structural Details
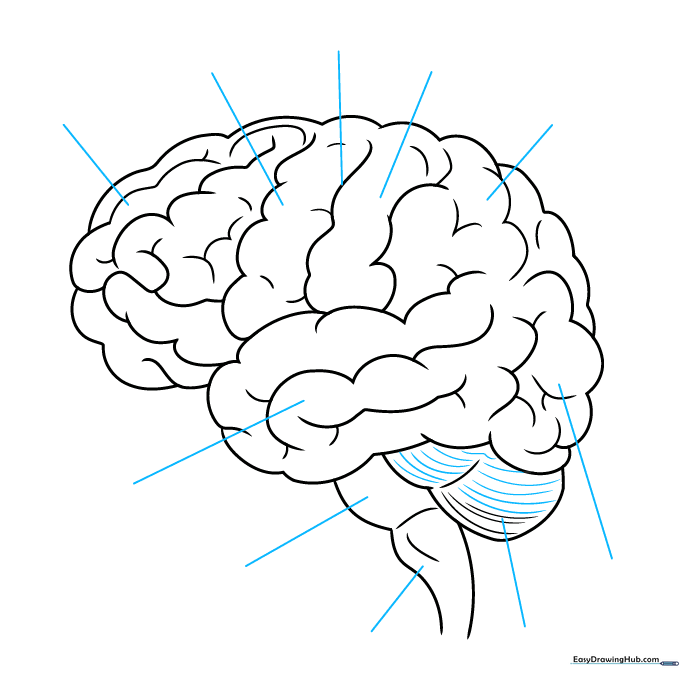
Add more curved lines to the cerebellum and use a ruler to draw straight lines indicating specific anatomical landmarks. Teacher's Tip: Using a ruler for these lines helps distinguish the 'diagram' aspect from the 'drawing' aspect.
Step 9: Labeling Your Diagram
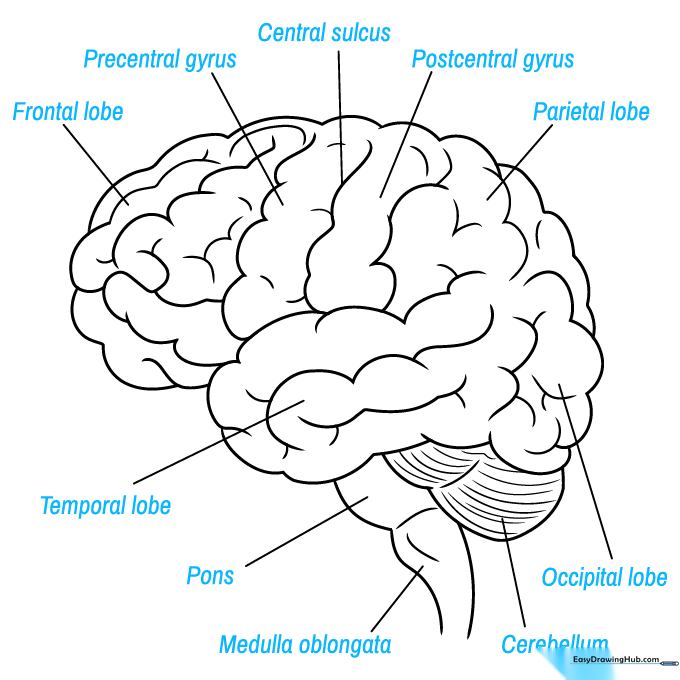
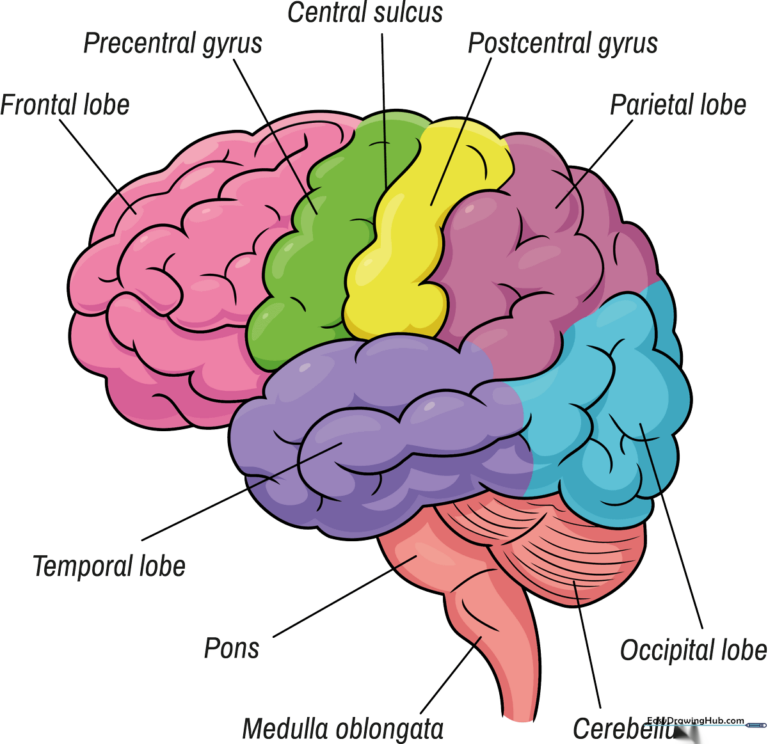
Now, add your labels! Clockwise, identify the frontal lobe, precentral gyrus, central sulcus, postcentral gyrus, parietal lobe, occipital lobe, cerebellum, medulla oblongata, pons, and temporal lobe. Teacher's Tip: Write your labels clearly in print so they are easy to read for your project.
Step 10: Adding Color
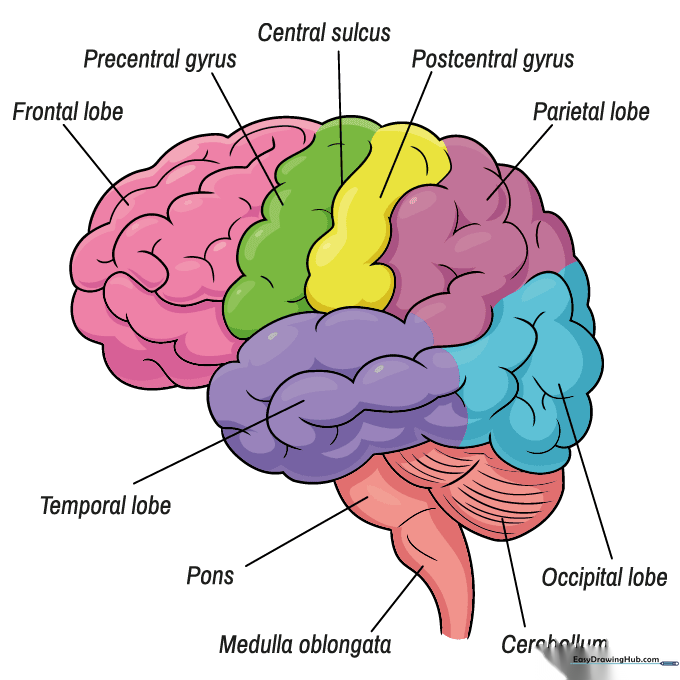
Bring your diagram to life with color. While real brains are a pinkish-gray, using different colors for each lobe is a great way to help you memorize the different parts for your science class. Teacher's Tip: Use colored pencils for a clean, professional look.
More Tutorials


