How to Draw a Braid: Easy Step-by-Step Guide for Beginners
Ready to add some style to your character drawings? This tutorial is perfect for ages 6+ and requires only a pencil, eraser, and paper. By following these simple steps, you will learn how to structure a braid using basic shapes and flowing lines to create a professional-looking hairstyle.
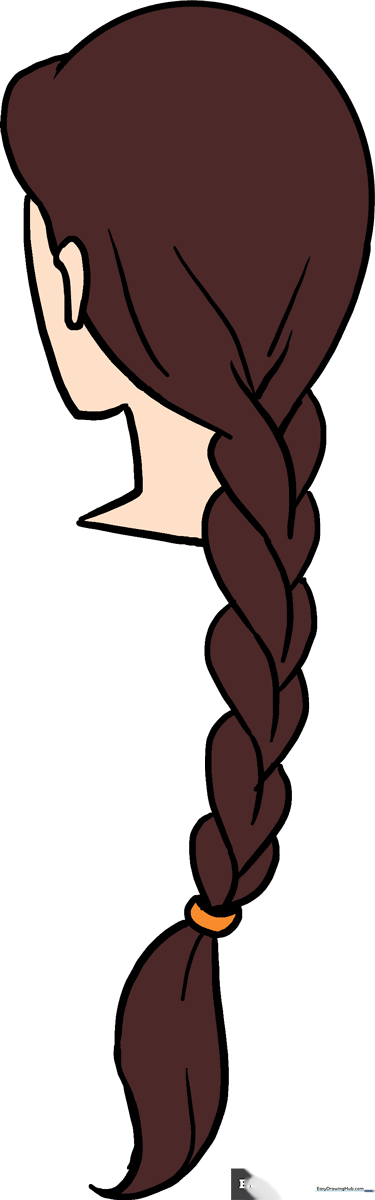
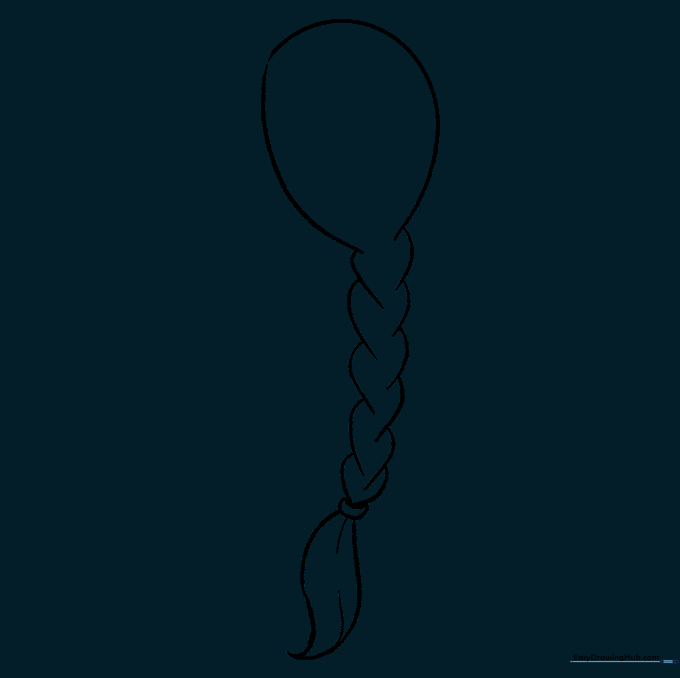
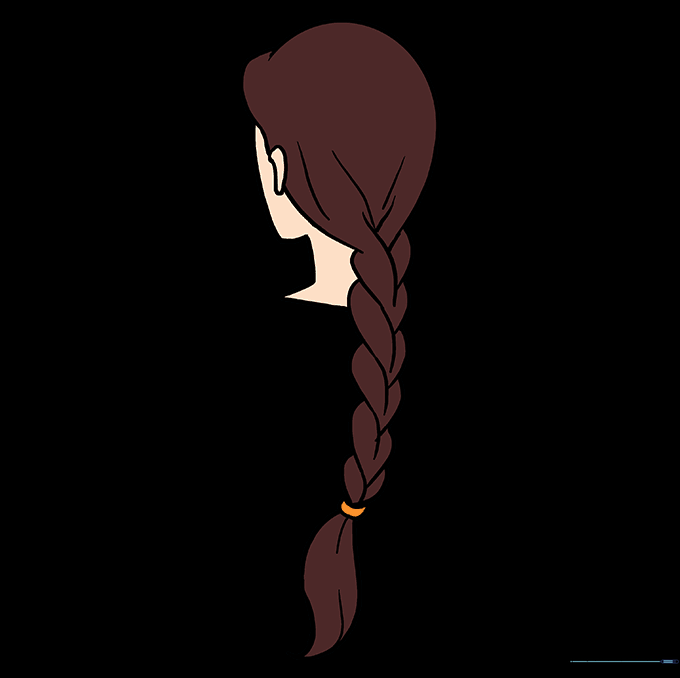
🎯 Final Result
Step-by-Step Instructions
Step 1: Sketching the Head Guide

Start by drawing a light circle to represent the head. Teacher's Tip: Keep this circle about the size of a coin; it’s just a guide, so don't press too hard with your pencil!
Step 2: Establishing the Braid Path
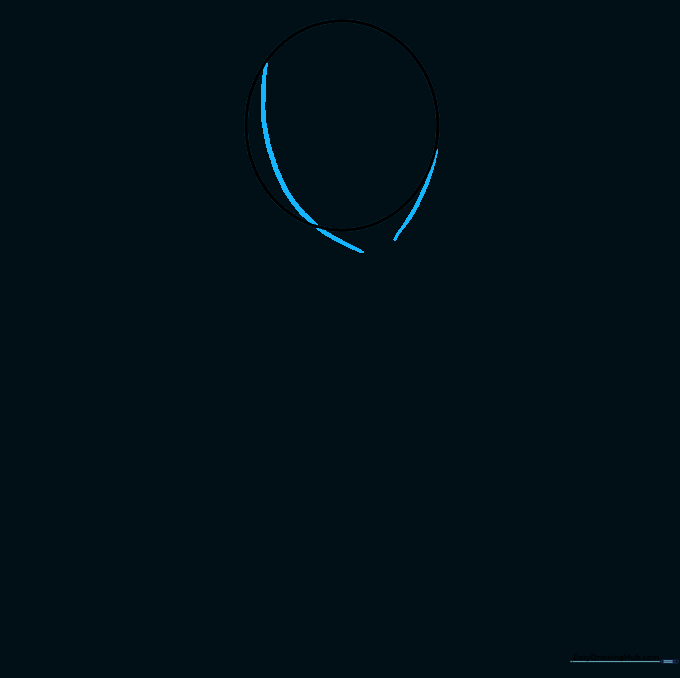
Draw a long, graceful curved line starting from the side of the circle. Add a shorter curved line on the opposite side to define the width of the braid. Think of these as the 'tracks' for your braid.
Step 3: Creating the Braid Segments

Start the weaving pattern by drawing curved lines that reach toward each other. Tip: Make sure the lines almost touch in the middle to create that 'interlocked' look.
Step 4: Continuing the Weave
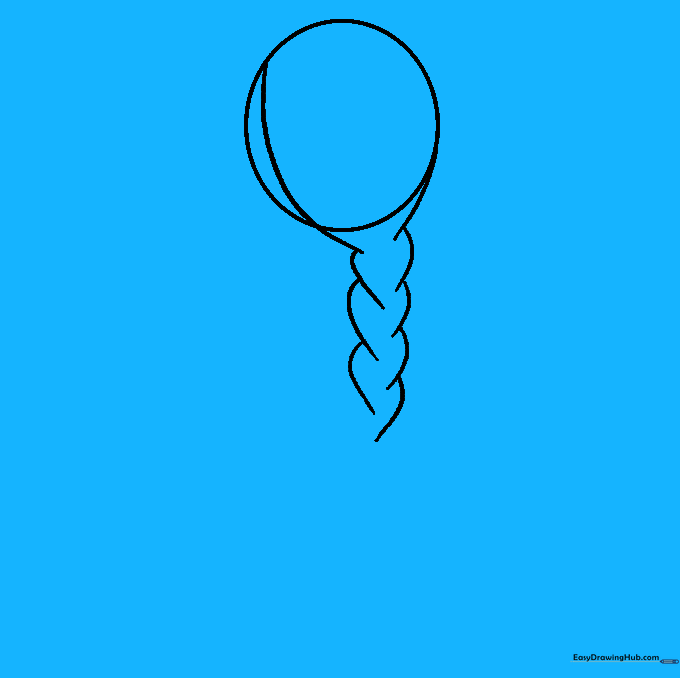
Keep adding pairs of overlapping curved lines down the length of the braid. As you reach the bottom, let the lines meet at a sharp point to close the shape.
Step 5: Adding the Hair Tie and Ends
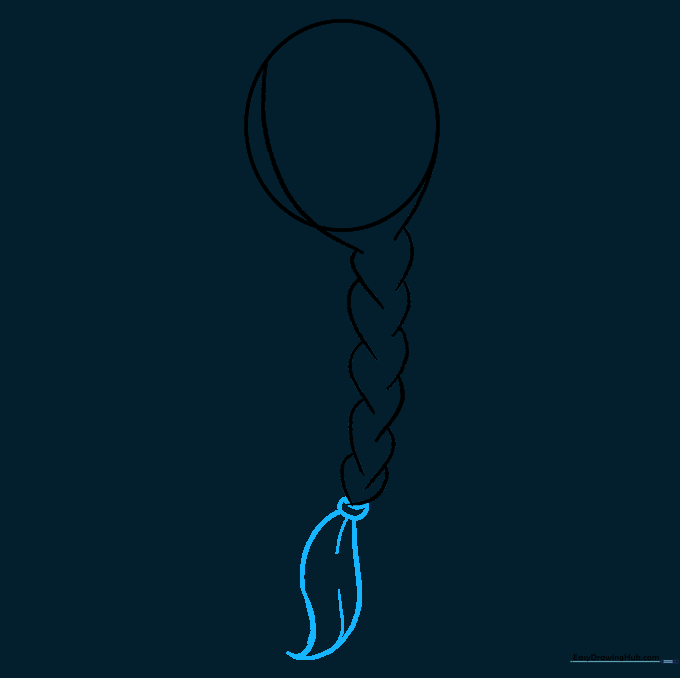
Draw a small rounded rectangle at the bottom to represent a hair tie. Then, add a few loose, curved lines below it to show the ends of the hair. Tip: Keep these lines soft to make the hair look natural.
Step 6: Cleaning Up Your Sketch
Gently erase the original circle guide lines. You should now have a clean, clear outline of the braid and the head shape.
Step 7: Defining the Face and Neck
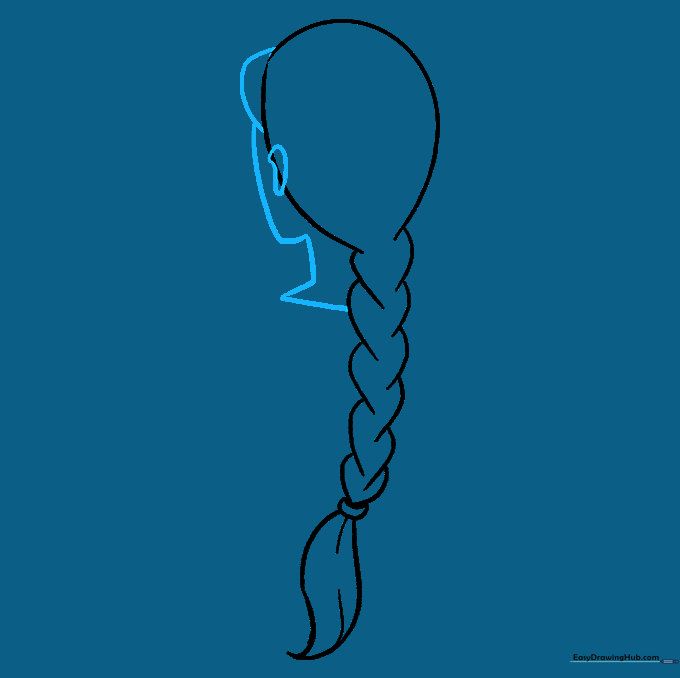
Draw the chin and neck line using a long, smooth curve. Add a small 'C' shape on the side of the head to represent the ear.
Step 8: Refining the Hairline
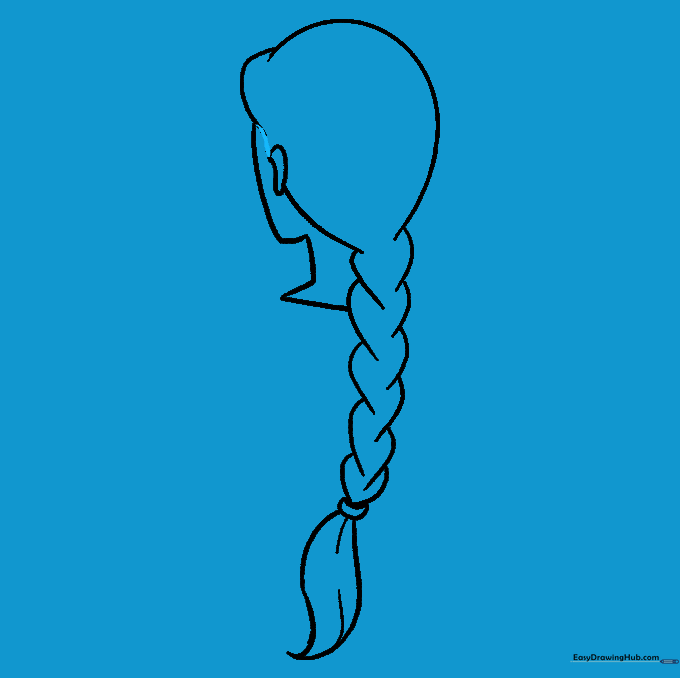
Erase any remaining guide lines near the forehead. Add a short, curved line between the brow and the ear to show where the hair sits against the face.
Step 9: Adding Texture Details
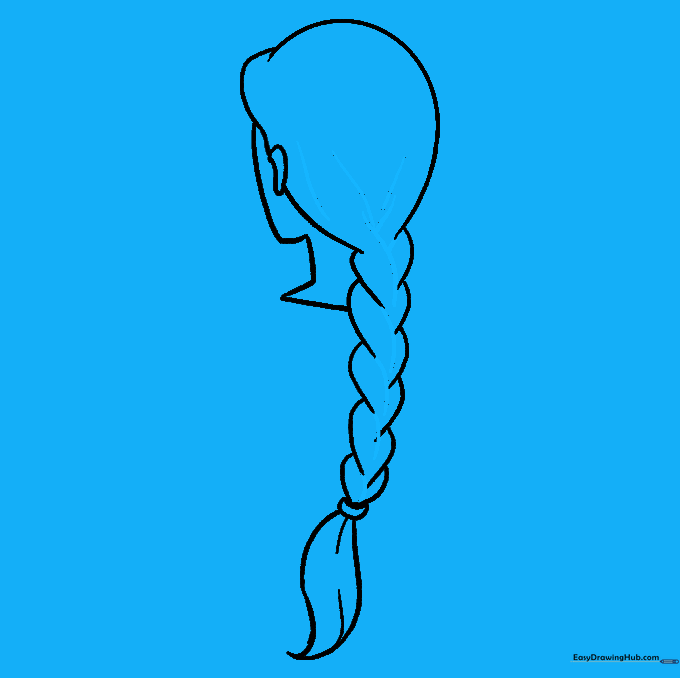
Add short, curved lines down the middle of each braid segment. This creates the illusion of woven strands. Tip: Keep these lines light to maintain the braid's volume.
Step 10: Bringing Your Braid to Life
Time to color! Use your favorite shades to fill in the hair. Whether it's a bright fantasy color or a natural tone, have fun making this character your own.
More Tutorials


