How to Draw a Boy: Easy 9-Step Guide for Kids
Ready to bring a character to life? This tutorial is perfect for young artists ages 5 and up who want to learn how to draw a friendly cartoon boy. All you need is a pencil, an eraser, and a piece of paper to start building your character design skills.
🎯 Final Result

Step-by-Step Instructions
Step 1: Sketching the Face and Eyes

Draw a soft, curved line for the side of the face, adding smaller curves for the cheeks and chin. Then, draw three circles inside each other for the eyes. Teacher's Tip: Keep the eyes symmetrical by drawing them at the same time, and shade the center circle to create a lively pupil.
Step 2: Adding Ears and Hairline
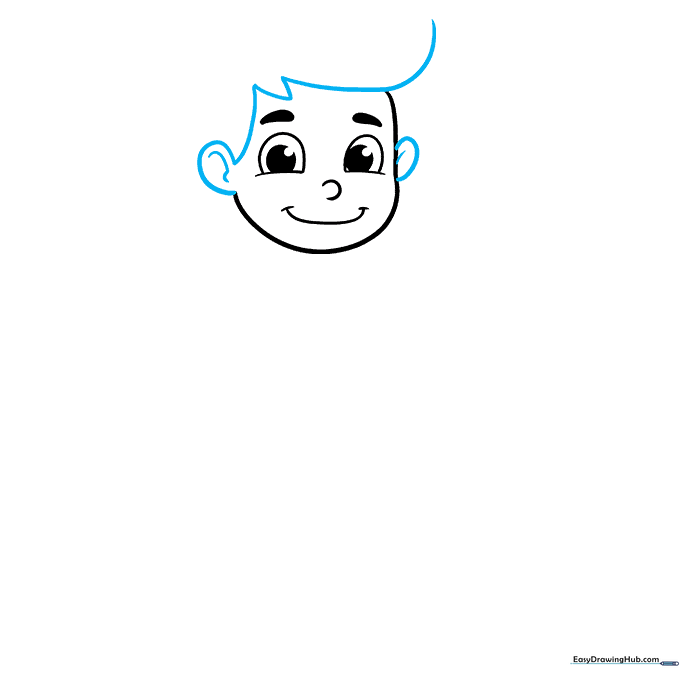
Use gentle, curved lines to outline the ears on the sides of the head and the start of the hair. Teacher's Tip: Don't forget the small 'C' shape inside the ear to give it depth and realism.
Step 3: Defining the Hair
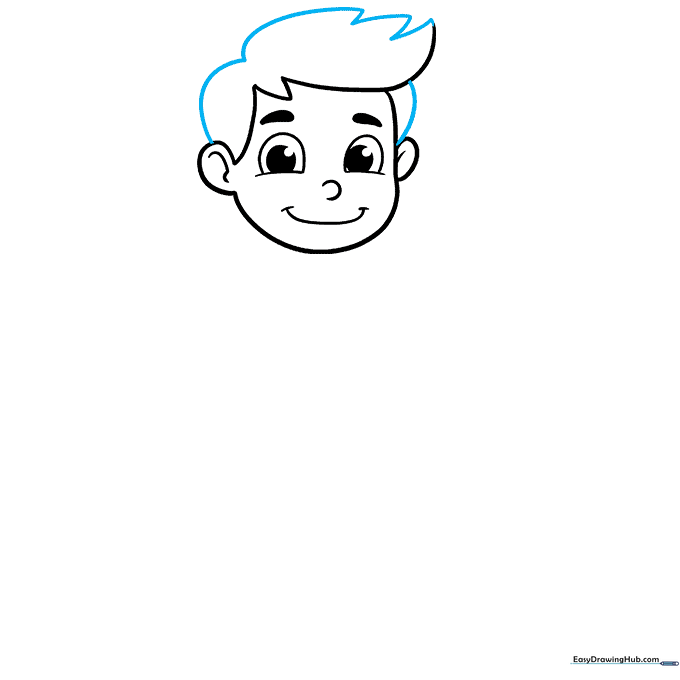
Complete the hairstyle by drawing curved lines that meet at soft points. Teacher's Tip: Vary the length of your hair strokes to make the hair look natural and textured rather than like a solid block.
Step 4: Drawing the Neck and Shirt
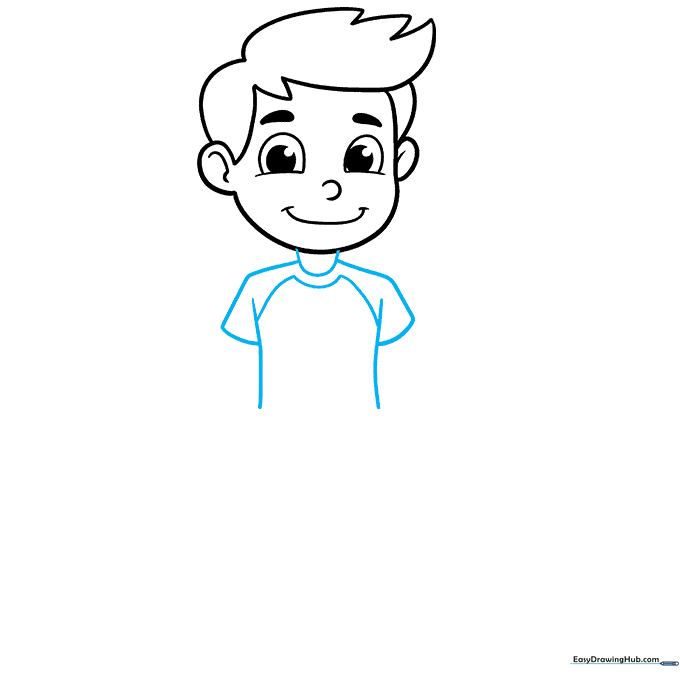
Draw a 'U' shape for the neck, then extend lines outward for the shoulders. Add a wavy 'M' shape at the collar to give the shirt a realistic look. Teacher's Tip: Ensure the shoulders are wide enough to support the head proportionally.
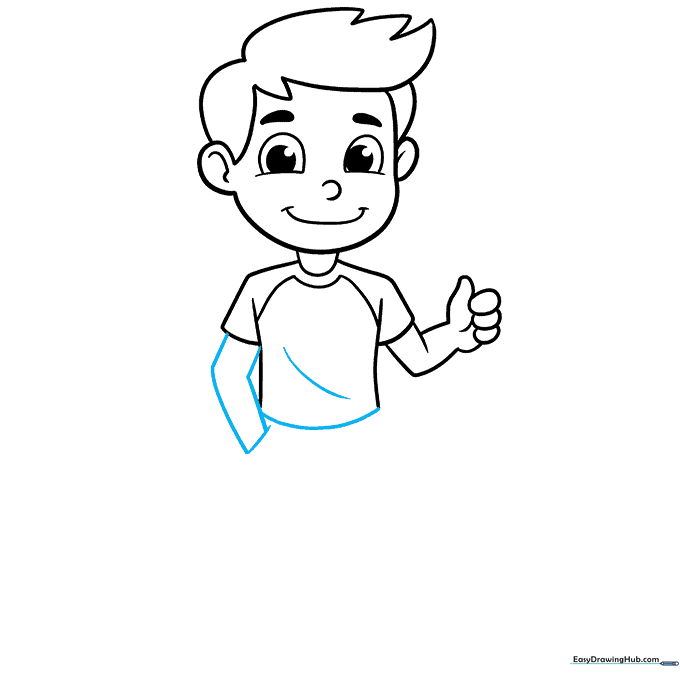
Step 5: Sketching the Thumbs-Up Arm

Draw the arm using overlapping curved lines, ending in a hand giving a thumbs-up. Teacher's Tip: Hands are tricky! Focus on drawing the thumb as a small oval shape first, then build the fingers around it.
Step 6: Adding the Second Arm
Draw the second arm tucked into a pocket using simple, clean lines. Teacher's Tip: A hidden hand is a great way to simplify your drawing while still keeping the character looking active.
Step 7: Drawing the Shorts
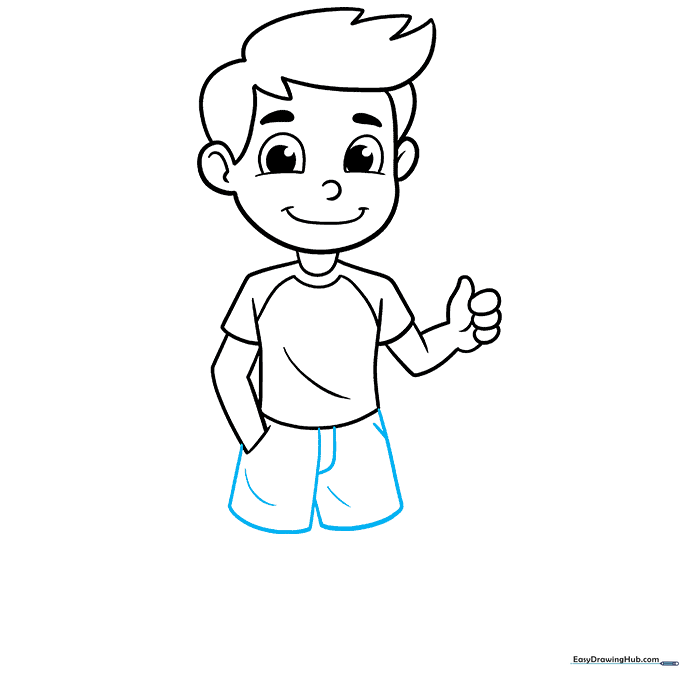
Create the shorts using rounded rectangles. Add small lines to show fabric folds. Teacher's Tip: Keep the lines for the shorts slightly wider than the torso to show the boy is wearing comfortable, loose-fitting clothes.
Step 8: Sketching the Legs and Shoes
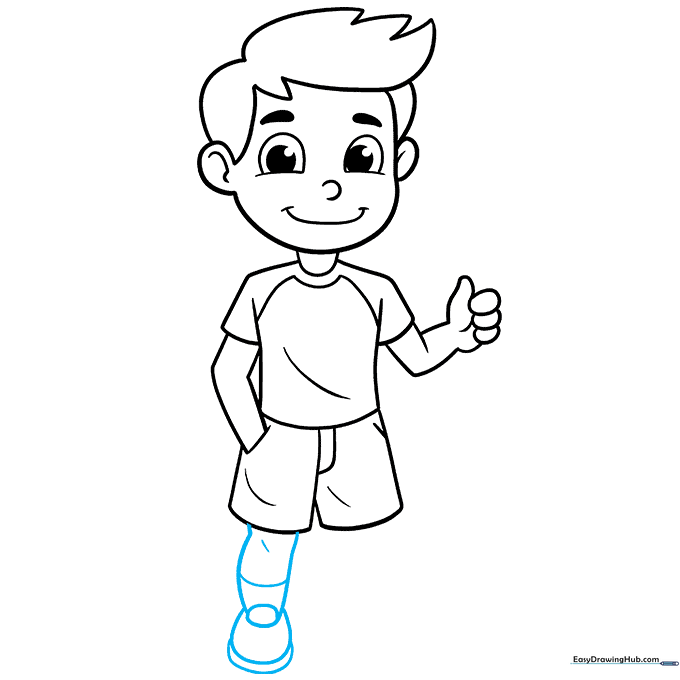
Use curved lines to draw the legs and shoes, including details for the socks and shoe soles. Teacher's Tip: Draw the shoe sole as a flat, horizontal oval to ground the character on the page.
Step 9: Completing the Outline
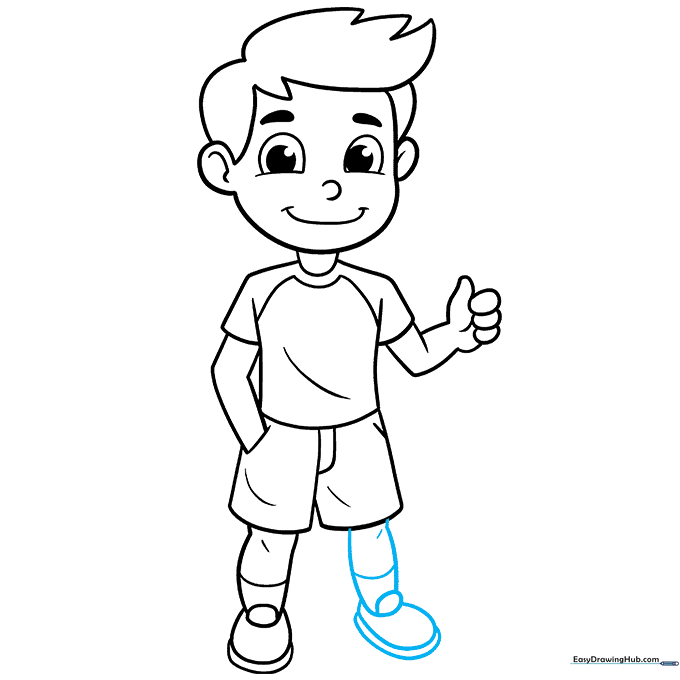
Finish the drawing by adding the second leg and shoe. Teacher's Tip: Once you are happy with your lines, use a black pen to trace over your pencil work and erase the stray marks for a clean, professional look.
Step 10: Coloring Your Character

Bring your boy to life with color! Choose bright colors for his shirt and natural tones for his hair and skin. Teacher's Tip: Use light pressure with your colored pencils to create smooth, even shading.
More Tutorials


