How to Draw a Boy Swimming: Easy Step-by-Step Guide
Capture the fun of summer with this engaging drawing tutorial! Designed for young artists ages 7+, this guide uses simple shapes to help you master human proportions in motion. Grab your pencil and eraser—we’re going to bring this swimmer to life with just a few easy steps.
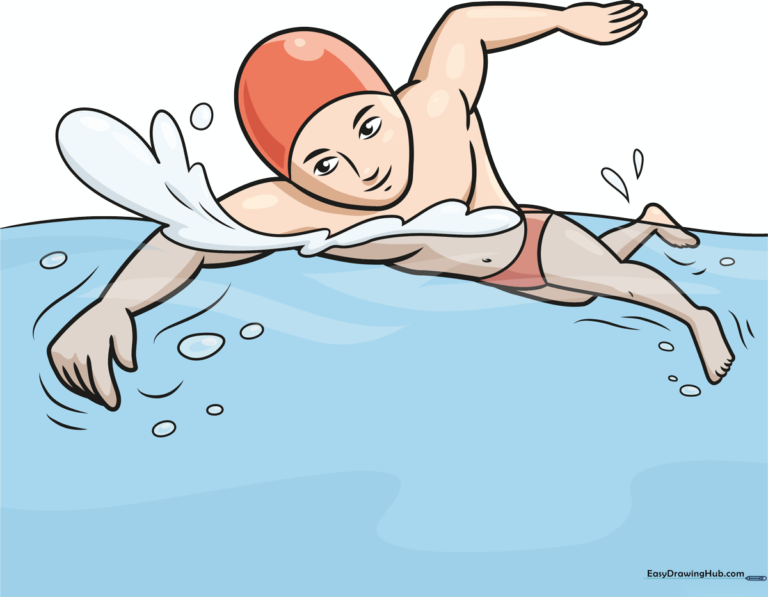
🎯 Final Result
Step-by-Step Instructions
Step 1: Sketching the Head and Face

Draw a light oval for the head, adding a small bump for the chin. Add a horizontal line to mark the swim cap. Tip: Keep your pencil strokes very light here so you can easily erase the guidelines later!
Step 2: Adding Facial Features and Shoulders
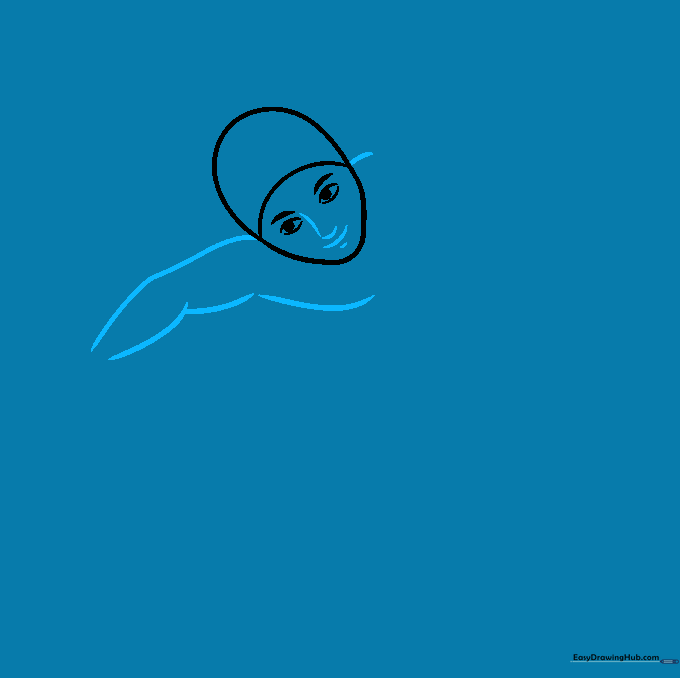
Define the nose, mouth, and chin with soft curves. Sketch the shoulder and arm muscles to show the swimmer's posture. Tip: Use a 'C' shape for the shoulder to give the character a natural, athletic look.
Step 3: Drawing the Reaching Arm
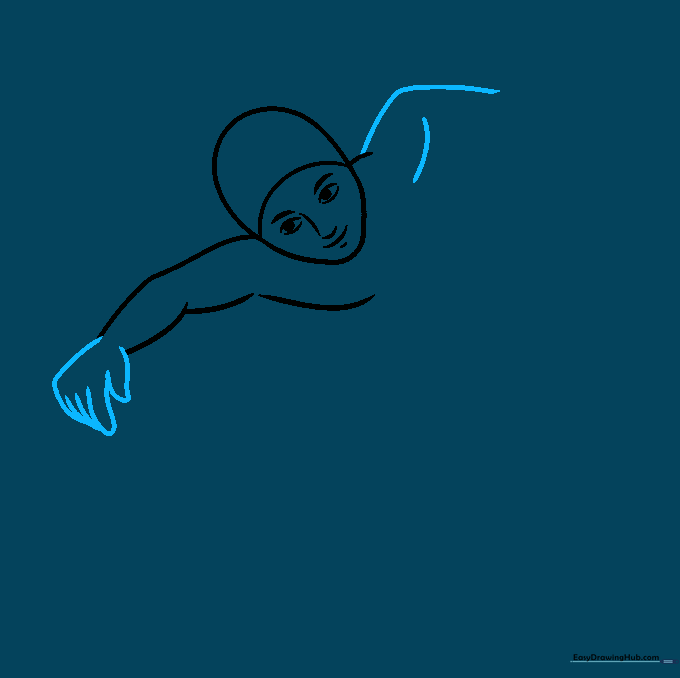
Use overlapping curved lines to draw the outstretched hand and fingers. Tip: Think of the hand as a mitten shape first, then add the finger details to keep it simple.
Step 4: Completing the Upper Body
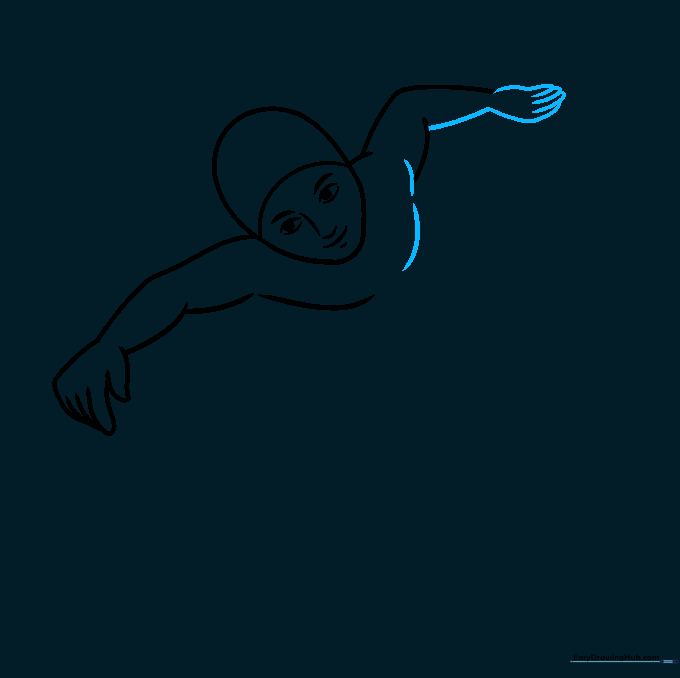
Finish the arm and pectoral muscles with smooth, flowing lines. Tip: Connect the lines to the torso to show the swimmer is mid-stroke.
Step 5: Torso and Swimwear
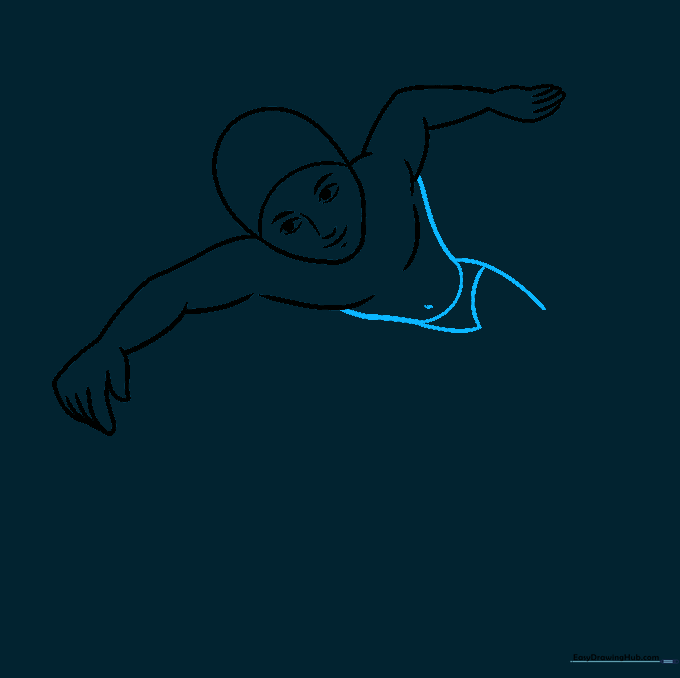
Draw the torso with a long curve and add the belly button. Outline the upper leg and the racing briefs. Tip: Keep the leg lines rounded to suggest movement in the water.
Step 6: Adding the Legs and Feet
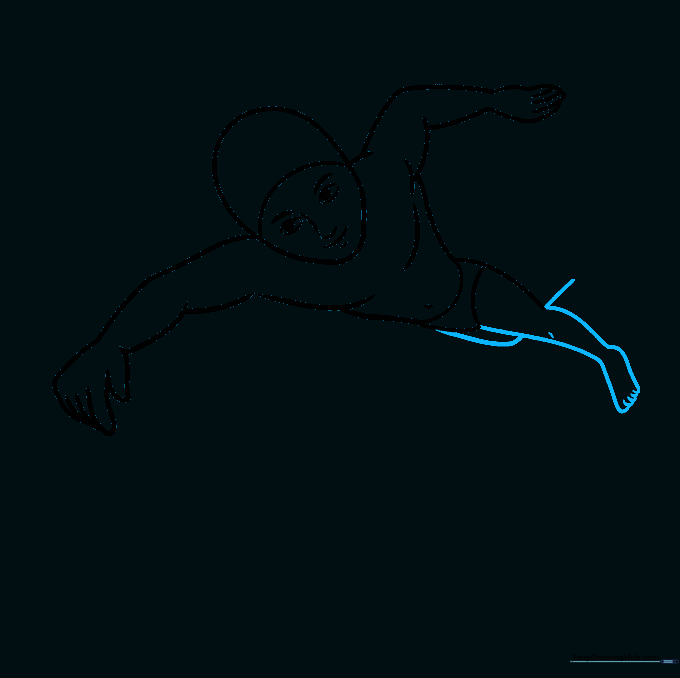
Draw the lower legs and feet, adding a small dimple for the knee. Tip: Overlapping lines for the toes help create a realistic 'kicking' perspective.
Step 7: Creating Water Motion
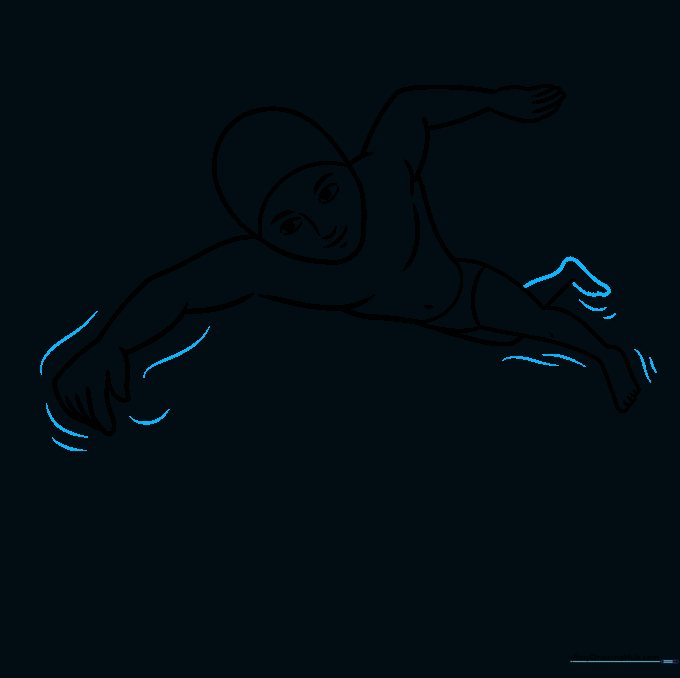
Draw curved lines around the hands and feet to show the water splashing. Tip: Use varying line lengths to make the water look like it's moving fast!
Step 8: Adding Water Details
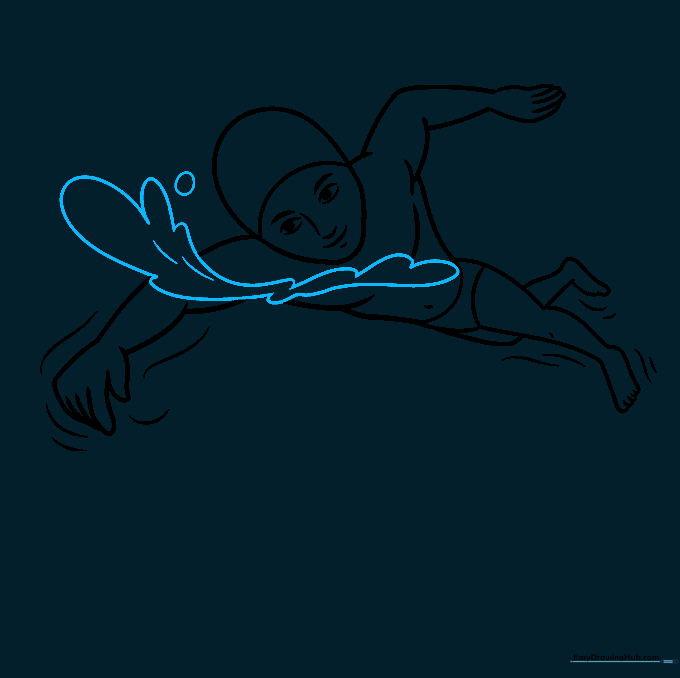
Draw the waterline across the chest and add splashing shapes. Tip: Erase any lines that are 'underwater' to make the splash look more authentic.
Step 9: Final Touches
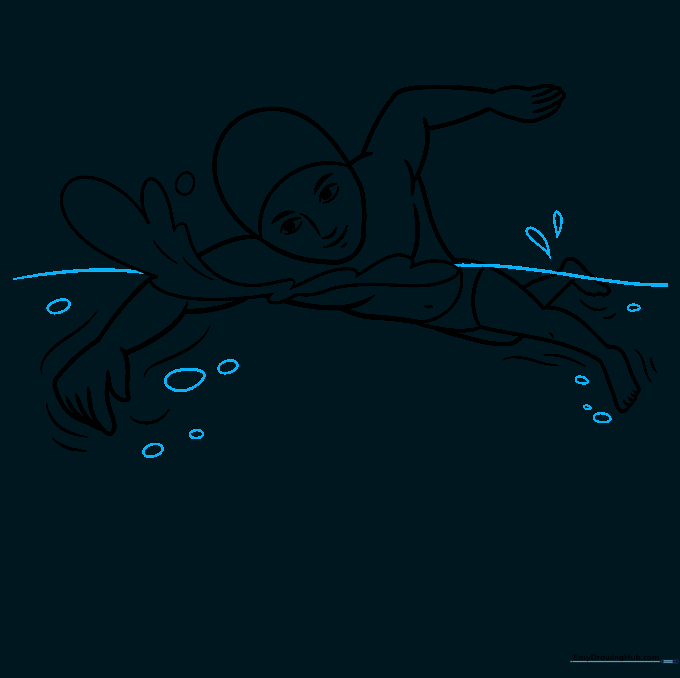
Add bubbles and teardrop shapes to the splash. Tip: Bubbles are just small ovals—don't worry about making them perfect!
Step 10: Bring It to Life with Color
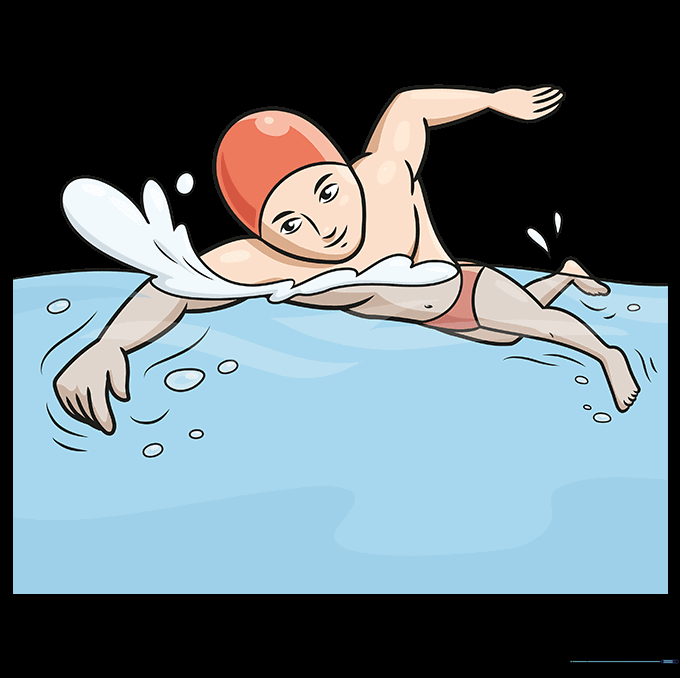
Color your swimmer! Use bright blues for the water and your favorite colors for the swimsuit. Tip: Use a darker blue for the shadows in the water to add depth.
More Tutorials


