How to Draw a Boxer Dog: Easy 10-Step Guide for Kids
Ready to bring a playful Boxer to life? This tutorial is perfect for young artists ages 5 and up. All you need is a pencil, an eraser, and some paper to start building your drawing skills through simple, guided shapes.
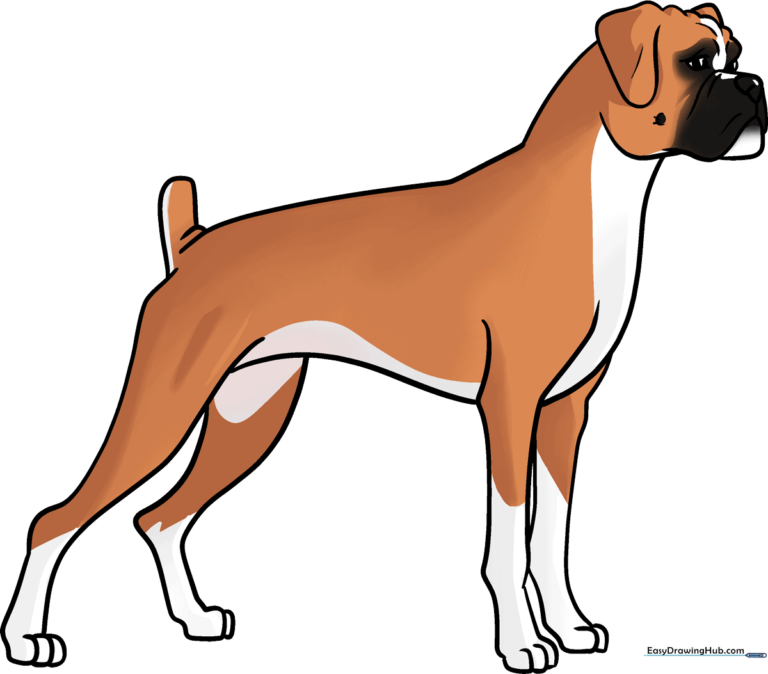
🎯 Final Result
Step-by-Step Instructions
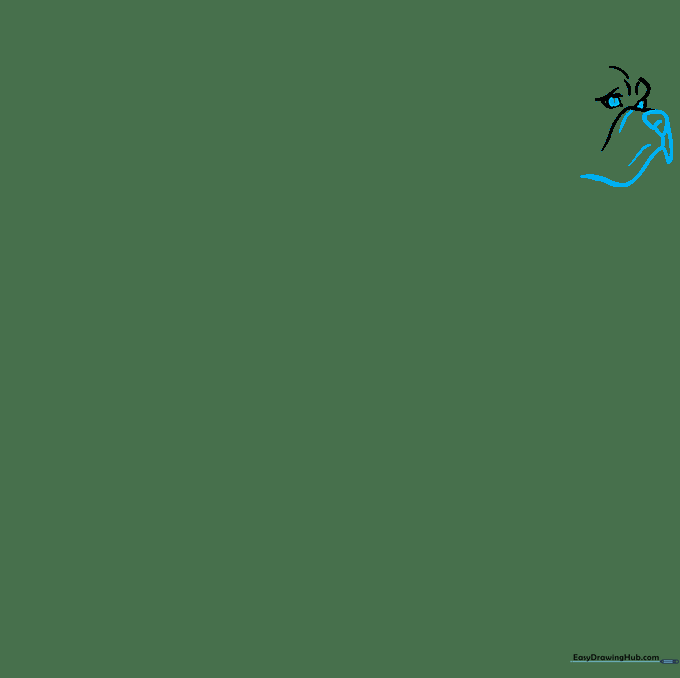
Step 1: Sketching the Expressive Eyes

Start by sketching the eyes using curved lines that taper to a point at the corners. Add round pupils inside. Teacher's Tip: Keep your pencil lines light so you can easily adjust the expression if the eyes look a bit too far apart!
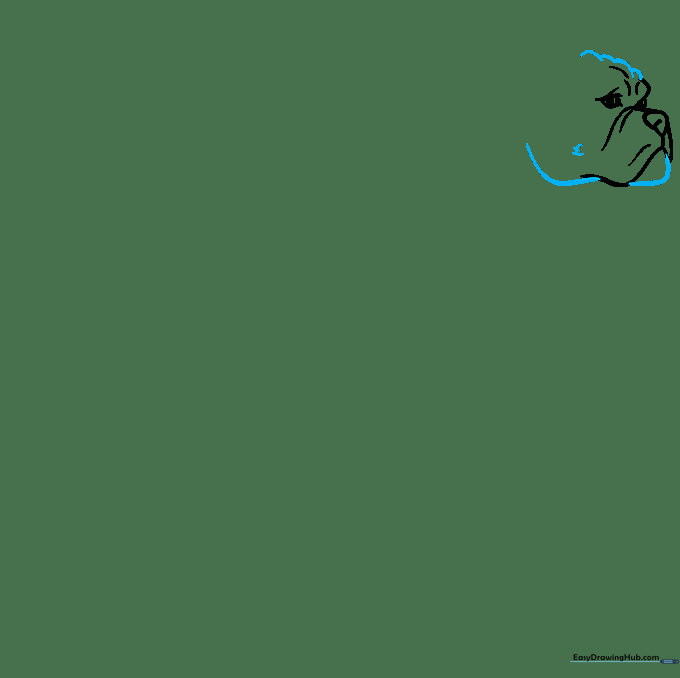
Step 2: Defining the Snout and Nose
Draw a small triangle for the nose and add the characteristic sagging jowls below. Use soft, curved lines to contour the snout. Teacher's Tip: Boxers have a unique 'pushed-in' nose shape, so don't make it too long!
Step 3: Shaping the Head
Use overlapping curved lines to trace the lumpy, muscular skin on top of the head and finish the jawline. Teacher's Tip: Use short, quick strokes to suggest the texture of the dog's skin.
Step 4: Adding Ears and Neck
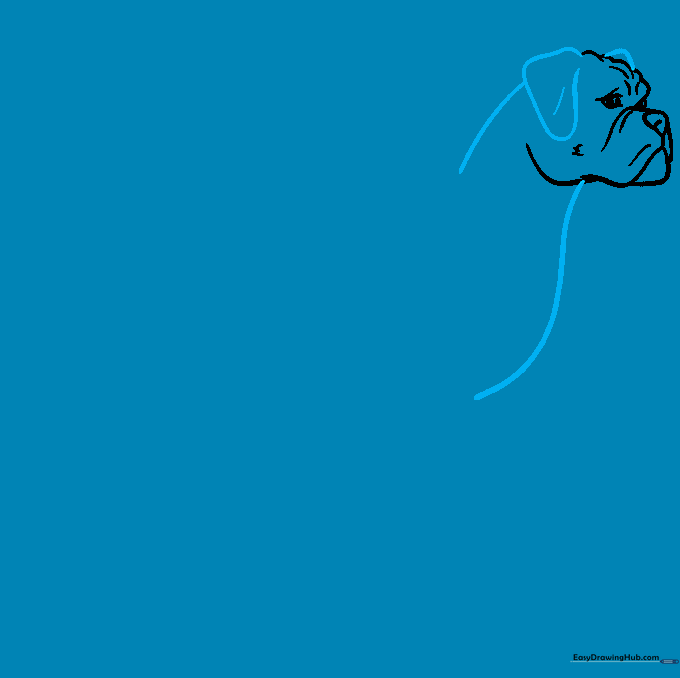
Sketch the floppy ears on the sides of the head, then draw two long lines downward to form the neck and chest. Teacher's Tip: Make the neck look strong and thick, as Boxers are sturdy dogs!
Step 5: Drawing the First Front Leg
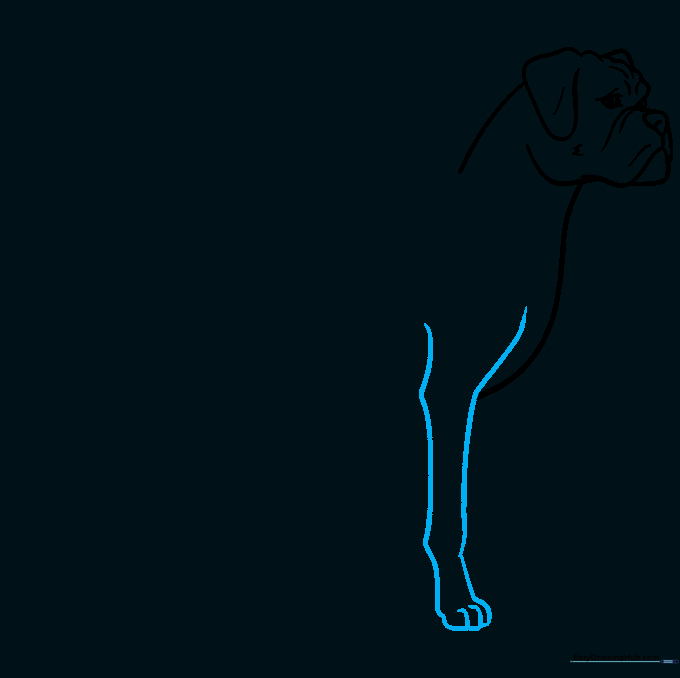
Extend two curved lines for the front leg, adding a slight bulge at the knee. Close the paw with small, overlapping curves for the toes. Teacher's Tip: Think of the leg as a gentle 'S' shape to give it a natural look.
Step 6: Adding the Second Leg and Belly
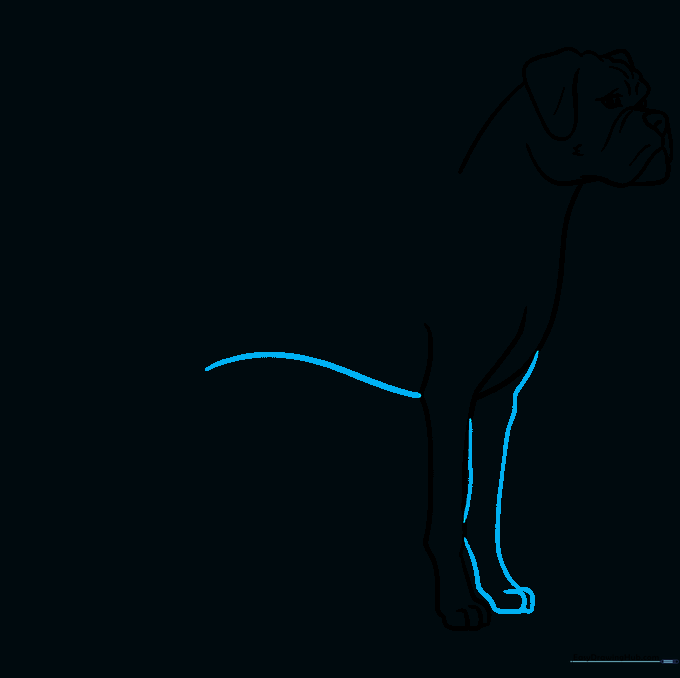
Draw the second front leg behind the first one, then connect it to the chest with a long, sweeping line for the belly. Teacher's Tip: Keep the belly line slightly curved upward to show the dog's athletic build.
Step 7: The Back and Tail
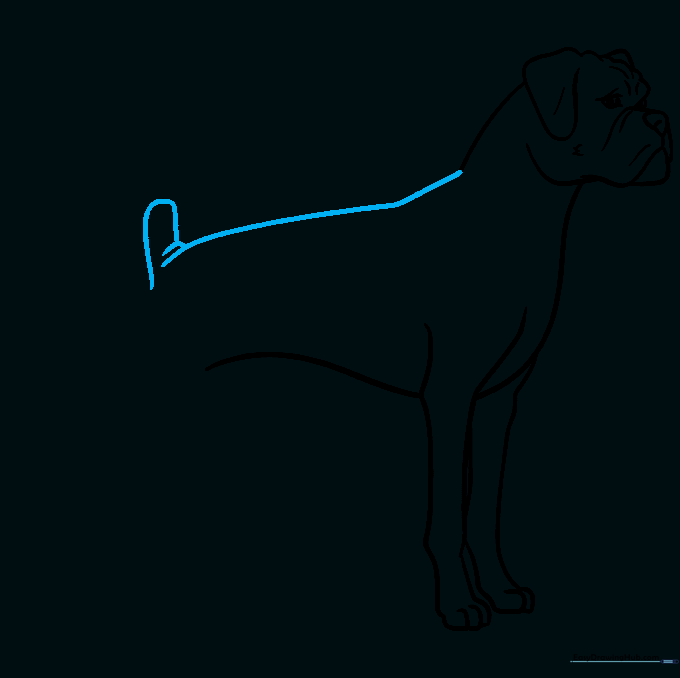
Continue the neck line to form the back, then add a small, stubby tail. Teacher's Tip: Boxers are known for their docked tails, so keep it short and perky!
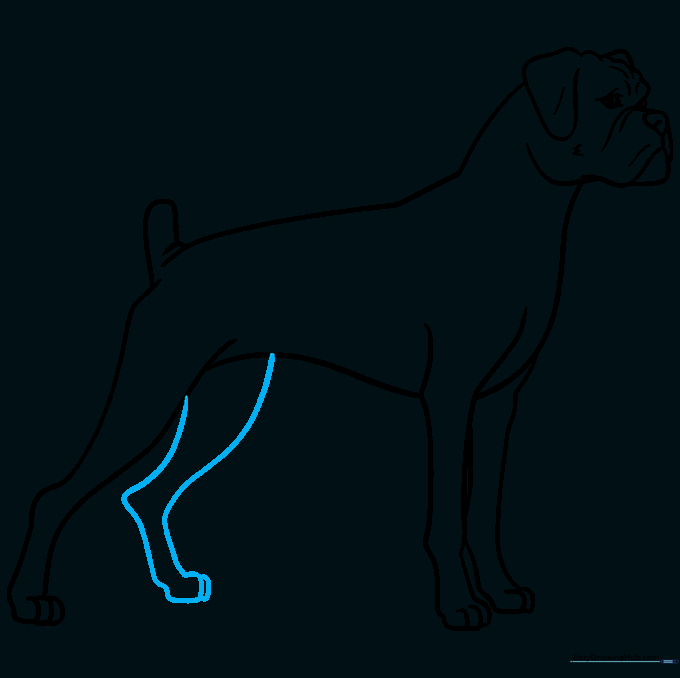
Step 8: Sketching the Rear Leg
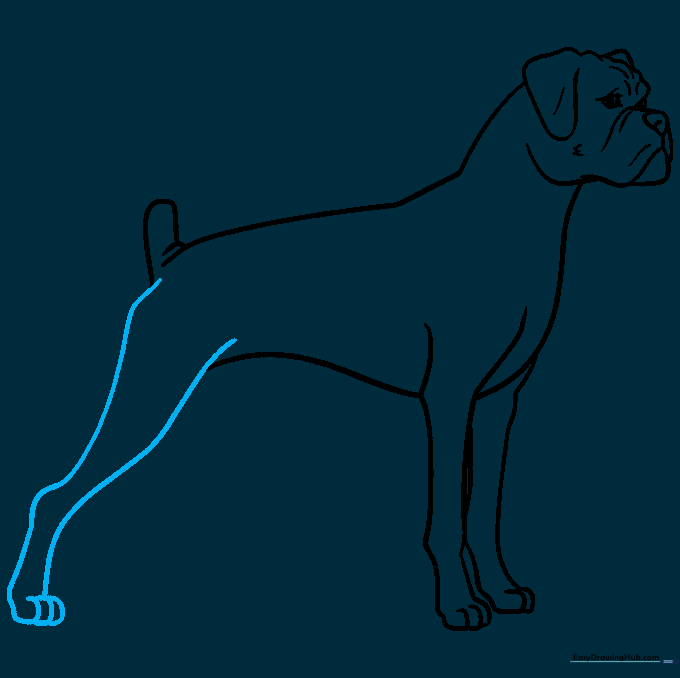
Draw the rear leg, making it wider at the top where the thigh muscle is. Add the paw at the bottom. Teacher's Tip: The rear leg should look more powerful than the front ones.
Step 9: Finalizing the Outline
Draw the final rear leg, making it appear slightly bent to show movement. Ensure all your lines are clean and connected. Teacher's Tip: Now is the time to erase any overlapping guidelines from your initial sketch.
Step 10: Adding Color

Bring your Boxer to life with color! We used classic brown with a black snout and white markings. Teacher's Tip: Try experimenting with 'brindle' patterns—use a brown base and add thin black stripes to make your dog look extra realistic!
More Tutorials


