How to Draw a Bowl of Soup: Easy 9-Step Guide
Ready to draw something delicious? This tutorial is perfect for artists ages 5 and up. All you need is a pencil, an eraser, and your favorite markers to bring this steaming bowl of soup to life while practicing basic shapes and perspective.
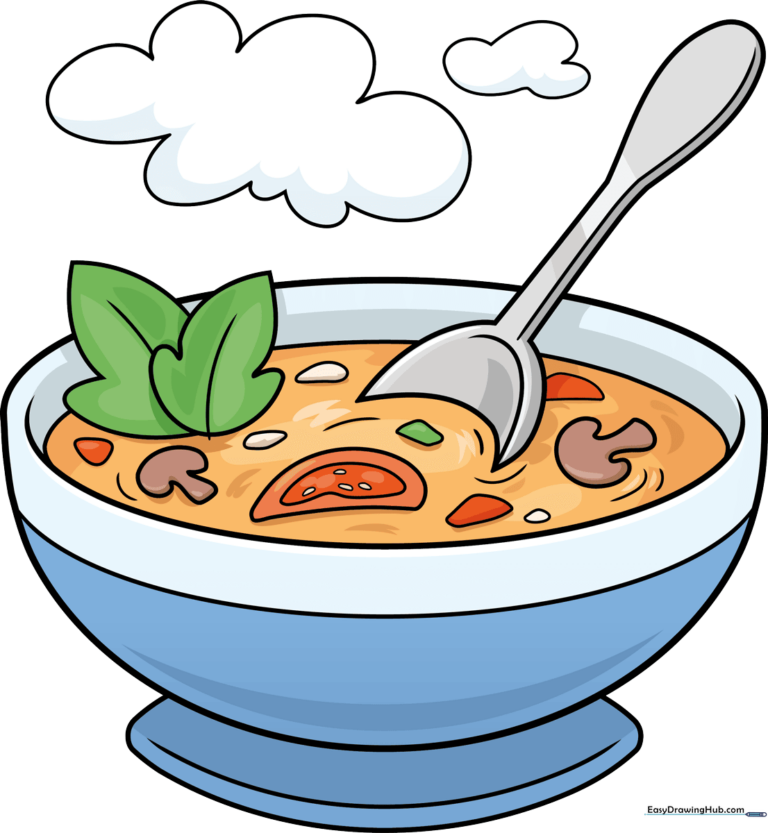
🎯 Final Result
Step-by-Step Instructions
Step 1: Sketching the Bowl Base
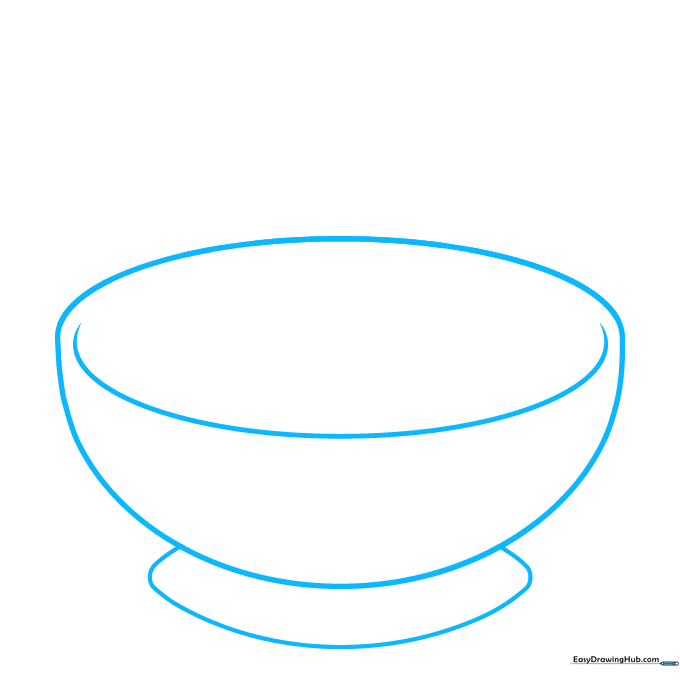
Start by drawing a wide, flattened oval for the top of the bowl. Add a curved 'C' shape underneath to form the body and a small curved line at the bottom for the base. Teacher's Tip: Keep your pencil pressure light here so you can easily adjust the shape if it looks a bit wobbly.
Step 2: Adding the Spoon
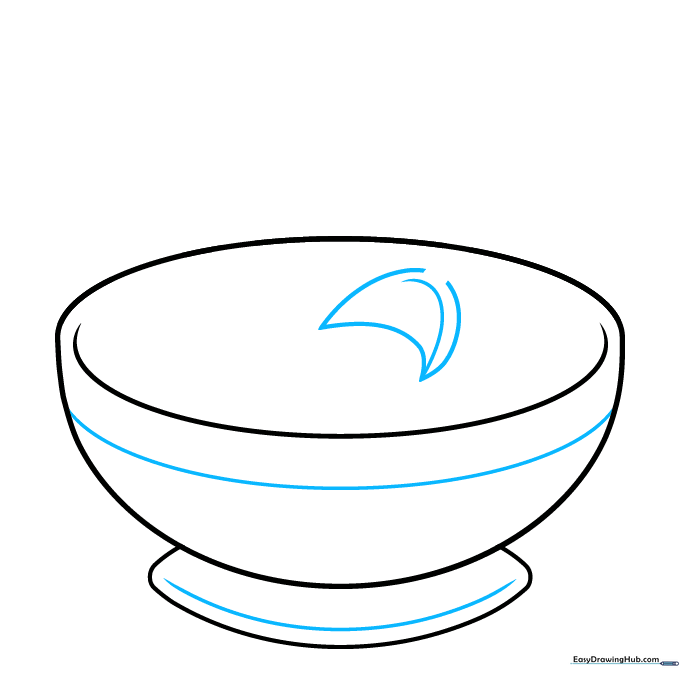
Draw a partial crescent shape inside the bowl to represent the spoon's head. Add a curved line parallel to the top edge to show the depth of the bowl. Tip: Think of the spoon as a small boat floating on the surface.
Step 3: Defining the Spoon Handle
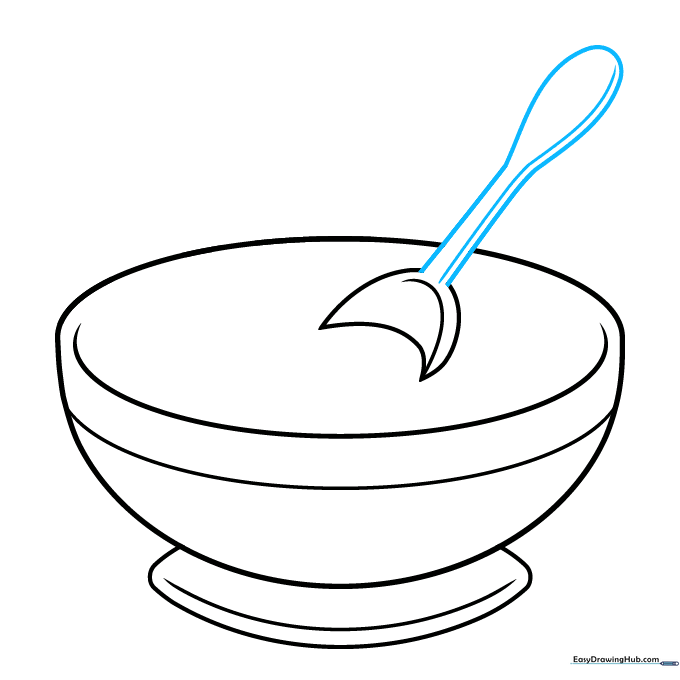
Extend a long, curved line from the spoon head to create the handle. Double it back on itself to give it thickness. Tip: Use a ruler if you struggle with straight lines, but freehand curves add a more organic, cartoon feel.
Step 4: Adding Fresh Herbs
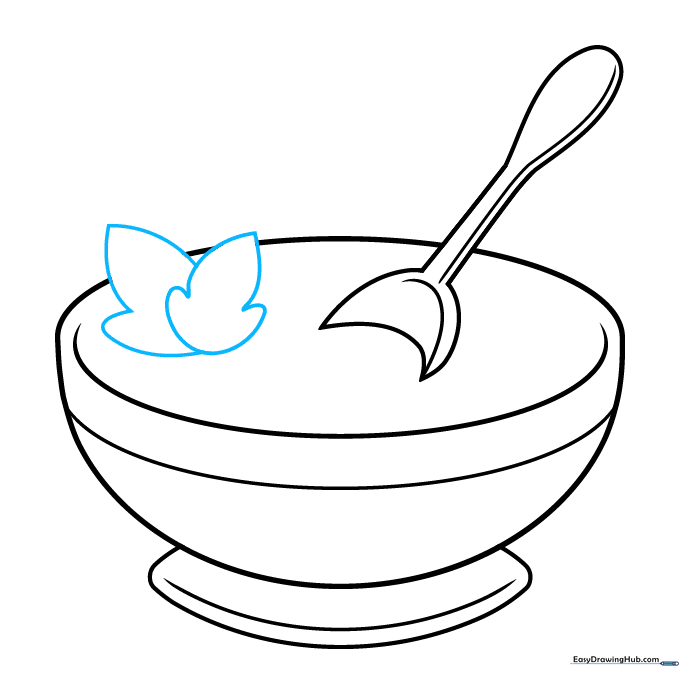
Sketch two small, overlapping leaf shapes near the spoon. These represent fresh parsley or herbs. Tip: Keep the edges slightly wavy to make them look like real leaves rather than perfect circles.
Step 5: Adding Tomato Slices
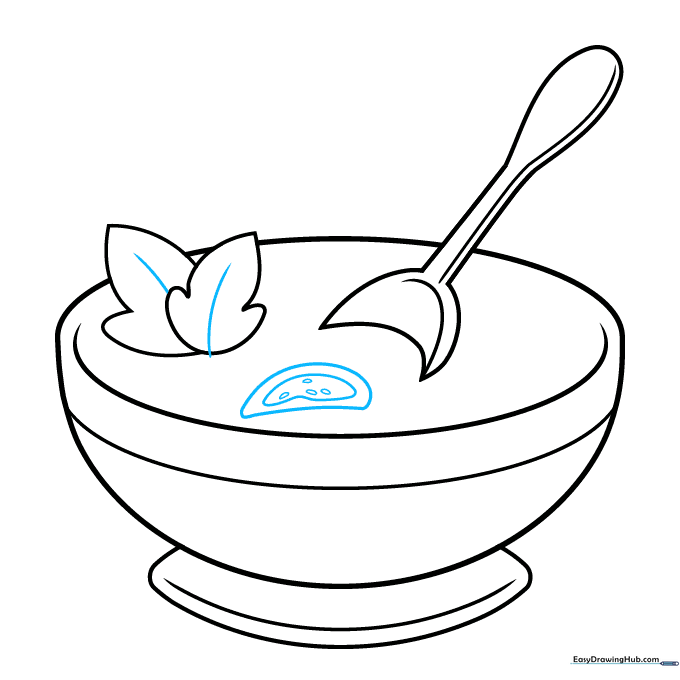
Draw a half-circle shape for a tomato slice, adding a smaller inner curve and tiny ovals for seeds. Tip: Don't worry about making the seeds perfect; nature is irregular and messy!
Step 6: Adding Mushrooms
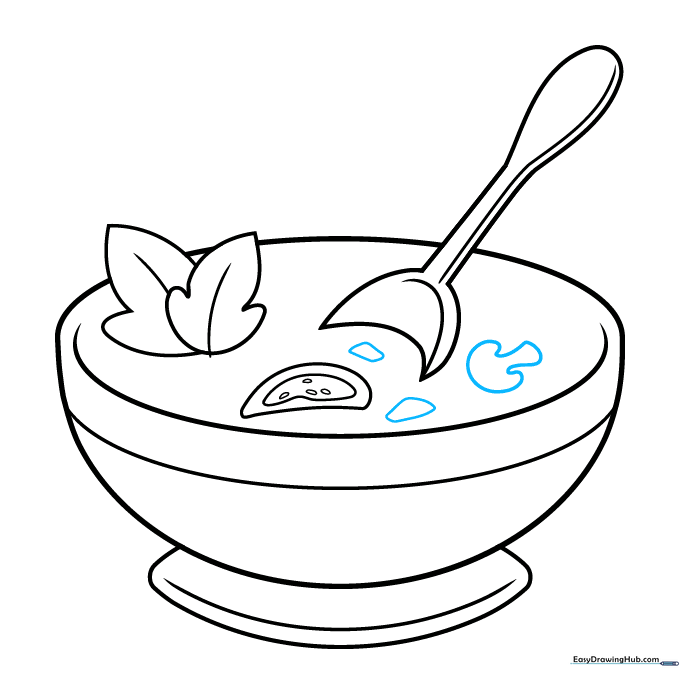
Draw a small, cap-like shape to represent a mushroom slice. Add a few irregular chunks around it to represent other chopped vegetables. Tip: Vary the sizes of your vegetable chunks to make the soup look hearty.
Step 7: More Vegetable Texture
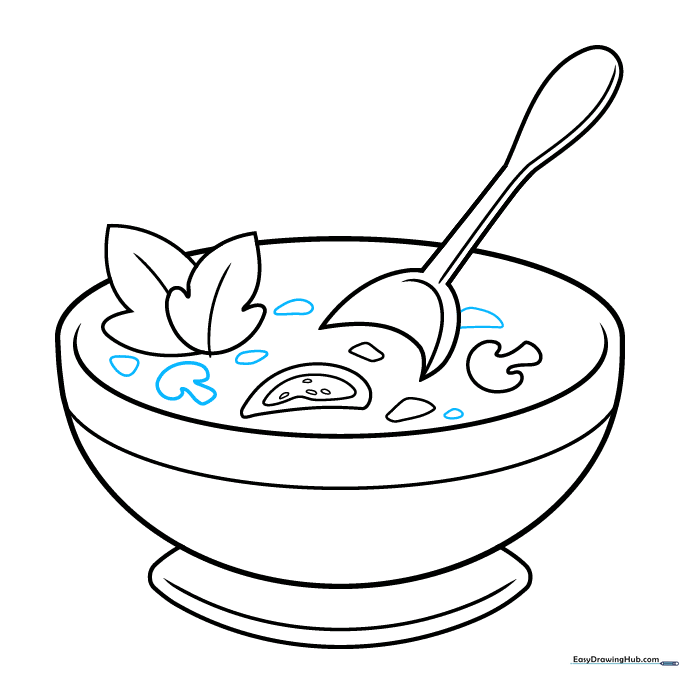
Add another mushroom slice and a few more vegetable pieces on the surface. Tip: Think about where these items would float—they should be partially submerged in the liquid.
Step 8: Liquid Level and Steam
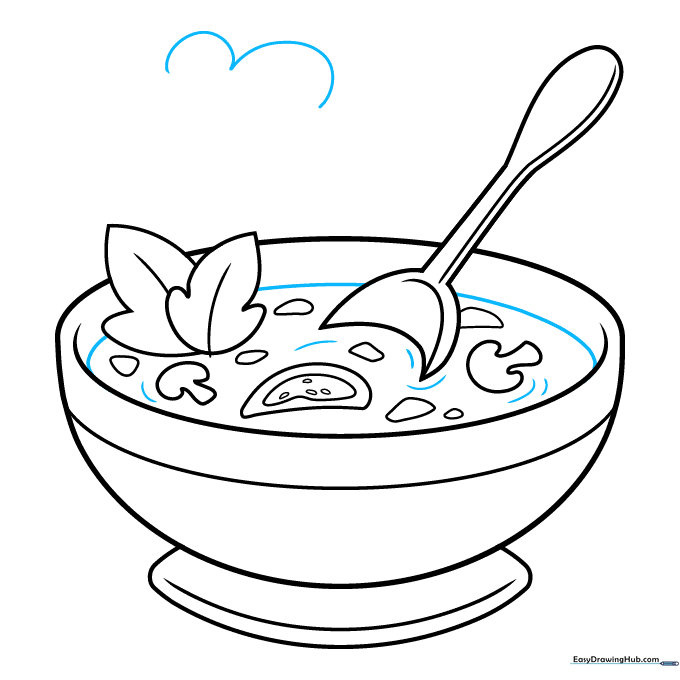
Draw a long, soft curved line behind the spoon to show the soup's surface level. Add short, dash-like marks around the vegetables for texture. Start sketching a cloud shape above the bowl for steam. Tip: Steam rises in soft, rounded puffs, not sharp angles.
Step 9: Finalizing the Steam

Complete your steam clouds with soft, rounded lines. This adds movement and makes the soup look piping hot! Tip: If you want to add more detail, you can draw a few tiny circles inside the steam to represent bubbles.
Step 10: Adding Color
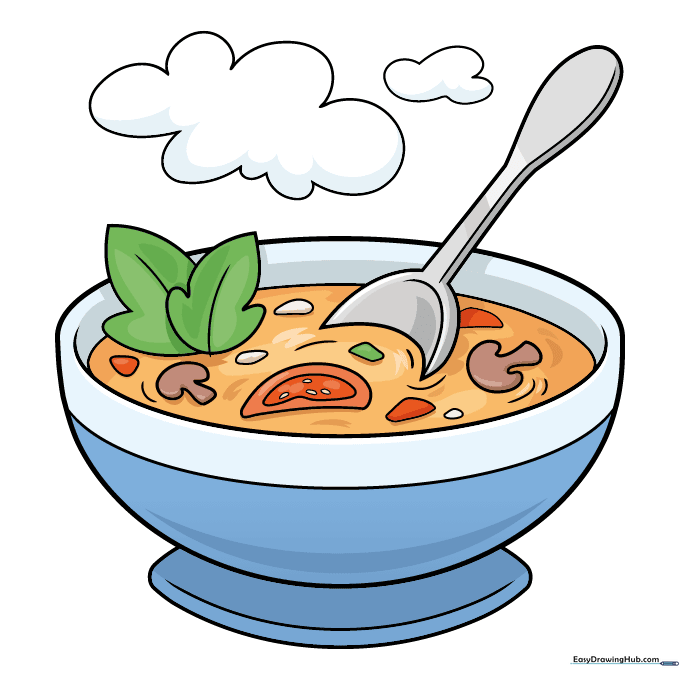
Time to bring your soup to life! Use warm colors like red for tomatoes, earthy browns for mushrooms, and a soft cream or orange for the broth. Tip: Use light, circular motions when coloring to keep the texture smooth.
More Tutorials


