How to Draw a Bookshelf: Easy 9-Step Guide for Kids
Bring your favorite stories to life by drawing your very own bookshelf! This project is perfect for artists ages 5 and up, requiring only a pencil, eraser, and paper. You will learn how to create depth and perspective using simple geometric shapes, turning a flat page into a cozy library scene.
🎯 Final Result

Step-by-Step Instructions
Step 1: Sketching the Outer Frame
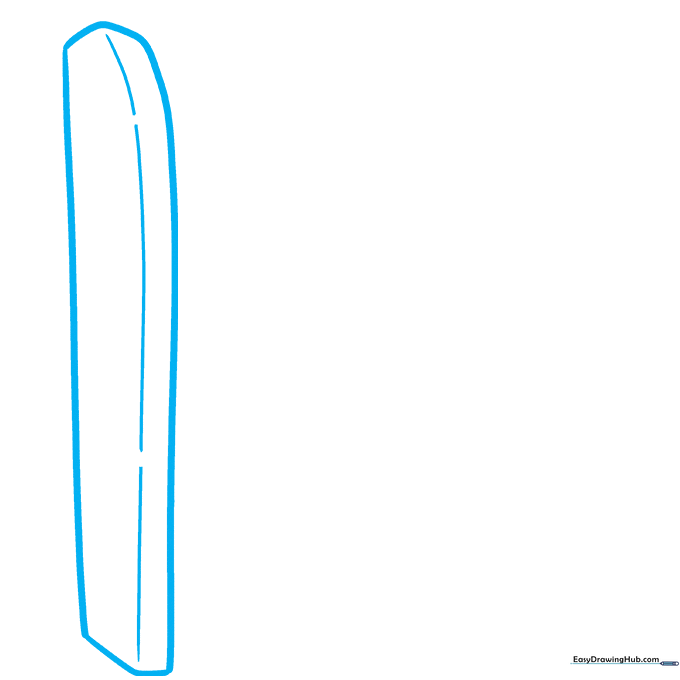
Start by drawing the side of your bookshelf using a tall, rounded rectangle. Teacher's Tip: Keep your pencil strokes light and loose; this makes it much easier to erase your guidelines later when you add the final details.
Step 2: Placing the Base Shelf
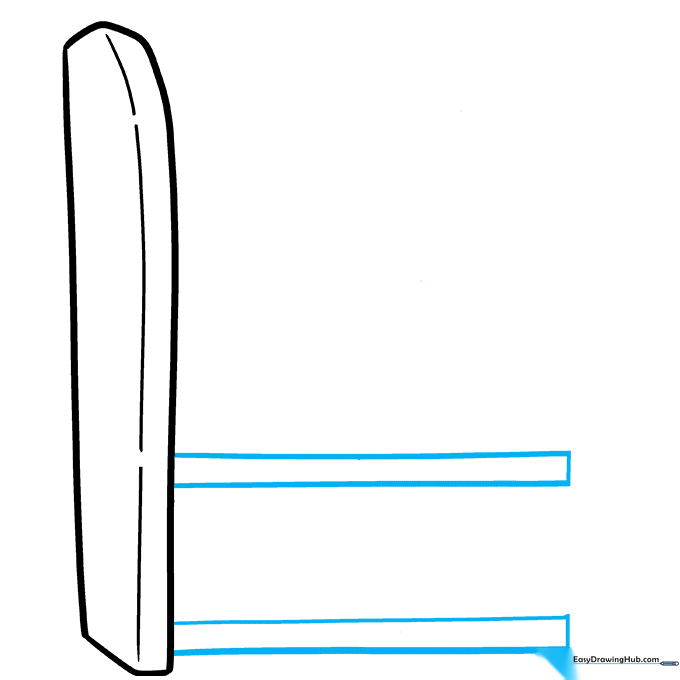
Draw a narrow horizontal rectangle at the bottom to serve as your first shelf. Teacher's Tip: Use a ruler if you want perfectly straight lines, but freehand drawing helps build better muscle control for young artists!
Step 3: Adding More Shelves

Add two more horizontal rectangles above the first one, spacing them equally. Teacher's Tip: Try to keep the gaps between the shelves the same size so your bookshelf looks balanced and sturdy.
Step 4: Filling the Bottom Shelf
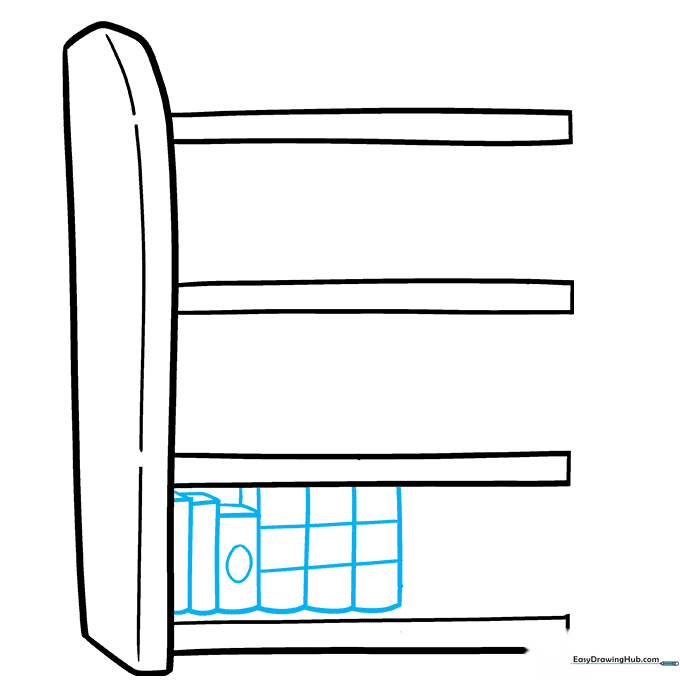
Draw a series of vertical rectangles on the bottom shelf to represent book spines. Vary their heights and widths to make them look realistic. Teacher's Tip: Add tiny ovals or lines on some spines to represent book titles or decorative bindings.
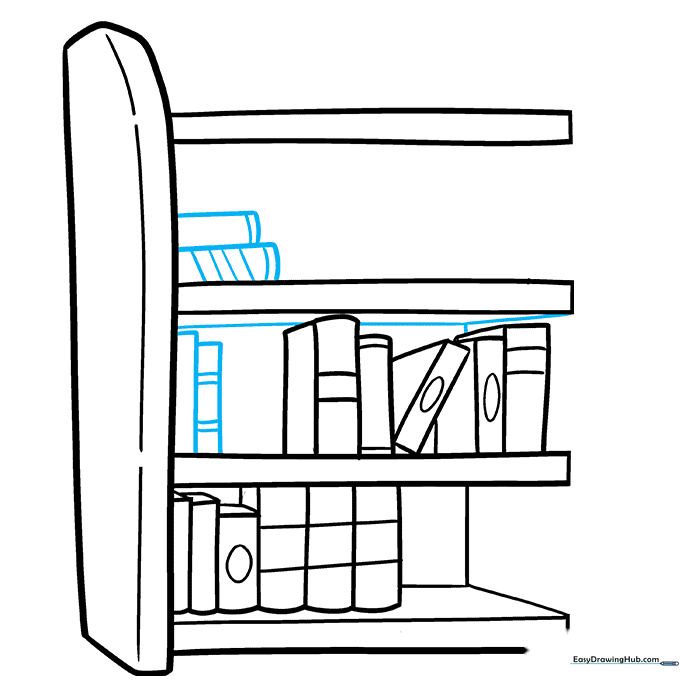
Step 5: Adding Depth and More Books
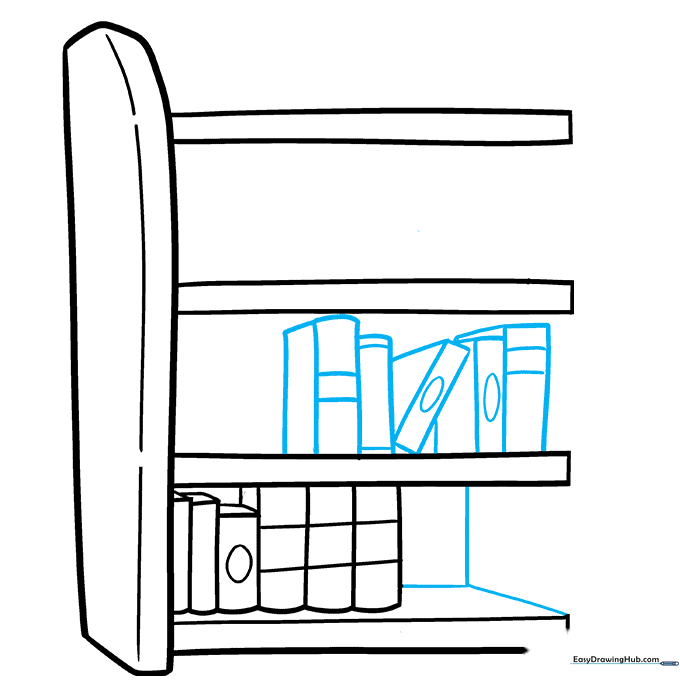
Draw lines to show the back and side of the shelf, then start adding books to the second shelf. Teacher's Tip: Tilt some of your rectangles diagonally to make it look like the books are leaning against each other!
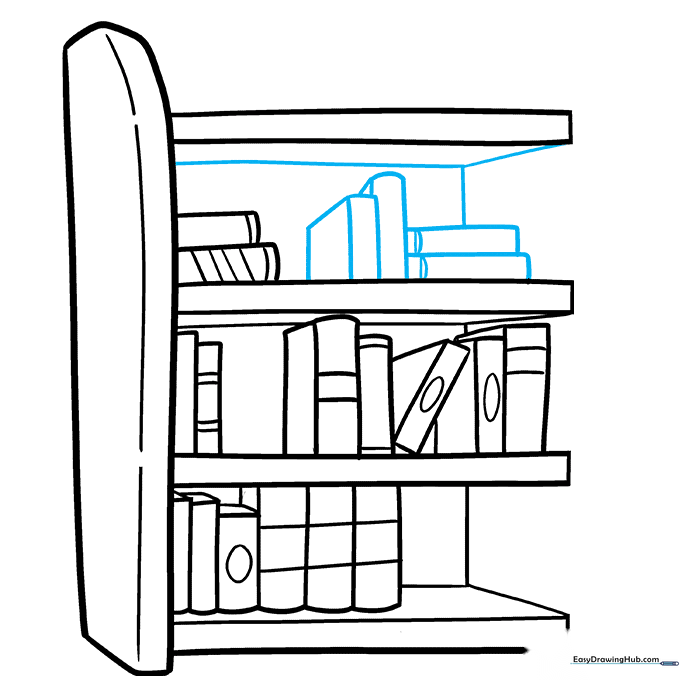
Step 6: Building Upward
Draw a straight line above your second row of books to create the shelf base above. Add more book spines to the third shelf. Teacher's Tip: Don't worry if your lines aren't perfect; real bookshelves have character!
Step 7: Refining the Structure
Continue adding books and defining the shelf edges with straight lines. Teacher's Tip: Use small vertical lines at the corners of the shelves to suggest thickness, which makes your drawing look 3D.
Step 8: Closing the Frame
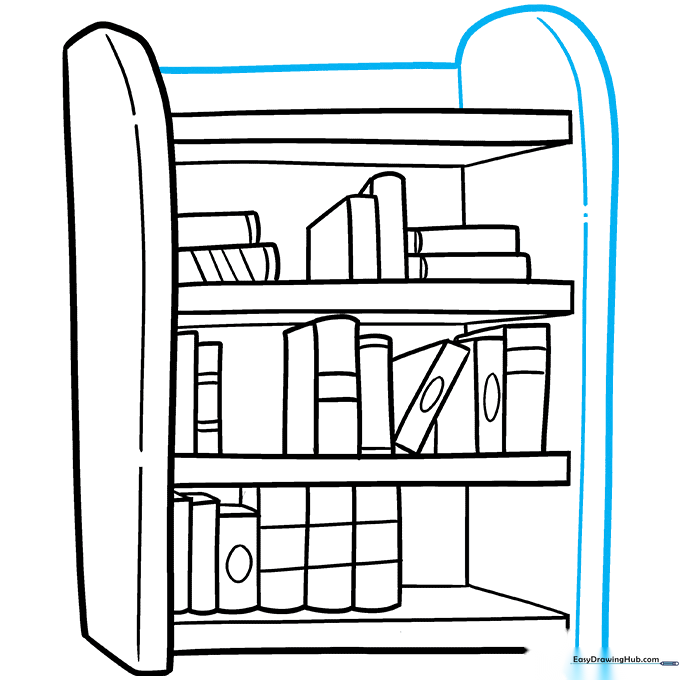
Use curved lines to draw the outer side of the bookshelf and connect the top with a smooth curve. Teacher's Tip: This final frame helps 'contain' your books and makes the whole drawing look finished.
Step 9: Adding Wood Texture
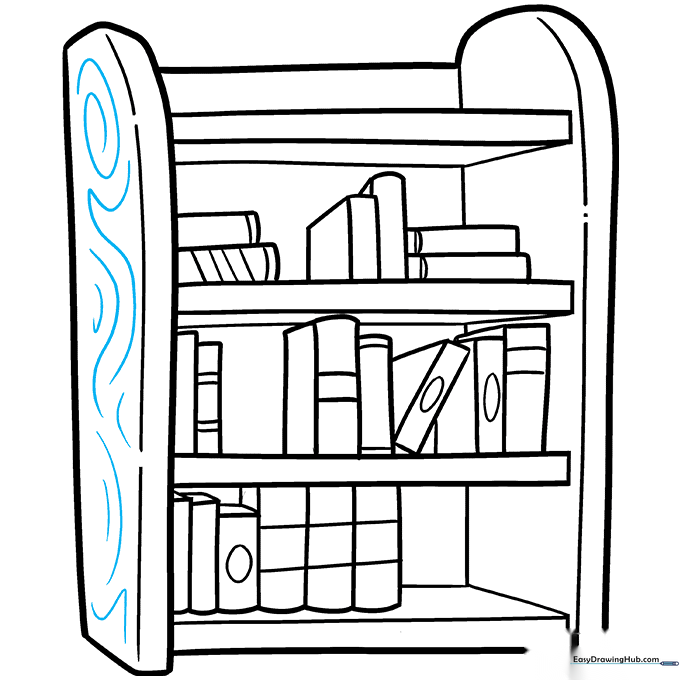
Add subtle spirals and wavy lines to the frame to mimic wood grain. Teacher's Tip: Keep these marks very light so they don't distract from the books you worked so hard to draw!
Color Your Masterpiece

Now for the fun part—coloring! Use warm browns for the wood, or get creative with bright colors. Teacher's Tip: Use different colors for each book spine to make your bookshelf look vibrant and full of stories.
More Tutorials


