How to Draw a Bodybuilder: Easy 9-Step Guide
Ready to bring a powerful character to life? This tutorial is perfect for young artists ages 7+ looking to practice drawing human anatomy and muscle definition. All you need is a pencil, an eraser, and a piece of paper to master this fun, stylized character design.
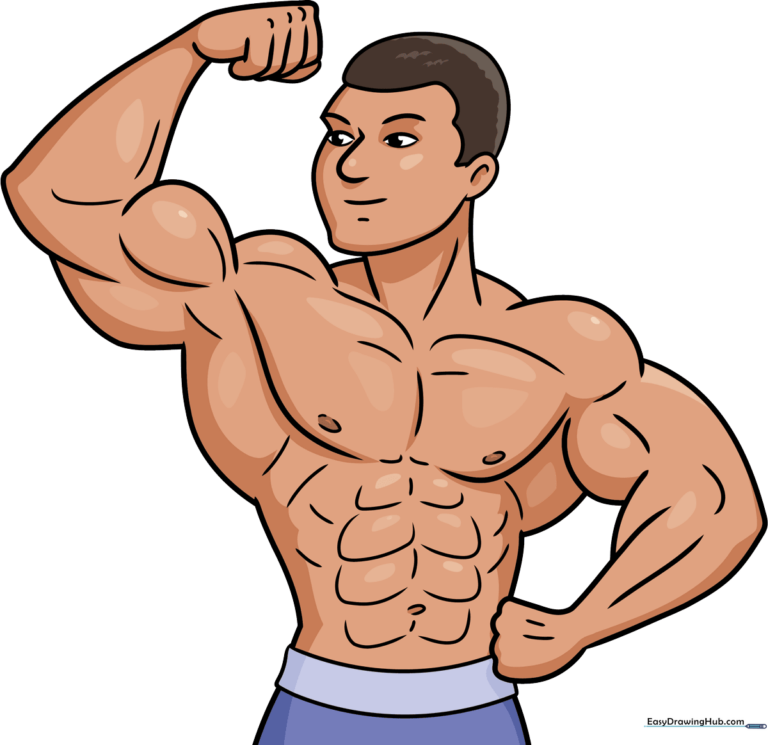
🎯 Final Result
Step-by-Step Instructions
Step 1: Sketching the Facial Features

Start by drawing the face. Use curved lines to define the eyes, eyebrows, nose, mouth, and a dimple on the chin. Teacher's Tip: Keep your pencil pressure light so you can easily adjust the symmetry of the eyes later.
Step 2: Defining the Head and Neck
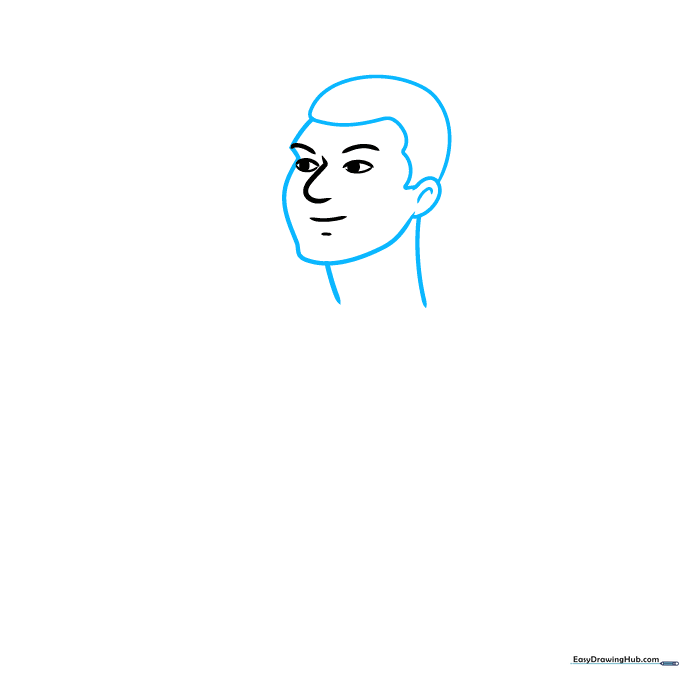
Outline the face shape, hair, and neck using smooth, curved lines. Don't forget to add a small inner curve for the ear. Teacher's Tip: The neck should look thick to emphasize the character's strength.
Step 3: Building the Shoulders and Chest
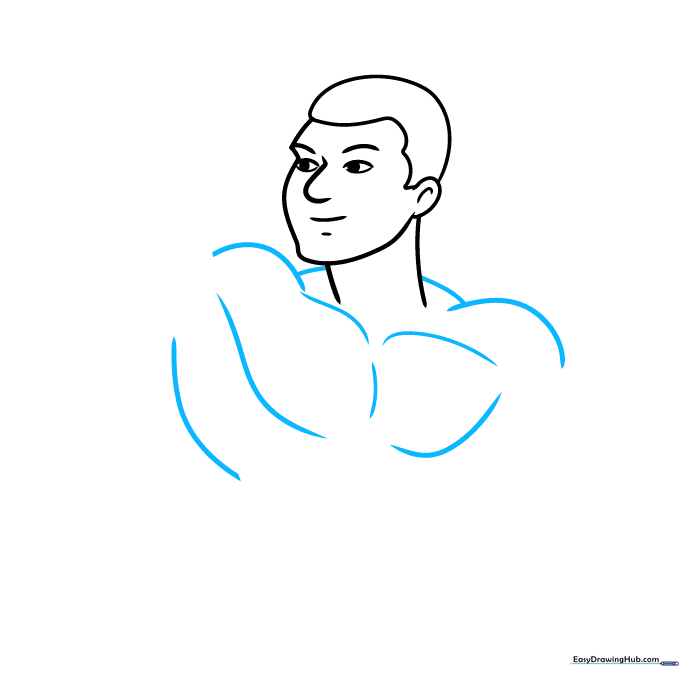
Use overlapping curved lines to create the rounded shoulder muscles and the broad chest. Teacher's Tip: Think of these as 'C' shapes that connect to show volume.
Step 4: Sketching the Flexed Arm
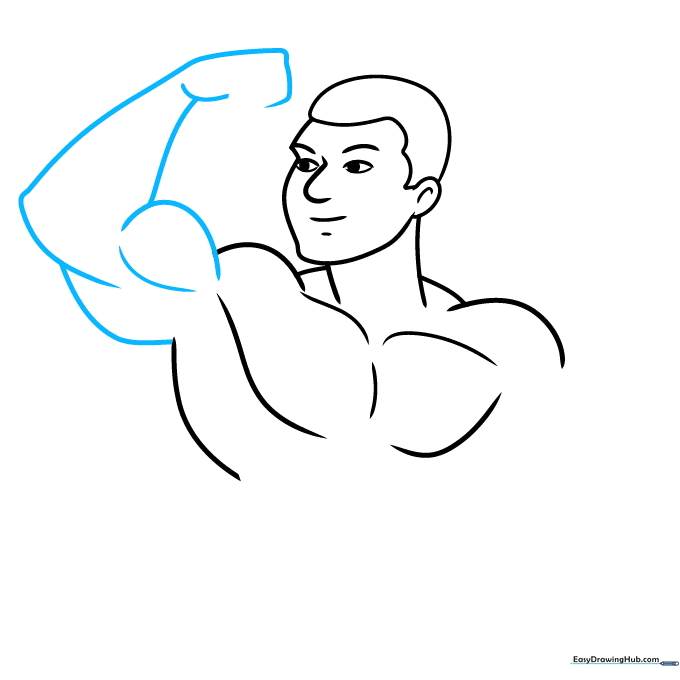
Draw the flexed bicep using overlapping curves to show the muscle bulge, then extend the lines down to the forearm and hand. Teacher's Tip: Keep the bicep shape high and rounded to make it look like it's really flexing.
Step 5: Adding Hand and Muscle Detail

Sketch the fingers and add contour lines to the knuckles and arm muscles. Teacher's Tip: Use short, quick strokes to suggest the definition of the muscles.
Step 6: Drawing the Second Arm
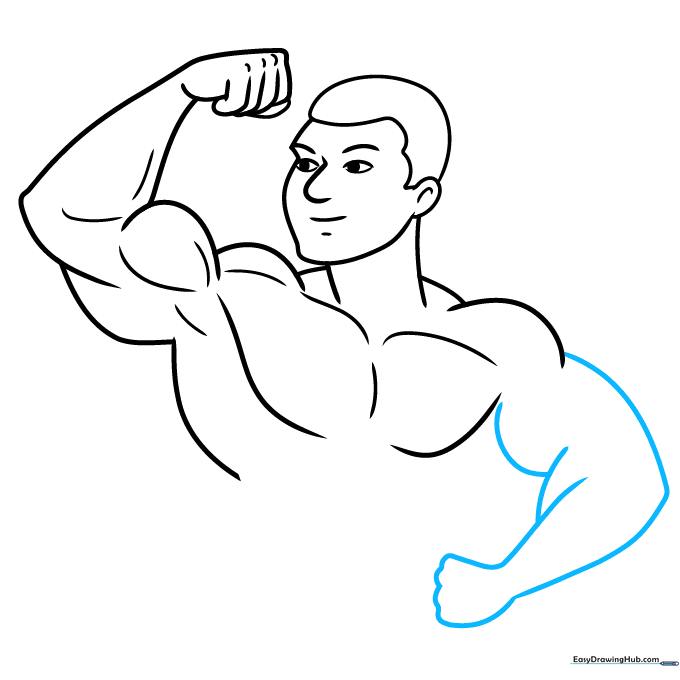
Repeat the process for the other arm, showing the fist and the bulging bicep. Teacher's Tip: Ensure the second arm matches the scale of the first to keep the character balanced.
Step 7: Defining the Torso and Waist
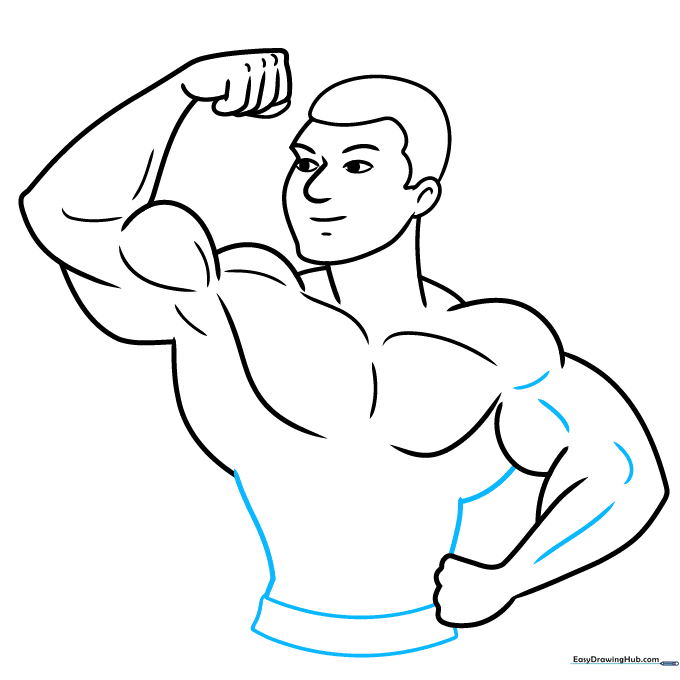
Complete the torso with curved lines and add a rectangular shape at the bottom for the waistband. Teacher's Tip: The waistband helps anchor the character's pose.
Step 8: Adding Abdominal Detail
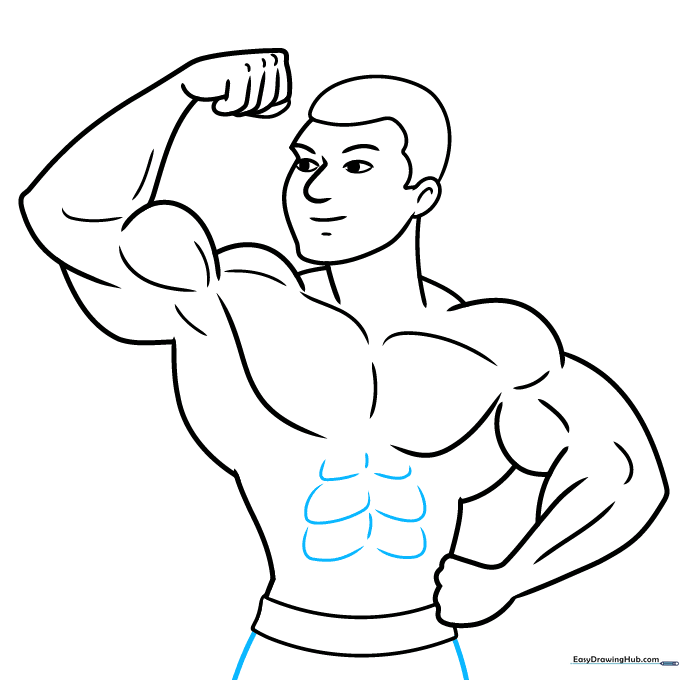
Add lines for the abdominal muscles and extend the shorts down from the waistband. Teacher's Tip: Keep the ab lines slightly curved to follow the form of the stomach.
Step 9: Final Contouring
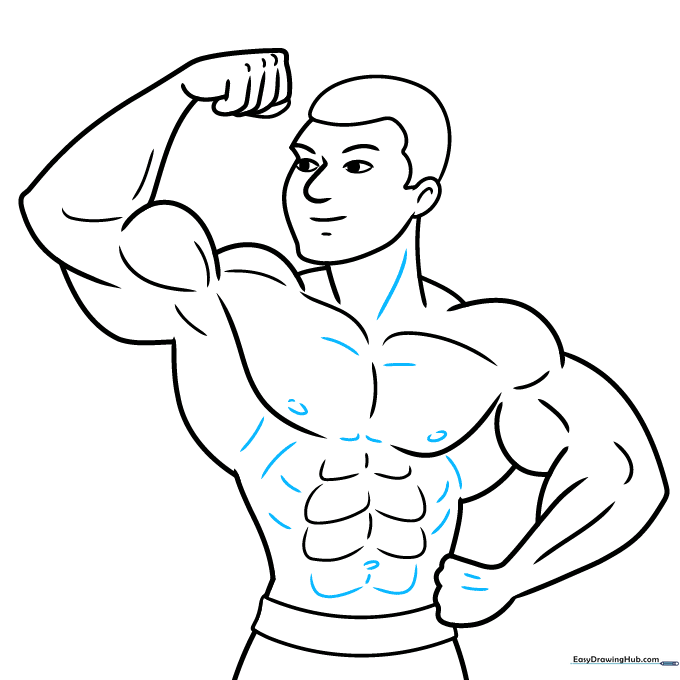
Refine the neck, chest, abs, and belly button with final contour lines. Teacher's Tip: Darken your main outlines now to make the drawing pop before you start coloring.
Step 10: Bring Your Character to Life with Color
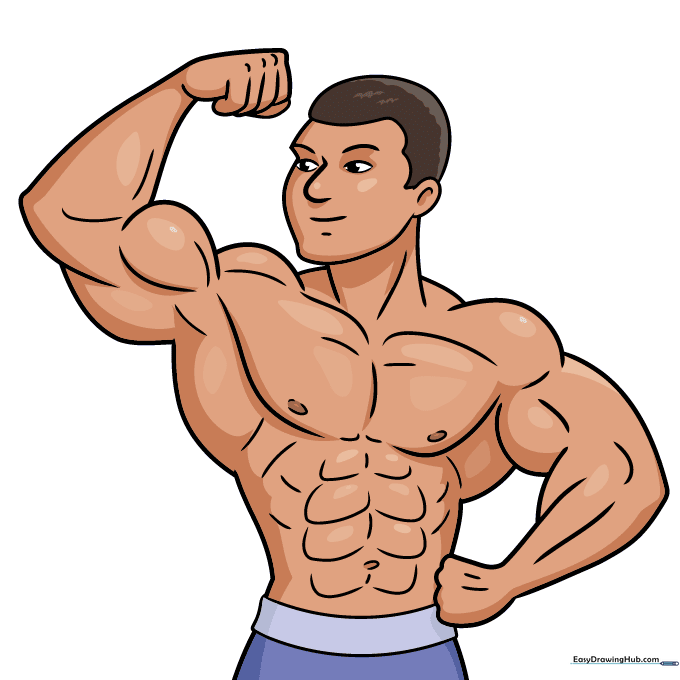
Your outline is complete! Use markers or colored pencils to bring your bodybuilder to life. Try using different skin tones or fun colors for the shorts to make it unique.
More Tutorials


