How to Draw a Human Body Diagram: Easy Step-by-Step Guide
Combine art and science with this engaging anatomy lesson perfect for ages 6+. You will need a pencil, eraser, and paper to create a clear, labeled diagram of the human body. This project helps children visualize body systems while practicing precise line work and spatial awareness.
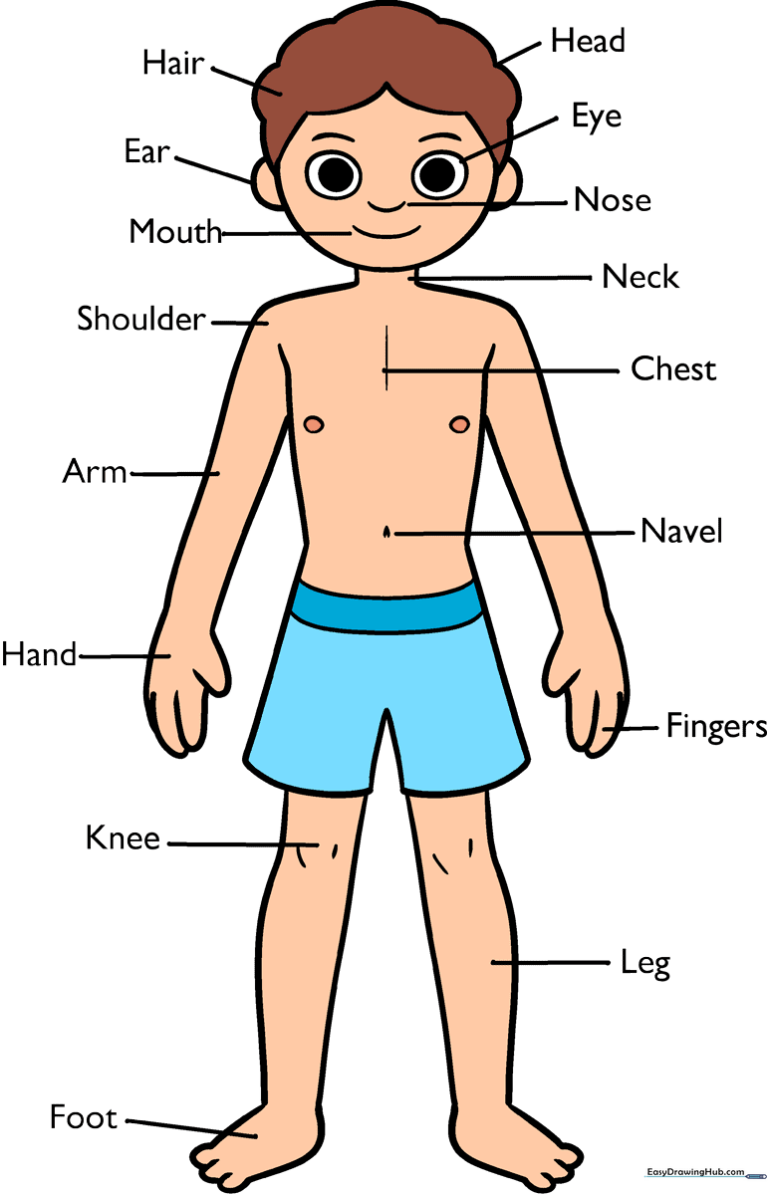
🎯 Final Result
Step-by-Step Instructions
Sketching the Head and Facial Features

Start by drawing a rounded shape for the head. Add the ears, nose, and mouth using simple curved lines. For the eyes, draw two circles with smaller, shaded circles inside for pupils. Teacher's Tip: Keep your pencil lines light so you can easily erase any mistakes before adding final details.
Defining the Torso and Chest
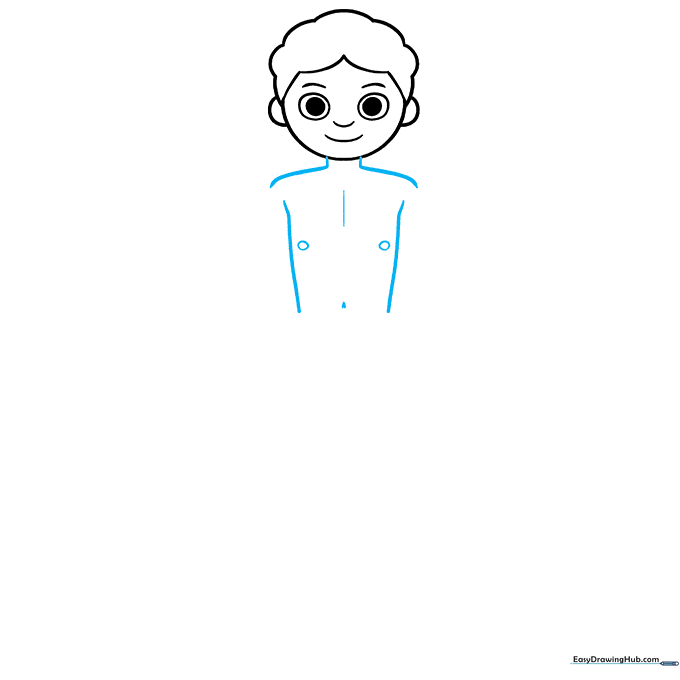
Draw the neck and shoulders extending downward. Add the torso using two vertical lines, then mark the chest with small circles and a belly button. Teacher's Tip: Use a light touch for the belly button to make it look natural rather than heavy.
Adding the First Arm
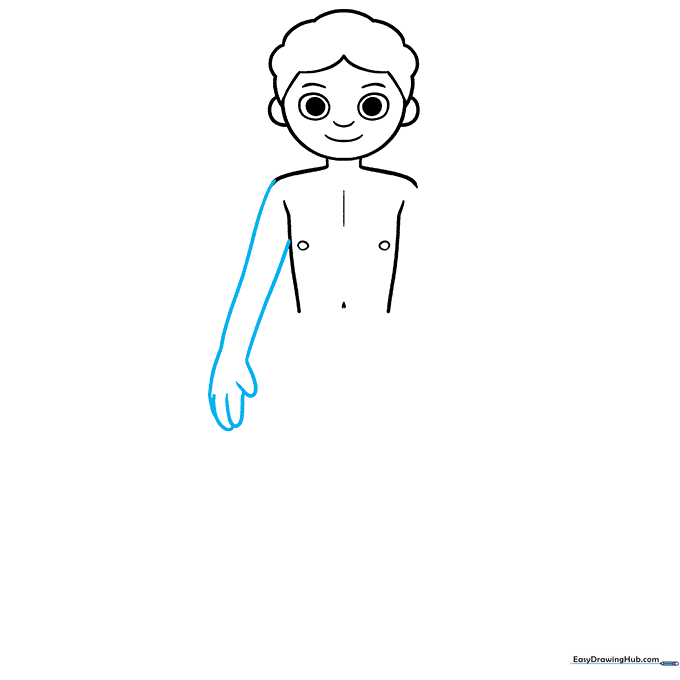
Draw the arm using two long, slightly curved lines. Finish the hand with overlapping curves to represent fingers. Teacher's Tip: Encourage kids to look at their own arm to see how it curves at the elbow.
Drawing the Second Arm
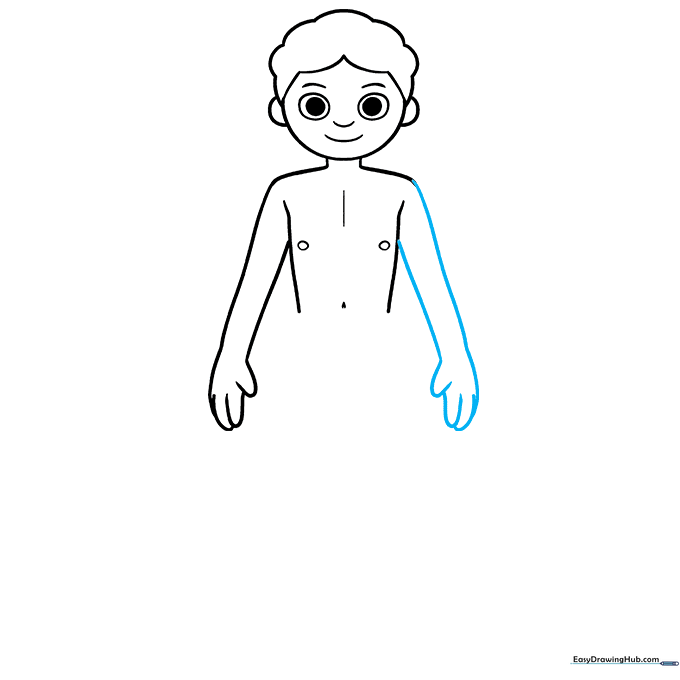
Mirror the first arm on the opposite side of the torso. Ensure the length matches the first arm for balance. Teacher's Tip: If the arms look uneven, use your eraser to adjust the shoulder connection point.
Outlining the Shorts
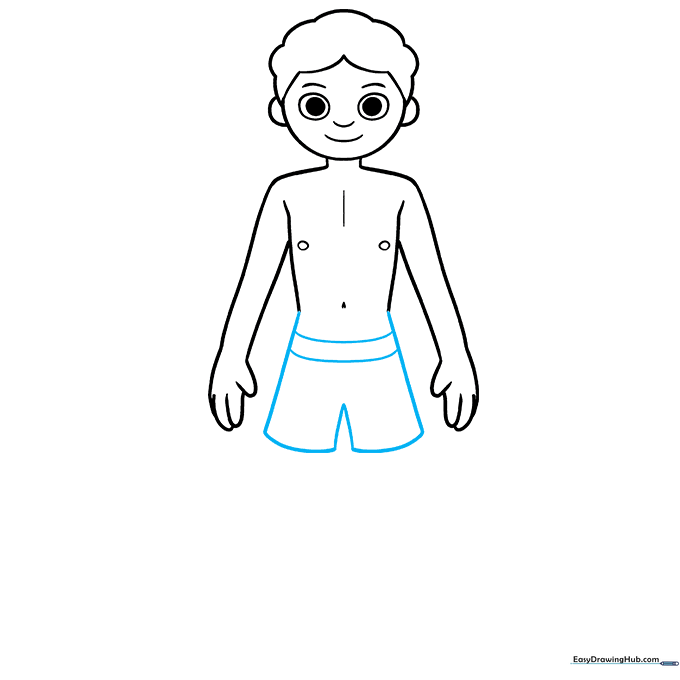
Draw the waistband and the outline of the shorts using curved lines. This defines the lower torso. Teacher's Tip: Keep the lines smooth to make the clothing look natural on the figure.
Forming the First Leg
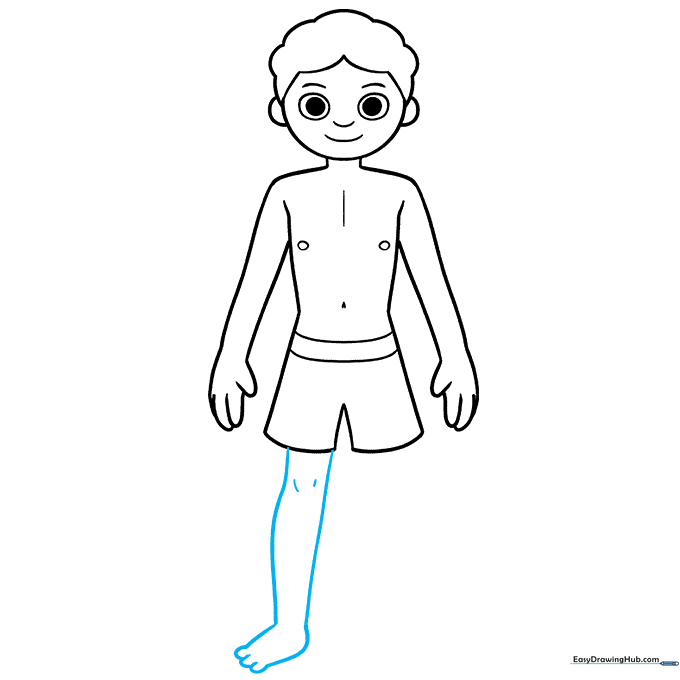
Extend two long curved lines down to create the leg, knee, and foot. Add small lines to detail the knee and toes. Teacher's Tip: Focus on the curve of the knee to show where the joint bends.
Drawing the Second Leg
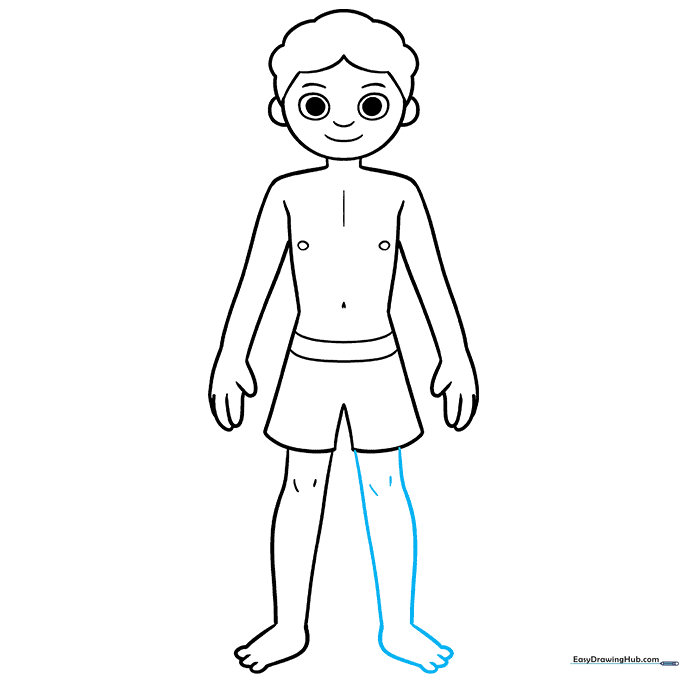
Repeat the previous step to draw the second leg. Ensure the feet are level so the character looks like they are standing firmly. Teacher's Tip: Check that the legs are spaced evenly apart for a balanced stance.
Adding Labels (Part 1)
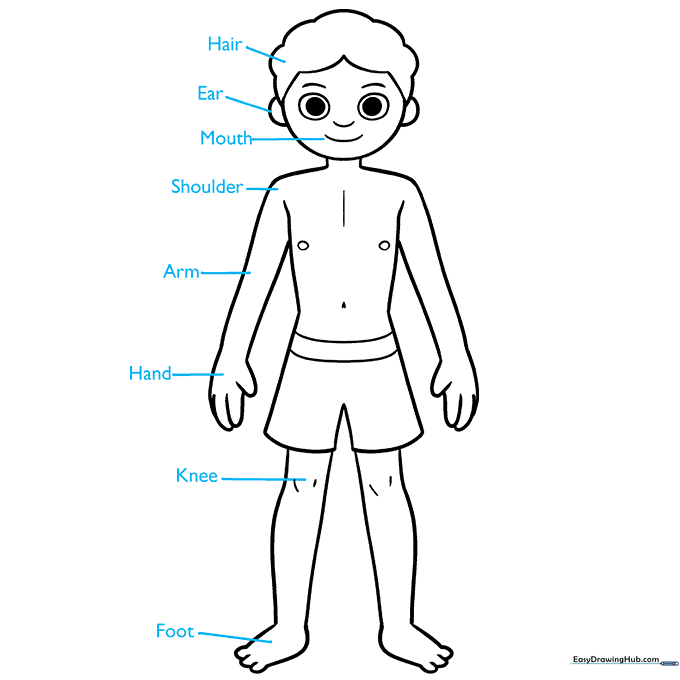
Start labeling your diagram. Draw straight lines from the body parts to the labels. Start with the foot, knee, hand, arm, shoulder, mouth, ear, and hair. Teacher's Tip: Use a ruler to keep your label lines straight and professional-looking.
Adding Labels (Part 2)
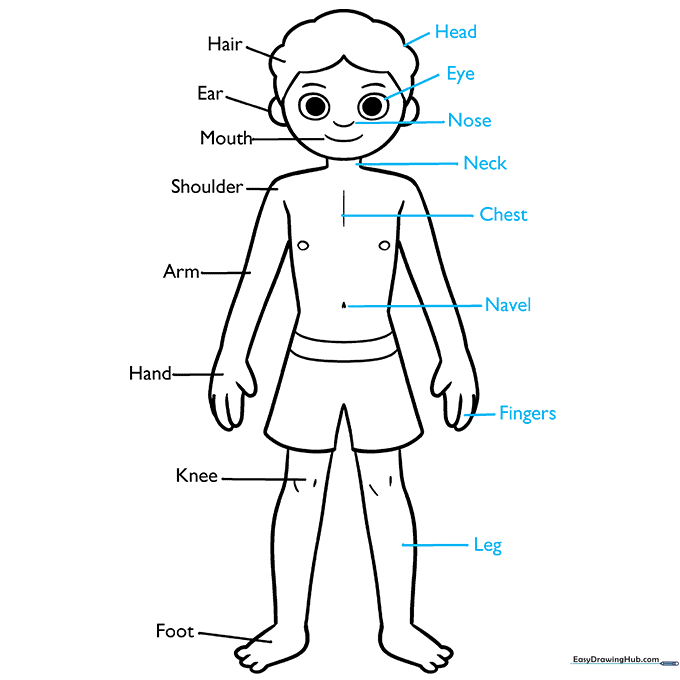
Finish labeling the remaining parts: head, eye, nose, neck, chest, navel, fingers, and leg. Teacher's Tip: Make sure your handwriting is clear so the diagram remains easy to read as a study tool.
Adding Color
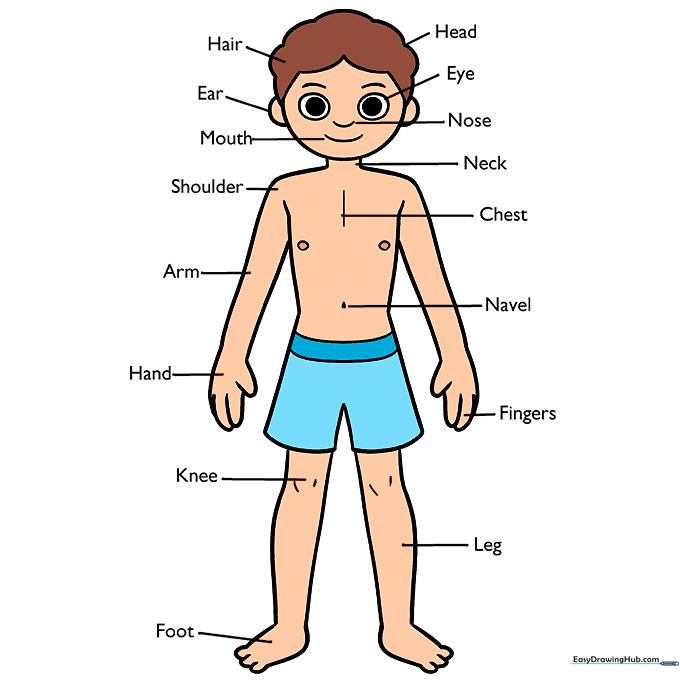
Bring your diagram to life with color! Use skin-tone pencils or markers and add bright colors to the clothing. Teacher's Tip: Use light colors for the skin so the labels remain the most visible part of the page.
More Tutorials


