How to Draw a Bobcat: Easy 10-Step Guide for Kids
Ready to bring a wild cat to life? This tutorial is perfect for young artists ages 5 and up. Grab your favorite pencil, an eraser, and some paper to start building your own bobcat character using simple shapes and lines.
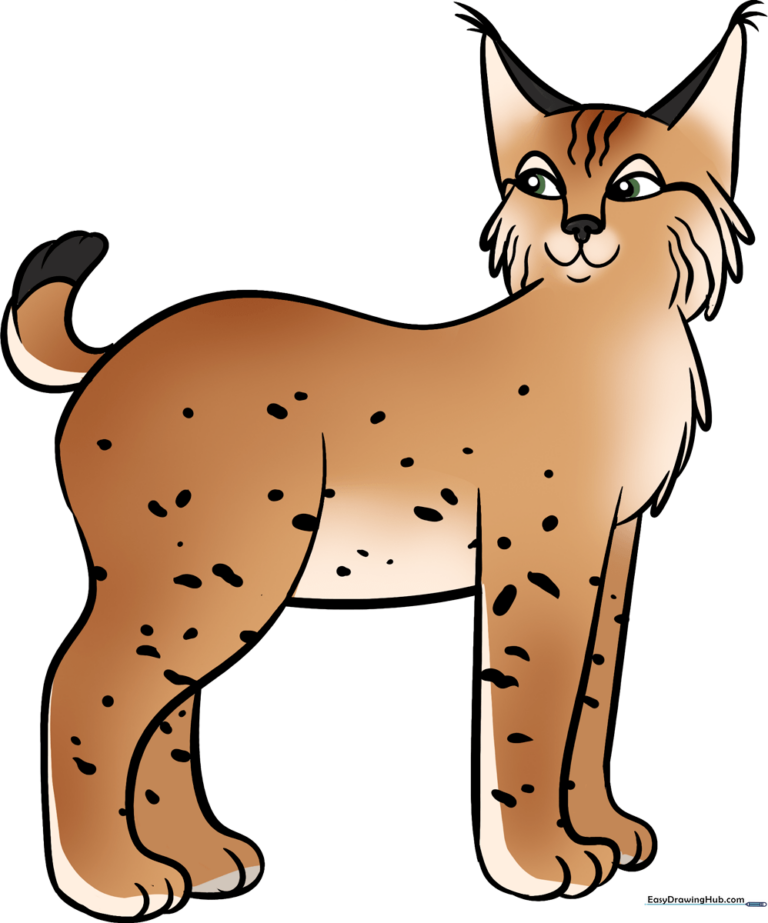
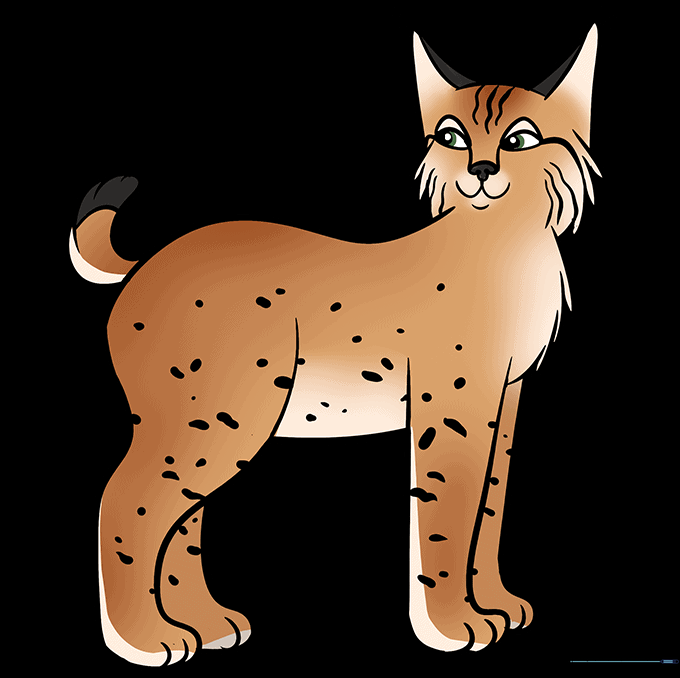
🎯 Final Result
Step-by-Step Instructions
Step 1: Sketching the Body

Lightly sketch the bobcat's bean-shaped body. Tip: Keep your pencil pressure soft so you can easily adjust the shape later if needed.
Step 2: Adding the First Legs

Outline the legs using pairs of curved lines. For the paws, use small, overlapping 'U' shapes to represent the toes. Tip: If the legs look too long, just erase and shorten them—that's why we draw lightly!
Step 3: Drawing the Back Legs
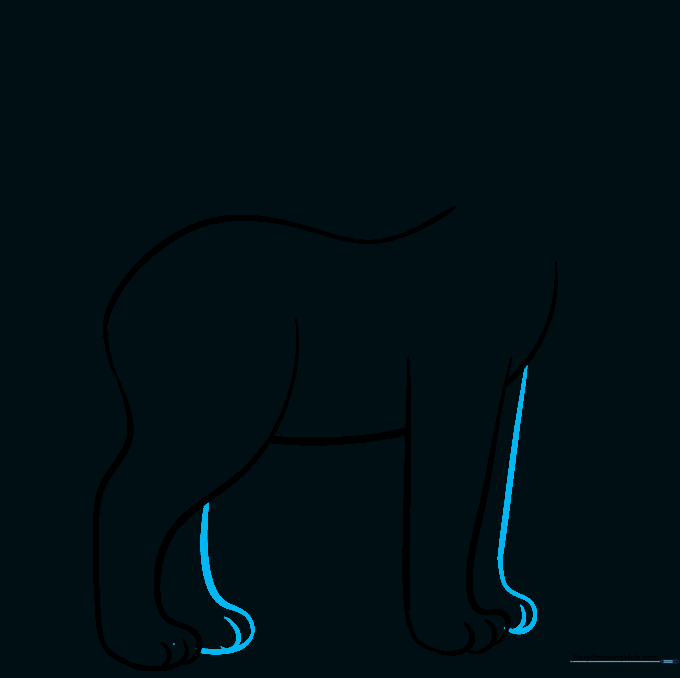
Add the remaining legs using long, graceful curves. Remember to add those tiny toe details at the bottom. Tip: Try to match the size of these legs to the front ones for a balanced look.
Step 4: Creating the Furry Head
Use overlapping 'U' shapes to create the fluffy cheeks. Connect these to the neck with smooth lines. Tip: Use short, quick strokes to make the fur look soft and realistic.
Step 5: Adding Pointed Ears
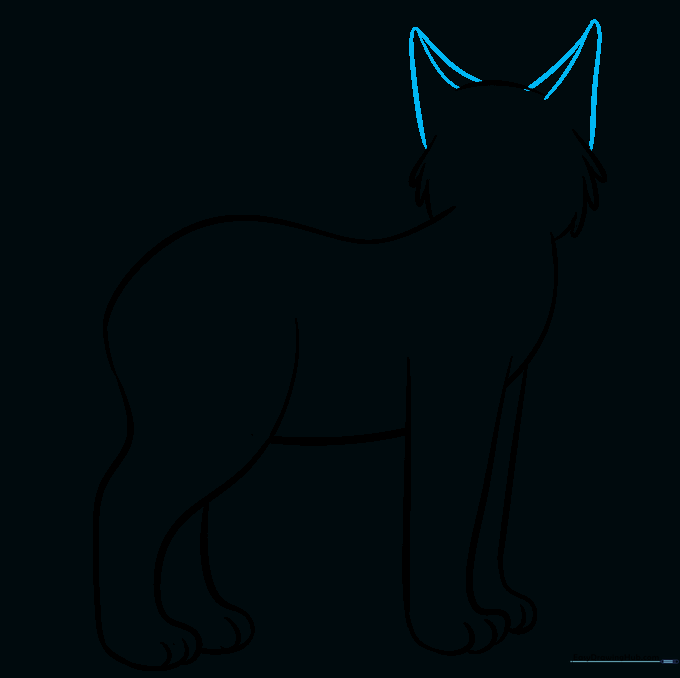
Draw two triangles on top of the head. Add an extra line inside each ear to give them depth. Tip: Bobcats have very expressive ears, so make them nice and tall!
Step 6: Adding Ear Tufts
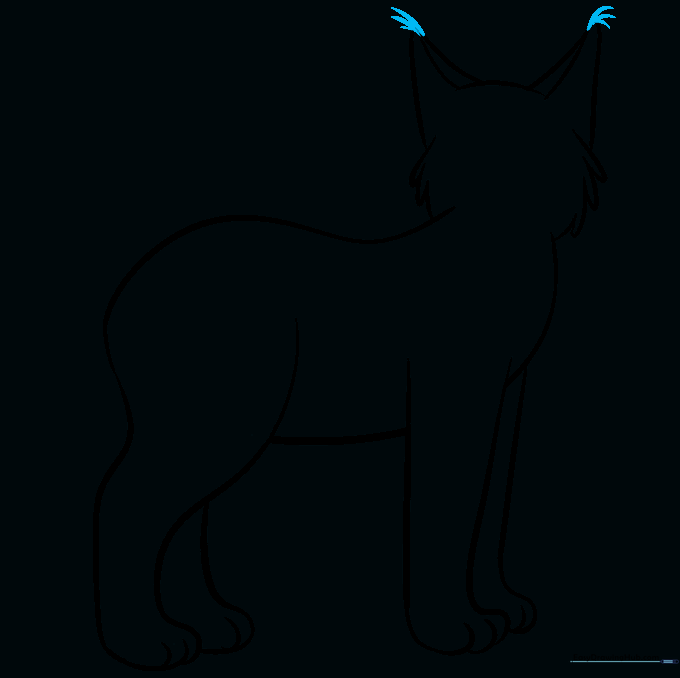
Add small, wispy lines at the tips of the ears. This is a signature look for a bobcat! Tip: Keep these tufts light and airy to show texture.
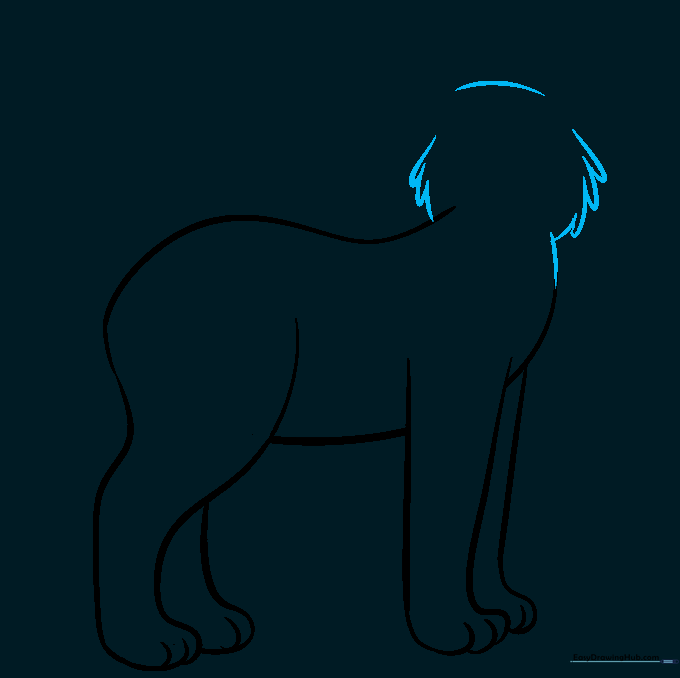
Step 7: The Tail and Chest Fur
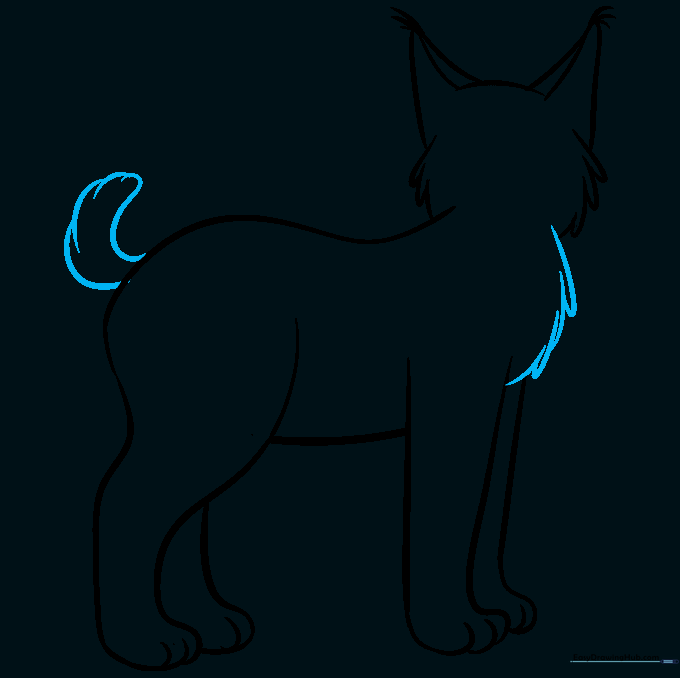
Draw a short, stubby tail and add some 'U' shaped lines to the chest to show off that thick fur. Tip: Bobcats have very short tails compared to other cats, so don't make it too long!
Step 8: Facial Features
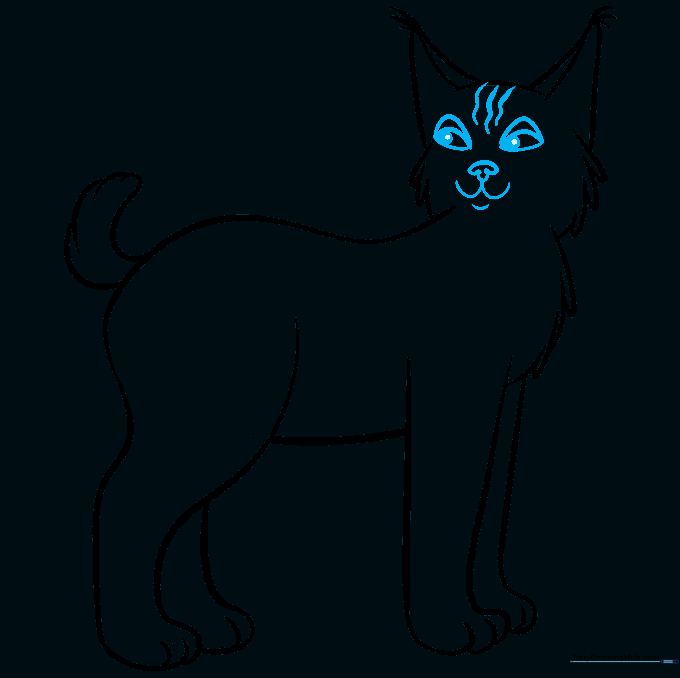
Draw the eyes, a mushroom-shaped nose, and a 'W' shaped mouth. Tip: Take your time with the eyes—they are the window to your character's personality!
Step 9: Adding Fur Patterns
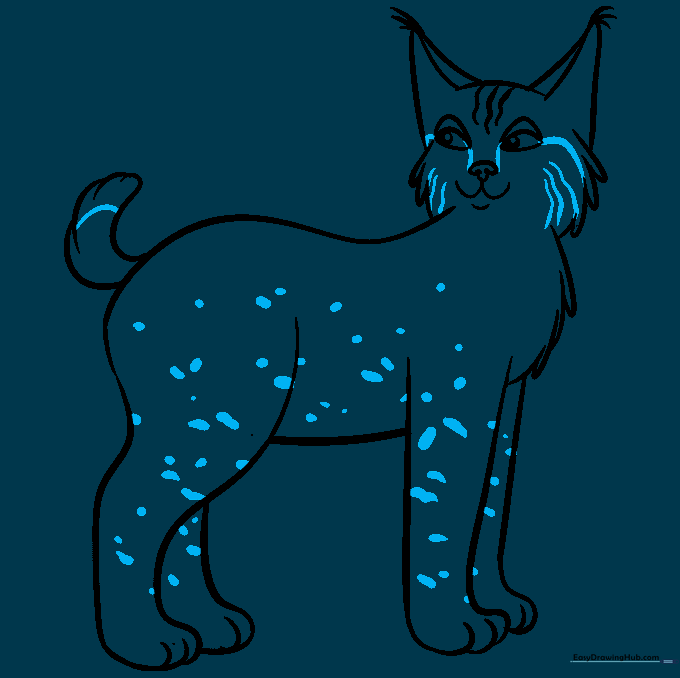
Add wavy lines and spots to the face and body. Tip: Don't worry about making the spots perfect; real bobcats have unique, messy patterns.
Step 10: Bring It to Life with Color
Time to color! Use shades of tan, brown, or reddish-orange for the fur. Tip: Use a darker brown for the spots to make them pop against the lighter coat.
More Tutorials


