How to Draw a BMX Rider: Easy 9-Step Guide for Kids
Ready to capture the energy of extreme sports? This guide is perfect for young artists ages 6+ who want to draw an action-packed BMX rider. All you need is a pencil, an eraser, and a piece of paper to bring this character to life.
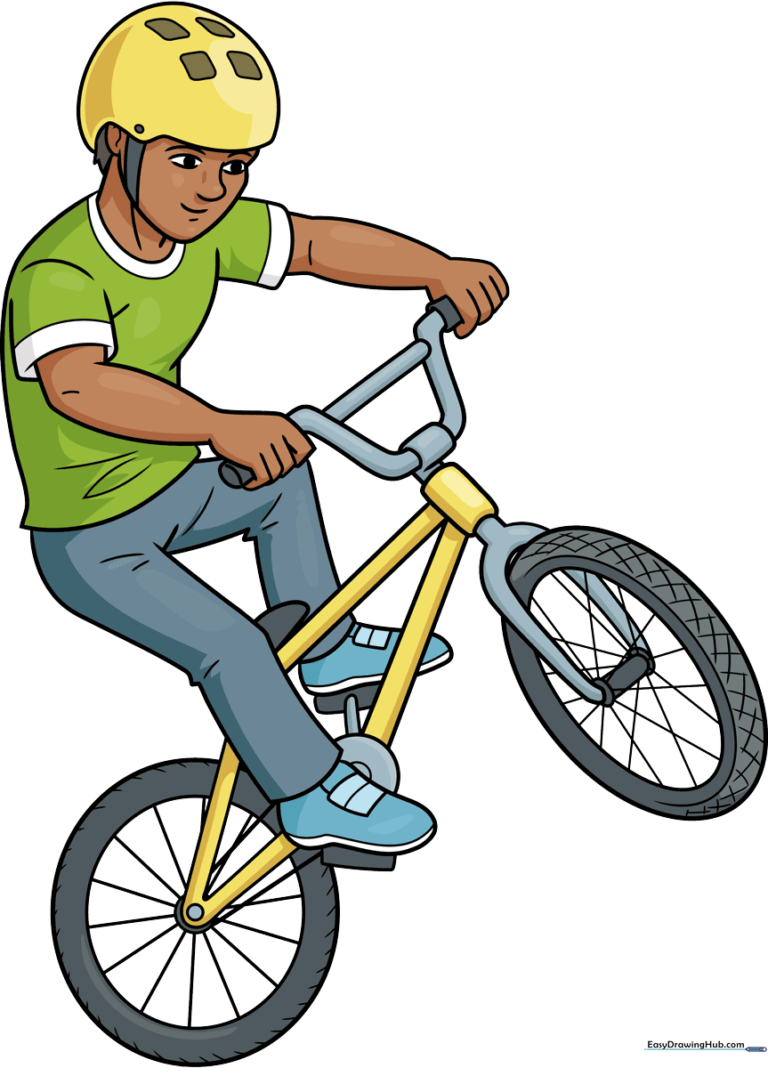
🎯 Final Result
Step-by-Step Instructions
Step 1: Sketching the Helmet and Face
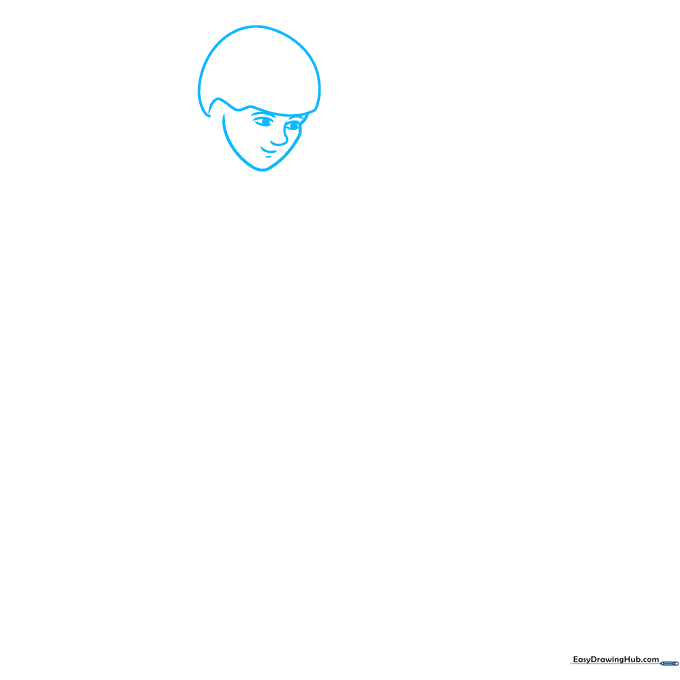
Start by drawing a dome shape with a slightly uneven bottom—think of it like a cracked egg. Add two lemon-shaped eyes with circles inside, and a small hook for the nose. Tip: Keep your pencil lines light so you can easily erase any overlapping marks later.
Step 2: Defining the Neck and Torso
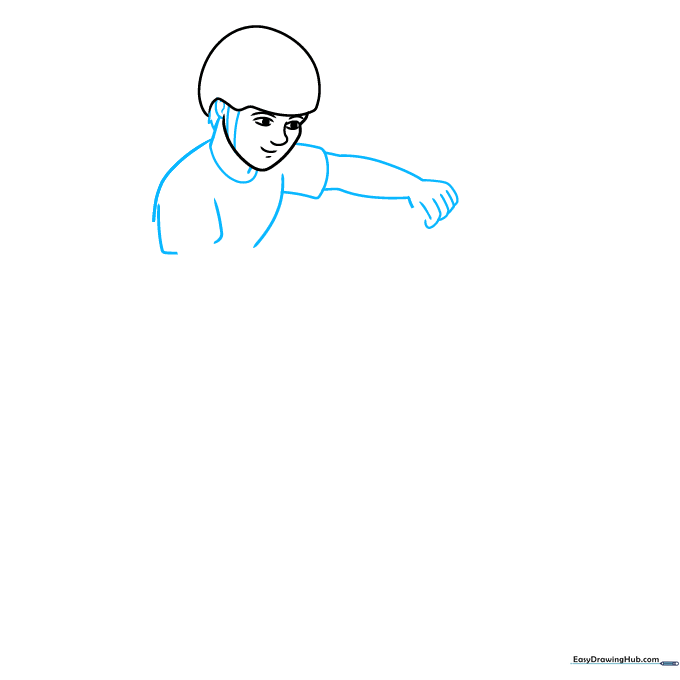
Draw an oval for the ear, then sketch the neck using two vertical lines. Build the chest area with two soft curves and add rectangles to represent the sleeves. Tip: Use simple geometric shapes to map out the body before adding detail.
Step 3: Adding Arms and Hands
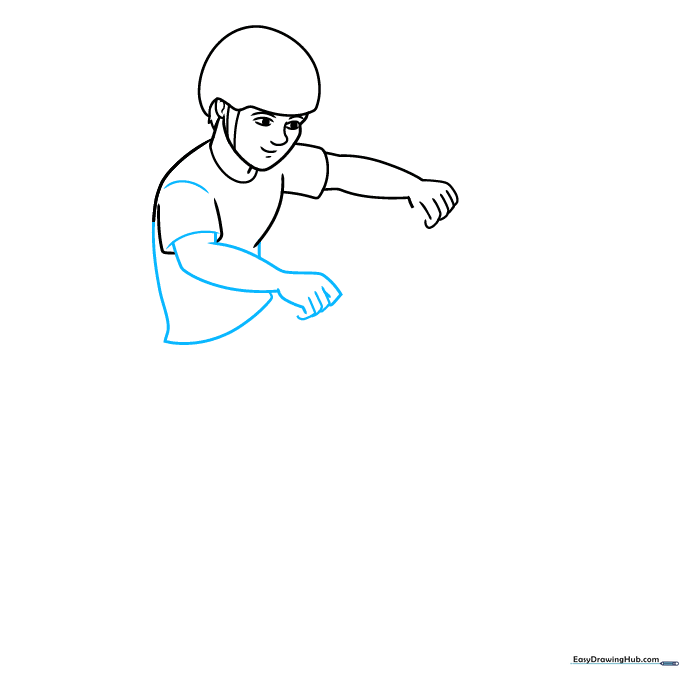
Outline the sleeves and complete the torso with vertical lines. Sketch the arm using curves and add small triangles for the fingers. Tip: Don't worry about perfect fingers; focus on the 'claw' shape to show the rider gripping the handlebars.
Step 4: Drawing the Handlebars
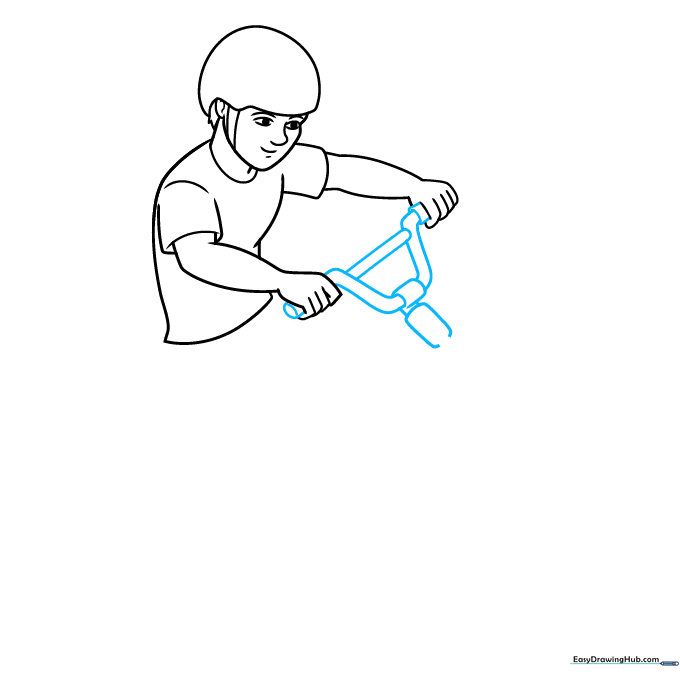
Create a U-shape for the main bar, then add cylinders to represent the grips and stem. Tip: Use a ruler if you want the handlebars to look extra straight and professional!
Step 5: Sketching the Legs and Wheels
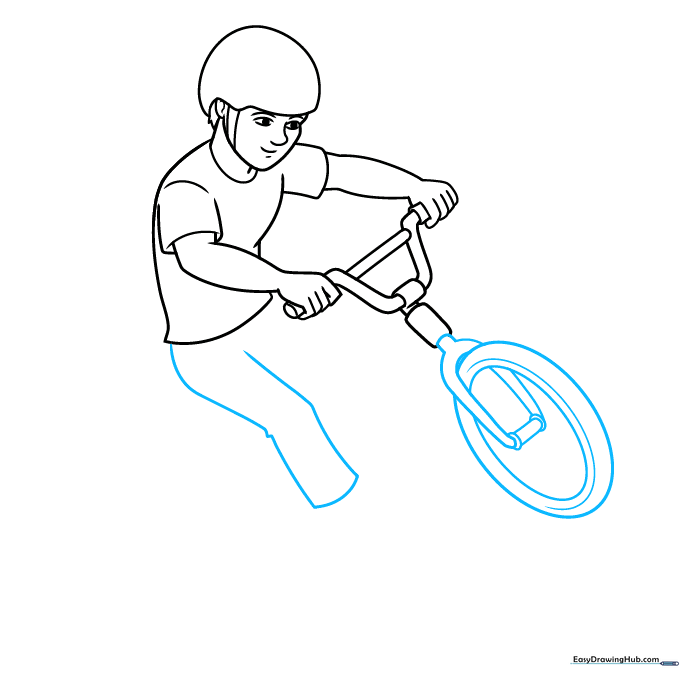
Sketch the legs using diagonal lines. For the wheels, draw a large oval with a smaller one inside to create the tire and rim. Tip: Draw the wheels lightly first so you can adjust their size to match the rider's body.
Step 6: Adding Shoe Detail
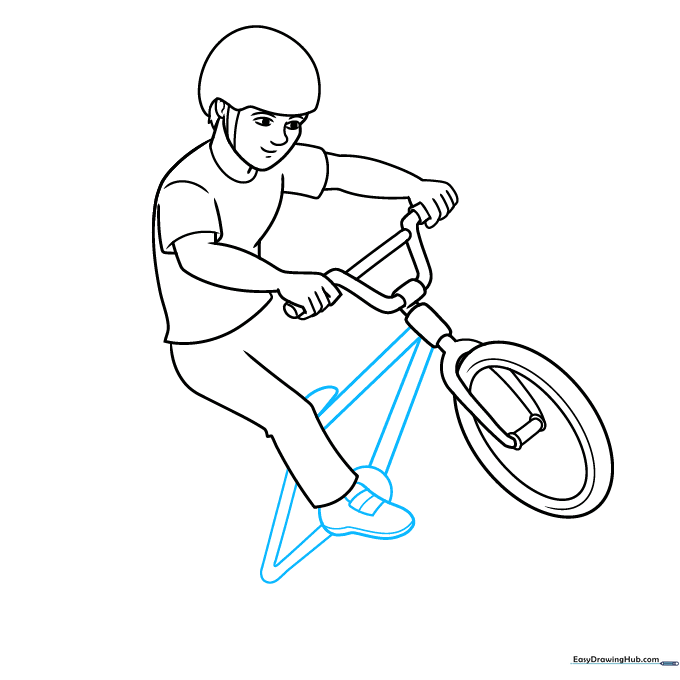
Draw an oval with a slight bump for the shoe. Add internal lines to suggest the sole and laces. Tip: Think of the shoe as a rounded box—keep the lines chunky to make it look like a sturdy sneaker.
Step 7: Completing the Lower Body
Outline the right leg and repeat the shoe drawing process. Add a ring with tiny circles in the center for the bike's gear. Tip: These small circles add realism—take your time to space them evenly.
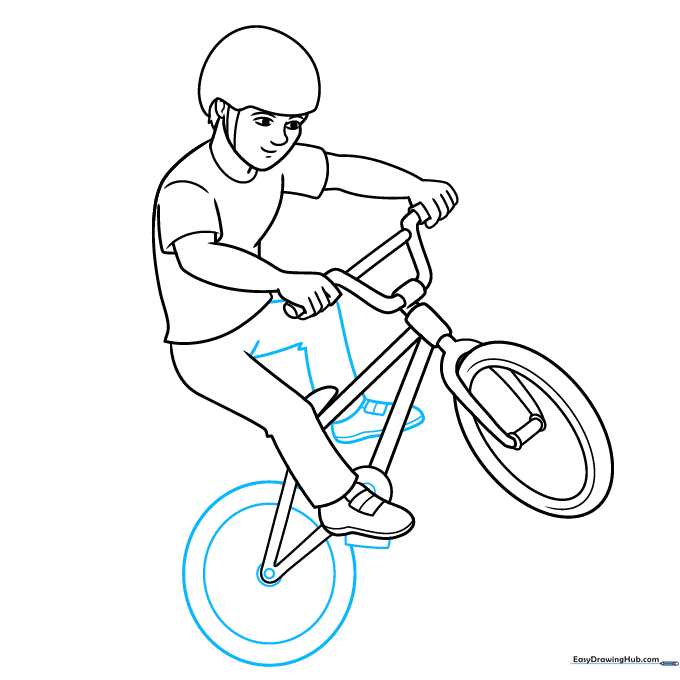
Step 8: Refining the Bike
Add a rectangle and small cylinder beneath the foot to represent the pedal. Draw spokes inside the wheels using straight lines. Tip: Use a light touch for the spokes so they don't overpower the rider.
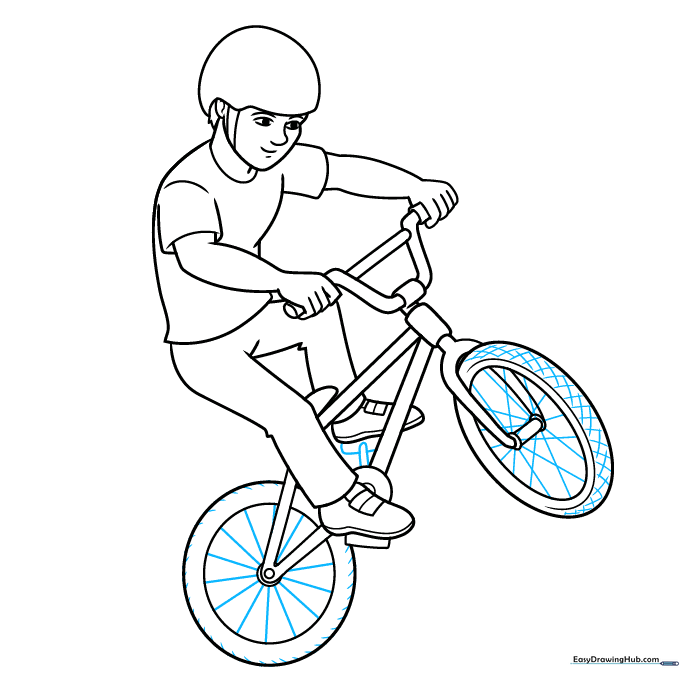
Step 9: Final Touches and Inking

Add details to the helmet and clothing. Once you are happy with your pencil sketch, go over your lines with a black pen or marker to make your drawing pop. Tip: Erase any stray pencil marks after the ink is completely dry.
Step 10: Bringing it to Life with Color
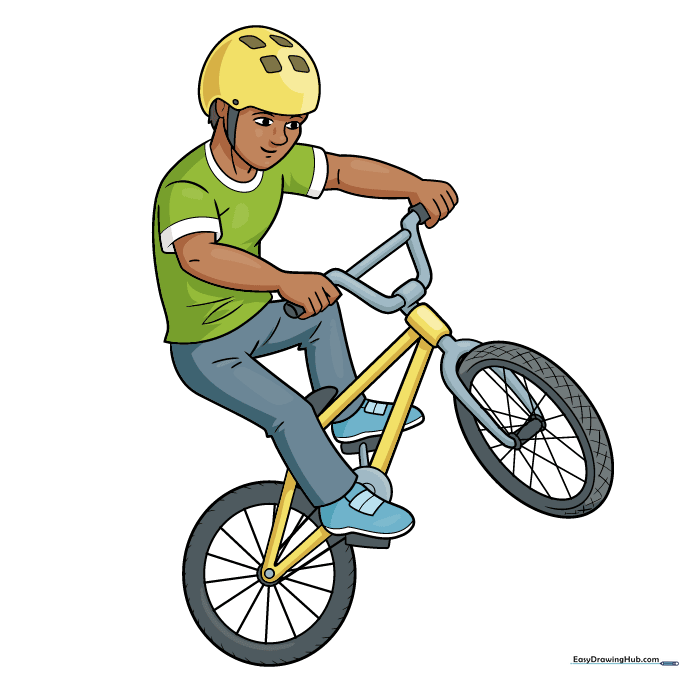
Time to color! Use bright, energetic colors for the clothes and a metallic grey for the bike frame. Tip: Try using colored pencils to add shading to the wheels—it makes the bike look like it's spinning!
More Tutorials


