How to Draw a BMX Bike: Easy 9-Step Guide for Kids
Ready to hit the ramps? This guide is perfect for young artists ages 5 and up who want to sketch their own stunt bike. You’ll only need a pencil, an eraser, and a piece of paper to bring this BMX design to life.
🎯 Final Result

Step-by-Step Instructions
Step 1: Establishing the Frame

Start by drawing a U-shape for the main frame with a small cylinder in the center. Add a cylinder for the handlebars and two parallel lines at the bottom for the chainstay. Teacher's Tip: Keep these lines faint—they are just your structural guide.
Step 2: Shaping the Handlebars and Rear Wheel
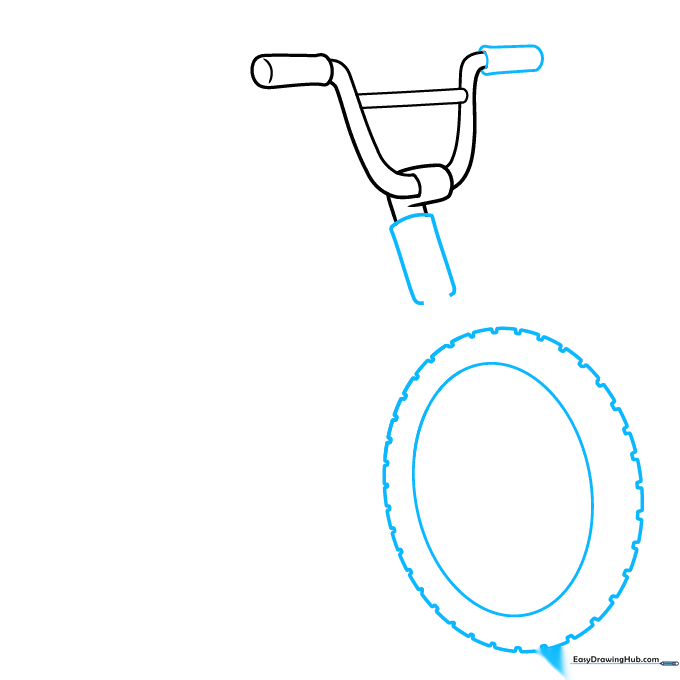
Sketch a cylinder on the right handle and an open-bottom cylinder for the rear wheel area. Add an oval underneath for the tire. Tip: Use a circular motion with your wrist to get a smooth oval shape.
Step 3: Defining the Rear Tire
Draw an upside-down U-shape for the seat post area with a small rectangle in the center. Attach an oval to the left and add dashes inside the tire to represent the tread. Tip: Vary the length of your dashes to make the tire look textured.
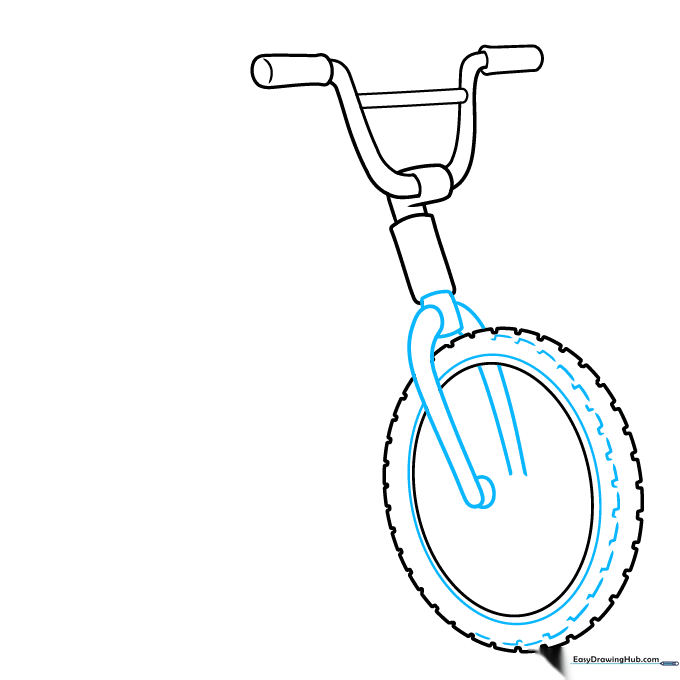
Step 4: Connecting the Frame
Connect the ovals with cylinders to form the bike's body. Sketch two triangles using straight lines to create the sturdy BMX frame. Tip: Use a ruler if you struggle with straight lines, but try freehand first to build confidence!
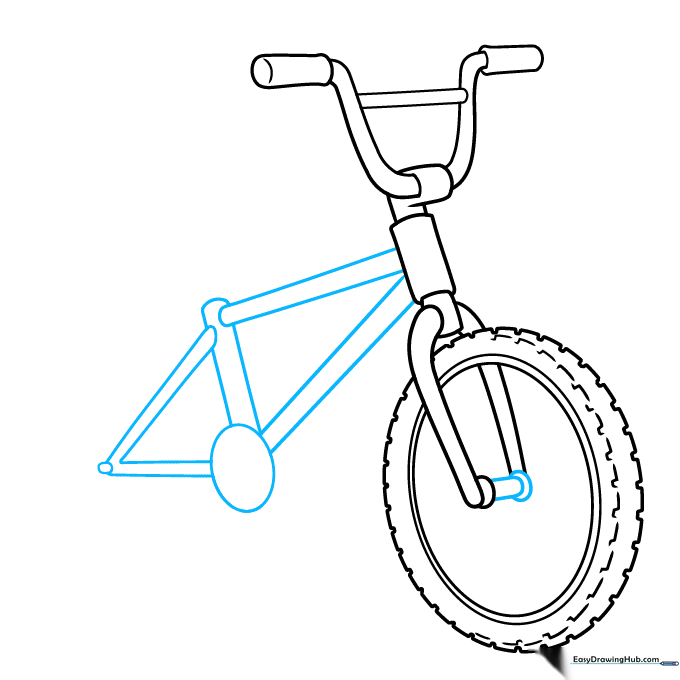
Step 5: Sketching the Front Wheel
Draw a small central oval for the hub, surrounded by two larger ovals for the rim and tire. Add small 'hills' along the outer edge for the tire tread. Tip: Think of these as little bumps on a bumpy road.
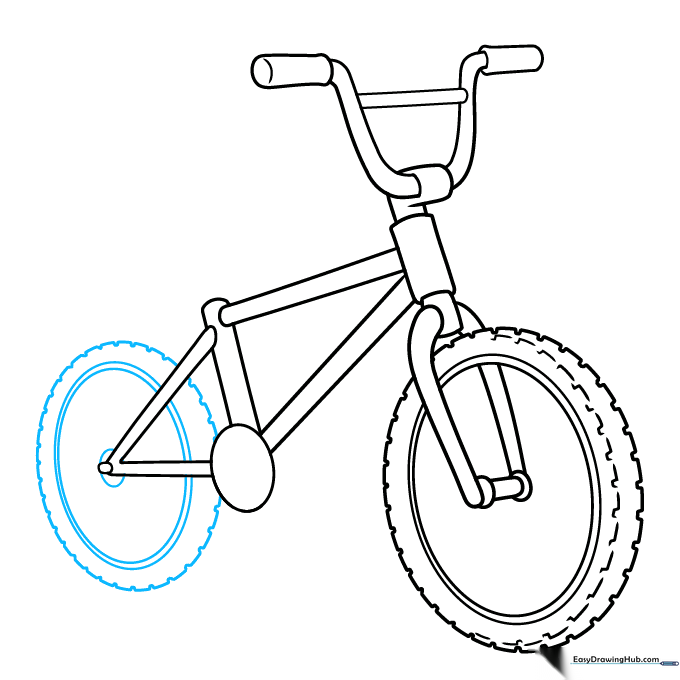
Step 6: Adding the Seat
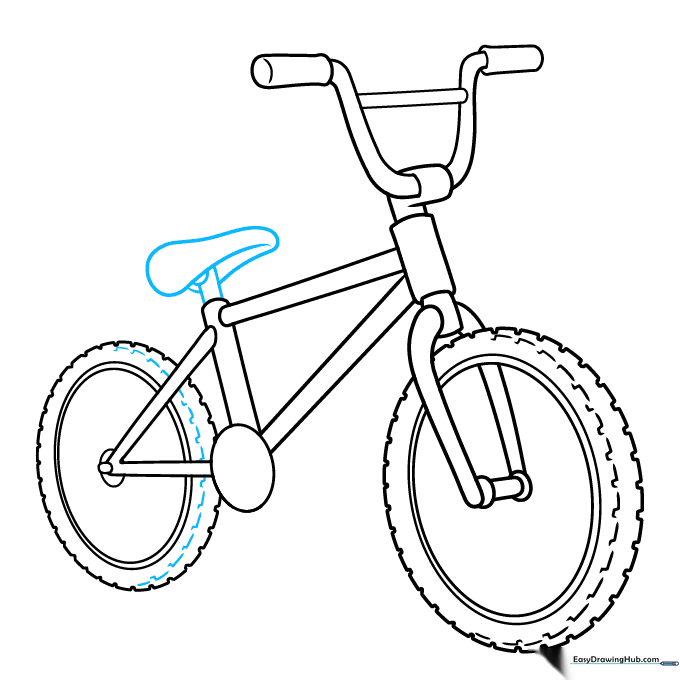
Add dashes inside the front wheel. Outline the seat as a rounded, oblong triangle and sketch two small ovals underneath for the seat mount. Tip: Keep the seat shape soft and rounded to make it look comfortable.
Step 7: Drawing the Pedals
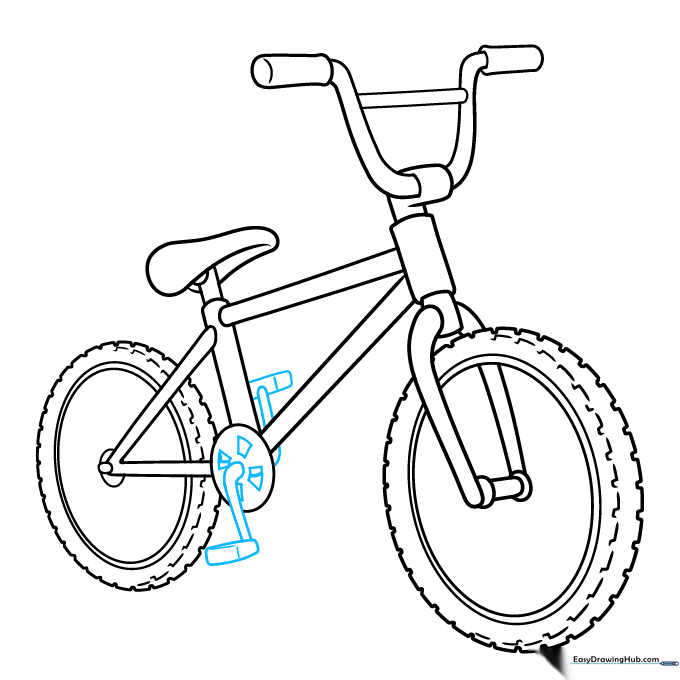
Draw rectangles with internal lines for the pedals. Attach them to the frame with small cylinders. Tip: Pedals are just simple boxes—don't overthink the perspective!
Step 8: Final Details
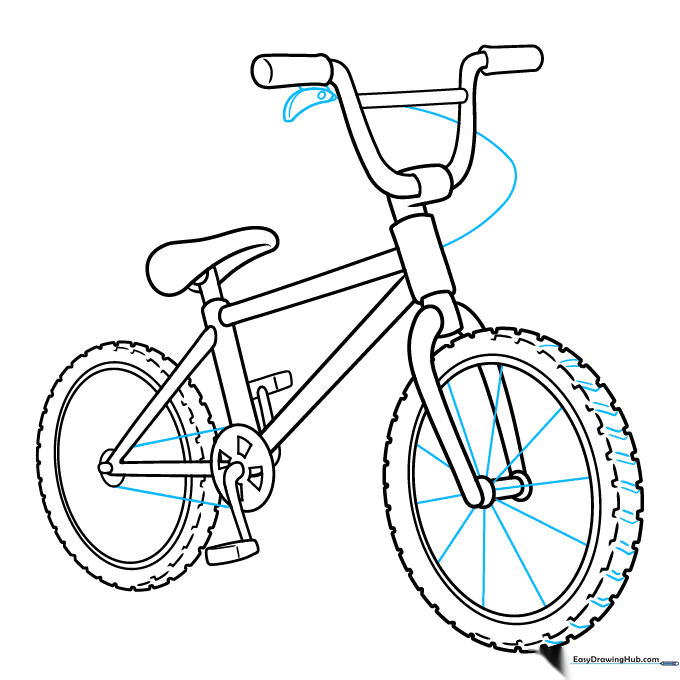
Add more dashes to the tires and a curve behind the handles. Draw a banana-shaped detail on the left side. Tip: These small details add realism, so take your time with the curves.
Step 9: Outlining and Finishing
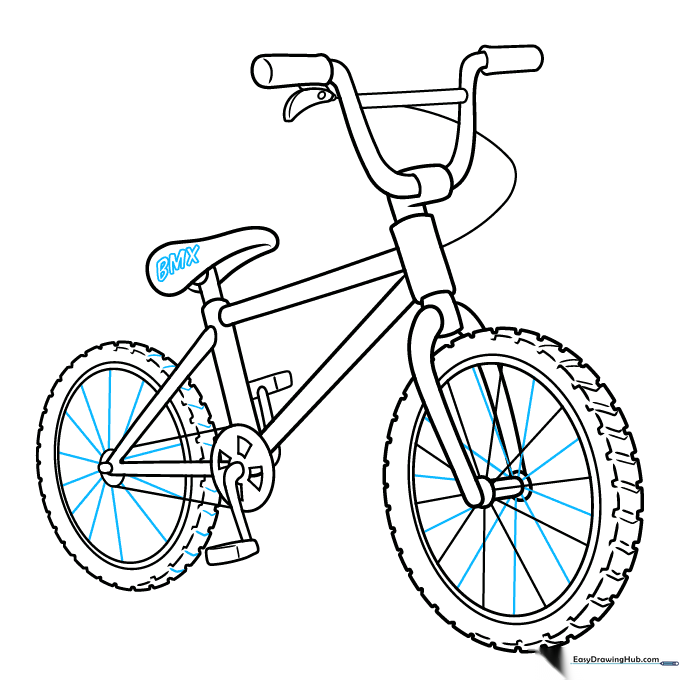
Add final dashes to the tires and write 'BMX' on the seat. Use a black pen to outline your drawing. Tip: Use a steady hand for the outline, and erase any leftover pencil marks once the ink is dry.
Step 10: Adding Color
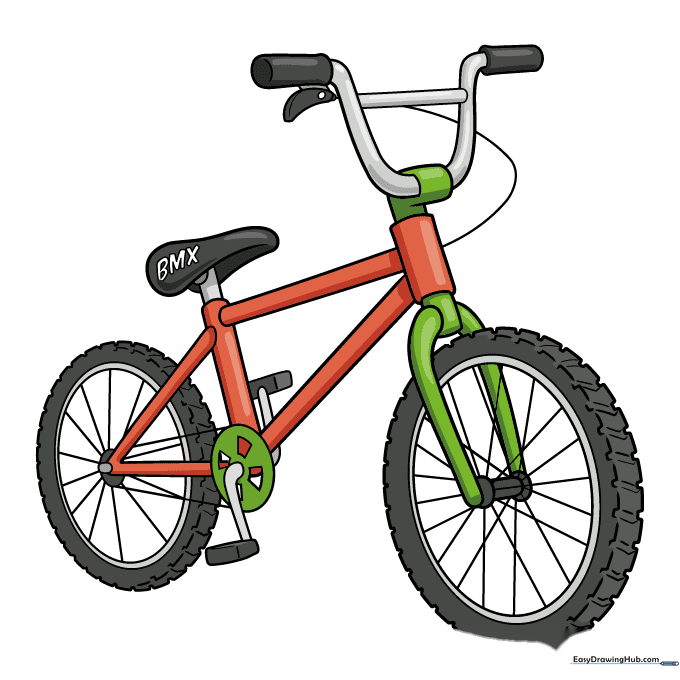
Bring your bike to life! Use vibrant shades of orange and green for the frame. Use dark grey for the tires and seat to make them pop. Tip: Color in one direction to keep your drawing looking neat.
More Tutorials


