How to Draw a Blueberry: Easy 9-Step Art Guide
Bring a burst of nature to your sketchbook with this simple blueberry drawing tutorial, perfect for artists ages 5 and up. You will need a pencil, an eraser, and your favorite blue coloring tools. Follow along to master basic circular shapes and botanical details while building your confidence as an illustrator.
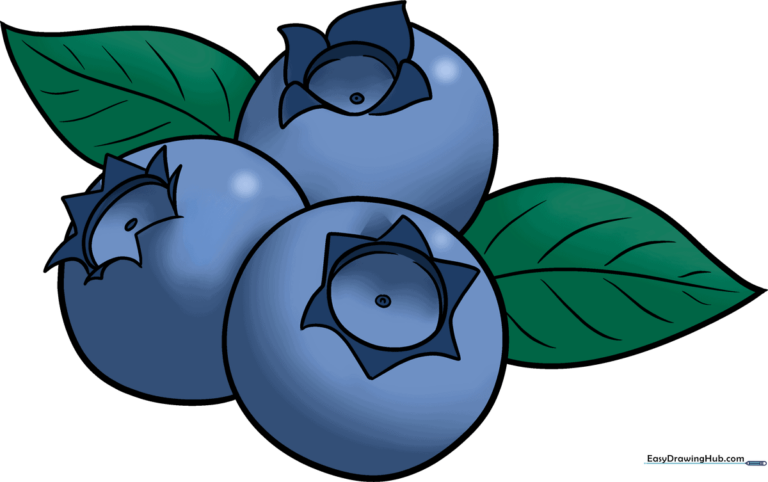
🎯 Final Result
Step-by-Step Instructions
Step 1: Sketching the First Berry Base

Start by drawing a circle for the main berry. Add a small circle in the center with a tiny 'C' shape inside to represent the calyx. Teacher's Tip: Keep your pencil lines light and loose—this makes it much easier to erase any mistakes later!
Step 2: Adding the Calyx Sepals
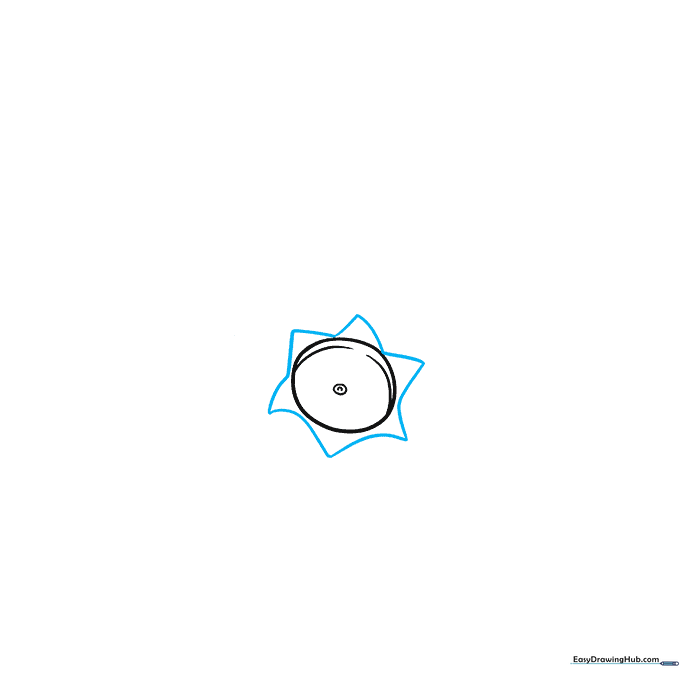
Draw small, pointed triangles around the central calyx. These represent the tiny sepals found on top of the fruit. Tip: Make these triangles slightly uneven to give your blueberry a more natural, organic look.
Step 3: Defining the Berry Shape
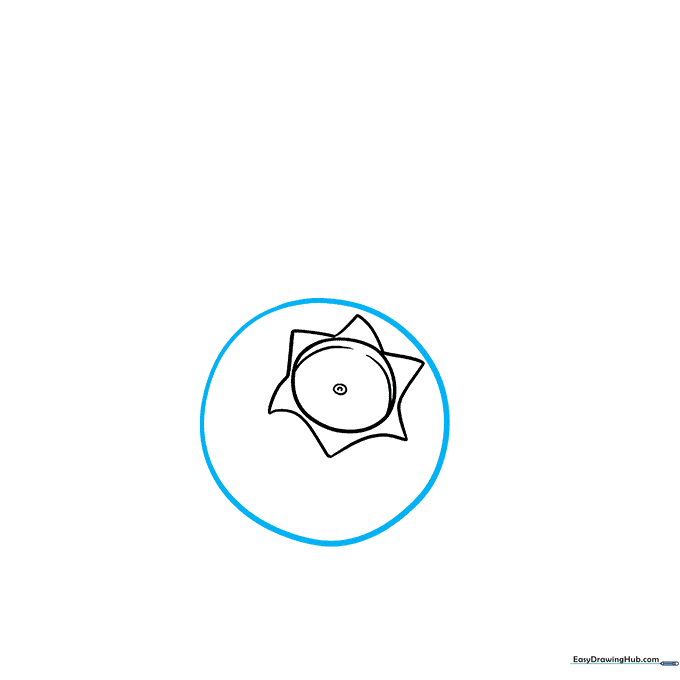
Draw a larger, slightly imperfect circle around your calyx to finalize the berry's body. Notice how the calyx sits slightly off-center to add depth. Tip: Don't worry about a perfect compass-style circle; real blueberries have unique, bumpy shapes.
Step 4: Starting the Second Berry
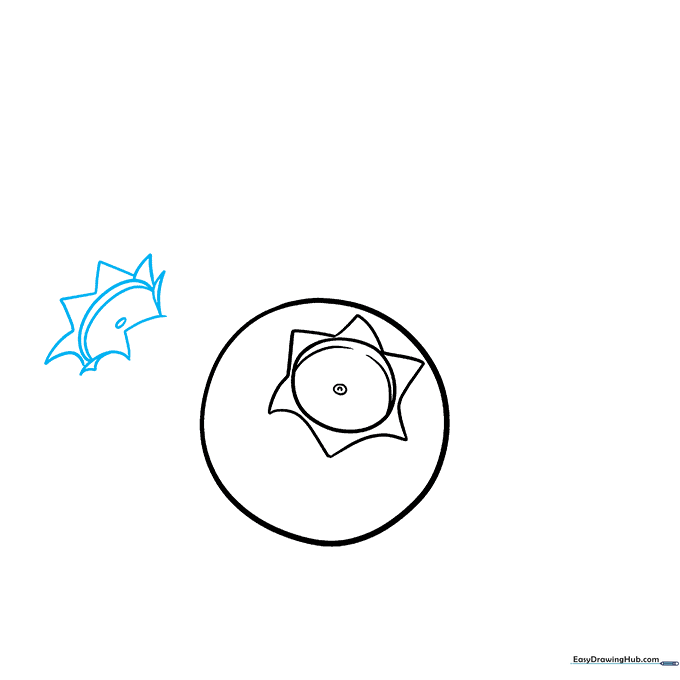
Create a second calyx for a neighboring berry using two 'C' shapes that form a crescent. Add small triangles on the back and a tiny oval in the center. Tip: Varying the angles of the calyxes makes your drawing look like a real cluster of fruit.
Step 5: Outlining the Second Berry
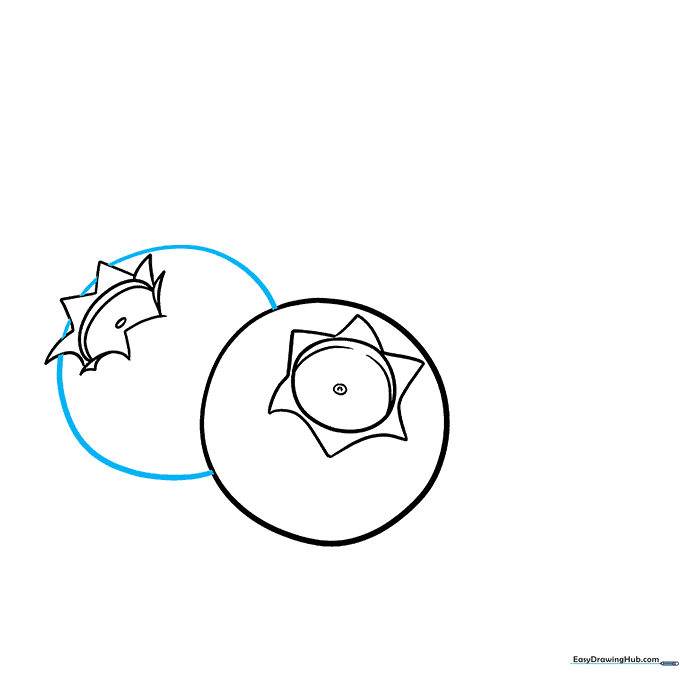
Enclose the second berry with a curved line. Ensure the line 'tucks' behind the sepals you drew in the previous step to create a sense of overlapping space. Tip: This technique is called 'layering' and helps your drawing look 3D.
Step 6: The Third Berry Calyx
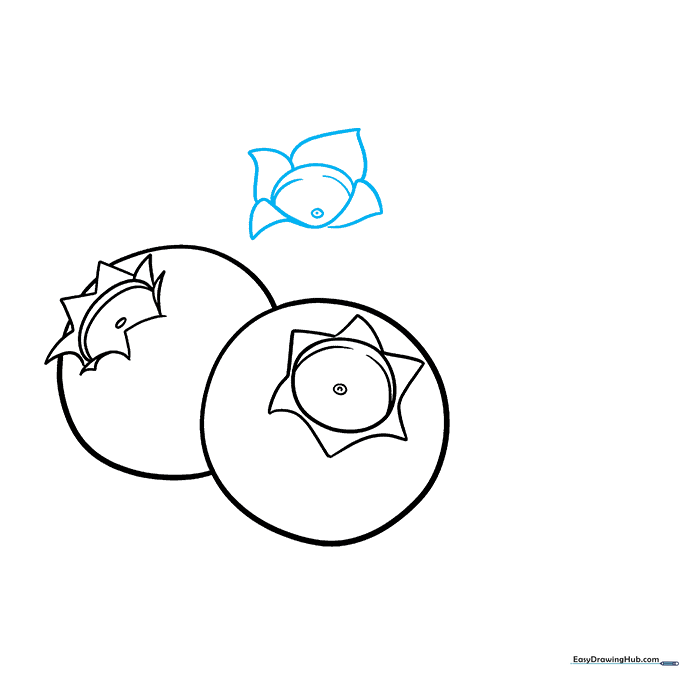
Draw the final calyx using an irregular circle and surrounding curved triangles. Add a small dot inside the center circle for detail. Tip: Use a sharp pencil point here to keep the small details clean and crisp.
Step 7: Finalizing the Third Berry
Use smooth, curved lines to enclose the final blueberry. Tip: If your lines aren't perfectly smooth, don't worry! Nature is rarely perfectly symmetrical.
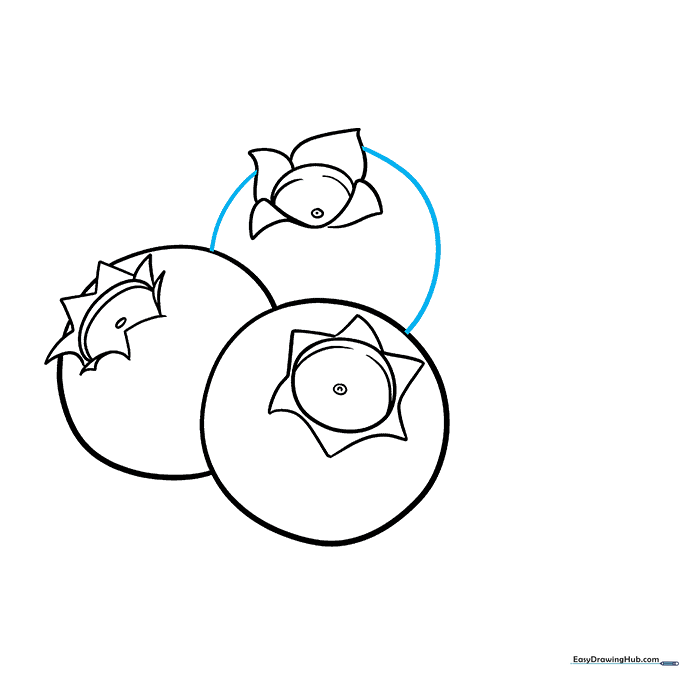
Step 8: Adding Botanical Leaves
Draw two leaves emerging from behind the berries using two curved lines that meet at a sharp point. Tip: Draw the leaves slightly different sizes to add visual interest to your composition.
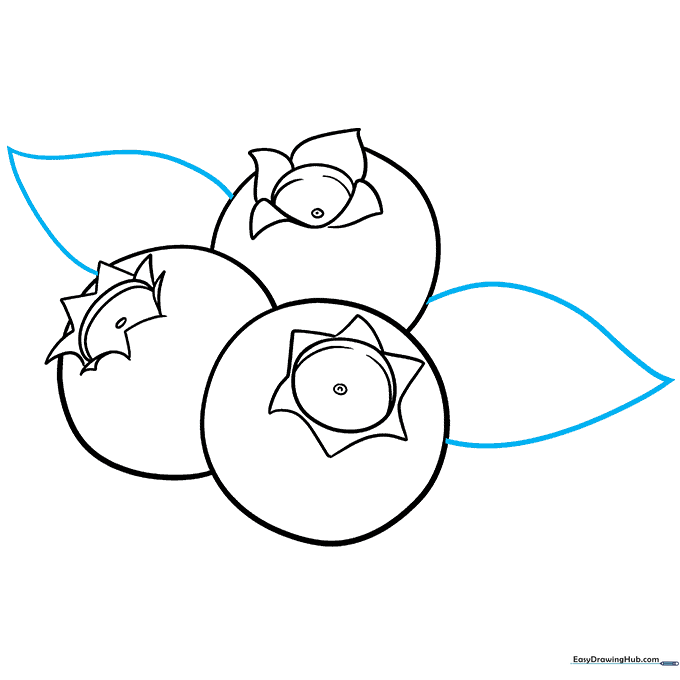
Step 9: Leaf Veins and Final Touches
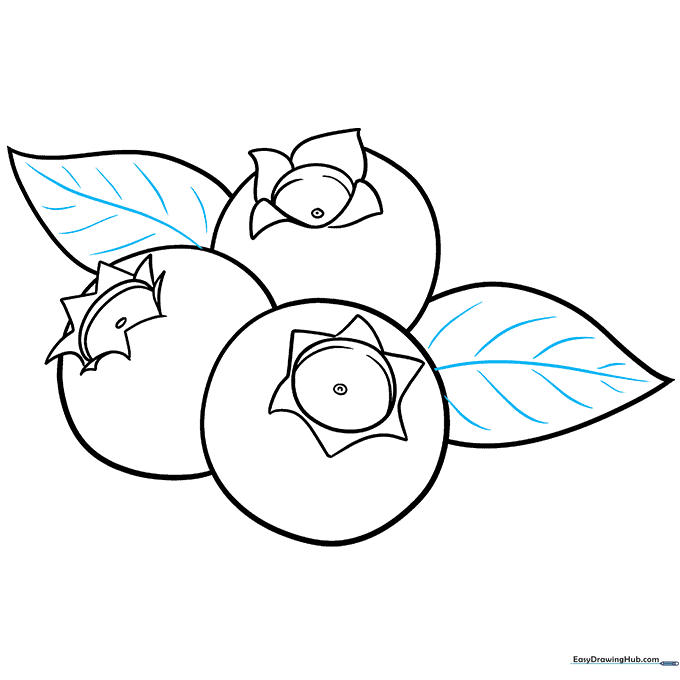
Add a central vein to each leaf with smaller, shorter lines branching out. Your outline is now complete! Tip: Before coloring, gently erase any overlapping lines inside the berries to make them look solid.
Step 10: Bringing Your Blueberries to Life
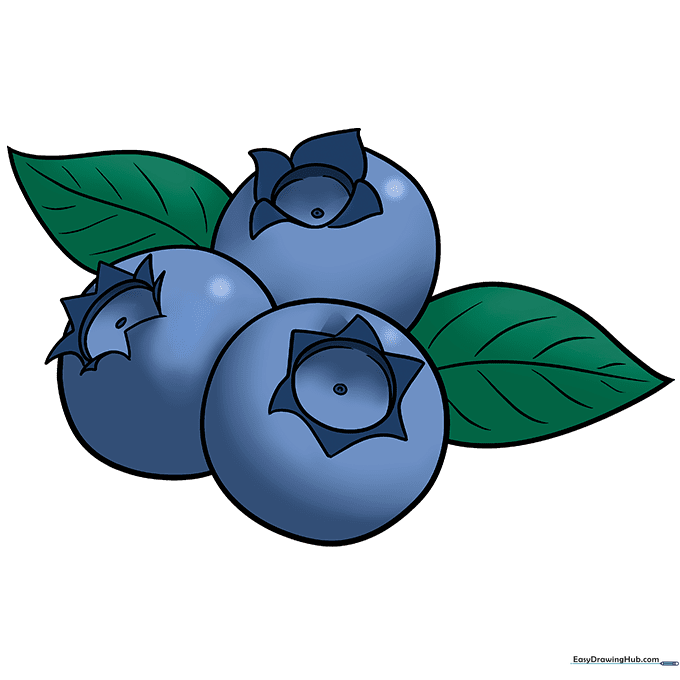
Color your berries using deep blues and purples. Leave a small white spot on each berry to represent a highlight—this makes them look juicy and round! Tip: Use a lighter blue for the leaves to create a nice contrast.
More Tutorials


