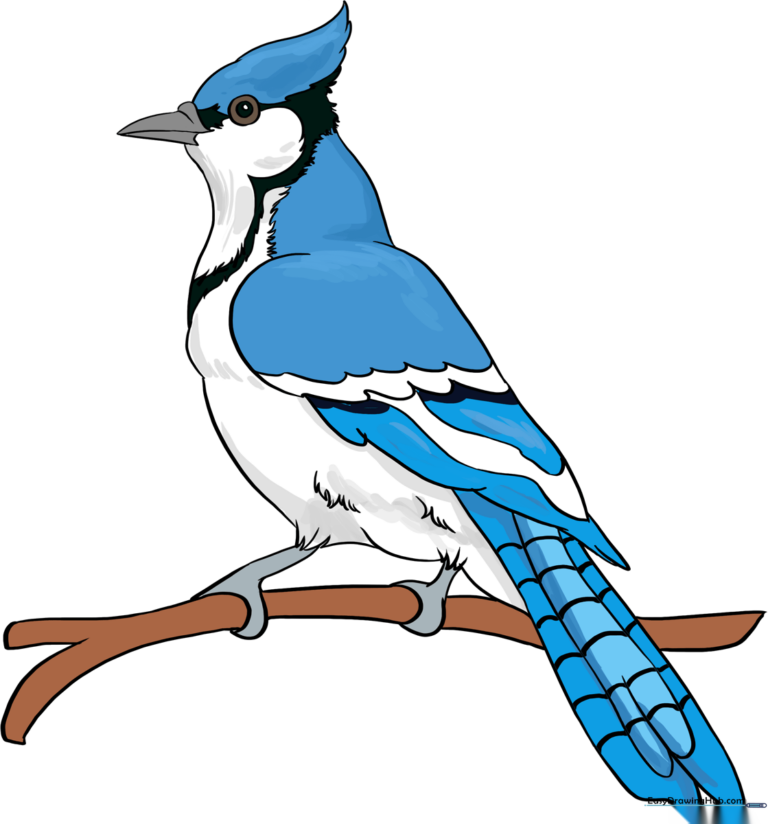
How to Draw a Blue Jay: Easy 10-Step Guide for Kids
Bring nature to your sketchbook with this friendly Blue Jay tutorial, designed specifically for young artists ages 5 and up. You will only need a pencil, an eraser, and your favorite coloring markers to get started. By the end of this lesson, you will have mastered the iconic crest and bold markings of this beautiful backyard bird.
🎯 Final Result
Step-by-Step Instructions
Step 1: Sketching the Head

Draw a light circle to serve as the bird's head. Teacher's Tip: Keep your pencil strokes very faint so you can easily erase this guide shape later once the final details are in place.
Step 2: Defining the Neck
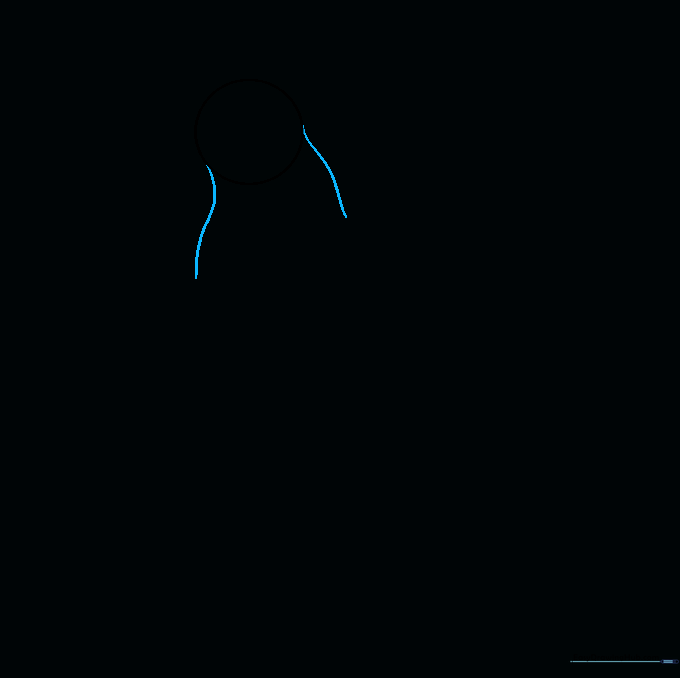
Extend two curved lines downward from the sides of your circle to form the neck. Tip: Imagine the bird is looking slightly to the side to give your drawing more personality.
Step 3: Adding the Beak

Sketch a small triangle overlapping the front of the circle to create the beak. Draw a line through the center to separate the top and bottom parts. Tip: Keep the beak sharp and pointed to capture the Blue Jay's alert nature.
Step 4: Drawing the Crest
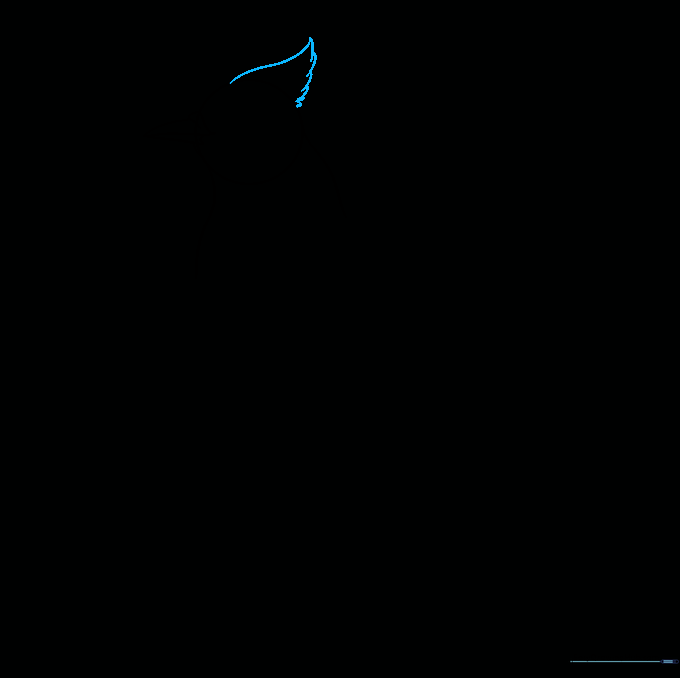
Draw a curved line on top of the head, connecting it to the back with short, overlapping strokes to create the signature feathered crest. Tip: Use quick, flicking motions with your pencil to make the feathers look soft and natural.
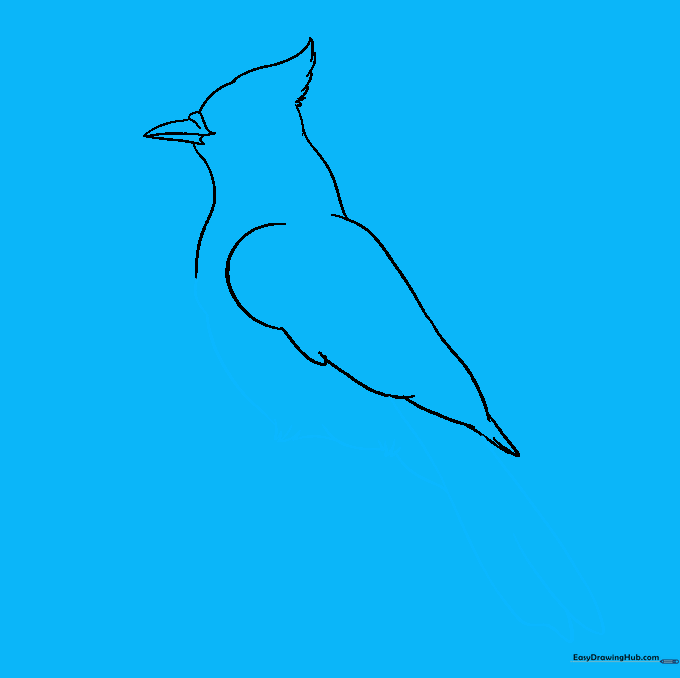
Step 5: Sketching the Wing
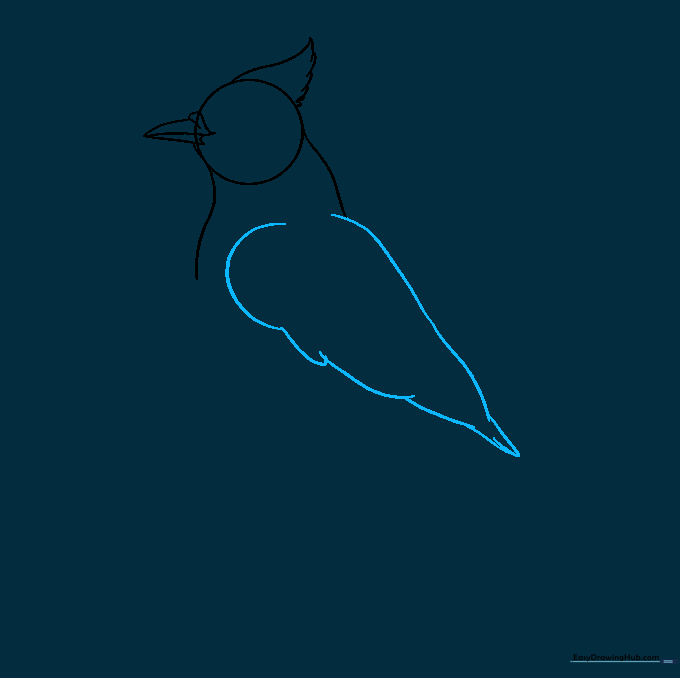
Use curved lines to draw the wing just below the neck, letting the lines meet at a soft point. Tip: Think of this shape like a teardrop tilted on its side.
Step 6: Cleaning Up

Carefully erase the original guide circle inside the body. Tip: Use a soft eraser and hold the paper down firmly so you don't accidentally wrinkle it while cleaning up your lines.
Step 7: Adding Tail and Legs
Extend curved lines for the tail and add two small bumps near the bottom for the legs. Texture the legs with tiny, short lines. Tip: Keep the tail long and elegant to balance the bird's body.
Step 8: Adding Feather Details
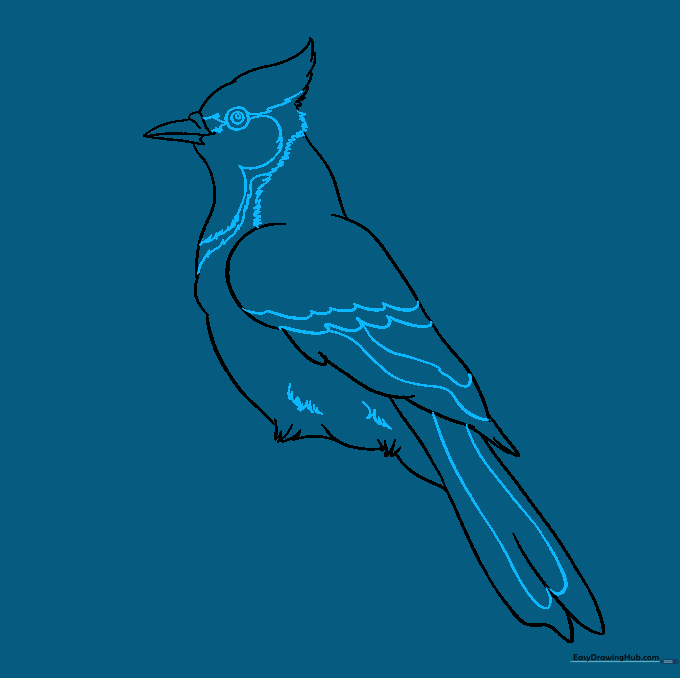
Draw three small circles for the eye and add jagged lines for facial markings and wing feathers. Tip: The jagged lines help create the look of real, overlapping feathers.
Step 9: Final Touches
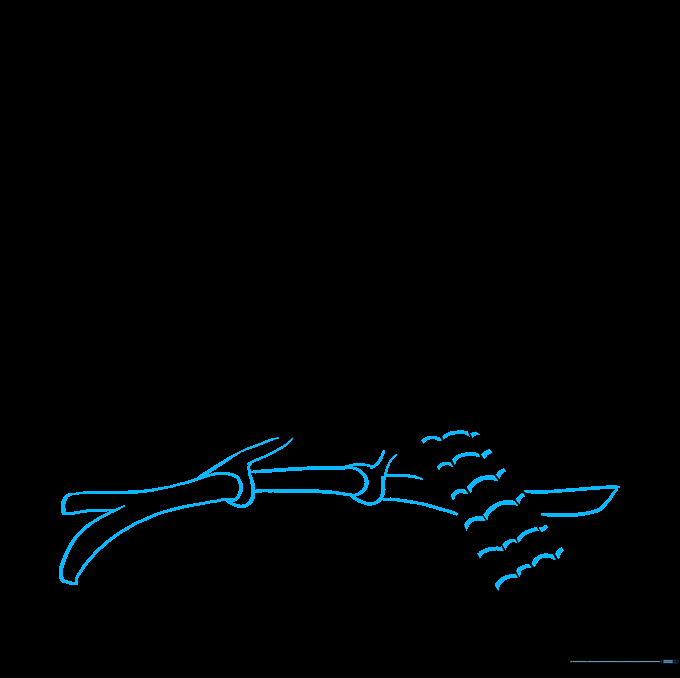
Add bands to the tail and draw the feet resting on a branch. Tip: Use a slightly darker pencil pressure for these final details to make them stand out.
Step 10: Bring Your Bird to Life
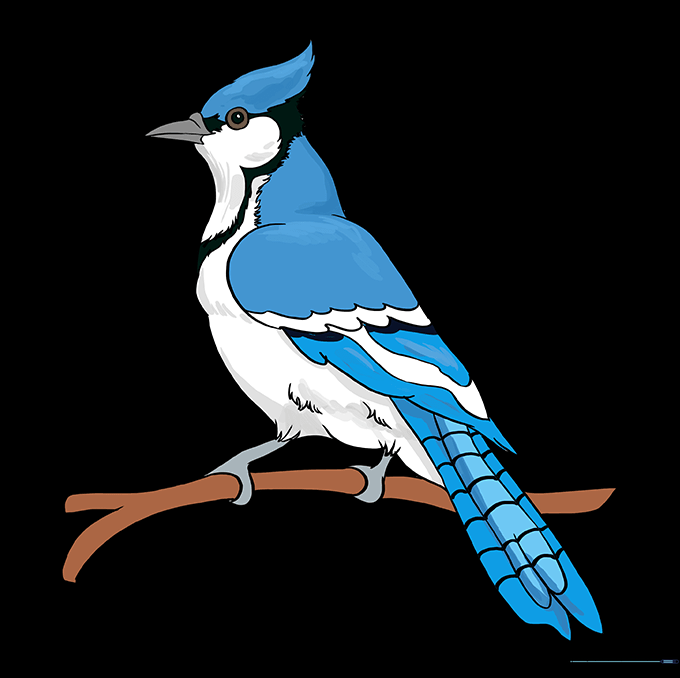
Color your Blue Jay with bright blues, crisp whites, and black accents. Tip: Use light blue for the back and white for the belly to capture the bird's natural, striking contrast.
More Tutorials


