How to Draw a Blobfish: Easy 9-Step Tutorial for Kids
Ready to draw the world's most famous grumpy-looking fish? This tutorial is perfect for young artists ages 5 and up. All you need is a pencil, an eraser, and a piece of paper to bring this deep-sea character to life.
🎯 Final Result

Step-by-Step Instructions
Step 1: Sketching the Eyes

Draw two ovals for the eyes, then add smaller ovals inside for the pupils. Teacher's Tip: Keep the pupils slightly off-center to give your blobfish that classic, curious expression.
Step 2: Defining the Nose

Use soft, curved lines to contour around the eyes and create the bridge of the nose. Tip: Think of this as drawing a gentle 'U' shape between the eyes.
Step 3: Drawing the Mouth

Sketch a wide, frowning mouth using a deep curved line. Add thick lips around it to give it that 'blobby' look. Tip: Press lightly with your pencil to get the curve just right before darkening it.
Step 4: Shaping the Face

Complete the lips with a final curved line, then use three overlapping, loose curved lines to sketch the flabby cheeks. Tip: Don't worry about symmetry; blobfish are naturally lumpy!
Step 5: Adding Facial Contours

Add small curved lines below the mouth and around the eyes to suggest folds in the skin. Tip: These small details add depth and make your drawing look more realistic.
Step 6: Drawing the Pectoral Fin
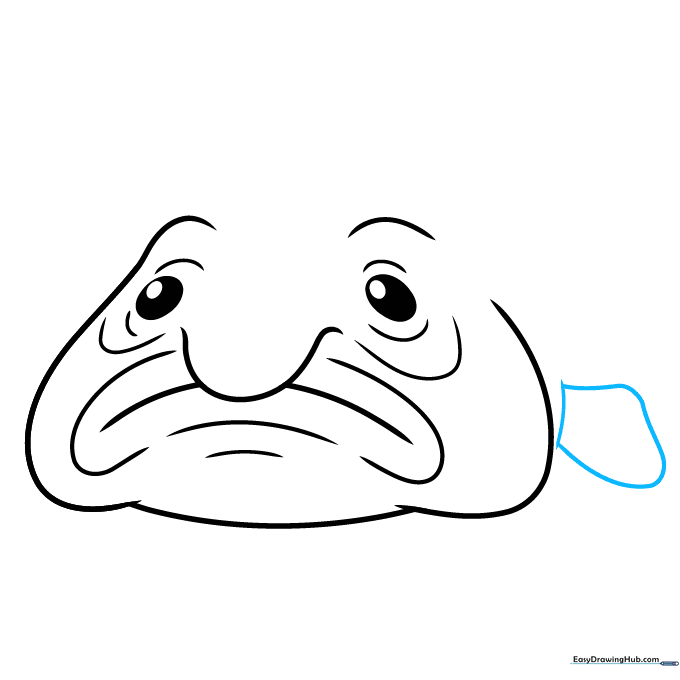
Draw a curved line extending from the side, then double it back to form the fin. Tip: Imagine you are drawing a small, rounded paddle.
Step 7: Outlining the Body
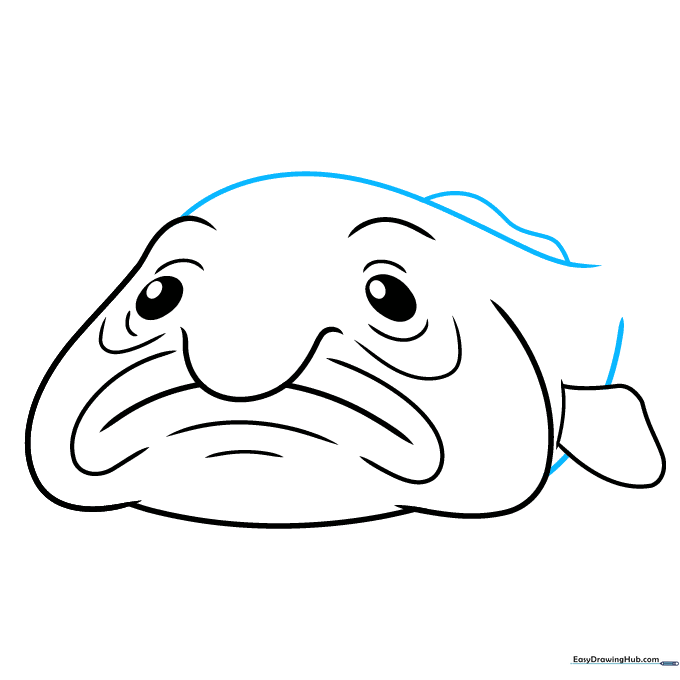
Extend long, flowing curved lines from the brow and cheek to create the body. Add a small dorsal fin on the back. Tip: Keep your lines loose to emphasize the 'blob' shape.
Step 8: Adding the Tail
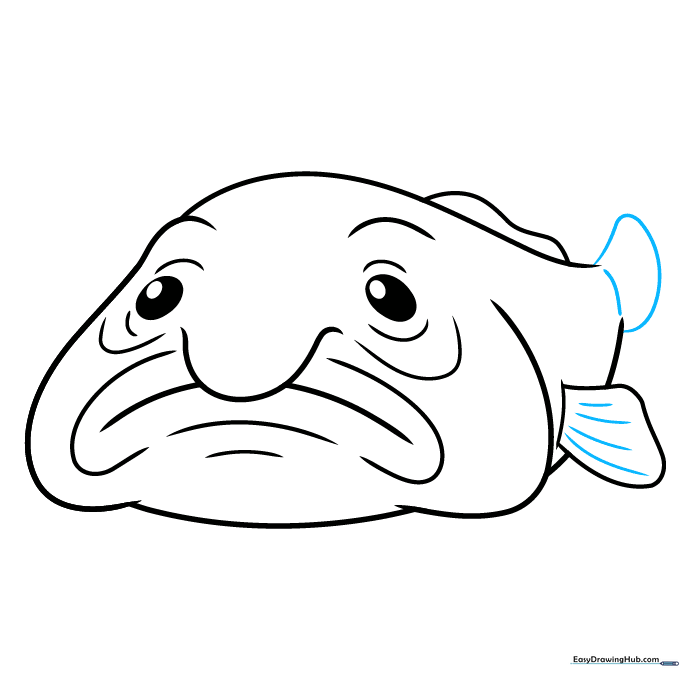
Enclose the tail fin with a curved line and add texture to the pectoral fin using small, parallel lines. Tip: These lines act as 'motion' or 'texture' lines to make the fins look more natural.
Step 9: Final Texturing
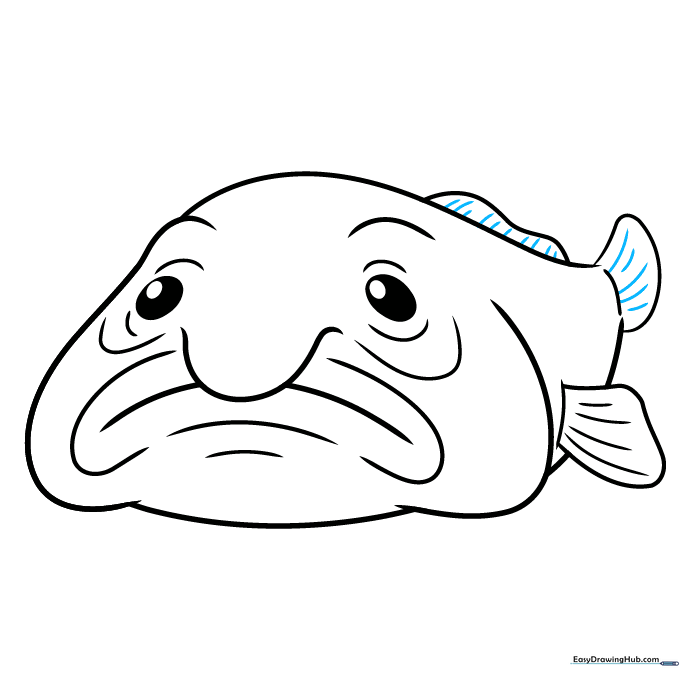
Add parallel curved lines to the tail and dorsal fins to complete the look. Tip: Ensure your lines follow the curve of the fins for a professional finish.
Step 10: Bringing it to Life with Color
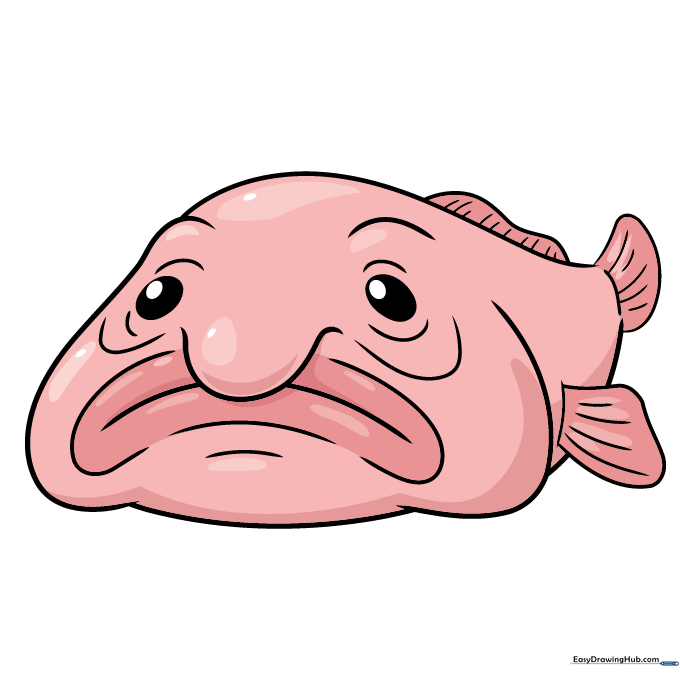
Time to color! Use soft pinks for the skin to mimic how they look out of water, or light grays for a more natural deep-sea look. Tip: Use a darker shade of pink to shade the folds for a 3D effect.
More Tutorials


