How to Draw a Bleeding Heart Flower: Easy 9-Step Guide
Capture the elegance of nature with this beginner-friendly guide to drawing a bleeding heart flower. Perfect for ages 6 and up, this project requires only a pencil, paper, and an eraser to create a stunning botanical illustration. Follow along to master organic shapes and symmetrical floral design.
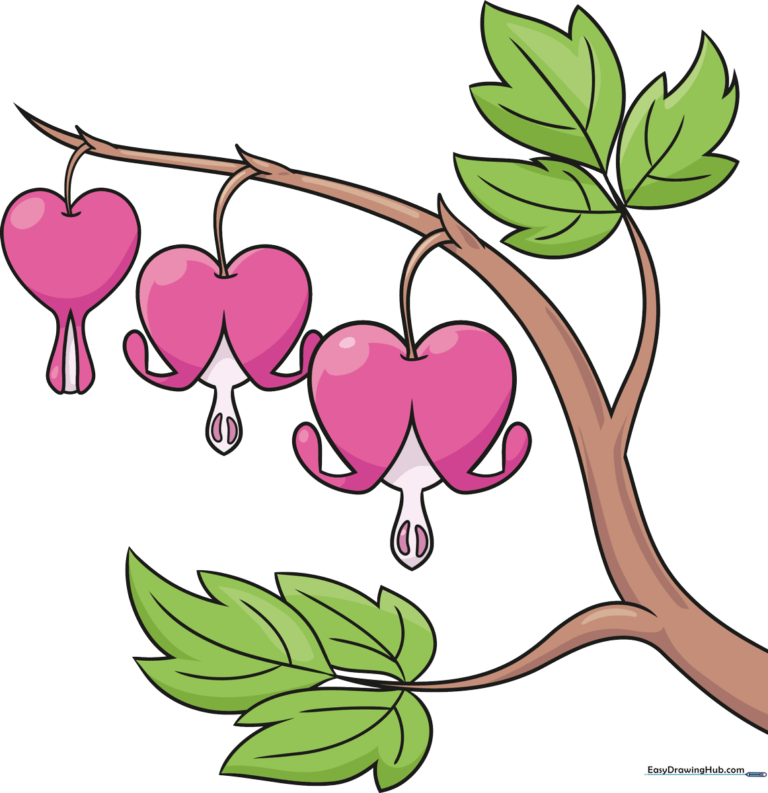
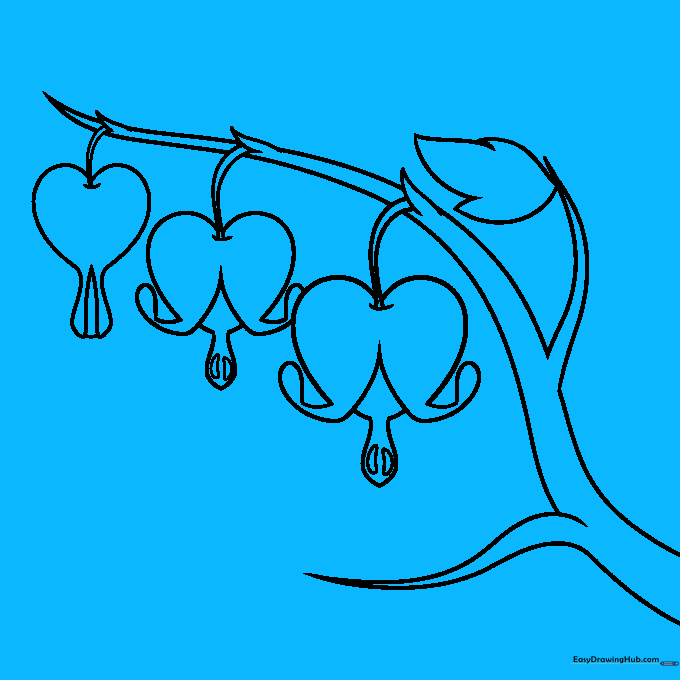
🎯 Final Result
Step-by-Step Instructions
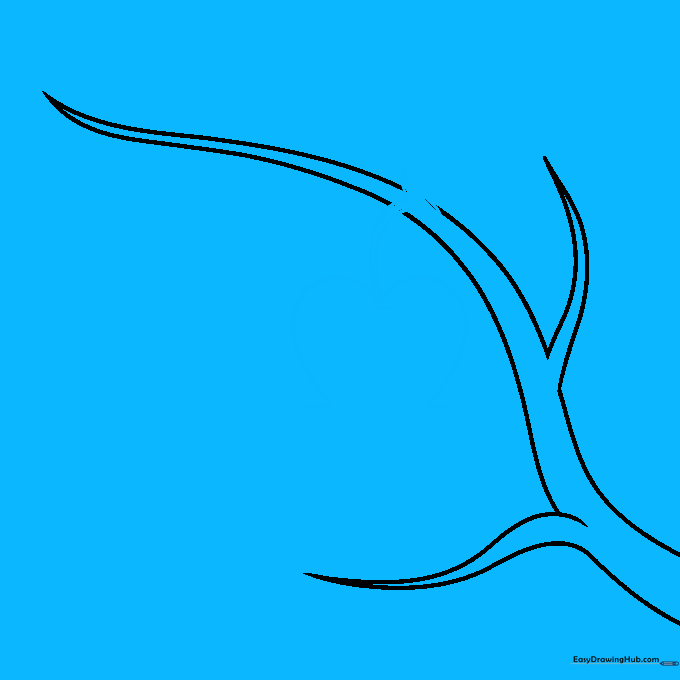
Step 1: Sketching the Main Stem
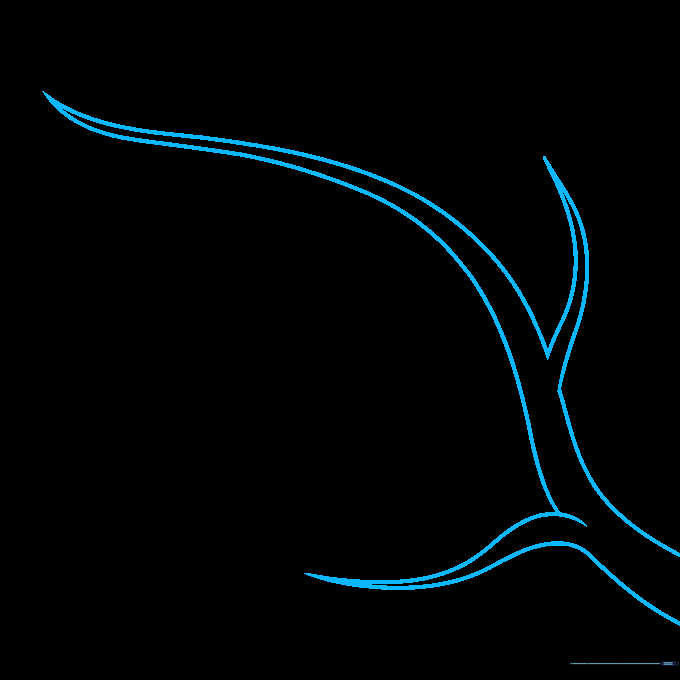
Draw a long, graceful curve that cascades toward the right. Add a parallel line to create a sturdy stem. Teacher's Tip: Keep your pencil pressure light so you can easily adjust the curve if it doesn't look quite right on the first try.
Step 2: Forming the First Petal
Sketch a heart shape hanging from the stem. Instead of closing the bottom point, leave it open with two short, parallel lines. Teacher's Tip: Think of this as a 'soft' heart—don't worry about perfect symmetry yet!
Step 3: Adding Inner Petal Detail
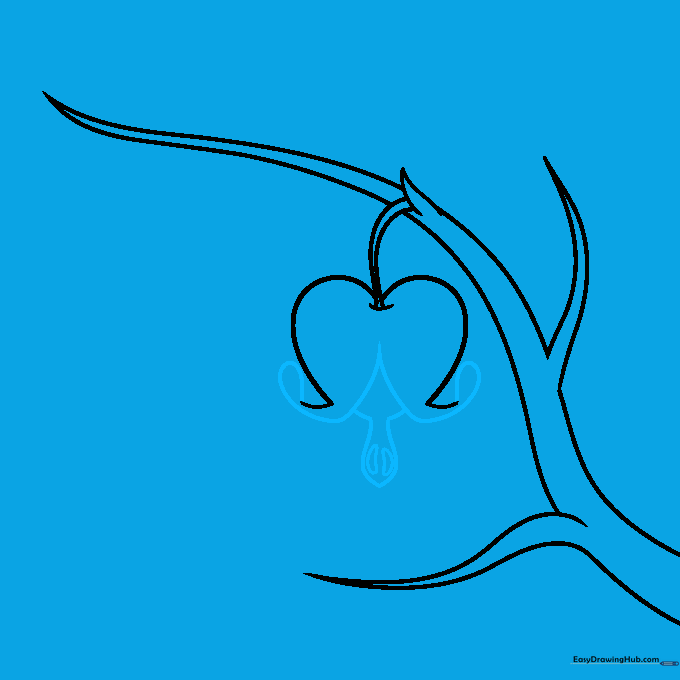
Draw an upside-down 'V' inside the heart, then add small loops on the left and right sides. Place a stretched teardrop shape in the center. Teacher's Tip: Use short, quick strokes to connect these inner details to the outer petals.
Step 4: Creating the Second Flower
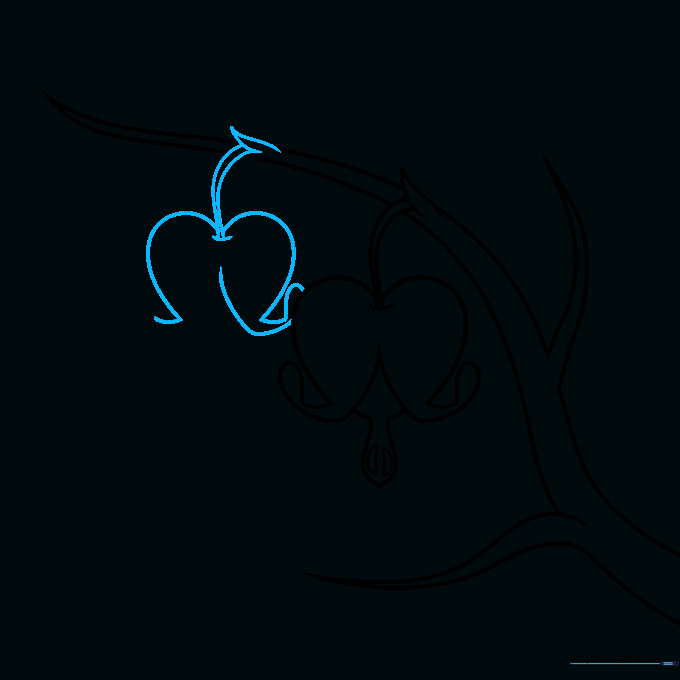
Repeat the previous steps to add a second flower further down the stem. Teacher's Tip: Vary the size slightly to make your drawing look more natural and less like a computer-generated pattern.
Step 5: Adding the Final Bloom
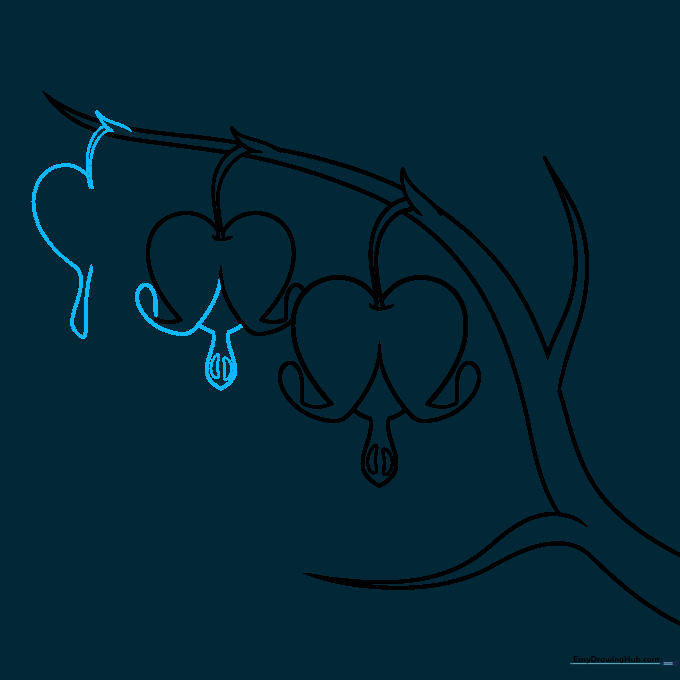
Draw a third, smaller flower at the end of the stem. Use a half-heart shape with an elongated ribbon-like base. Teacher's Tip: This adds a sense of movement to your drawing.
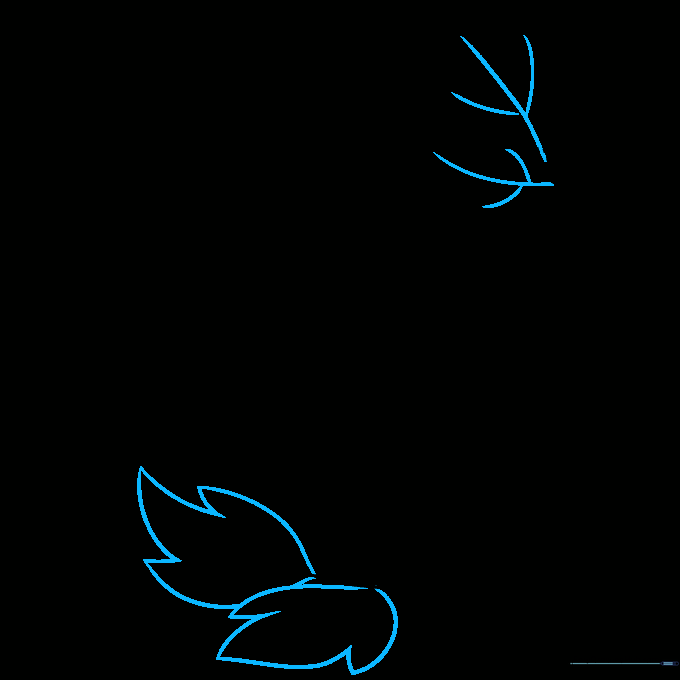
Step 6: Sketching the First Leaf
Draw a flame-shaped leaf using loose, jagged curves. Teacher's Tip: Don't aim for a perfectly smooth edge; leaves in nature are often slightly irregular and crinkled.
Step 7: Adding More Foliage
Add two more leaves using the same technique. Teacher's Tip: Overlap them slightly to create depth in your drawing.
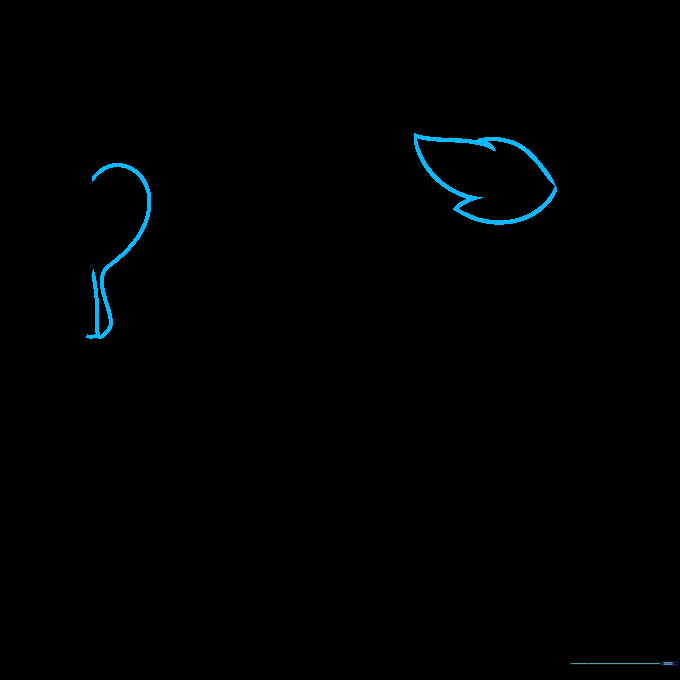
Step 8: Adding Leaf Veins
Draw delicate lines inside the leaves to represent veins. Vary the angles so they don't look identical. Teacher's Tip: Use a sharper pencil for these fine details.
Step 9: Final Touches
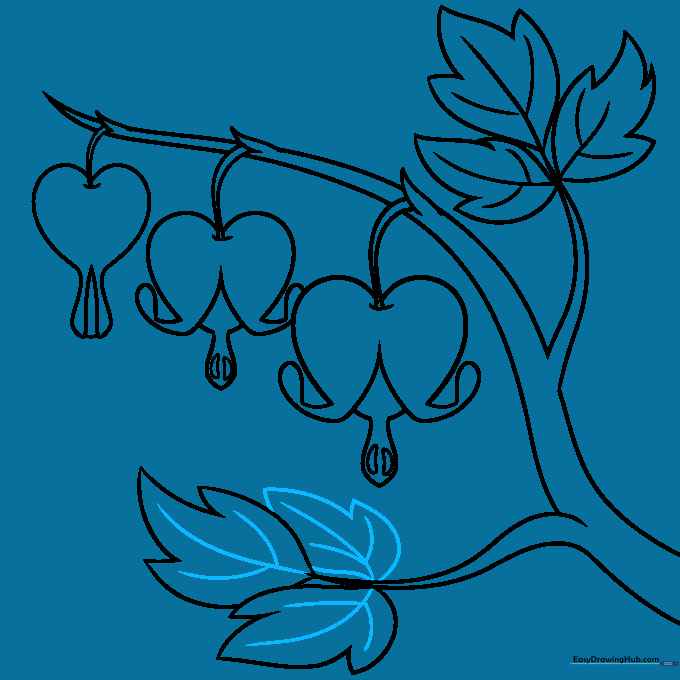
Add any remaining leaves and refine your lines. Teacher's Tip: Before you start coloring, gently erase any stray construction lines to keep your work clean.
Step 10: Coloring Your Masterpiece
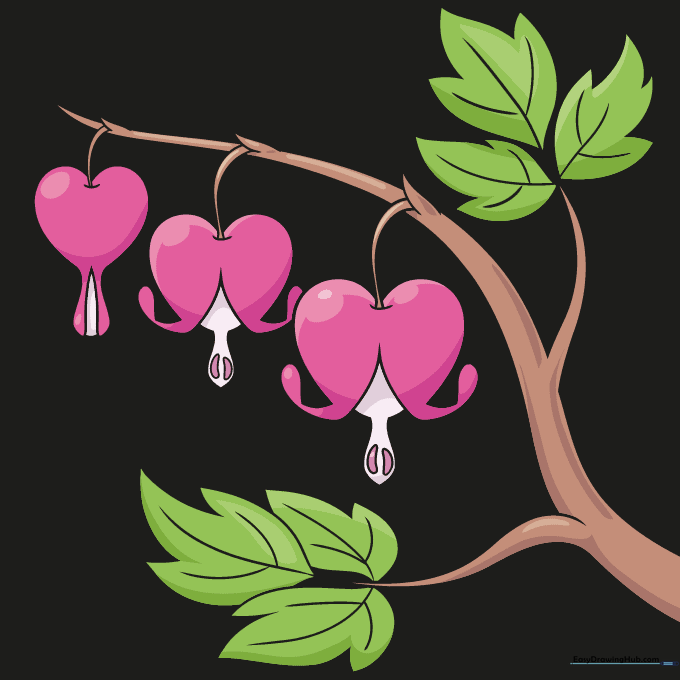
Trace your final lines with a black pen. Use dark pink for the outer petals, light pink for the inner parts, and earthy greens and browns for the leaves and stem. Teacher's Tip: Try using light, circular motions with your colored pencils to create a soft, blended look.
More Tutorials


