How to Draw a Black Widow Spider: Easy 10-Step Guide
Looking for a fun, slightly spooky drawing project? This step-by-step guide is perfect for young artists ages 6+ to practice symmetry and curved lines. All you need is a pencil, an eraser, and a piece of paper to bring this iconic arachnid to life.
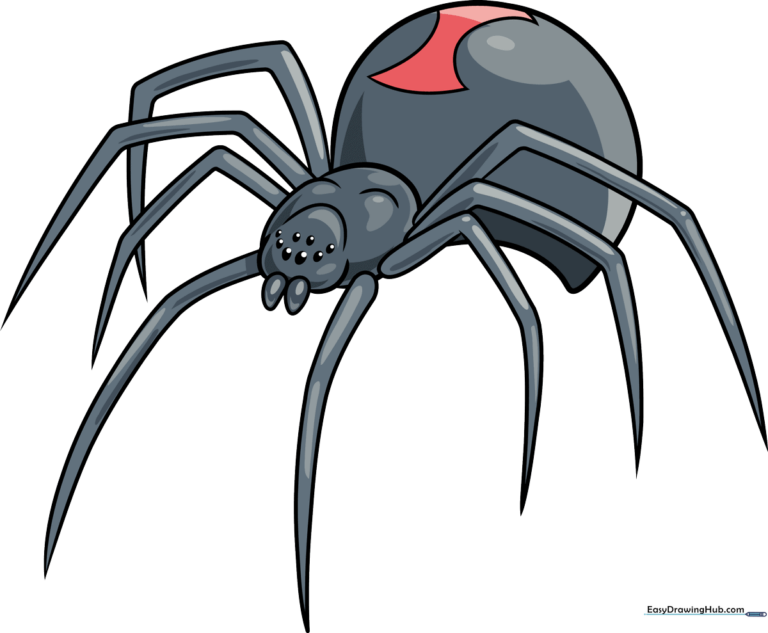
🎯 Final Result
Step-by-Step Instructions
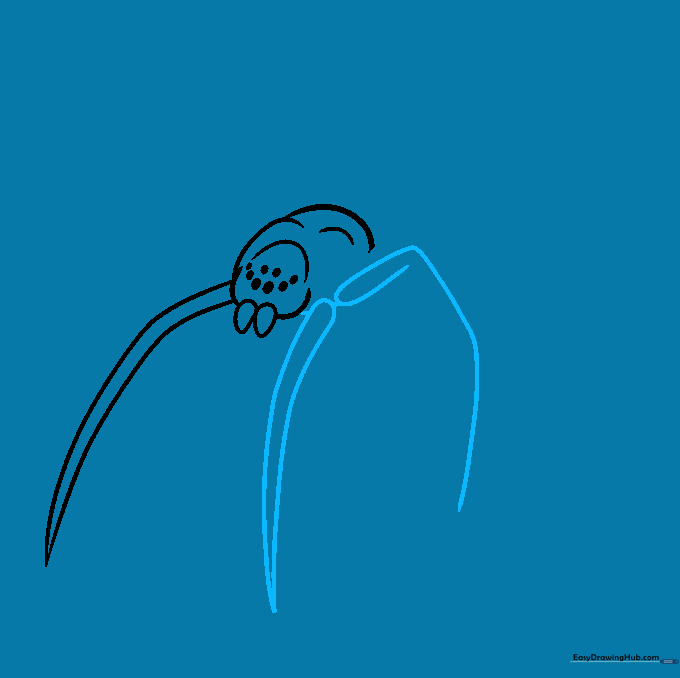
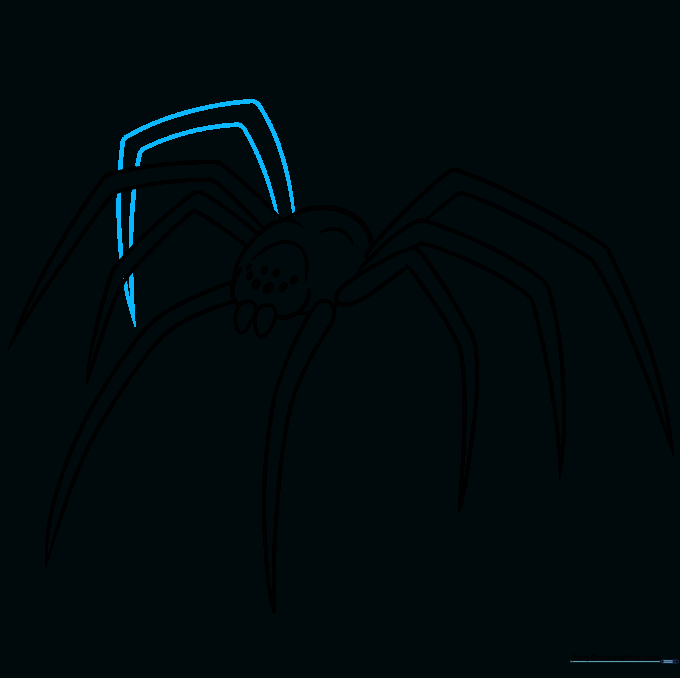
Step 1: Sketching the Fangs
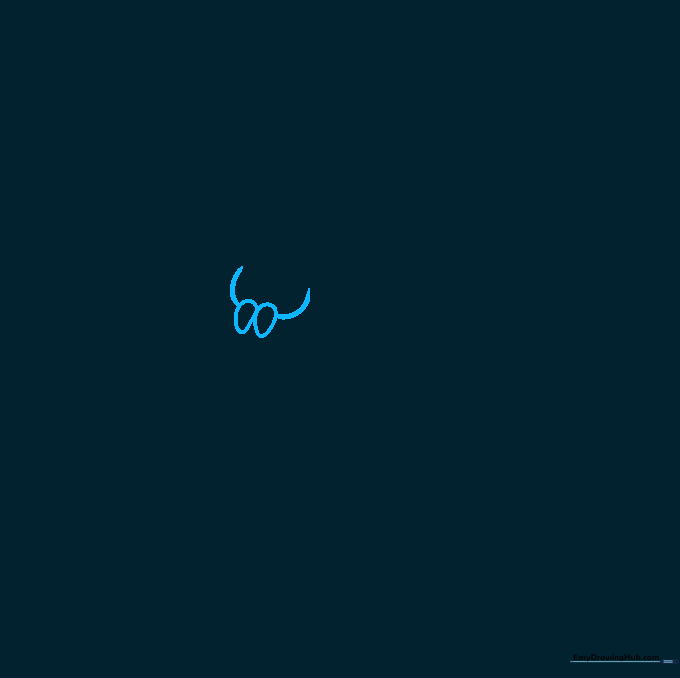
Start by sketching the fangs and the front of the head. Use curved lines to create rounded triangular shapes for the fangs. Teacher's Tip: Keep your pencil pressure light here so you can easily adjust the shape if it looks a bit lopsided.
Step 2: Defining the Cephalothorax
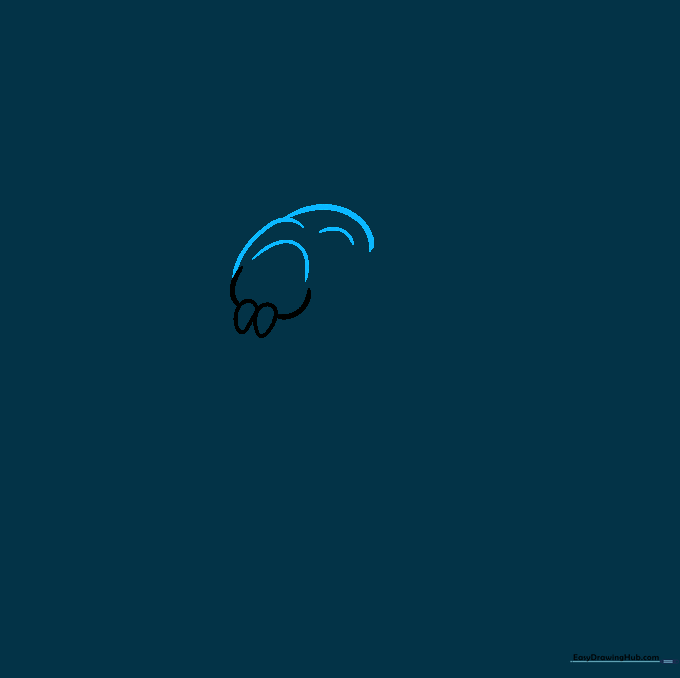
Continue building the head and the midsection, known as the cephalothorax. Use overlapping curved lines to give it a rounded, organic look. Tip: Think of this shape like a small bean; it doesn't need to be perfectly symmetrical!
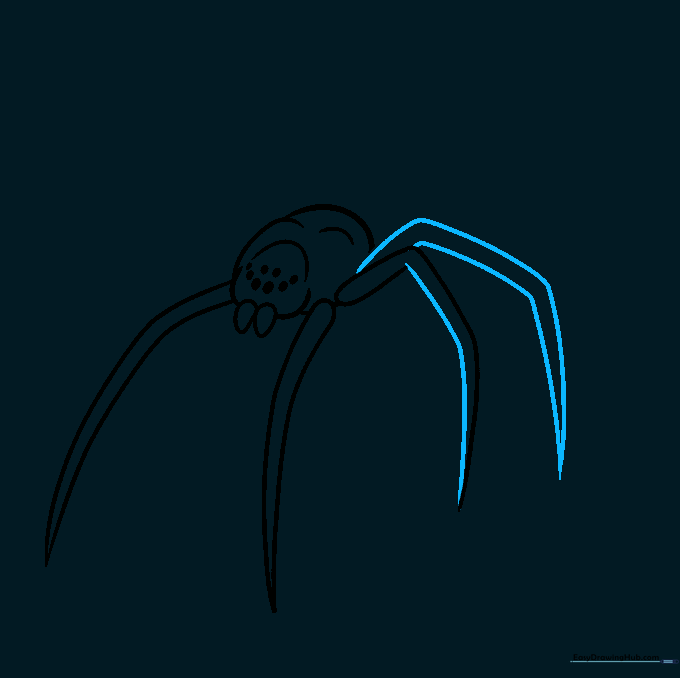
Step 3: Adding Eyes and First Leg
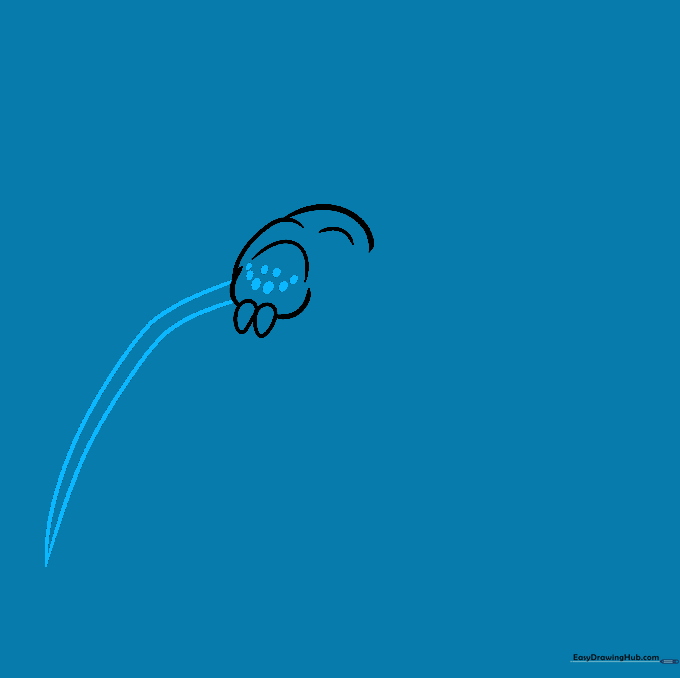
Add two rows of tiny ovals for the eyes—spiders actually have eight! Then, draw the first leg using long, sweeping curved lines that meet at a sharp point. Tip: Use a 'flicking' motion with your wrist to get that nice, tapered point at the end of the leg.
Step 4: Sketching Leg Segments
Draw the second leg, then start the third leg with an 'L' shaped bend at the top. Connect these to the head with short, firm lines. Tip: The 'L' shape helps the spider look like it's crouching, which adds a lot of character to your drawing.
Step 5: Continuing the Legs
Finish the third leg and add the fourth leg using the same pair-of-lines technique. Tip: Keep your lines parallel to each other to ensure the legs look thick and sturdy rather than like thin sticks.
Step 6: Adding More Legs
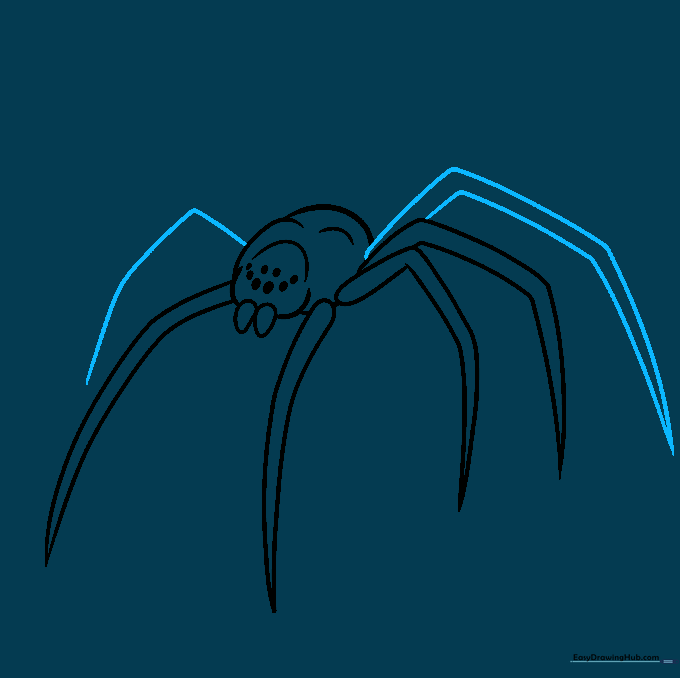
Draw the fifth leg with clear joints, and start the sixth leg on the opposite side with another 'L' shape. Tip: Notice how the legs are starting to fan out; this creates a sense of movement.
Step 7: Refining the Legs
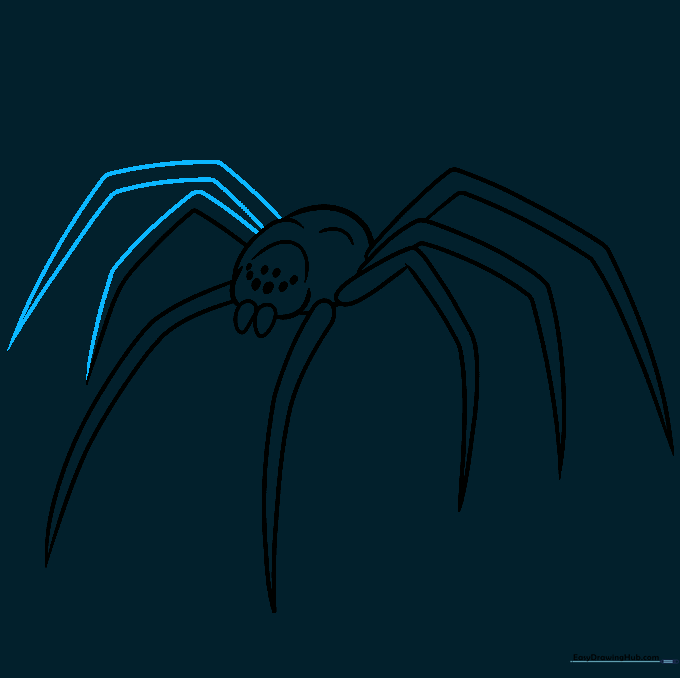
Close the outline of the sixth leg and draw the seventh leg. Tip: If you find the legs are getting crowded, use your eraser to clean up any overlapping lines that shouldn't be there.
Step 8: The Final Leg
Add the eighth and final leg. It should look partially hidden behind the others to create depth. Tip: This is called 'overlapping'—it's a great way to make your 2D drawings look more 3D!
Step 9: The Abdomen and Hourglass
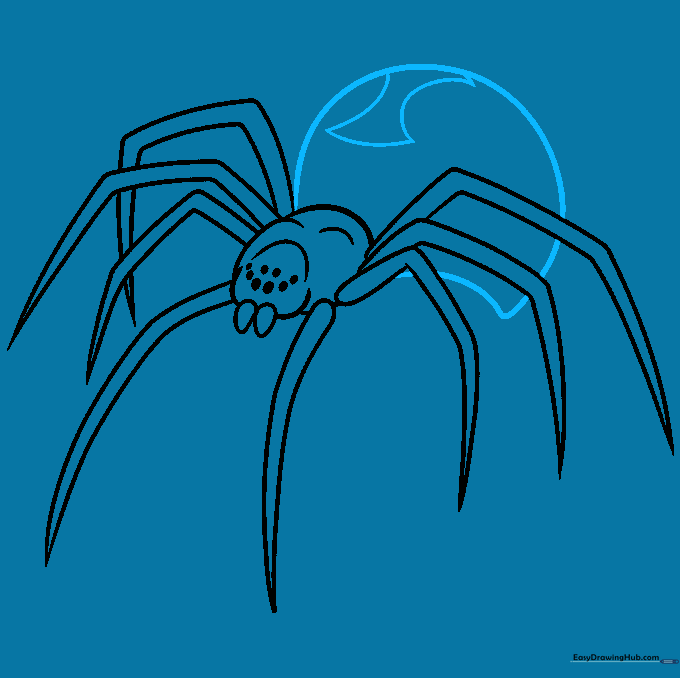
Draw the large, teardrop-shaped abdomen. Inside, sketch the iconic hourglass shape. Tip: Take your time with the hourglass—it's the most recognizable part of the Black Widow, so make it bold!
Step 10: Coloring Your Spider

Time to color! Use a deep, shiny black for the body and a vibrant red for the hourglass. Tip: If you want to make it look 'shiny,' leave a small white sliver uncolored on the abdomen to act as a highlight.
More Tutorials


