How to Draw a Black Hole: Easy 10-Step Space Art Guide
Ready to explore the mysteries of space? This tutorial is perfect for budding astronomers ages 6+ who want to draw a dynamic black hole. Grab a pencil, an eraser, and some markers to bring this cosmic phenomenon to life on your page.
🎯 Final Result

Step-by-Step Instructions
Step 1: Sketching the Event Horizon
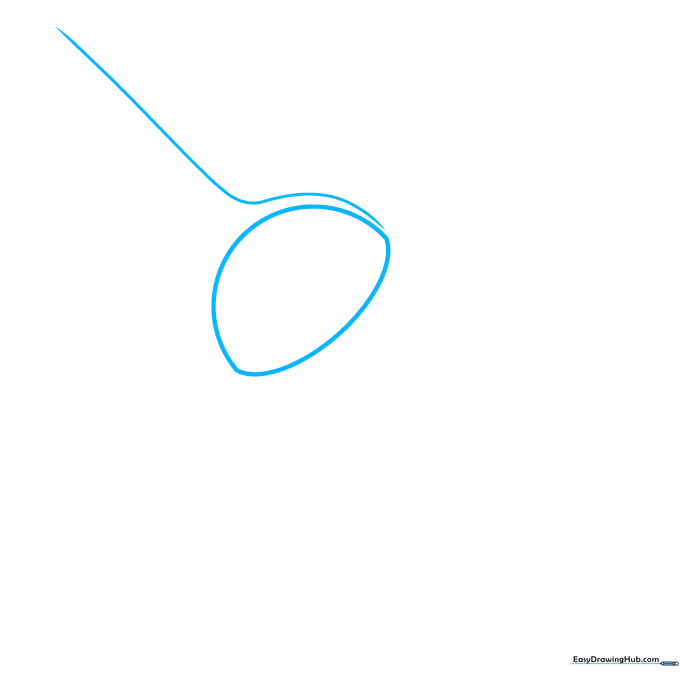
Start by drawing a half-circle. Keep the curve gentle rather than perfectly round. This represents the event horizon—the point of no return! Tip: Use a light touch with your pencil so you can easily adjust the shape if needed.
Step 2: Adding the Relativistic Jet
Draw a long, sweeping curve extending above your half-circle to represent the relativistic jet. Tip: Imagine you are drawing a fountain of energy spraying out from the center of the hole.
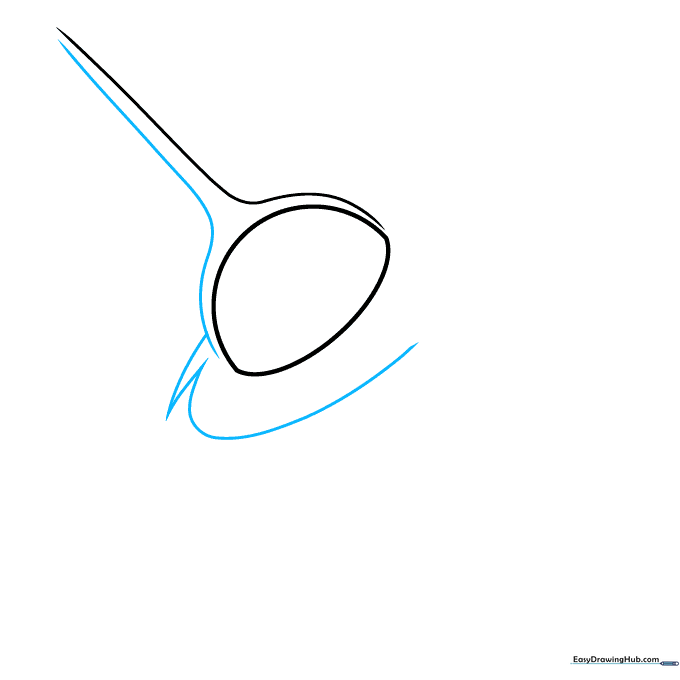
Step 3: Beginning the Accretion Disk
Use sharp, pointed curved lines to start the swirling accretion disk around the center. Tip: Think of these as 'flame' shapes wrapping around the hole; don't worry about making them perfectly symmetrical.
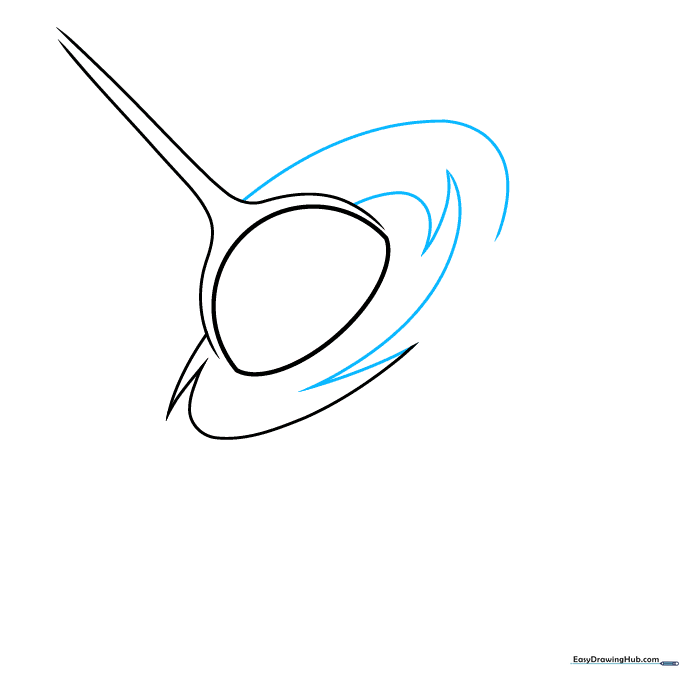
Step 4: Expanding the Spiral
Continue adding more curved, pointed shapes to build out the spiral arms. Tip: Vary the length of your lines to make the disk look like it is spinning in space.
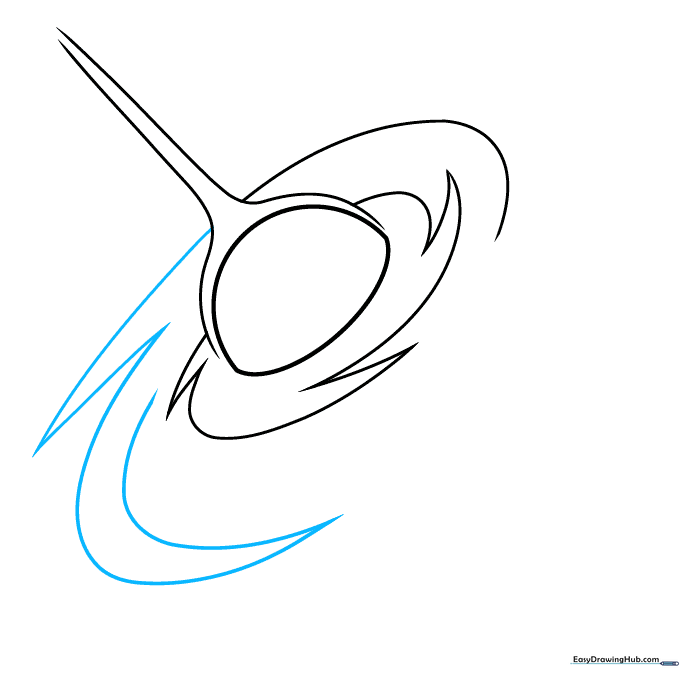
Step 5: Layering the Disk
Add another layer of spiraling arms. Tip: Keep your pencil strokes fluid—space is all about movement, so avoid stiff, straight lines.
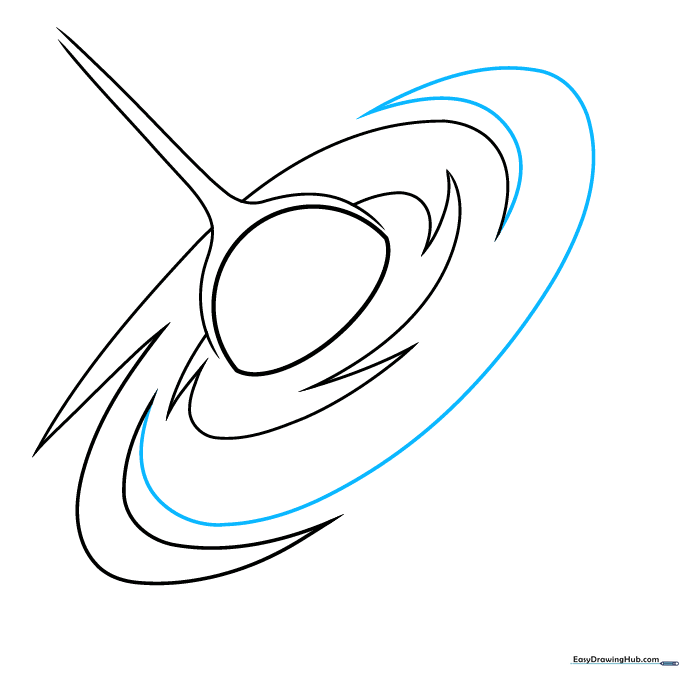
Step 6: Refining the Edges
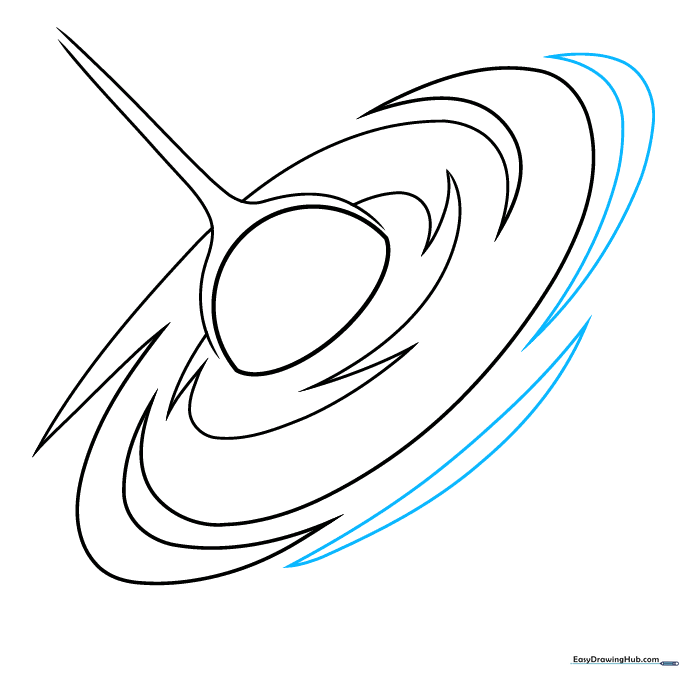
Add long, double-pointed shapes at the outer edges of the disk. Tip: These represent the outer gas clouds being pulled in by gravity.
Step 7: Completing the Jets
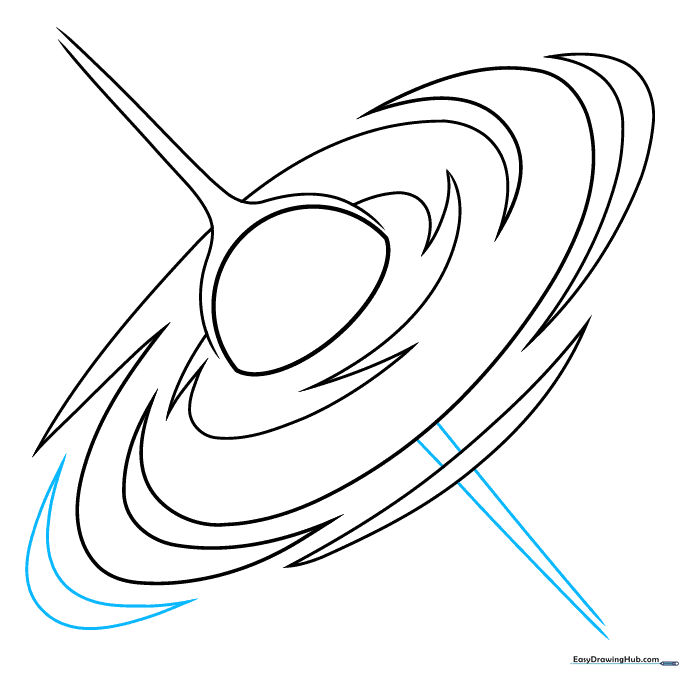
Finish the disk details and sketch the second relativistic jet extending from the bottom pole. Tip: Make sure the bottom jet mirrors the top one to keep the drawing balanced.
Step 8: Adding Background Stars
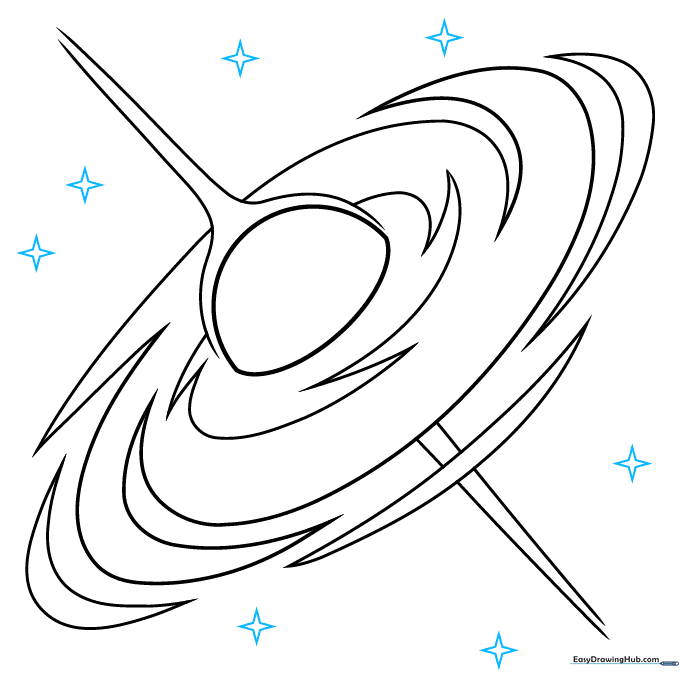
Draw small, four-pointed stars in the background to set the scene. Tip: Draw them in different sizes to create a sense of distance.
Step 9: Finalizing the Starfield

Fill in the remaining space with smaller stars. Tip: Use a light touch for these smaller stars so they don't distract from the main black hole.
Step 10: Adding Color
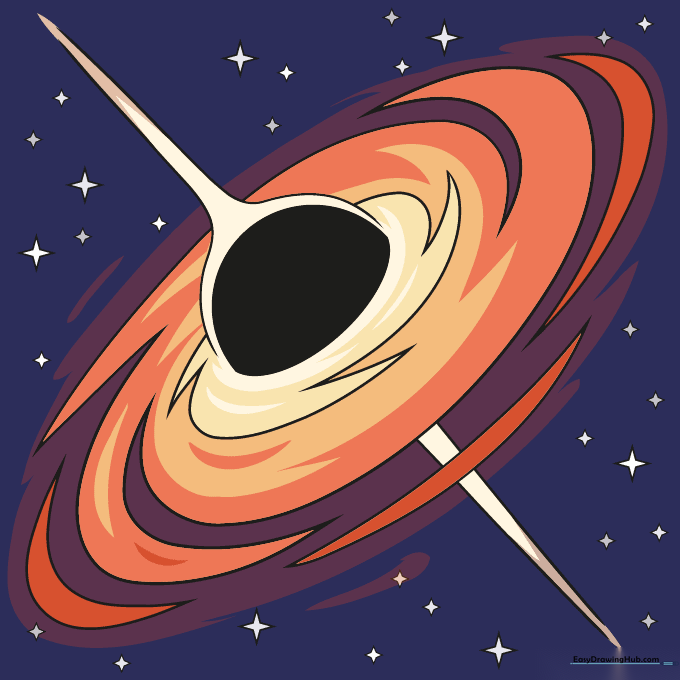
Bring your drawing to life! Use vibrant oranges and purples for the swirling accretion disk, and leave the center deep black. Tip: Use a blending tool or your finger to smudge the colors slightly for a glowing, gaseous effect.
More Tutorials


