How to Draw a Black Girl Cartoon: Easy 10-Step Guide
Ready to create a vibrant cartoon character? This tutorial is perfect for young artists ages 7+ looking to practice facial proportions and expressive line work. Grab a pencil, an eraser, and your favorite markers to bring your character to life.
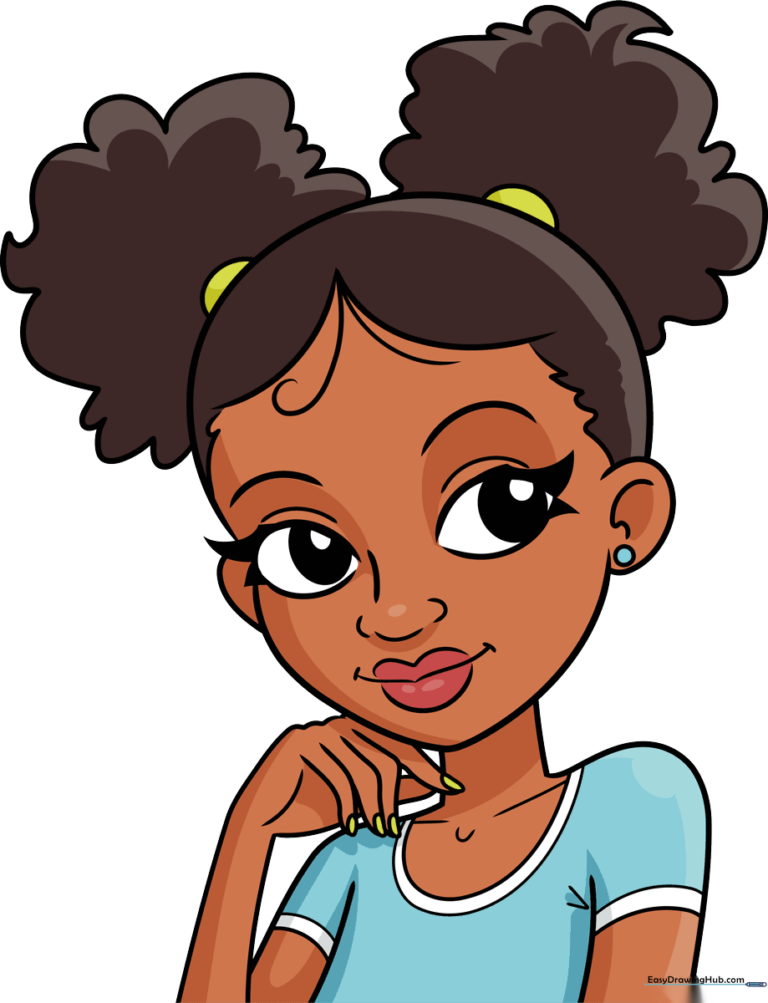
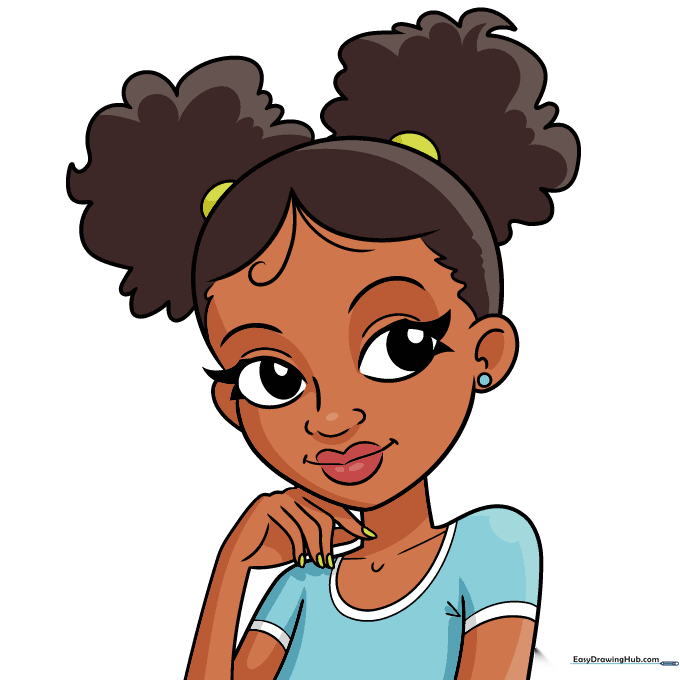
🎯 Final Result
Step-by-Step Instructions
Step 1: Sketching the Expressive Eyes
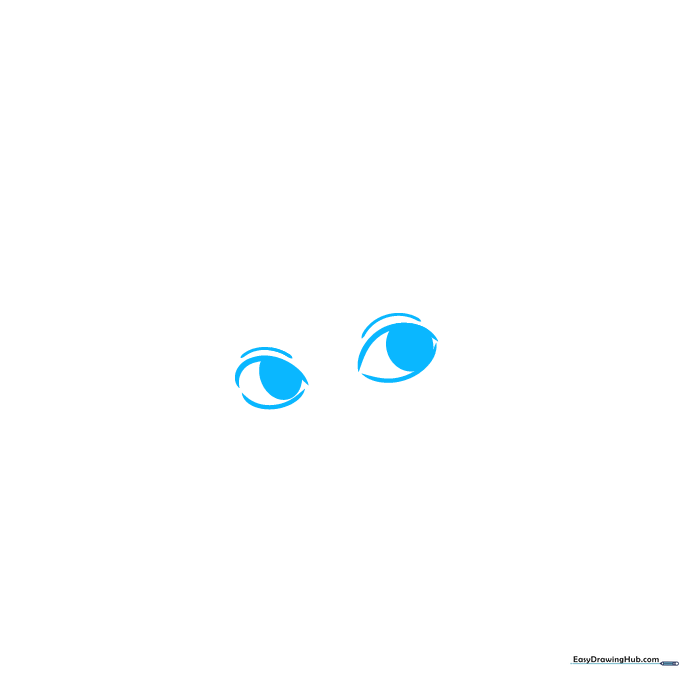
Draw two curved lines for the upper lids, leaving the corners open. Add a gentle curve above each for the eyelid crease. Tip: Keep your pencil pressure light here so you can easily adjust the symmetry later.
Step 2: Adding Facial Features
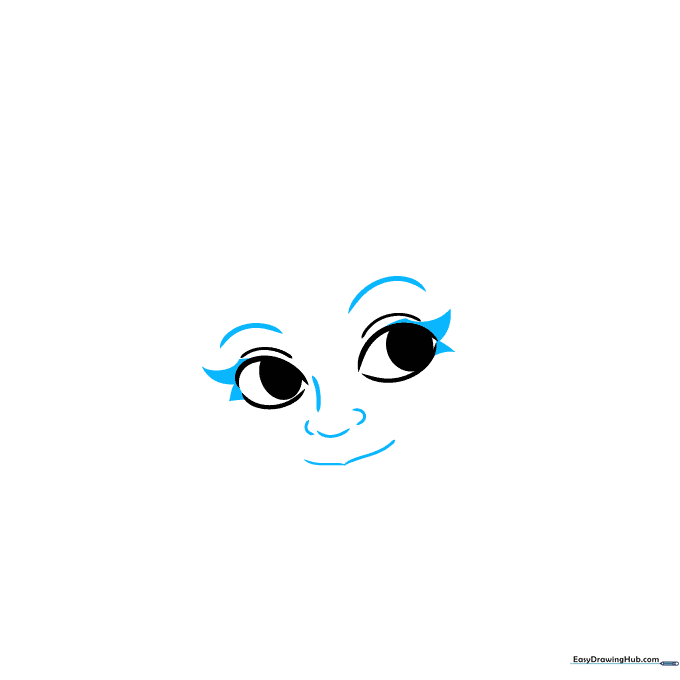
Sketch the eyebrows, a soft nose bridge, and a cheerful smile. Add three small triangles at the outer eye corners for lashes. Tip: Use short, quick strokes for the lashes to give them a natural, fluttery look.
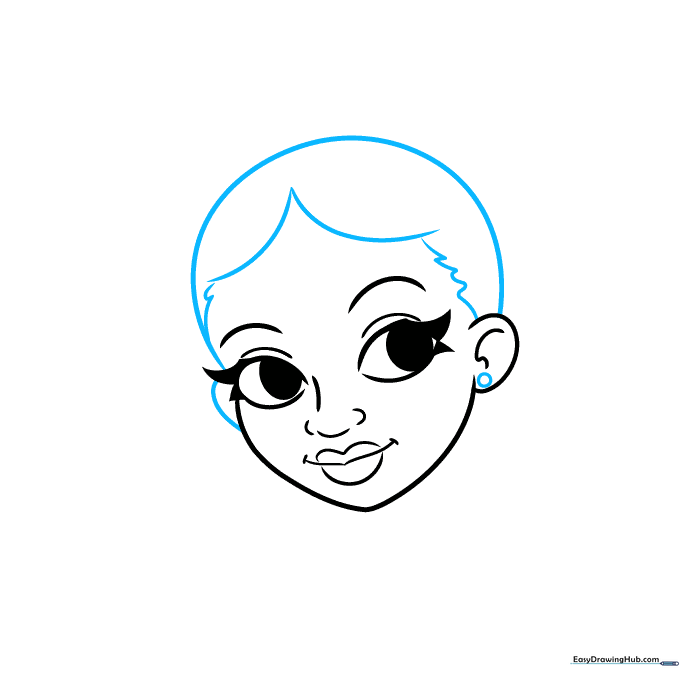
Step 3: Defining the Jawline and Ears

Outline the chin and ear, then add the lips with soft, curved lines. Draw small marks at the mouth corners for a friendly expression. Tip: Keep the chin rounded to maintain a youthful, cartoon aesthetic.
Step 4: Creating the Hairline
Draw a long curve for the top of the head. Use an inverted 'V' for the hairline and connect it to the ears. Add a small circle for an earring. Tip: The earring adds personality—feel free to change the shape to a star or heart!
Step 5: Styling the Afro Puffs
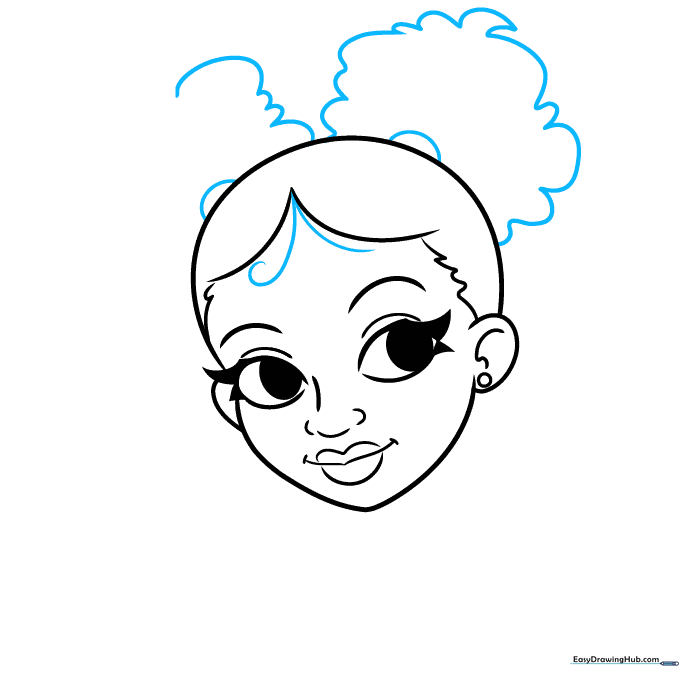
Add a spiral detail to the hairline and two half-circles for hair clips. Use bouncy, curved lines to sketch the afro puff ponytails. Tip: Don't worry about making the puffs perfectly round; natural hair has beautiful, organic volume.
Step 6: Drawing the Neck and Shoulders

Finish the ponytails with soft curves, then extend lines downward to form the neck and shoulders. Tip: Keep the neck lines parallel to ensure the head looks balanced on the body.
Step 7: Adding Clothing Details
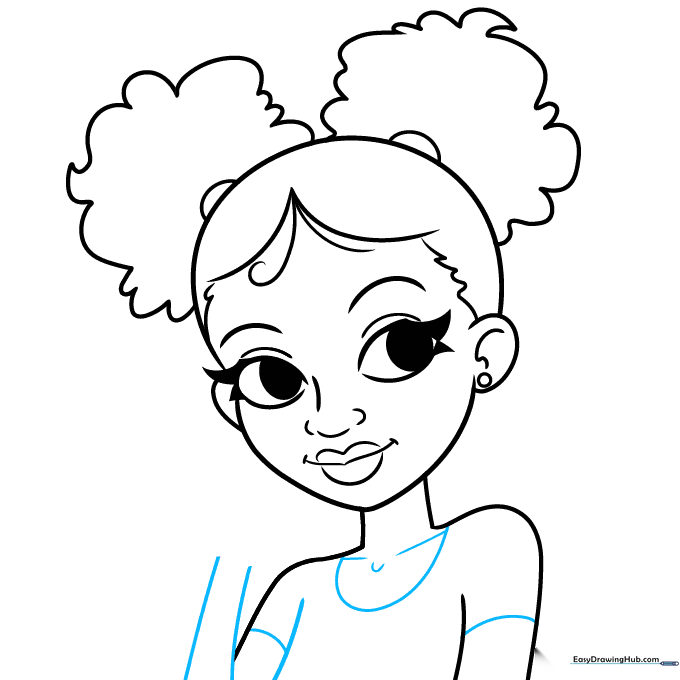
Draw the sleeves, neckline, and collarbones. Tip: Use a slightly curved line for the collarbone to give the character a more realistic posture.
Step 8: Sketching the Hand
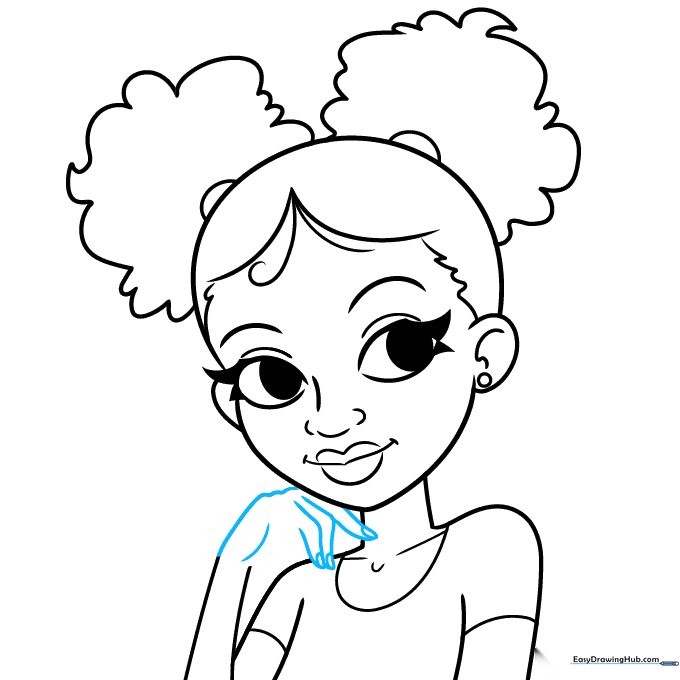
Carefully draw the fingers using curved lines, adding small marks for fingernails. Tip: Hands can be tricky! If they look a bit stiff, try tracing your own hand to see how the knuckles curve.
Step 9: Finalizing the Outline
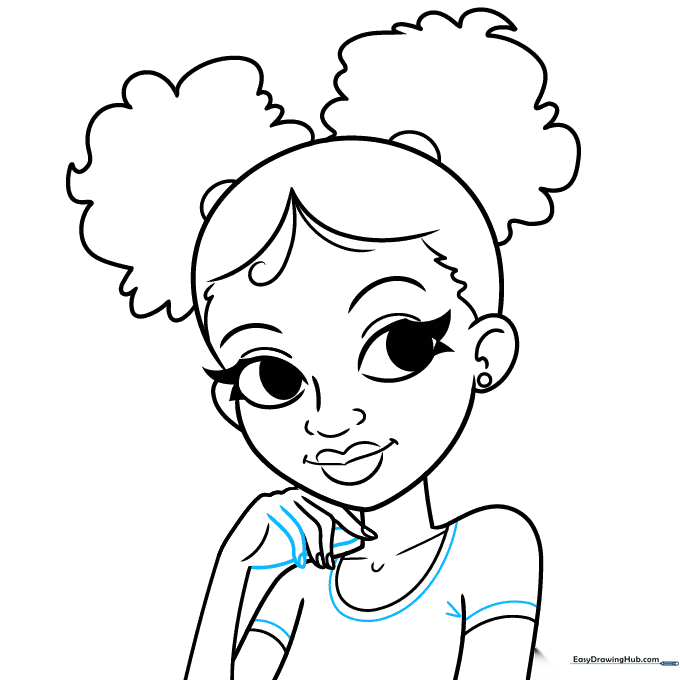
Complete the hand and add fabric creases on the shirt with small 'V' shapes. Tip: These small details make your drawing look professional and finished.
Step 10: Adding Color
Bring your character to life with color! Use warm tones for the skin and your favorite colors for the shirt. Tip: Try blending two shades of brown to add depth and shadows to the skin.
More Tutorials


