How to Draw a Black Cat: Simple 9-Step Guide for Kids
This simple black cat drawing tutorial is perfect for artists ages 5 and up. All you need is a pencil, paper, and an eraser to bring this friendly feline to life. Follow these steps to build confidence in your sketching skills while creating a fun, spooky-season masterpiece.
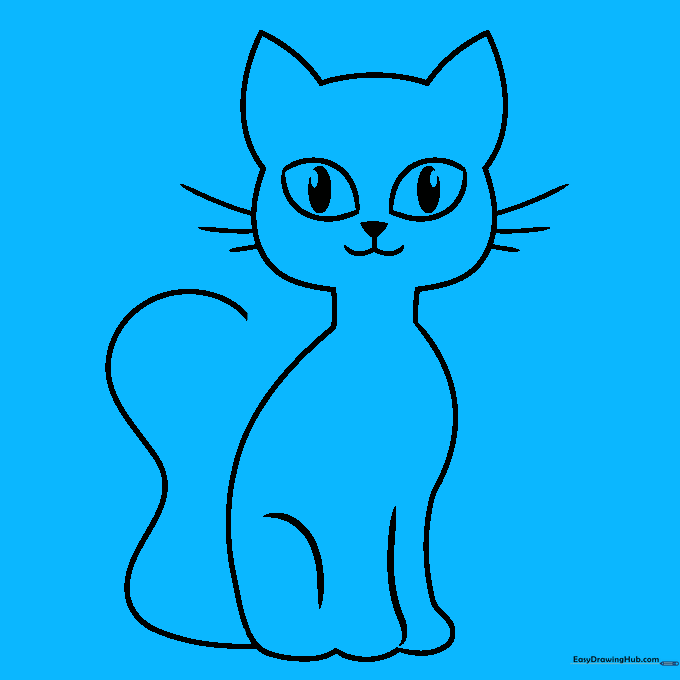
🎯 Final Result

Step-by-Step Instructions
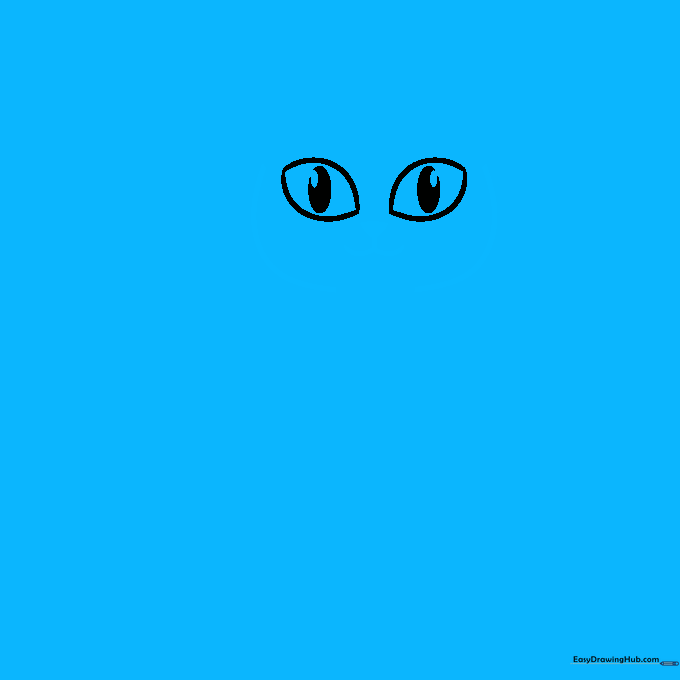
Step 1: Sketching the Eyes

Draw two curved lines that meet at points to create a lemon shape for the eyes. Add an oval in the center, then a smaller oval inside for the pupil. Teacher's Tip: Keep the eyes symmetrical to give your cat a balanced, friendly look.
Step 2: Balancing the Face

Repeat the eye process on the other side. Teacher's Tip: Use your pencil to lightly mark the center of your page first so you know exactly where to place the second eye.
Step 3: Adding the Muzzle
Sketch two wide curves on either side of the face. Draw a small triangle in the center for the nose, then add a loose 'W' shape underneath for the mouth. Teacher's Tip: Keep the nose small to make the cat look extra cute.
Step 4: Drawing the Ears
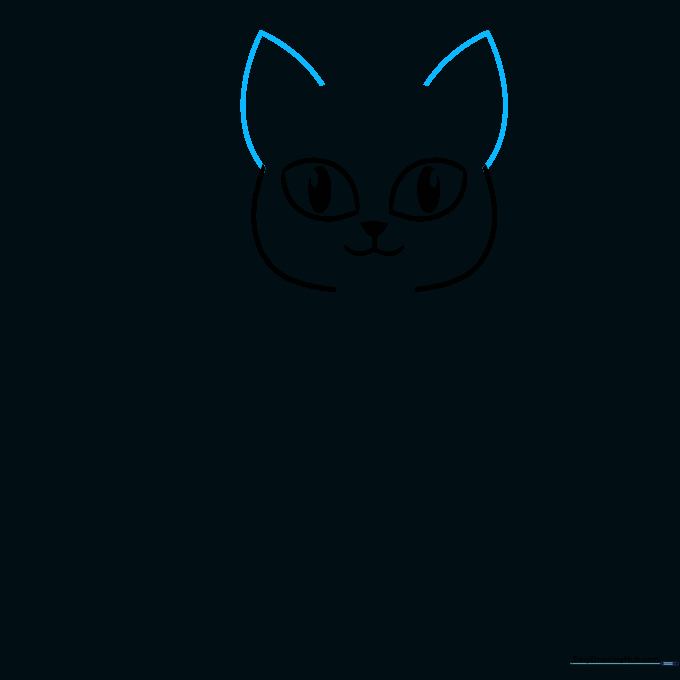
Sketch two curved triangles on top of the head for the ears. Teacher's Tip: Don't worry about making them perfect; cat ears are naturally a bit pointy and irregular.
Step 5: Defining the Neck
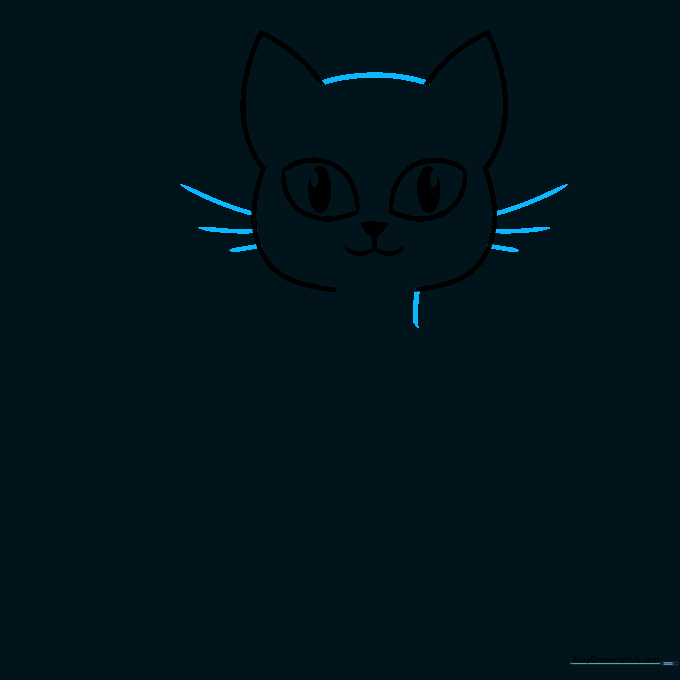
Connect the ears with a smooth line, then sketch whiskers and a line to start the neck. Teacher's Tip: Use quick, flicking motions with your pencil to make the whiskers look sharp and natural.
Step 6: Starting the Body
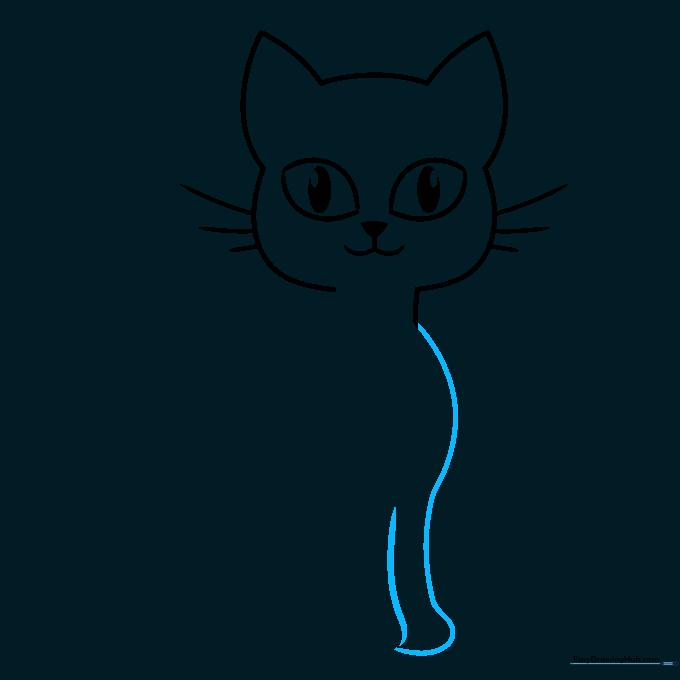
Draw a curved line trailing downward for the right side of the body. Add a curved bottom and a parallel line for the leg. Teacher's Tip: Think of the leg as a soft, rounded rectangle.
Step 7: Completing the Body
On the left, draw a straight line that curves downward, then add two 'hill' shapes for the feet. Teacher's Tip: Keep the feet rounded to give the cat a soft, cartoonish appearance.
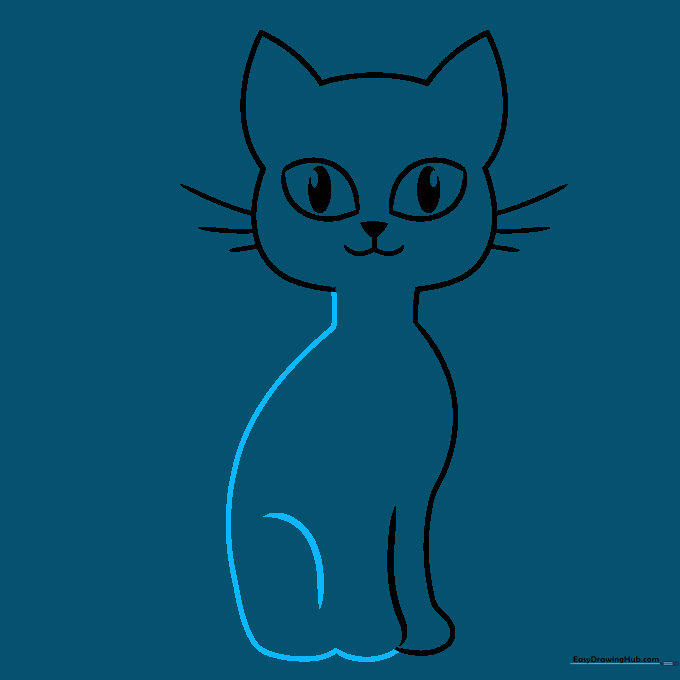
Step 8: Adding the Tail
Draw a wavy line that looks like a bent hook for the tail. Teacher's Tip: A curved tail makes the cat look like it's in motion or feeling playful.
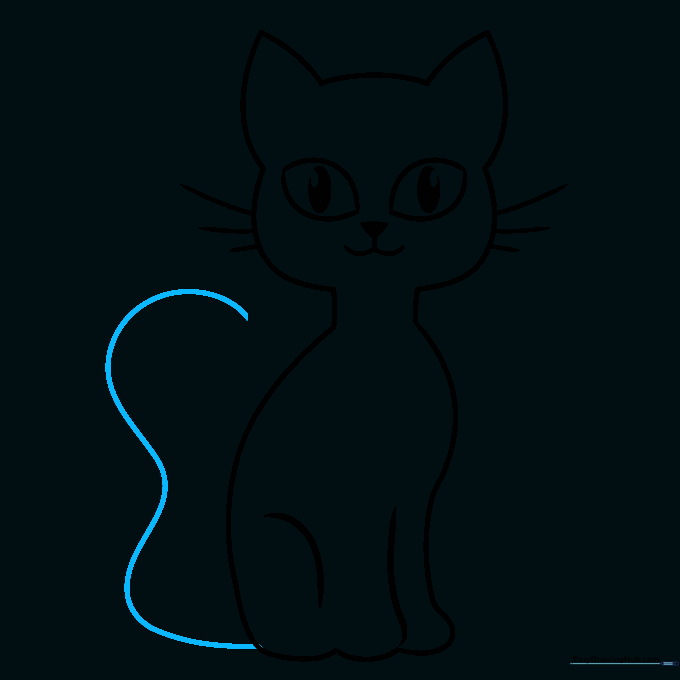
Step 9: Finalizing the Tail
Sketch a parallel wavy line to complete the tail. Teacher's Tip: Ensure the tail is thick enough to look sturdy against the body.
Step 10: Coloring Your Cat
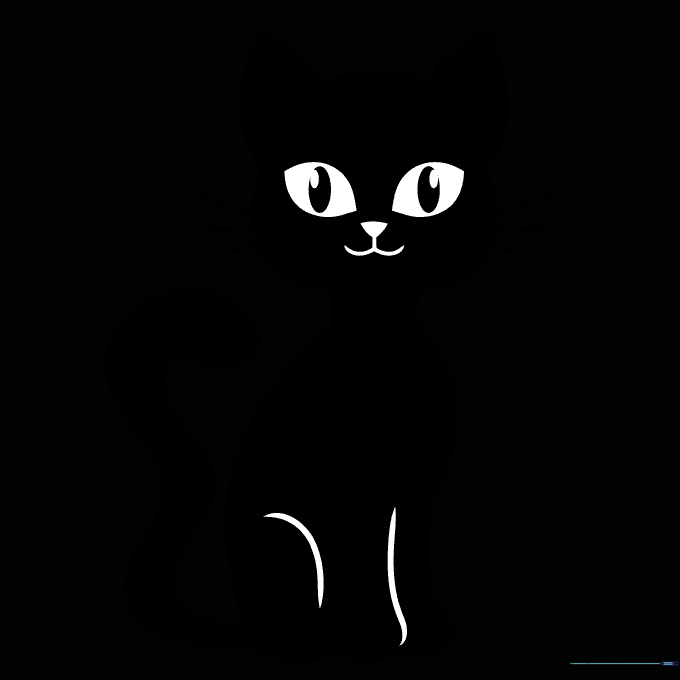
Trace your lines with a black marker. Color the body black, but leave the eyes and mouth area clear or add white highlights. Teacher's Tip: Use a white gel pen or crayon to add a little 'shine' to the eyes for a professional finish.
More Tutorials


