How to Draw a Birthday Cake: Easy Step-by-Step Guide
Celebrate creativity with this fun birthday cake drawing tutorial, designed specifically for ages 5 and up. All you need is a pencil, an eraser, and a piece of paper to bring this sweet treat to life. Follow these simple steps to master basic shapes and create a festive masterpiece you can be proud of.
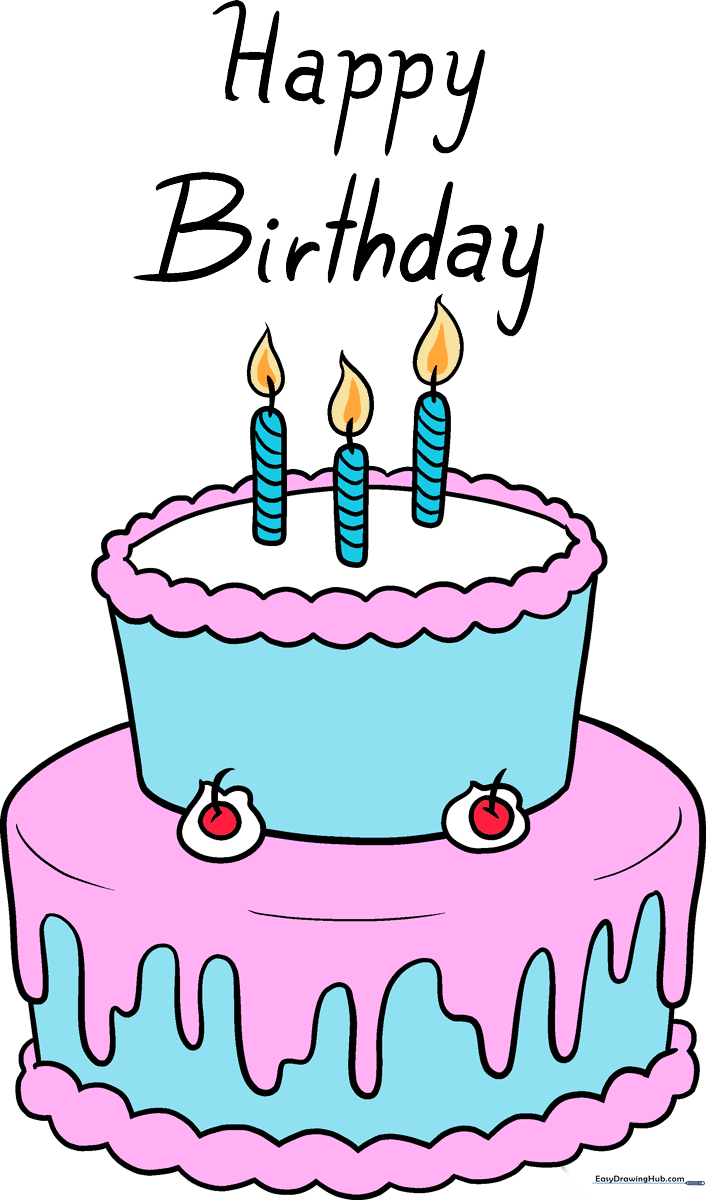
🎯 Final Result
Step-by-Step Instructions
Step 1: Sketching the Base Icing

Start by drawing a series of connected, scalloped curves to form the base of your icing. Tip: Keep these curves rounded and soft to make the icing look thick and delicious.
Step 2: Defining the Cake Sides
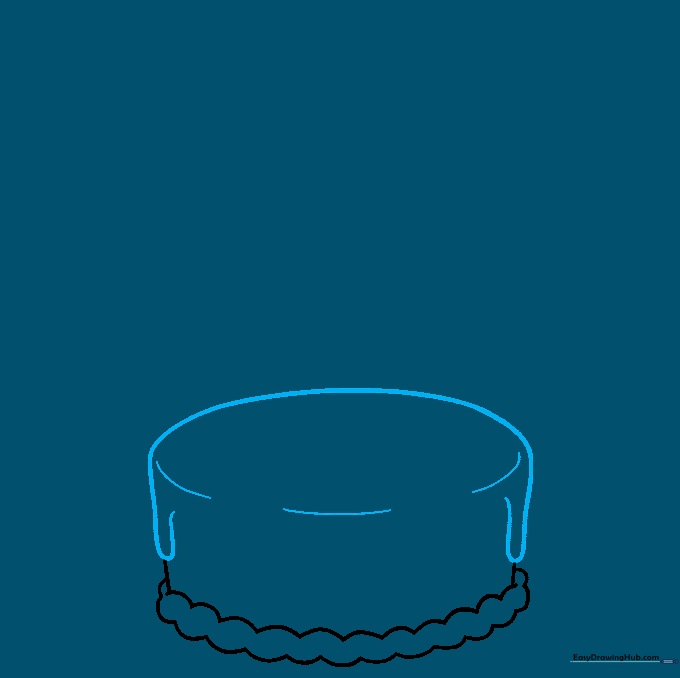
Draw a curved line connecting the sides to create the top of the cake. Tip: Imagine you are drawing a slightly flattened oval to give the cake a 3D perspective.
Step 3: Adding Drip Details
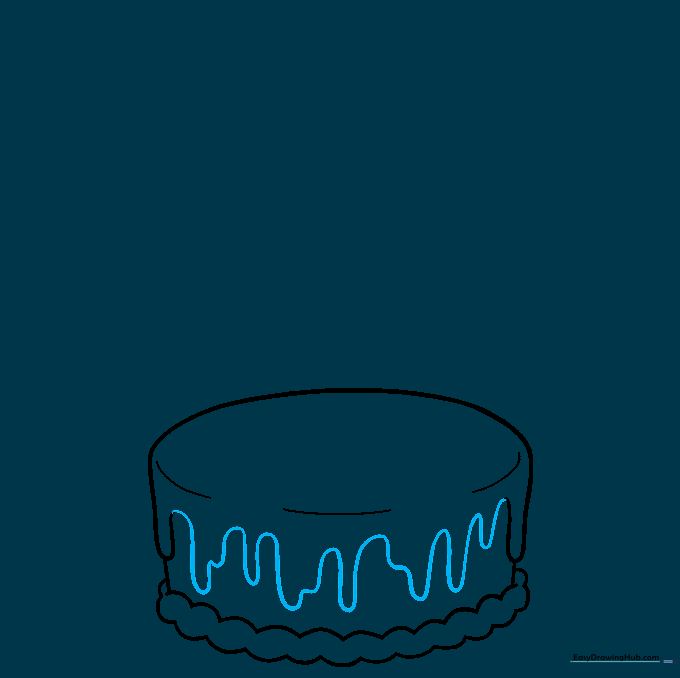
Add more dripping icing by drawing long, wavy lines that double back on themselves. Tip: Vary the length of the drips to make the cake look more natural and appetizing.
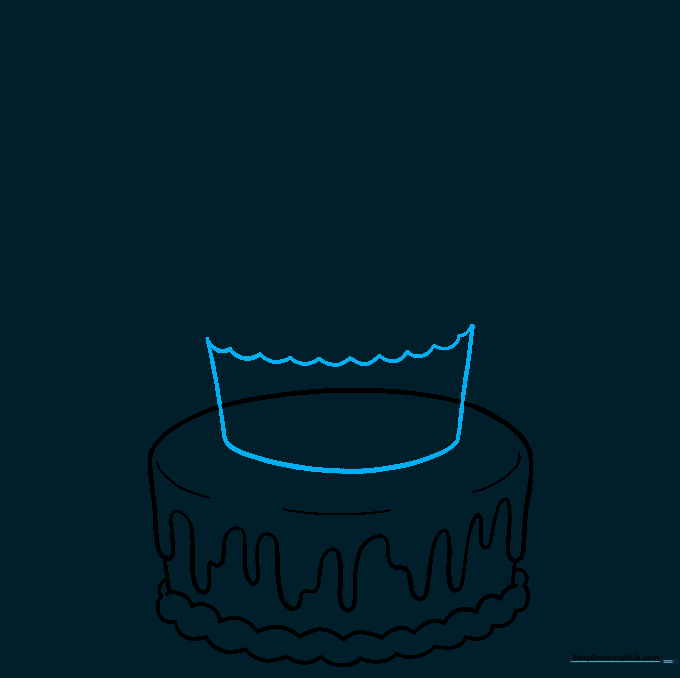
Step 4: Sketching the Second Layer

Draw a second, smaller tier on top using curved lines. Add a scalloped pattern at the top edge for fancy decorative icing. Tip: Keep the second layer centered so the cake looks balanced.
Step 5: Topping with Cherries
Add dollops of icing and draw small circles for cherries on top. Don't forget the tiny curved stems! Tip: Use a light touch for the cherry stems so they look delicate.
Step 6: Refining the Top Layer
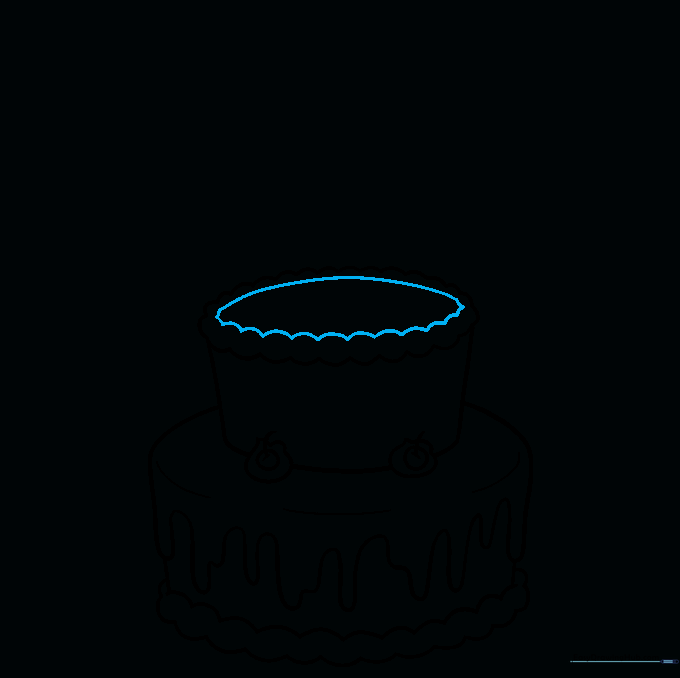
Use short, scalloped lines to contour the front of the top layer. This adds texture and makes the icing look fluffy. Tip: Make sure the lines overlap slightly for a realistic look.
Step 7: Drawing Candles
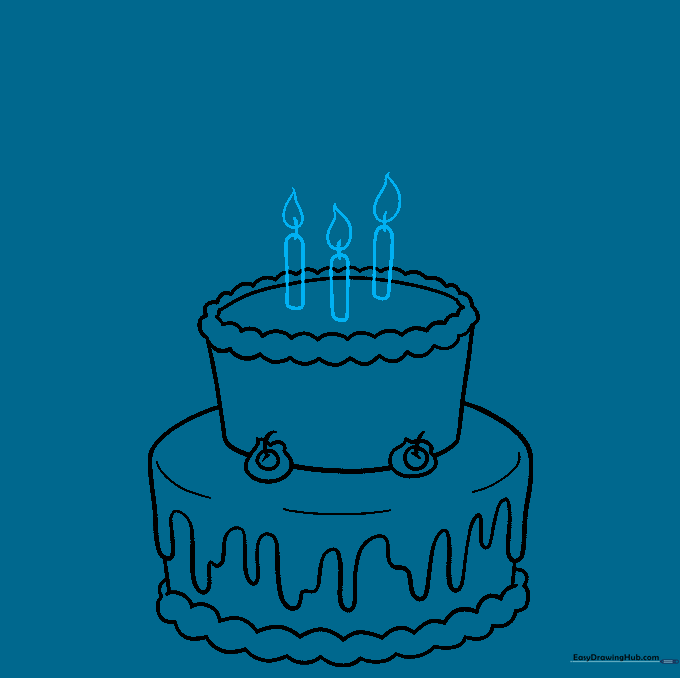
Draw rounded rectangles for candles, adding a small teardrop shape on top for the flame. Tip: Draw the flames slightly off-center to make them look like they are flickering in the breeze.
Step 8: Adding Details and Text
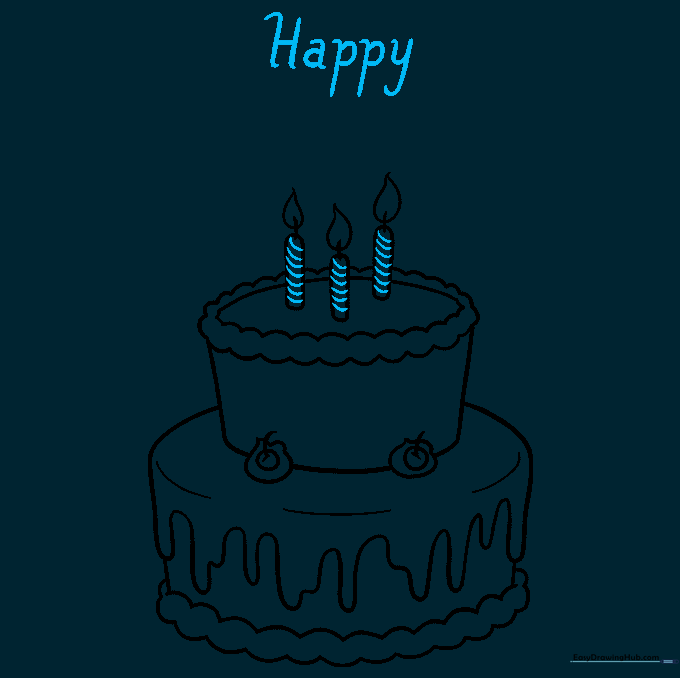
Add stripes to your candles and write the word "Happy" above the cake. Tip: Use a ruler if you need help keeping your letters straight, or go for a fun, bubbly font style.
Step 9: Finalizing the Message
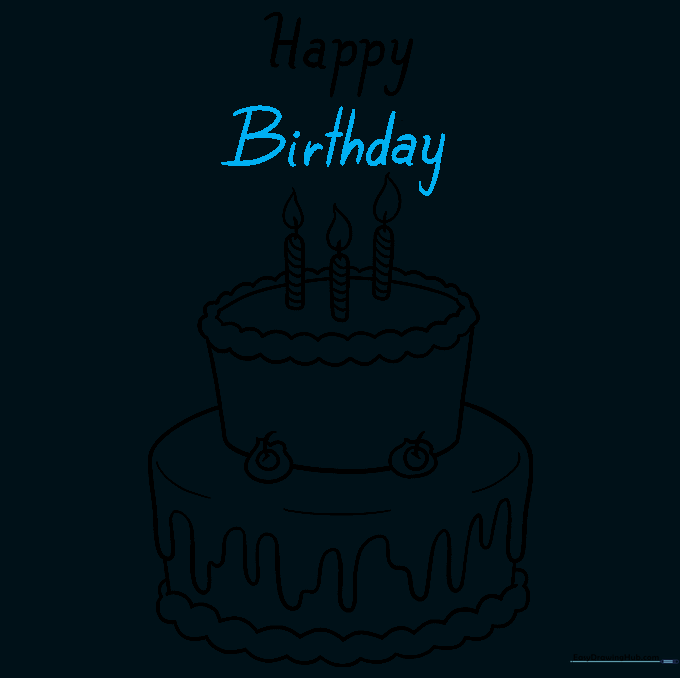
Complete your drawing by writing "Birthday" underneath. Tip: Try to match the style of your lettering to the "Happy" you wrote earlier for a cohesive look.
Step 10: Adding Color
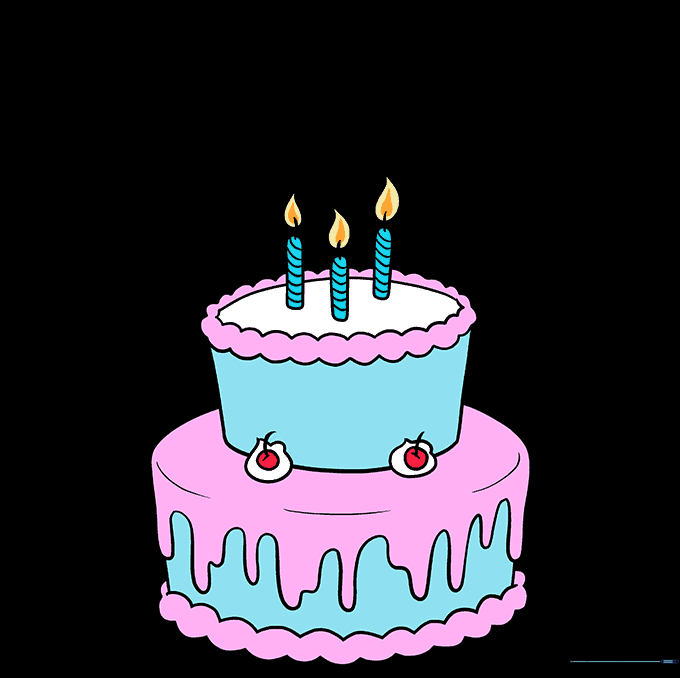
Bring your cake to life with vibrant colors! Use bright shades for the icing and warm yellows for the flames. Tip: Use a darker shade of your icing color to add a little shadow on one side for depth.
More Tutorials


