How to Draw a Bird Skull: Easy Step-by-Step Guide
Ready to explore nature through art? This tutorial is perfect for budding naturalists and artists ages 8+ who want to practice structural drawing. All you need is a pencil, an eraser, and a piece of paper to bring this avian anatomy to life.
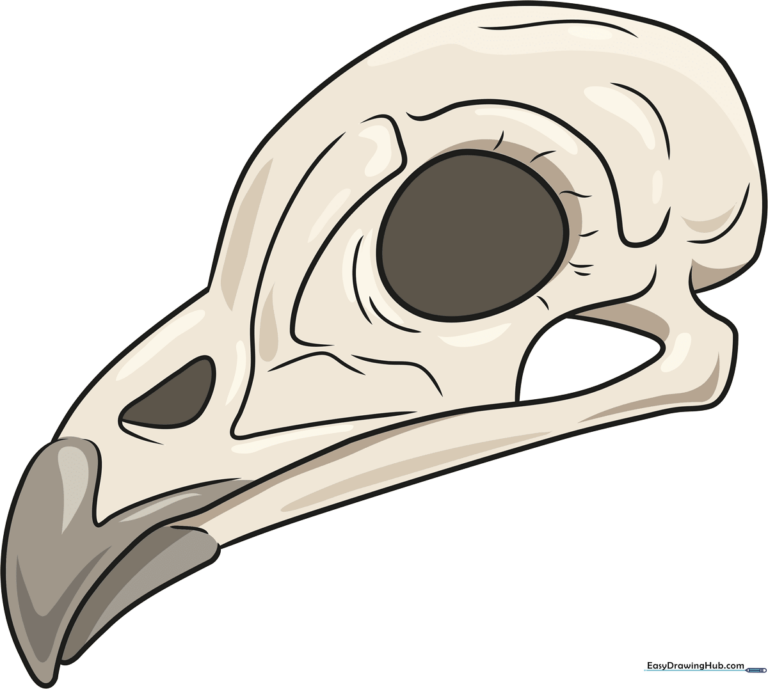
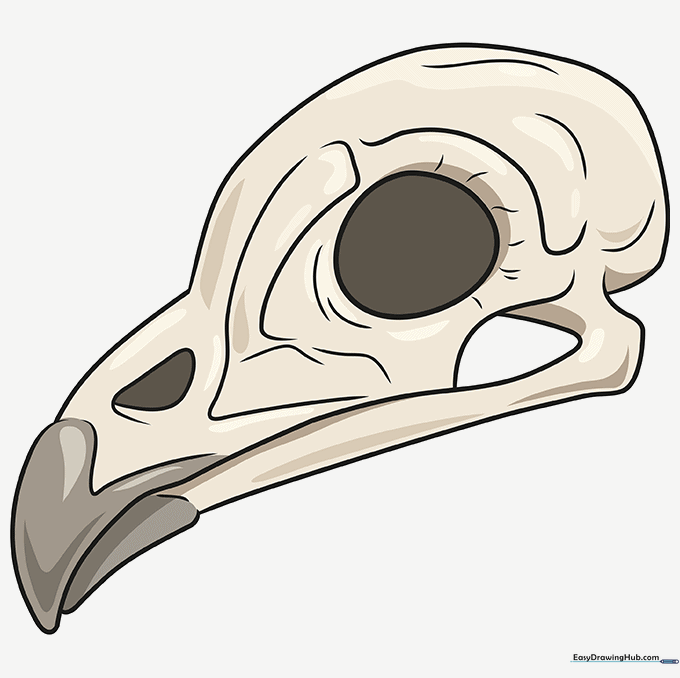
🎯 Final Result
Step-by-Step Instructions
Step 1: Sketching the Cranium

Draw a large, rounded curve to form the braincase. Teacher's Tip: Keep this shape loose and light; it should look like a slightly flattened oval.
Step 2: Defining the Upper Beak

Extend a long, tapered line from the front of the cranium to create the maxilla. Tip: Curve the tip downward slightly to give the beak its characteristic hook.
Step 3: Adding the Lower Jaw
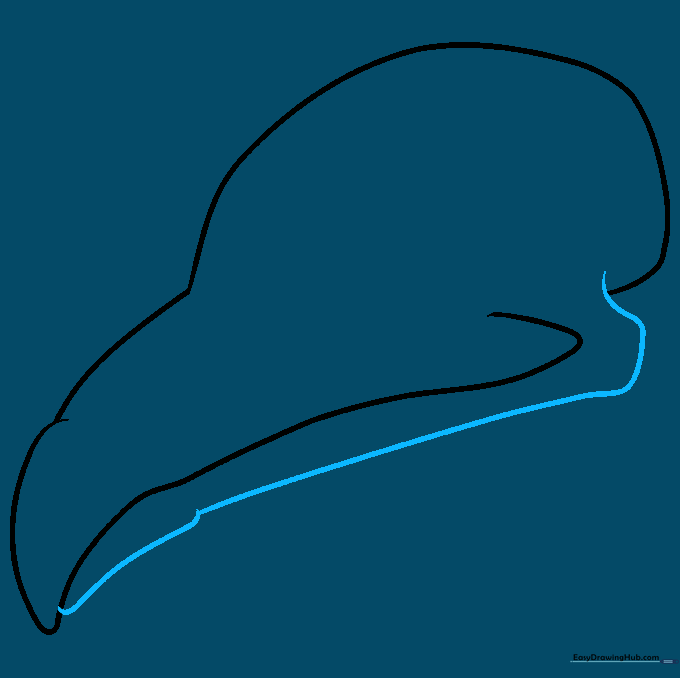
Draw the lower jaw (dentary) by connecting a curved line from the base of the skull to the tip of the upper beak. Tip: Leave a small gap at the hinge to show where the jaw opens.
Step 4: Refining the Beak
Add a V-shaped line on the upper bill and a subtle curve on the lower bill to define the mouth line. Tip: Use short, confident strokes to make the beak look sharp.
Step 5: Drawing the Eye Socket
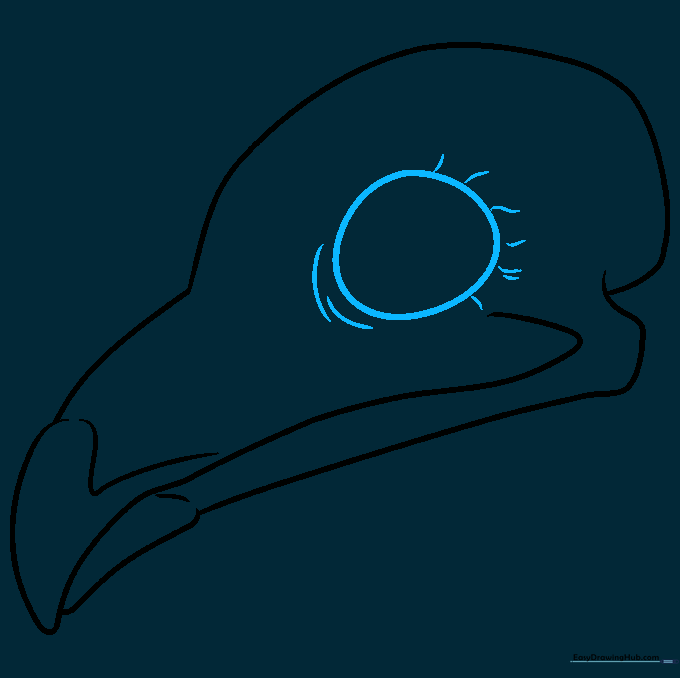
Draw a large circle in the center of the cranium for the eye socket (orbita). Add small curved lines around it to represent the sclerotic ring. Tip: Imagine the eye socket as a large, hollow window in the bone.
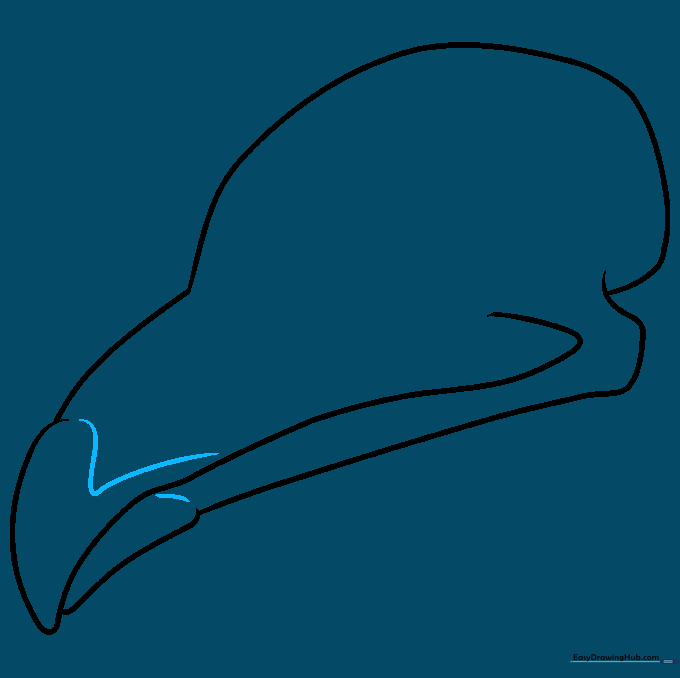
Step 6: Adding the Nasal Opening
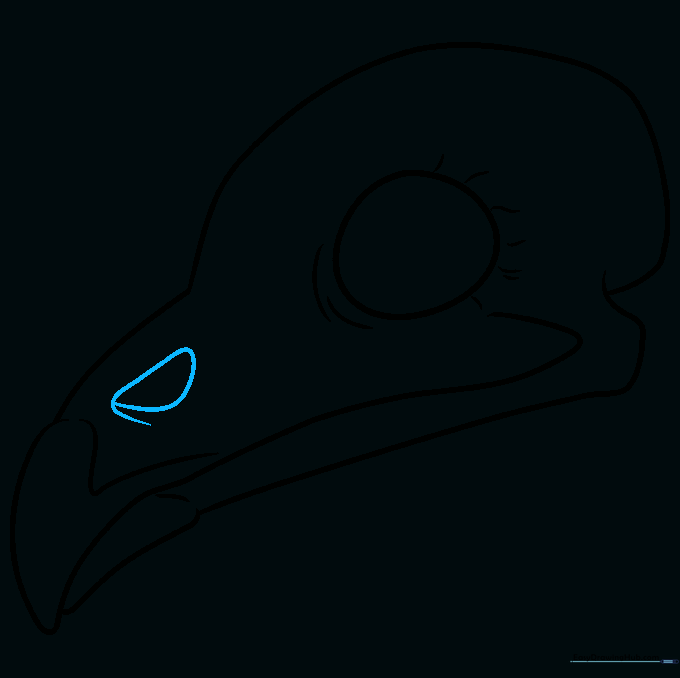
Sketch a small, rounded triangle near the base of the upper beak for the nasal aperture. Tip: Keep this shape small—it adds realism to the bird's face.
Step 7: Adding Structural Contours
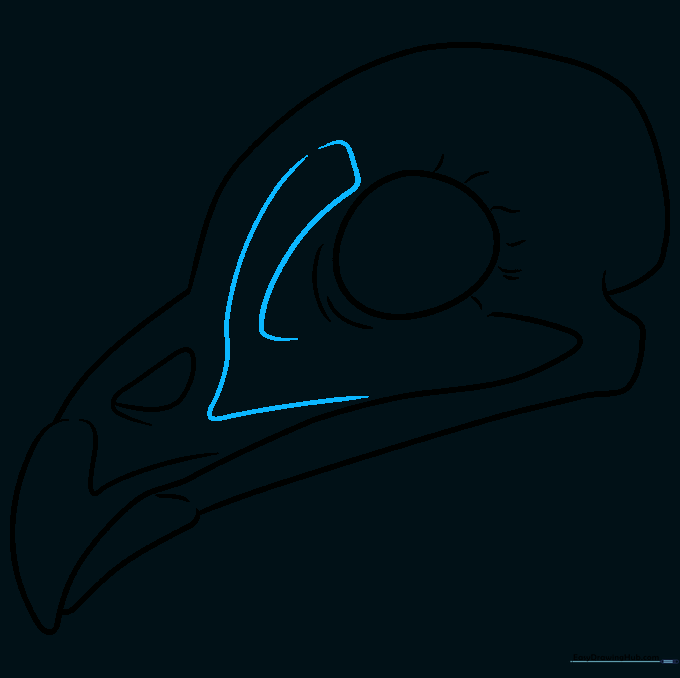
Draw L-shaped and S-shaped lines between the eye and the nostril to show the contours of the skull bone. Tip: These lines help the skull look 3D rather than flat.
Step 8: Detailing the Jawline
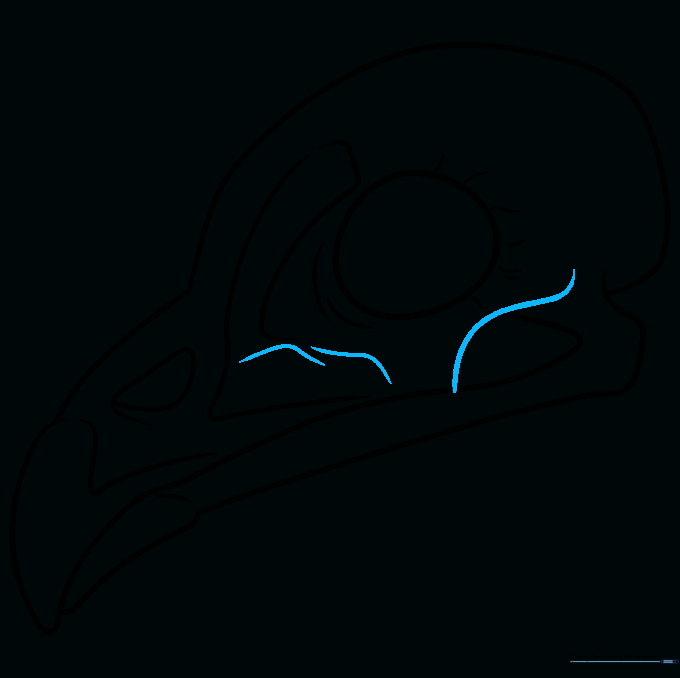
Add curved lines beneath the eye to define the cheekbone area. Tip: Use light pressure here to suggest the subtle ridges of the bone.
Step 9: Finalizing the Braincase
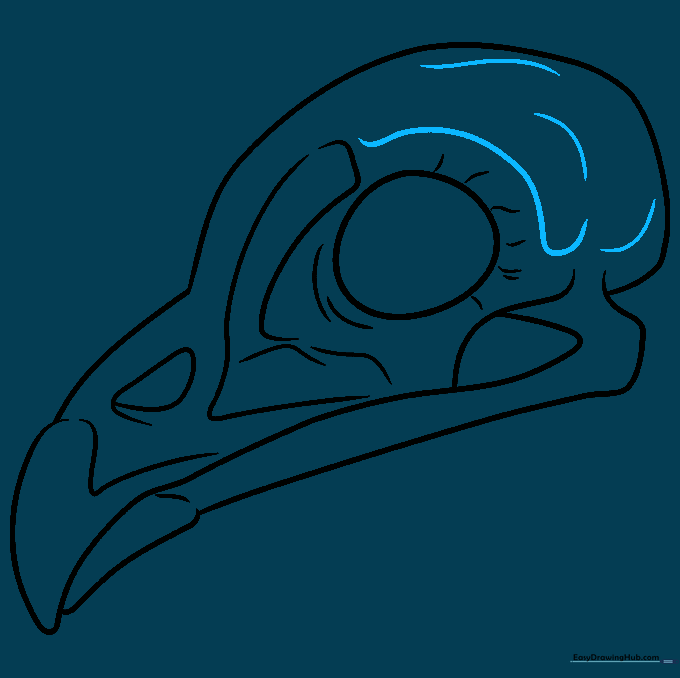
Add final curved lines on the back of the cranium to show the parietal and occipital areas. Tip: These lines should follow the curve of the skull to maintain its round shape.
Step 10: Adding Color and Texture
Color your skull using shades of white, cream, or light grey. If you want a weathered look, add light brown or tan accents. Tip: Use a blending stump or your finger to soften the colors for a realistic bone texture.
More Tutorials


