How to Draw a Bird Nest: Easy 10-Step Guide for Kids
Bring nature into your sketchbook with this simple bird nest tutorial, perfect for young artists ages 5 and up. You only need a pencil, an eraser, and your favorite coloring tools to get started. Follow these steps to master organic textures and create a cozy home for your bird drawings.
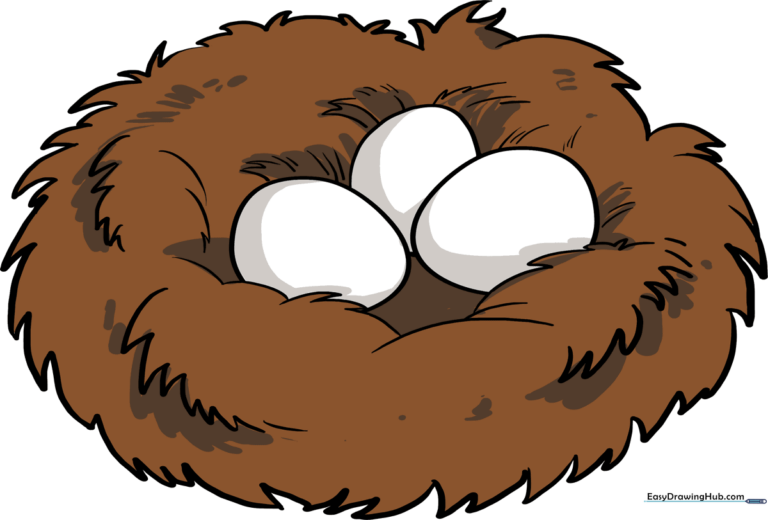
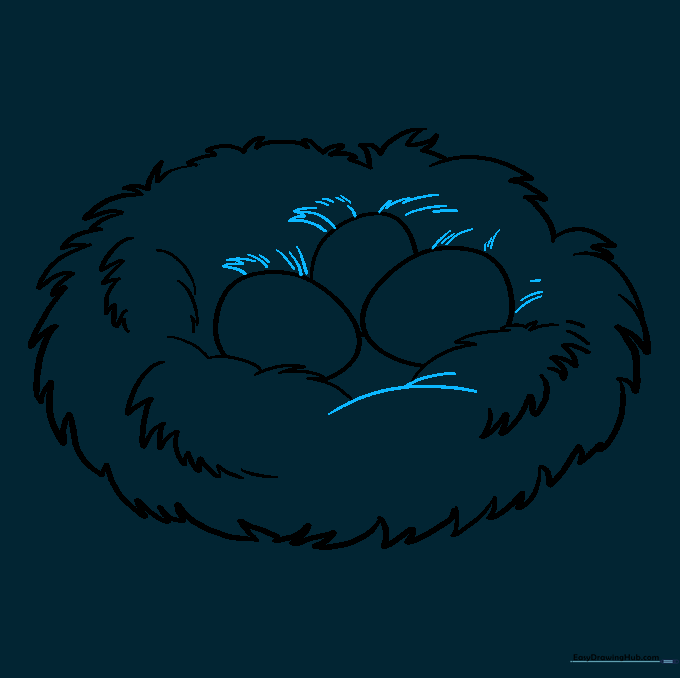
🎯 Final Result
Step-by-Step Instructions
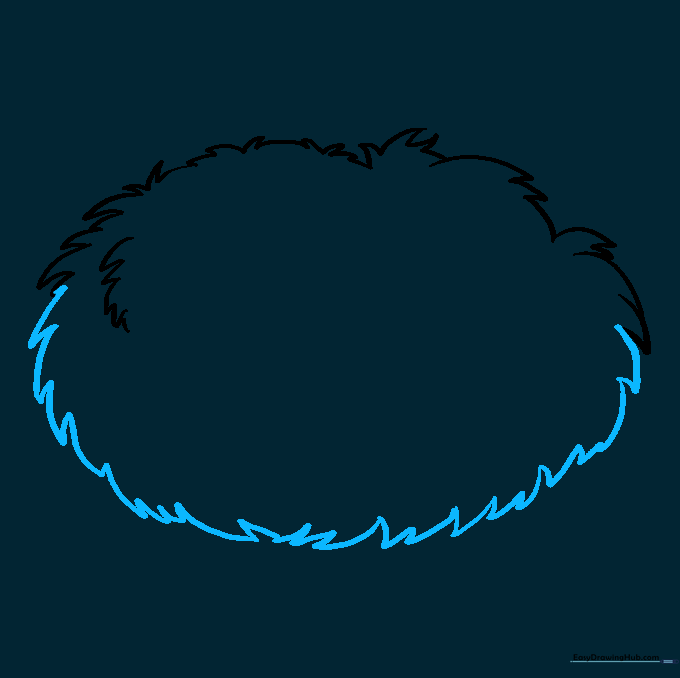
Step 1: Sketching the Outer Rim

Start by sketching the top edge of the nest using short, jagged, overlapping curves. Teacher's Tip: Don't worry about making these lines perfect; nests are made of messy twigs, so the more irregular your lines are, the more realistic it will look!
Step 2: Defining the Nest Shape
Continue adding those short, jagged lines downward to create the rounded bowl shape of the nest. Tip: Keep your pencil pressure light so you can easily adjust the shape if it starts looking too symmetrical.
Step 3: Adding Interior Texture
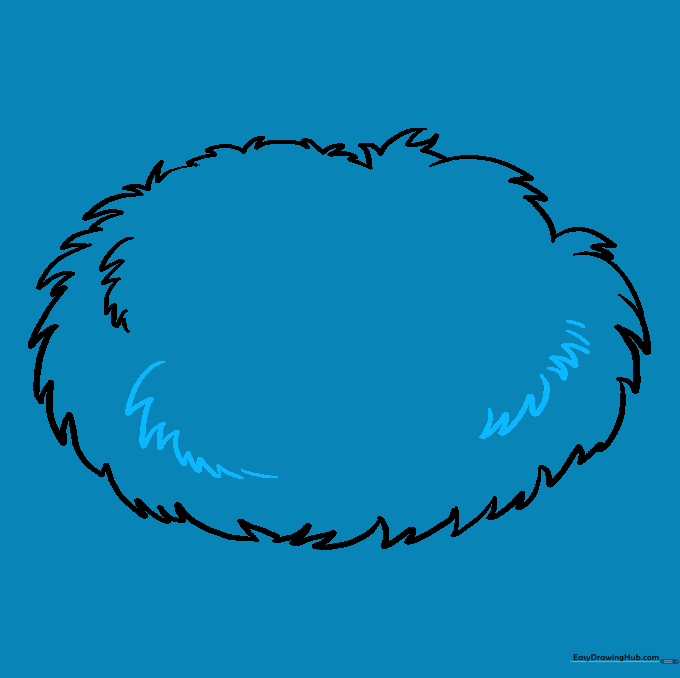
Add depth by drawing a few more jagged, curved lines inside the bowl of the nest. This creates the illusion of layered straw and twigs. Tip: Vary the length of your strokes to make the nest look woven.
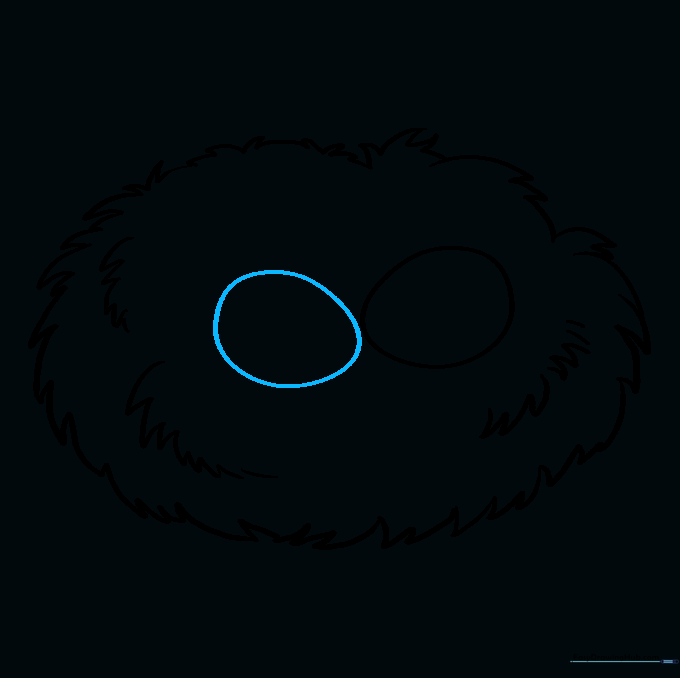
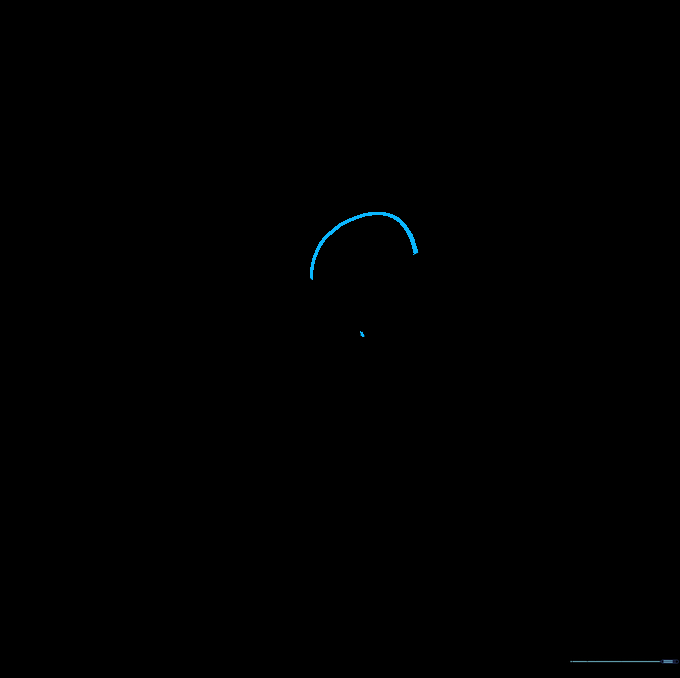
Step 4: Sketching the First Egg
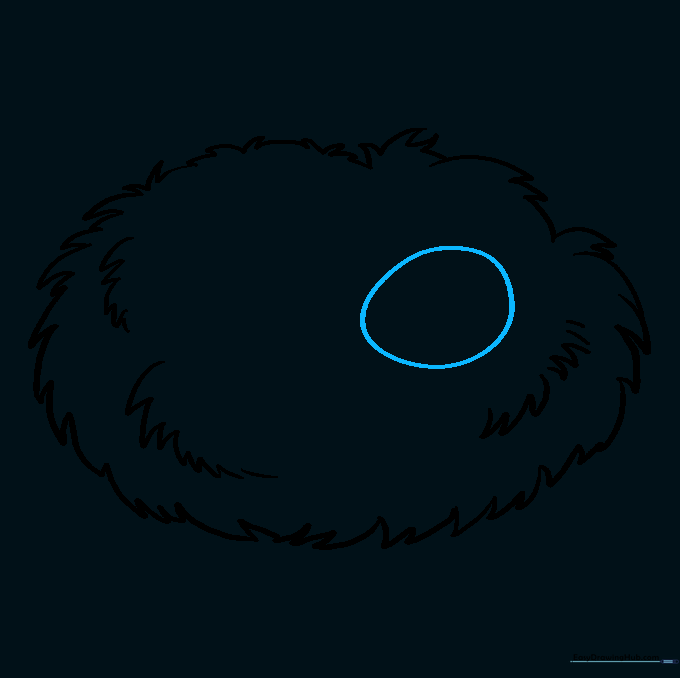
Draw your first egg as a simple oval. Make one end slightly narrower than the other to give it a natural, organic look. Tip: Place this egg slightly off-center to leave room for more.
Step 5: Adding the Second Egg
Draw a second egg next to the first one, using the same oval technique. Tip: Let the eggs touch or overlap slightly to make the composition feel more realistic.
Step 6: Placing the Third Egg
Draw a third egg tucked behind the first two. Only draw the visible portion of the oval. Tip: This creates 'depth of field,' making your drawing look 3D rather than flat.
Step 7: Refining the Nest Interior
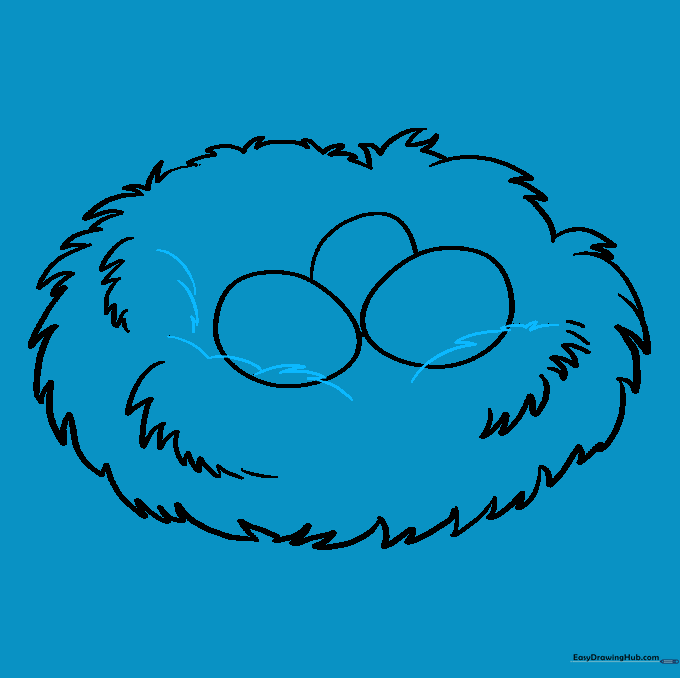
Add more small, jagged lines around the eggs to show the nest material surrounding them. Tip: Focus on the areas where the eggs meet the nest to make them look like they are sitting securely inside.
Step 8: Cleaning Up Your Lines

Carefully erase any pencil lines that cross over the eggs. This makes the eggs look like they are sitting in front of the nest structure. Tip: Use a kneaded eraser if you have one—it’s great for lifting graphite without smudging.
Step 9: Final Texturing
Add a few final 'twig' marks on the outside of the nest to give it a finished, rugged look. Tip: Use quick, flicking motions with your pencil to create the look of loose straw ends.
Step 10: Bring It to Life with Color
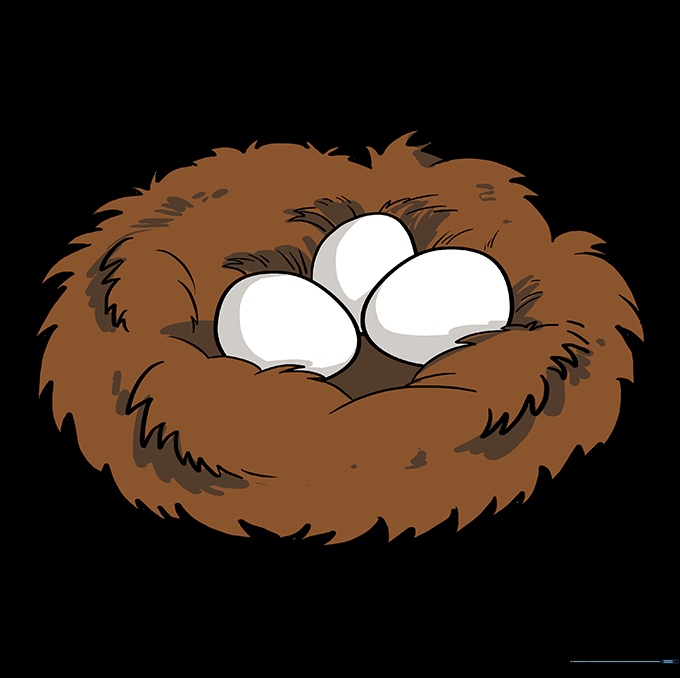
Time to color! Use earthy browns and tans for the nest. For the eggs, try light blue, speckled white, or even pale green. Tip: Use a darker brown pencil to add shadows under the eggs to make them pop!
More Tutorials


