How to Draw a Bird Feeder: Easy 10-Step Guide for Kids
Bring a touch of nature to your sketchbook with this fun bird feeder drawing project, perfect for artists ages 5 and up. You will only need a pencil, an eraser, and your favorite coloring supplies to get started. Follow along to build confidence in your perspective drawing and create a cozy scene for a backyard bird.
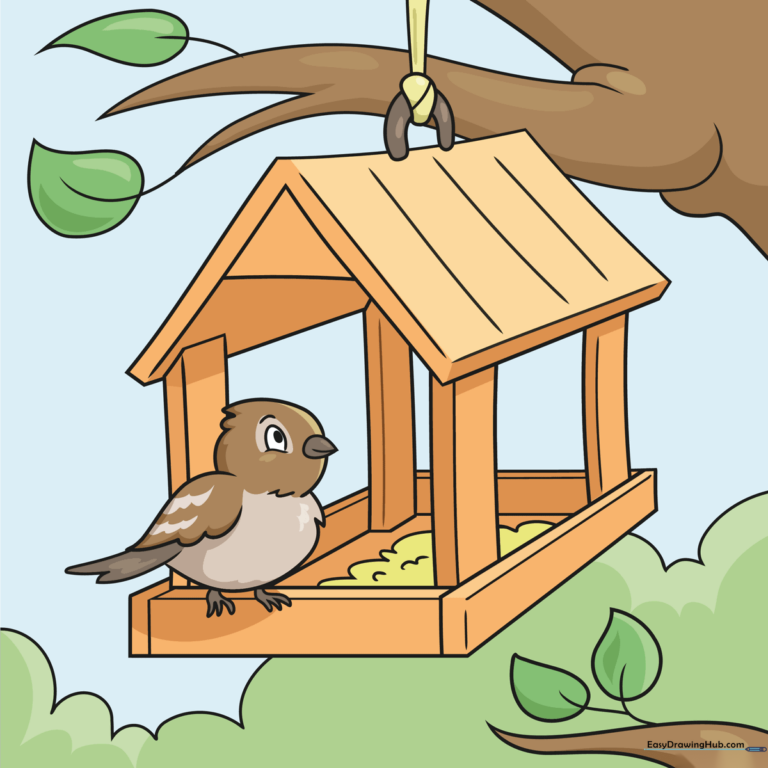
🎯 Final Result
Step-by-Step Instructions
Step 1: Sketching the Main Structure

Start by drawing a rectangular base for the feeder, but flatten two of the corners to give it a sturdy look. Add a triangle on top for the roof. Teacher's Tip: Keep your pencil lines very light—this is just your 'map' for the final drawing!
Step 2: Adding Structural Walls

Draw narrow, vertical rectangles to form the walls, slanting the tops to meet the roof. Add a horizontal line near the roof peak for depth. Teacher's Tip: Use a ruler if you struggle with straight lines, but don't worry if they aren't perfect—nature is rarely perfectly straight!
Step 3: Defining the Pillars
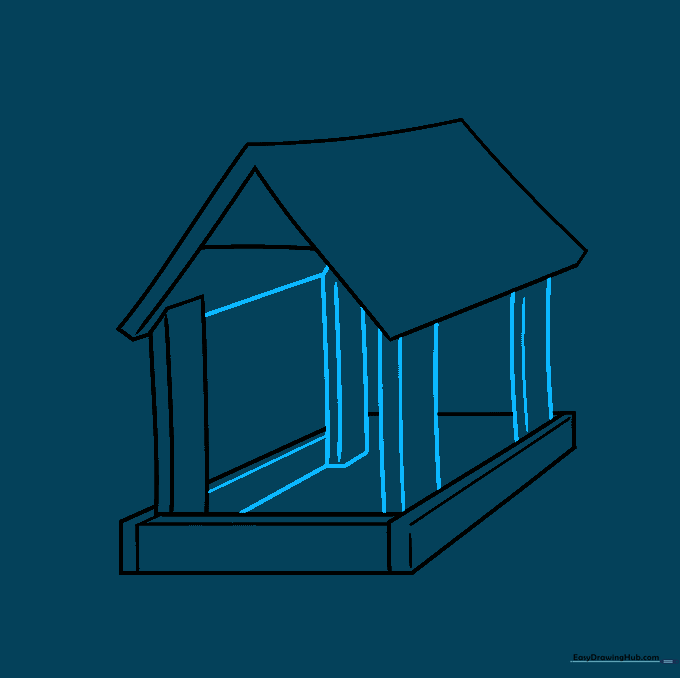
Use vertical lines to enclose the rectangular pillars. Connect the tops and bottoms with short horizontal lines to create a 3D effect. Teacher's Tip: Focus on keeping the spacing between your pillars even to make the feeder look balanced.
Step 4: Adding the Hanging Hook and Seeds

Draw a 'C' shaped hook at the top with a small knot and cord. At the base, use small curved lines to represent seeds. Teacher's Tip: Make the seeds look like little dashes or dots to give the feeder a realistic, full look.
Step 5: Sketching the Bird
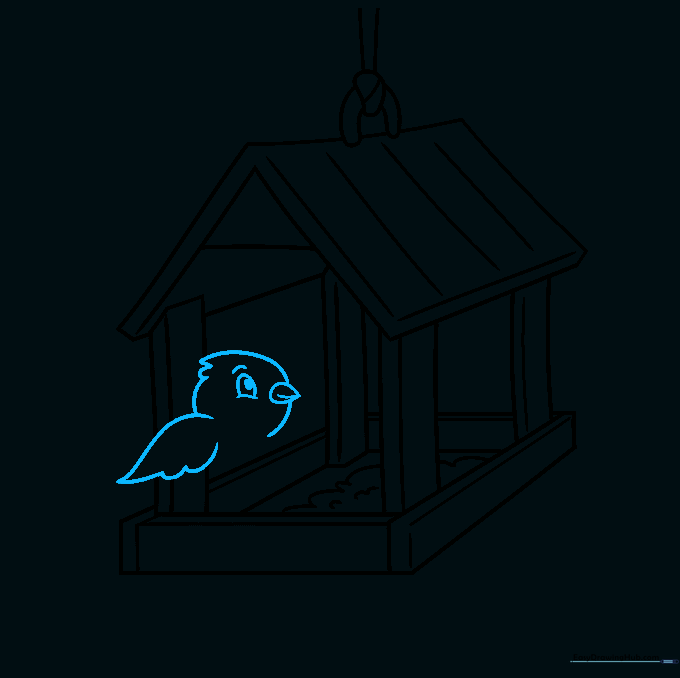
Time for a visitor! Draw a teardrop shape for the beak and outline the head, eye, and wing. Teacher's Tip: When drawing the eye, leave a tiny white dot uncolored to create a 'sparkle'—it makes the bird look alive!
Step 6: Finishing the Bird
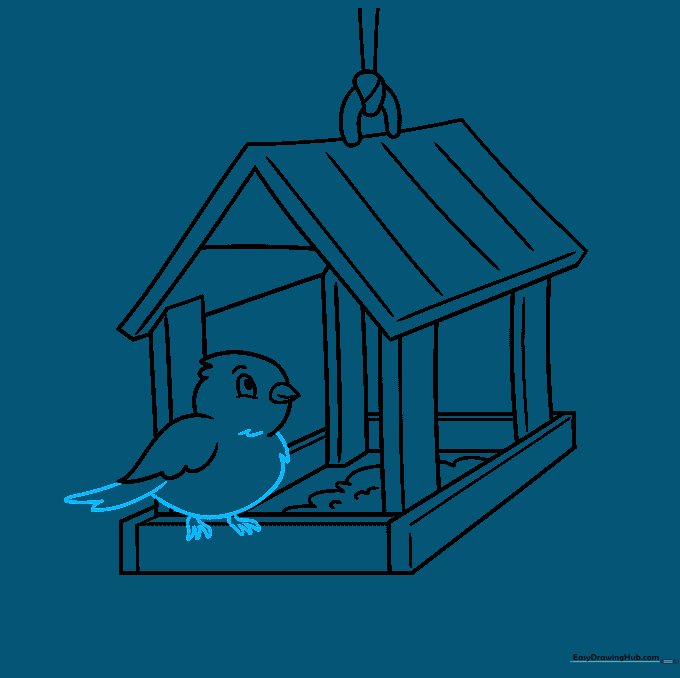
Complete your bird by adding the belly, tail, and feet. Use soft, curved lines to show the feathers. Teacher's Tip: Keep the lines for the feet simple—just a few small 'V' shapes will do the trick.
Step 7: Adding a Tree Branch
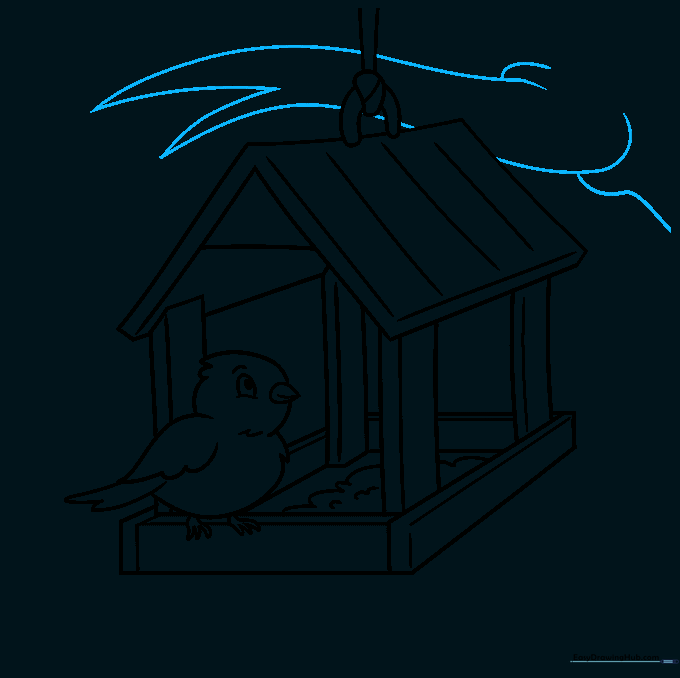
Draw a sturdy branch behind the feeder. Make the lines overlap where the twigs meet the main branch. Teacher's Tip: Vary the thickness of your branch lines to make it look more organic and natural.
Step 8: Adding Leaves
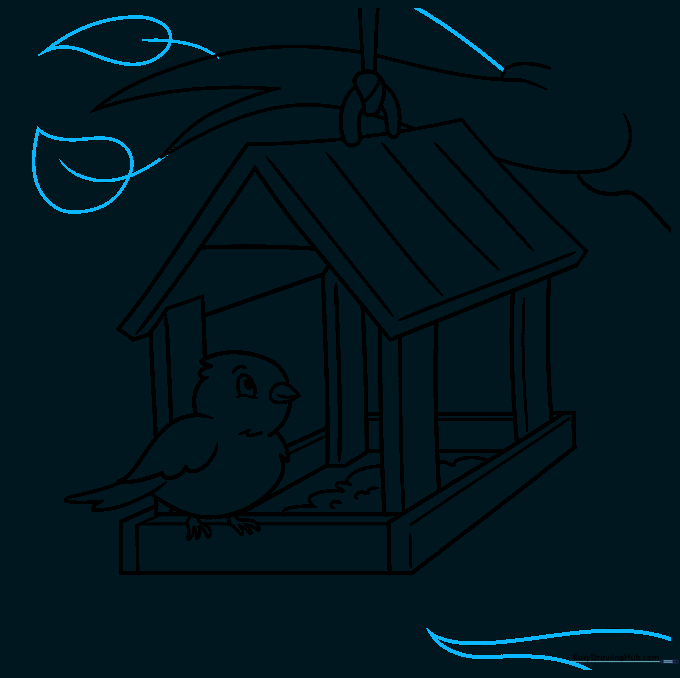
Add teardrop-shaped leaves to your branches. Connect them with small stems. Teacher's Tip: Don't worry about drawing every single leaf; just adding a few here and there creates the illusion of a full tree.
Step 9: Final Background Touches
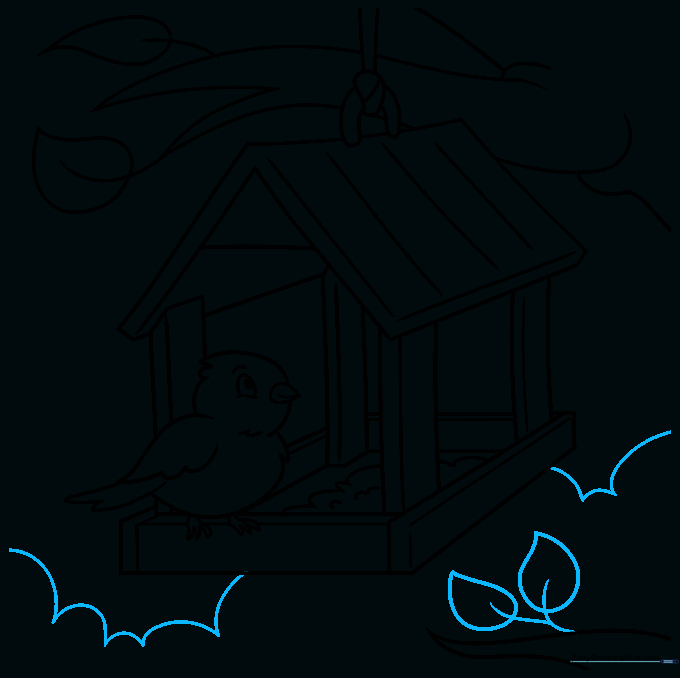
Add some cloud-like shapes in the background to represent distant bushes or trees. This adds depth to your drawing. Teacher's Tip: Use a lighter pencil pressure for background elements to keep the focus on your bird feeder.
Step 10: Bring It to Life with Color
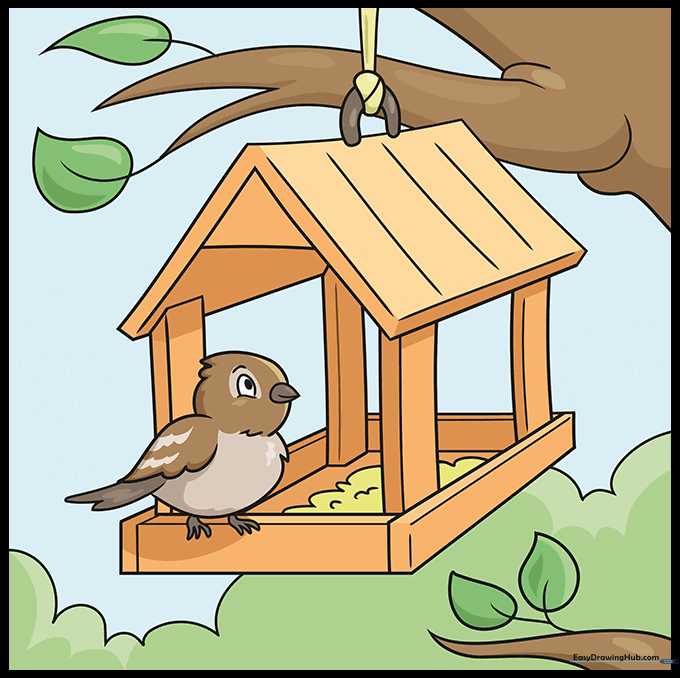
Time to color! Use warm browns and tans for the wood, and perhaps a splash of color for your bird. Teacher's Tip: Try using light and dark shades of the same color to create shadows, which makes your drawing look 3D!
More Tutorials


