How to Draw a Bike: Easy 10-Step Guide for Kids
Ready to draw your own bicycle? This tutorial is perfect for young artists ages 5 and up. All you need is a pencil, an eraser, and a piece of paper to get started on this fun, confidence-building project.
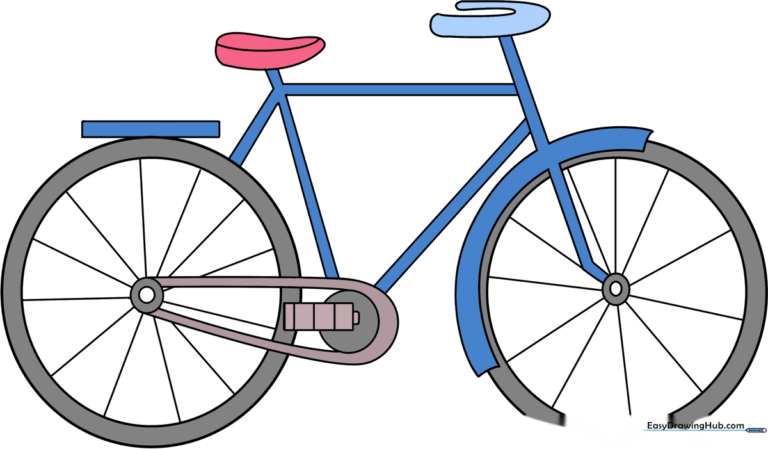
🎯 Final Result
Step-by-Step Instructions
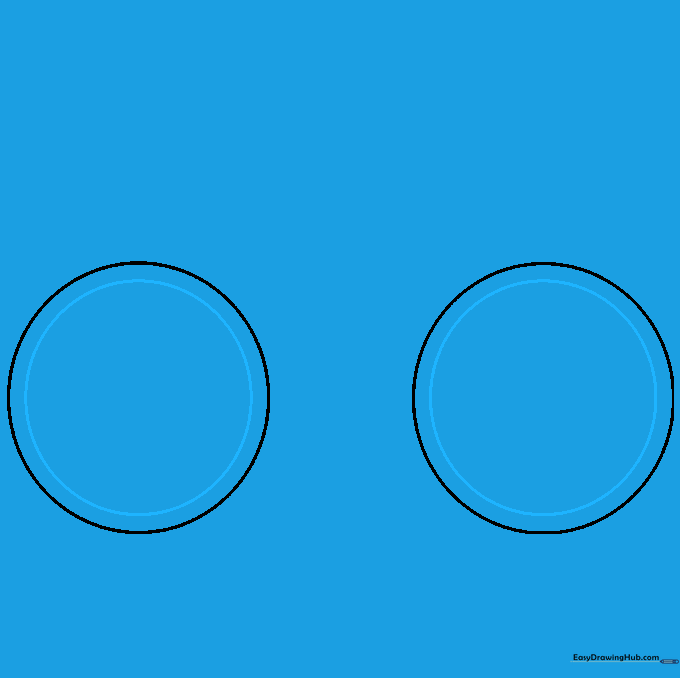
Step 1: Sketching the Front Wheel

Draw a clean circle for the front wheel. Teacher's Tip: Use a light touch with your pencil so you can easily erase any overlapping lines later!
Step 2: Adding the Rear Wheel

Draw a second circle of the same size for the rear wheel. Tip: Try to keep them aligned horizontally so your bike looks balanced.
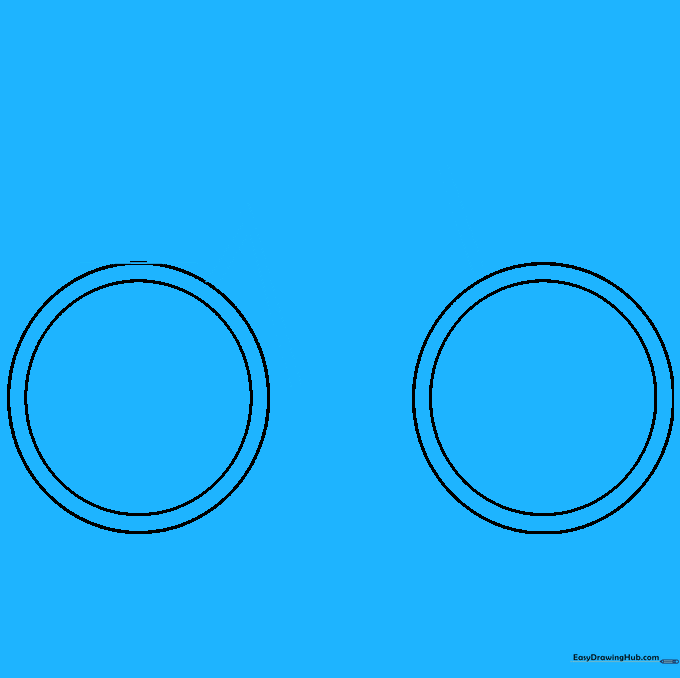
Step 3: Creating the Tire Thickness
Draw a smaller circle inside each wheel. This creates the look of a tire. Tip: Keep the space between the two circles even to make the tire look professional.
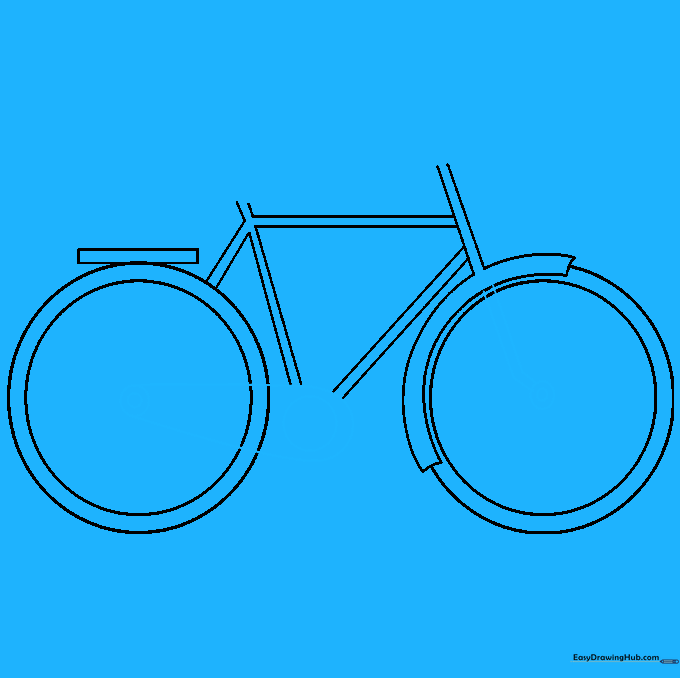
Step 4: Building the Frame
Draw a narrow rectangle above the rear wheel and connect the wheels with diagonal lines. Tip: Use a ruler if you want your frame to look extra sturdy and straight!
Step 5: Adding the Front Fender
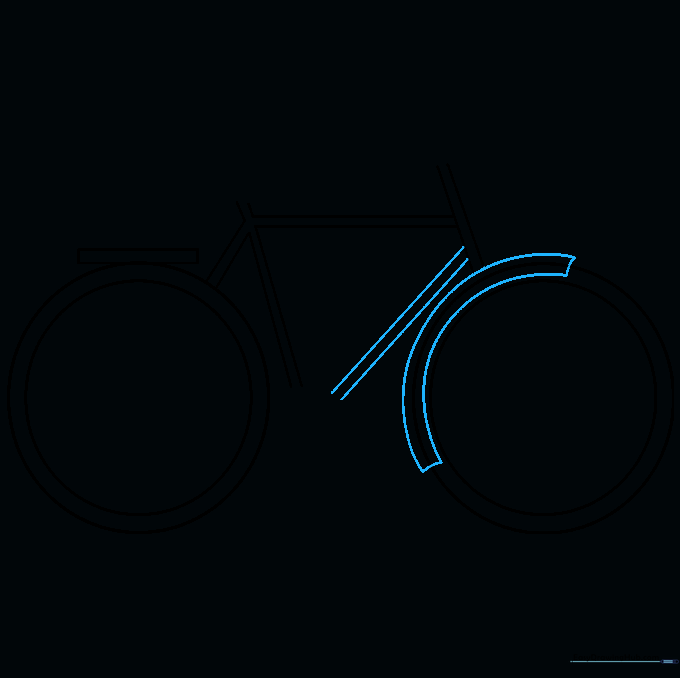
Extend the frame lines and add a curved shape over the front tire for the fender. Tip: Think of this as a little 'roof' for your wheel to keep the mud off!
Step 6: Cleaning Up Your Sketch

Carefully erase any overlapping lines where the frame meets the wheels. Tip: Use a soft eraser and gentle strokes to keep your paper clean.
Step 7: Drawing the Chain and Hubs
Draw small circles in the center of the wheels and a teardrop shape for the chain. Tip: The chain connects the pedals to the back wheel, so make sure it looks linked!
Step 8: Adding Handlebars and Seat
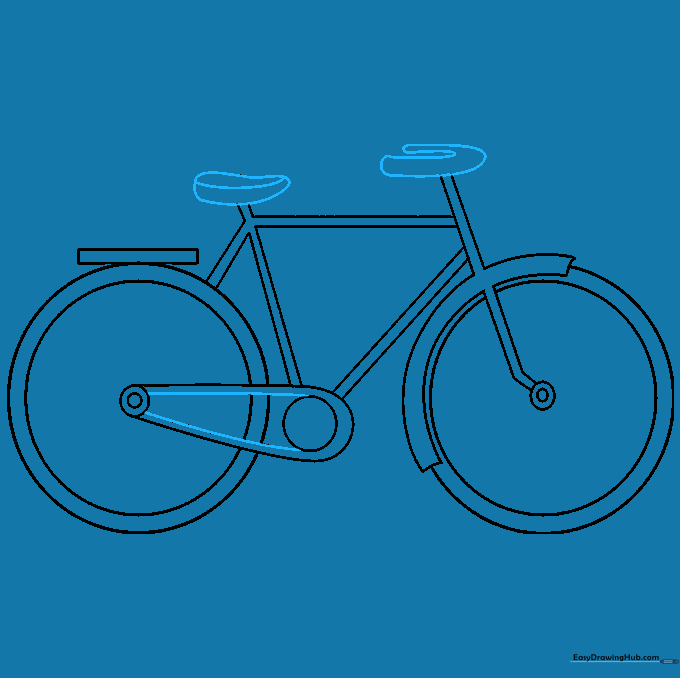
Draw a 'C' shape for the handlebars and a small seat on top of the frame. Tip: Make the seat look comfy by adding a small curved line for dimension.
Step 9: Adding Pedals and Spokes
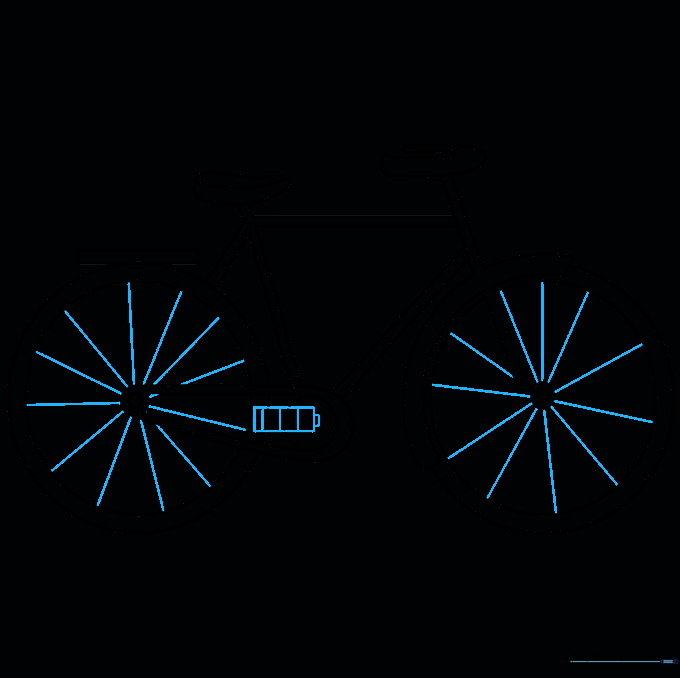
Draw a small rectangle for the pedal and straight lines for the wheel spokes. Tip: Draw the spokes radiating from the center like a starburst!
Step 10: Bring Your Bike to Life with Color
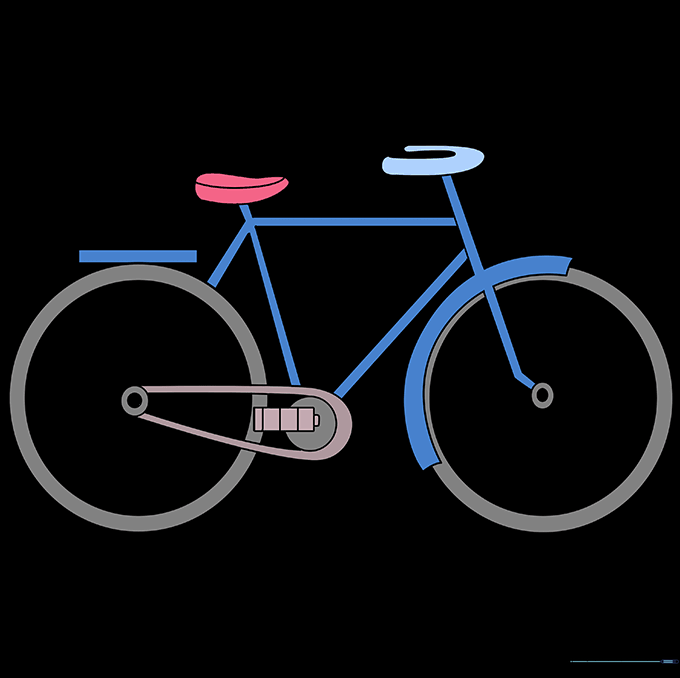
Time to color! Use your favorite markers or crayons to make your bike unique. Tip: Use a metallic silver for the frame to make it look like real steel!
More Tutorials


