How to Draw a Betta Fish: Easy 10-Step Guide for Kids
Capture the flowing beauty of a Betta fish with this beginner-friendly drawing guide. Designed for young artists ages 5 and up, this project requires only a pencil, paper, and your favorite markers or colored pencils. Follow along to build confidence in your sketching skills while creating a stunning, colorful underwater masterpiece.
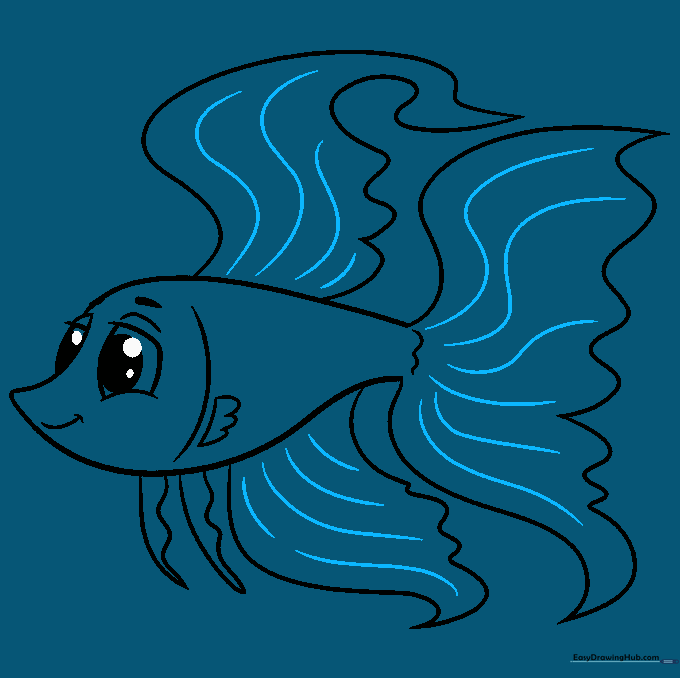
🎯 Final Result

Step-by-Step Instructions
Step 1: Sketching the Body Outline
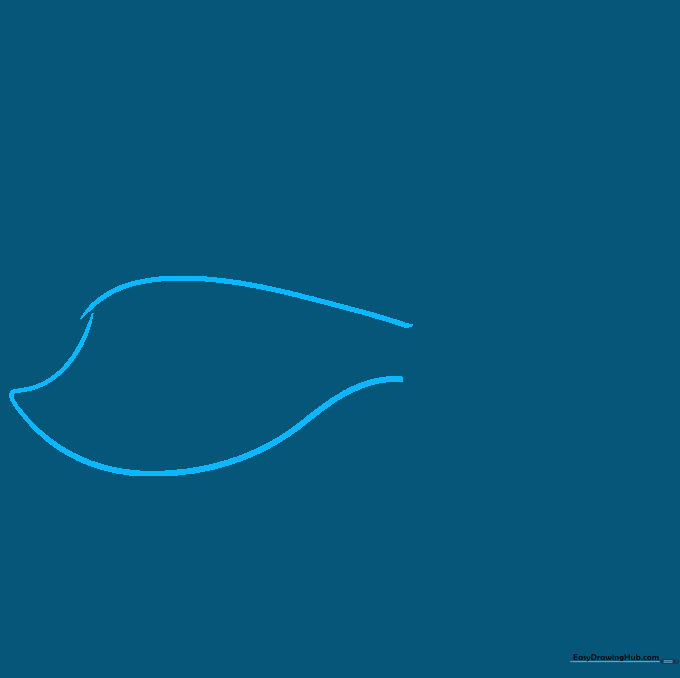
Start by drawing the fish's body using long, smooth curved lines. Create a gentle point for the nose and a rounded belly. Teacher's Tip: Keep your pencil pressure light so you can easily adjust the shape if needed before moving on.
Step 2: Drawing the Eye
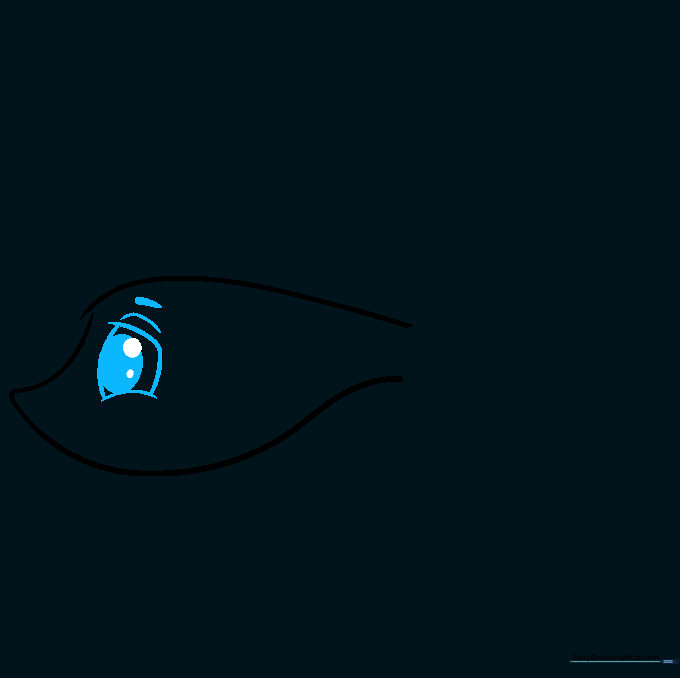
Draw a large oval for the eye, adding a smaller circle inside for the pupil. Shade the pupil dark, leaving a tiny white dot to represent a highlight. Tip: Adding that small white 'sparkle' makes your fish look much more alive!
Step 3: Adding the Mouth and Details
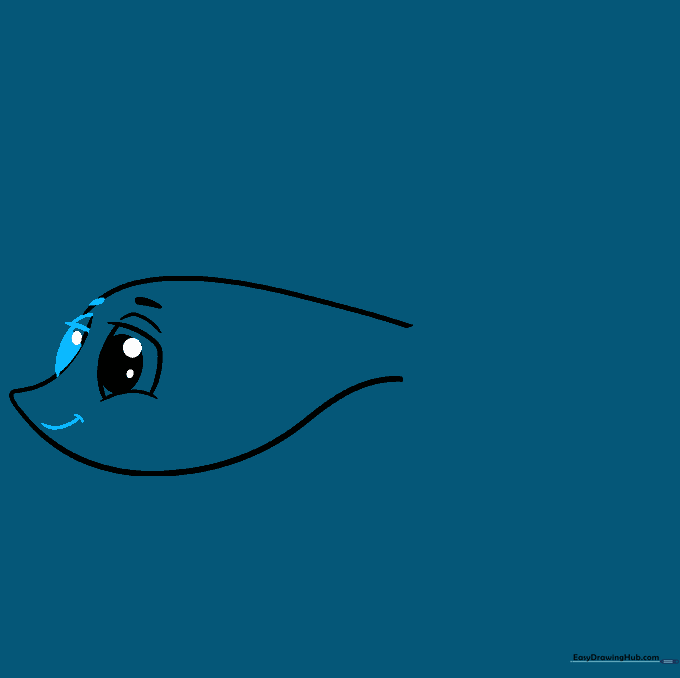
Draw a small, smiling mouth using two overlapping curved lines. Add a second eye peeking from the other side of the face. Tip: Keep the mouth small to maintain the fish's cute, friendly expression.
Step 4: Sketching the Dorsal Fin
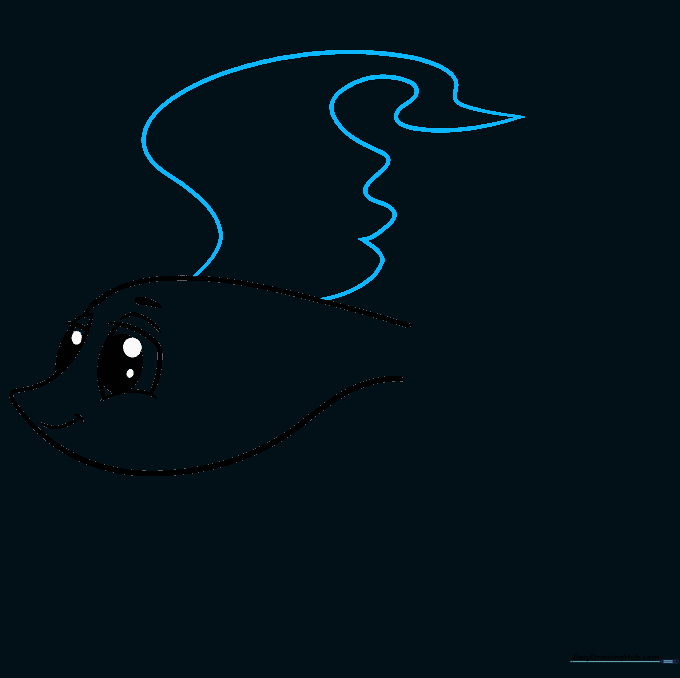
Draw two long, wavy lines extending from the back that meet at a point. This creates the signature flowing dorsal fin. Tip: Don't worry about making these lines perfectly straight; wavy lines look more natural for fins.
Step 5: Outlining the Tail
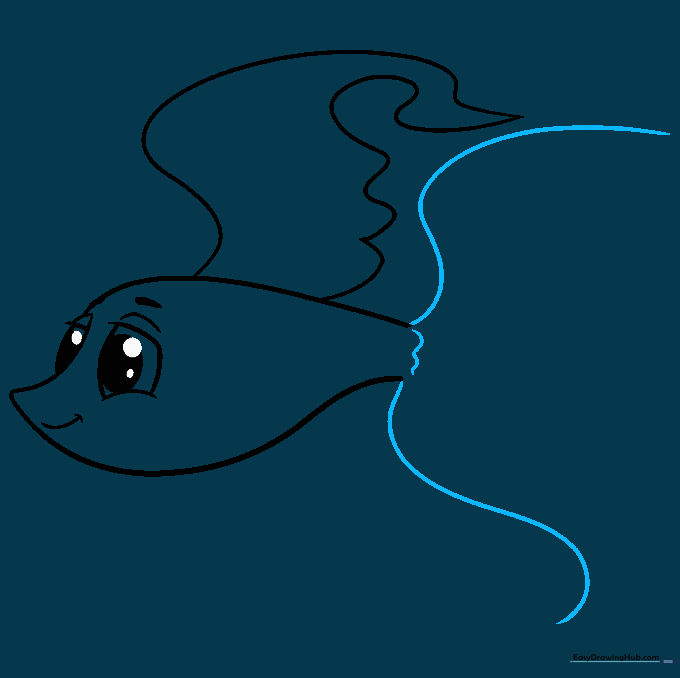
Extend long, curved lines from the back and belly to outline the tail area. Add a wavy line at the base to connect them. Tip: Imagine the tail is a piece of fabric floating in water.
Step 6: Finishing the Tail
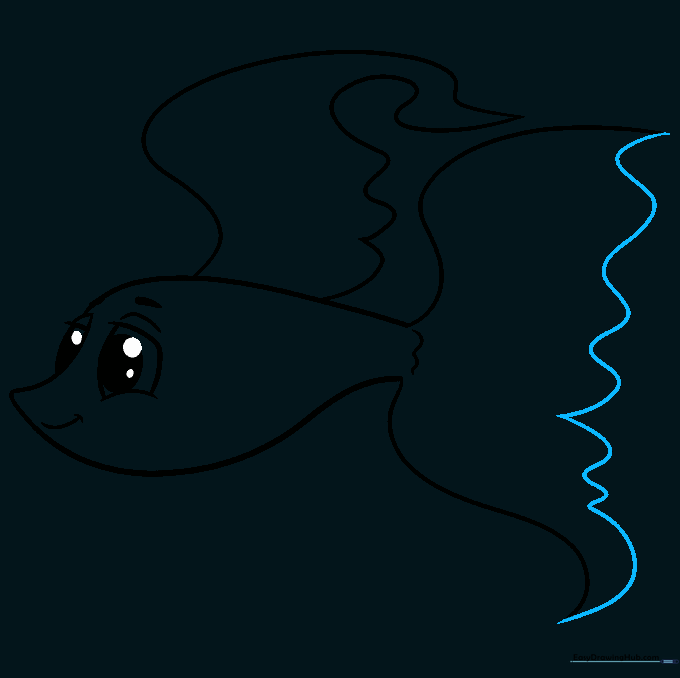
Connect the ends of your tail lines with a series of wavy, scalloped lines. This gives the tail that beautiful, ruffled look. Tip: Use quick, loose wrist movements for the wavy lines to keep them looking fluid.
Step 7: Adding the Anal Fin
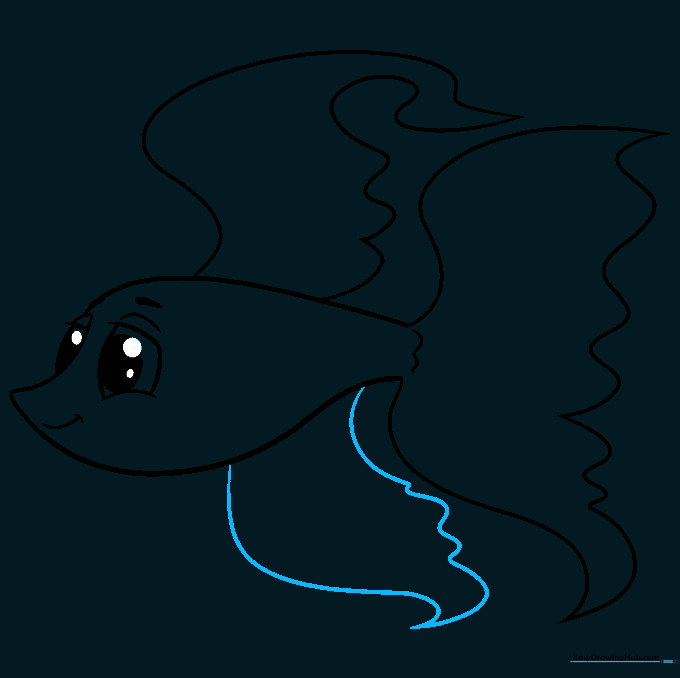
Draw long, wavy lines from the belly that meet at a point to form the anal fin. Tip: This fin should mirror the flow of the tail, making the fish look balanced.
Step 8: Adding Fins and Gill Details
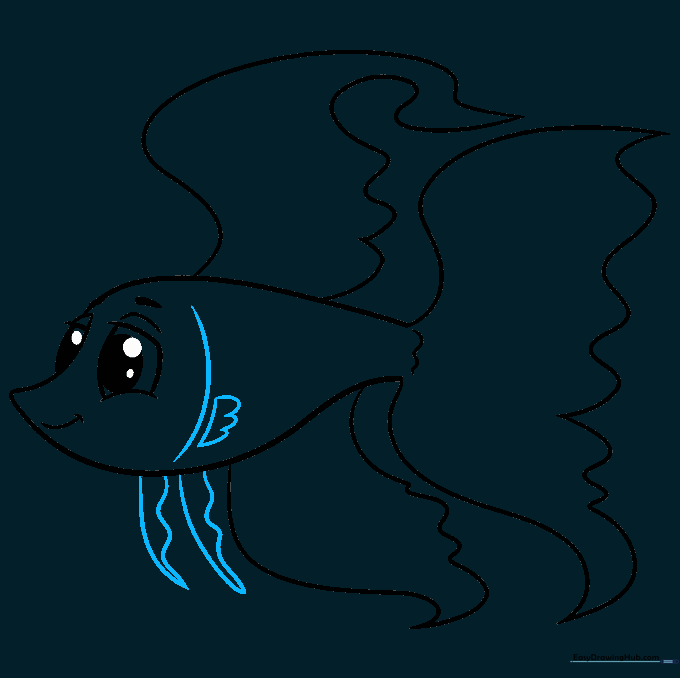
Draw a vertical line behind the head for the gill cover. Add the pectoral and pelvic fins using 'U' shaped lines and wavy extensions. Tip: These small fins add great character to your drawing.
Step 9: Adding Texture
Add long, flowing lines throughout the fins and tail to create texture. Tip: These lines represent the delicate rays of the fins, so keep them light and graceful.
Step 10: Bringing Your Fish to Life with Color

Time to color! Use vibrant reds, blues, and purples to make your Betta fish pop. Tip: Try blending two colors together on the fins for a realistic, shimmering effect.
More Tutorials


