How to Draw a Beluga Whale: Easy 10-Step Guide
Ready to bring an arctic friend to life? This tutorial is perfect for young artists ages 5 and up. All you need is a pencil, an eraser, and a piece of paper to master the unique, rounded shape of a beluga whale.
🎯 Final Result

Step-by-Step Instructions
Step 1: Sketching the Face and Eye

Start by drawing a soft, wavy line for the front of the mouth. Then, add a circle-within-a-circle for the eye. Teacher's Tip: Keep your pencil pressure light so you can easily adjust the expression later!
Step 2: Defining the Melon and Jaw

Use smooth, curved lines to outline the whale's signature rounded forehead (the melon) and the lower jaw. Teacher's Tip: Belugas have very round heads, so don't be afraid to make your curves nice and bubbly.
Step 3: Adding Teeth

Contour the area below the eye and add small, rounded triangles inside the open mouth to represent teeth. Teacher's Tip: Keep the teeth small and uniform to maintain the 'cartoon' style.
Step 4: Sketching the Back
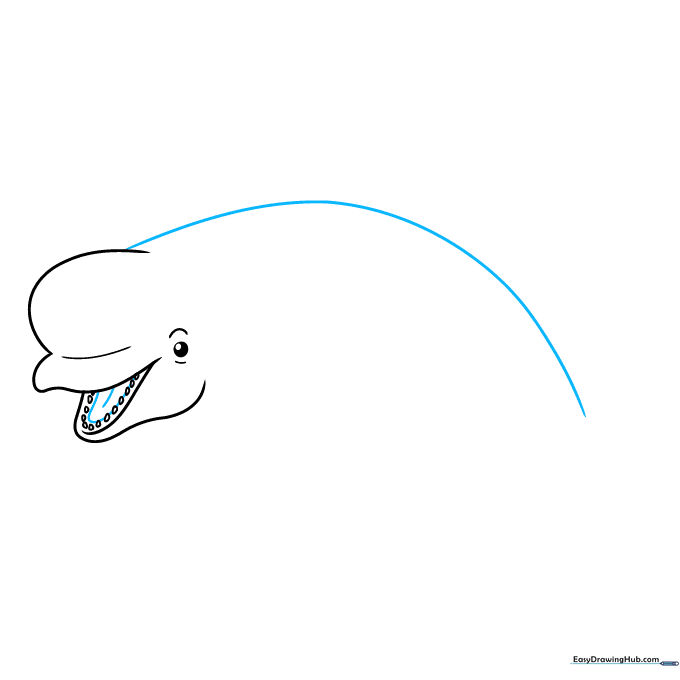
Extend a long, graceful curved line from the top of the head to create the whale's back. Teacher's Tip: Imagine the whale is swimming through water; use a fluid, continuous motion with your pencil.
Step 5: Drawing the First Flipper

Draw a short curved line from the lower jaw, doubling it back to form a paddle-shaped flipper. Teacher's Tip: Beluga flippers are quite small compared to their bodies, so keep it compact.
Step 6: Completing the Belly and Second Flipper
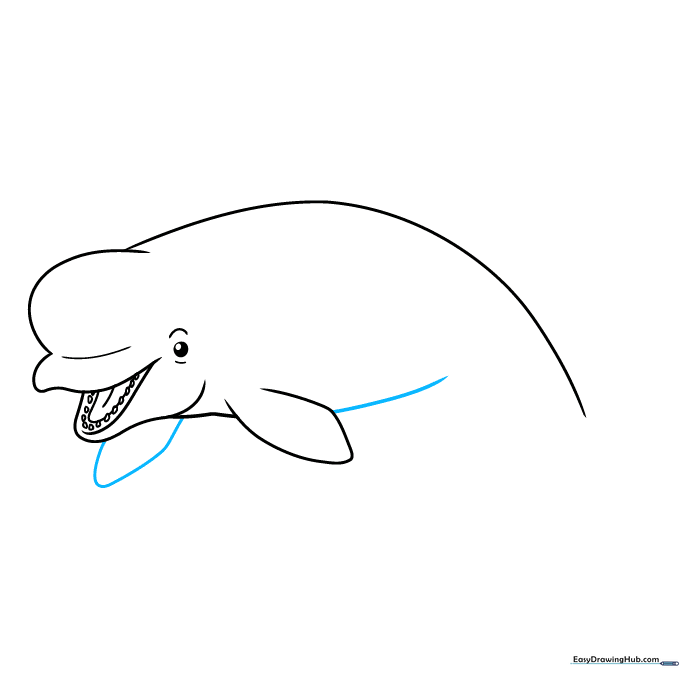
Connect the flipper to the tail area with a curved belly line, and add the second, smaller flipper tucked underneath. Teacher's Tip: This adds depth to your drawing, making it look 3D!
Step 7: Shaping the Tail
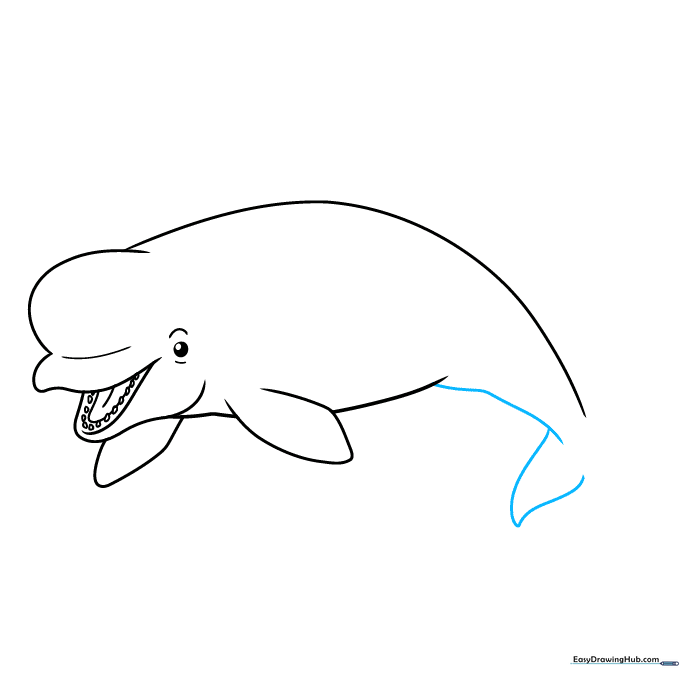
Extend the belly line to form the base of the tail, then draw an incomplete triangle shape for the first tail fluke. Teacher's Tip: Keep the lines smooth to mimic the flexibility of a real whale's tail.
Step 8: Finishing the Tail

Draw the second tail fluke using two curved lines that meet at a point. Add a small contour line at the base. Teacher's Tip: Make sure the two flukes look symmetrical for a balanced look.
Step 9: Refining the Outline

Go over your sketch with final, confident lines. Add small details to the body and head to give your whale character. Teacher's Tip: This is the time to erase any stray guidelines from your initial sketch.
Step 10: Bringing Your Whale to Life with Color

Time to color! Belugas are famous for their white skin, so use light gray or blue for shadows. Add a pop of pink for the tongue. Teacher's Tip: Use light shading around the edges to give your whale a round, 3D appearance.
More Tutorials


