How to Draw a Simple Mandala: Easy Step-by-Step Guide
This beginner-friendly mandala tutorial is perfect for artists ages 5 and up looking to practice symmetry and pattern design. You only need a pencil, an eraser, and a piece of paper to get started. Follow these steps to build a balanced, intricate-looking design that helps develop hand-eye coordination and patience.
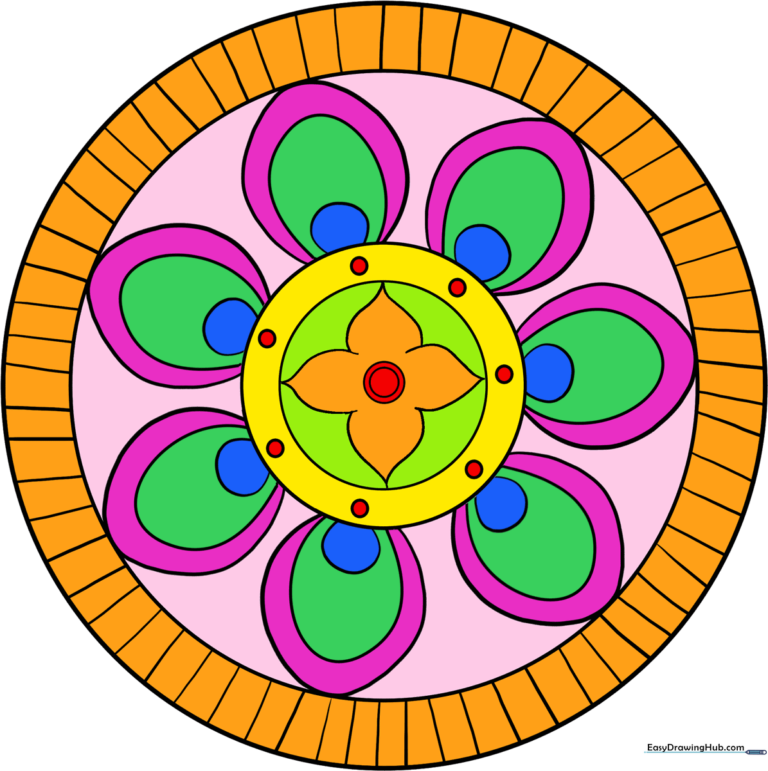
🎯 Final Result
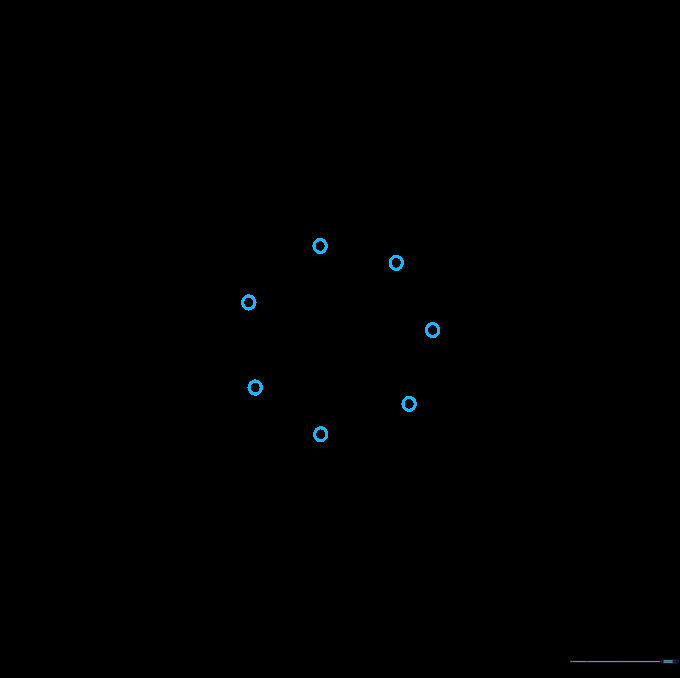
Step-by-Step Instructions
Step 1: The Foundation Circle

Draw a light circle in the center of your paper. Teacher's Tip: Use a circular object like a cup to trace if you struggle with freehand circles, but keep the pressure light so you can erase it later.
Step 2: Creating the Outer Boundary

Draw a second, larger circle surrounding the first one. Teacher's Tip: Try to keep the gap between the two circles consistent all the way around to ensure your mandala looks balanced.
Step 3: Adding Inner Rings
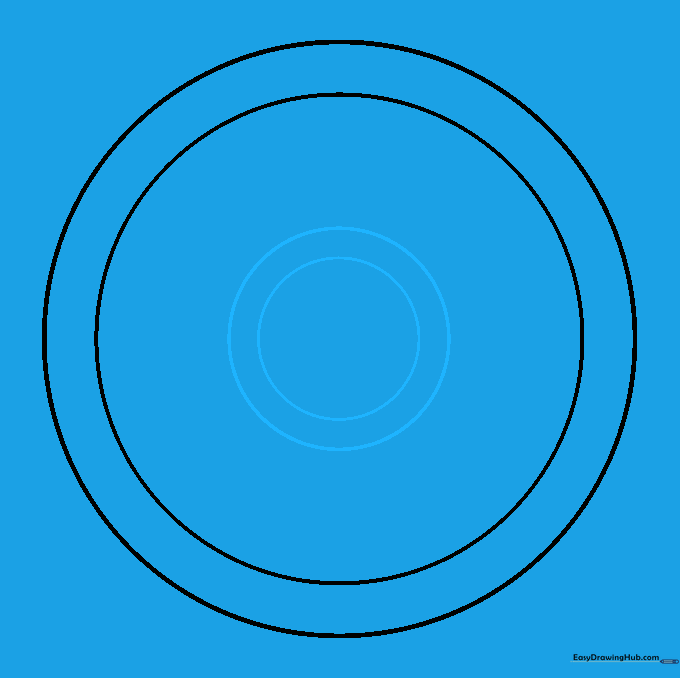
Draw two more circles inside the first one, creating a 'bullseye' effect. Teacher's Tip: These rings will act as guides for your patterns, so make sure they are evenly spaced.
Step 4: Sketching Petal Shapes

Draw curved lines between the inner and outer circles to create petal-like shapes. Teacher's Tip: Imagine you are drawing a flower; keep your lines smooth and fluid.
Step 5: Adding Inner Details
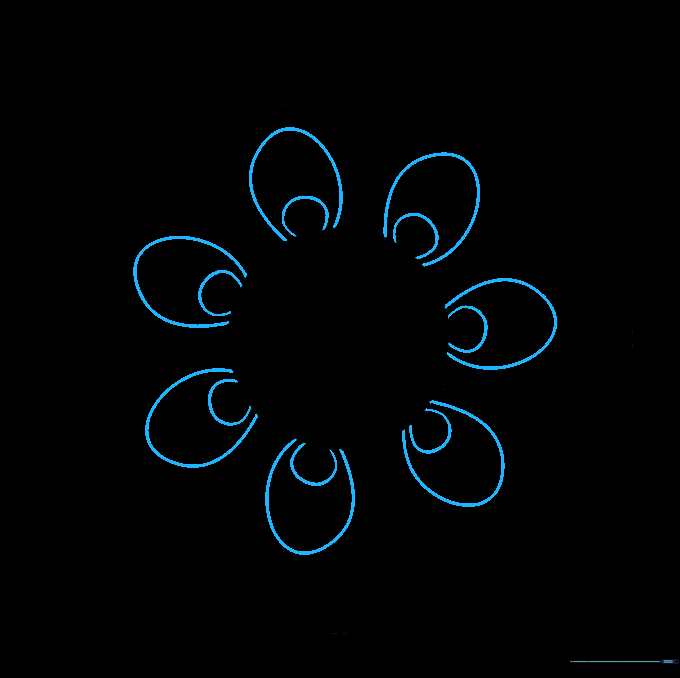
Add a small circle and an oval inside each petal. Teacher's Tip: Focus on keeping these details identical in every petal to maintain the mandala's signature symmetry.
Step 6: Adding Texture Lines
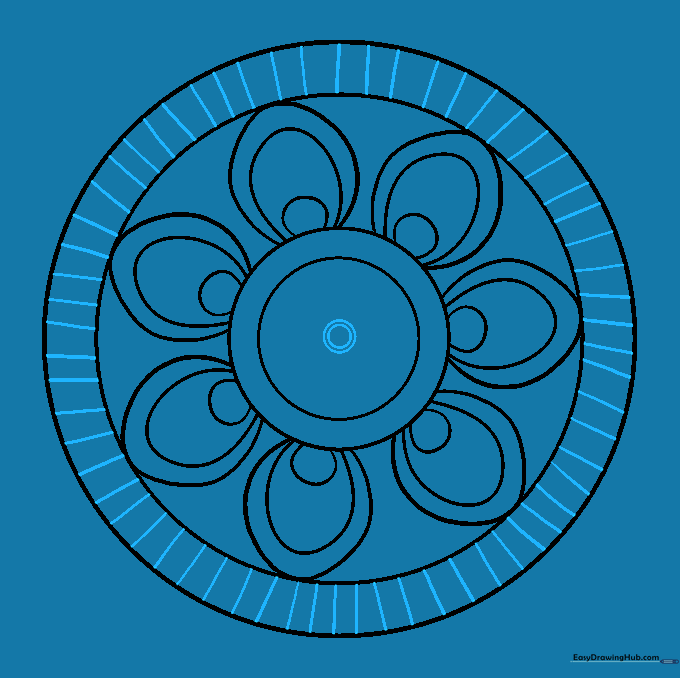
Draw short, straight lines between the outermost circles. Then, add a tiny circle with a dot inside at the very center. Teacher's Tip: Use a sharp pencil to keep these small lines neat and clean.
Step 7: Refining the Petals
Add tiny circles at the base of each petal. Teacher's Tip: If your hand gets tired, take a break! Mandalas are meant to be a relaxing, meditative activity.
Step 8: Designing the Center

Draw two open petal shapes around the central circles. Teacher's Tip: Make sure the points of these petals meet exactly at the inner circle line for a professional look.
Step 9: Finalizing the Outline

Add two more petals to complete the central flower design. Teacher's Tip: Once you finish this, go over your lines with a darker pencil or pen to make the design pop.
Step 10: Adding Color
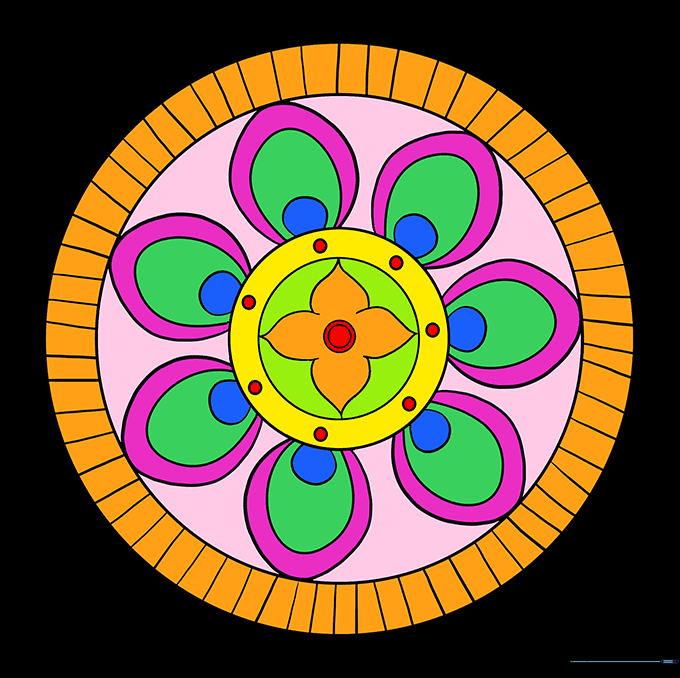
Bring your mandala to life with color! Teacher's Tip: Use a color pattern (like alternating blue and yellow) to emphasize the radial symmetry of your drawing.
More Tutorials


