How to Draw a Beetle: Simple 10-Step Guide for Kids
Ready to explore the world of insects? This step-by-step guide is perfect for young artists ages 7+ looking to draw a detailed stag beetle. All you need is a pencil, an eraser, and a piece of paper to bring this fascinating creature to life.
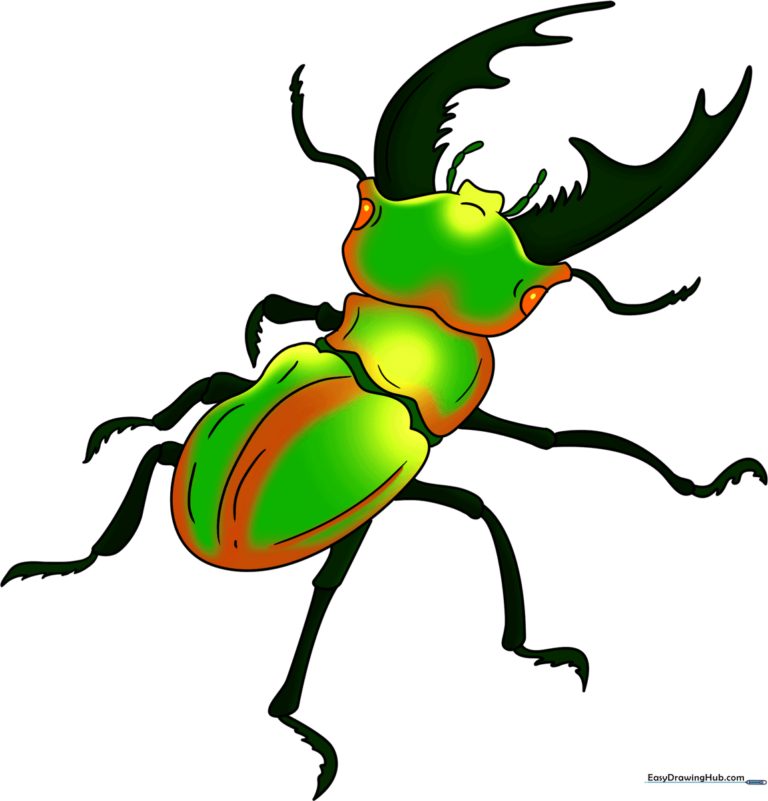
🎯 Final Result
Step-by-Step Instructions
Step 1: Sketching the Head

Start by outlining the beetle's head using curved lines to create an irregular shape. Teacher's Tip: Add three small bumps at the front to give your beetle a natural, organic look. Keep your pencil pressure light so you can easily adjust the shape later.
Step 2: Defining the Thorax
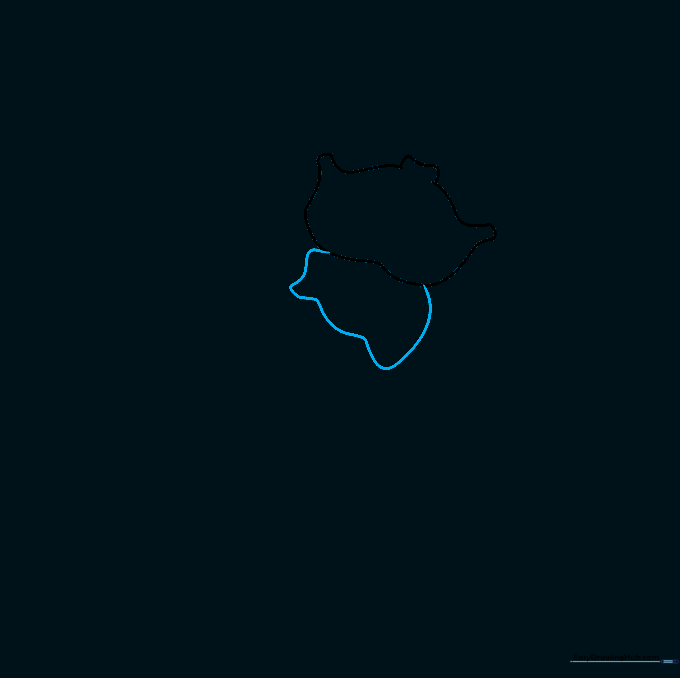
Draw the thorax, or the midsection, using a long, smooth curved line. Teacher's Tip: Think of this as the beetle's 'chest'—it should be slightly wider than the head to give the insect a sturdy appearance.
Step 3: Forming the Abdomen
Sketch the large abdomen using a long curved line, leaving a tiny gap between it and the thorax. Connect them with two short lines. Teacher's Tip: Leaving that small gap creates a realistic 'segmented' look common in real insects.
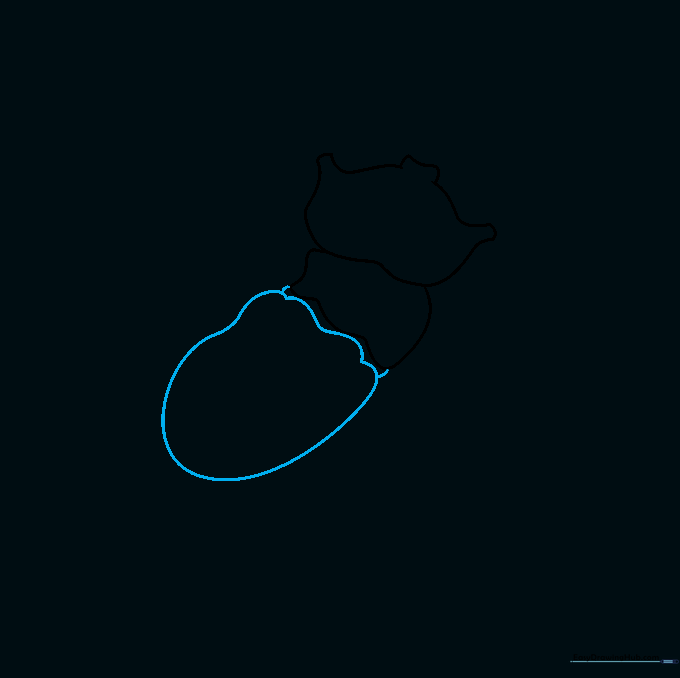
Step 4: Adding Eyes and Wing Details
Draw two half-circles on the sides of the head for eyes. Add a center line down the abdomen to represent the wing casing. Teacher's Tip: That center line is where the beetle's wings would unfold, so keep it straight and centered.
Step 5: Sketching the First Legs
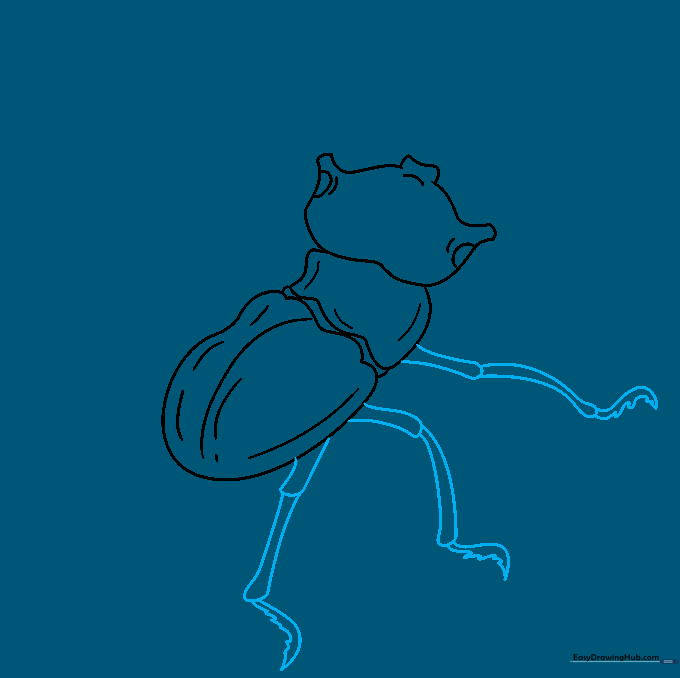
Draw the first set of legs using curved lines that double back on themselves. Add a jagged, zigzag line for the foot. Teacher's Tip: The zigzag helps the beetle 'grip' surfaces, so make those points nice and sharp!
Step 6: Drawing the Opposite Legs
Repeat the leg process on the other side of the body. Teacher's Tip: Symmetry is key here. Try to match the angle of the legs on the left to the ones on the right to keep your beetle balanced.
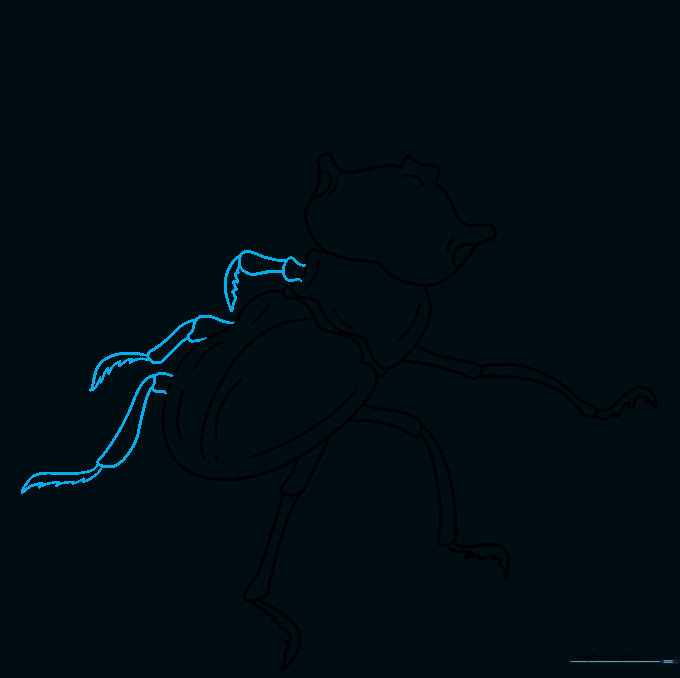
Step 7: Adding the Mandibles
Draw the large, impressive mandibles extending from the head. Use jagged points along the inner edges. Teacher's Tip: These are the beetle's 'pincers.' Make them look strong and curved to give your beetle a cool, fierce look.
Step 8: Adding Palps
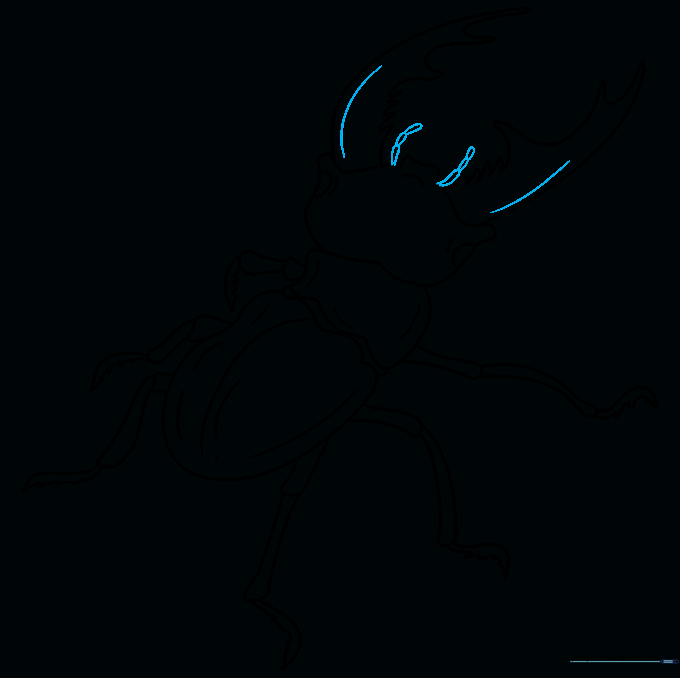
Draw the small palps near the mouth for sensory detail. These are small, segmented appendages. Teacher's Tip: Keep these small and delicate compared to the large mandibles to show scale.
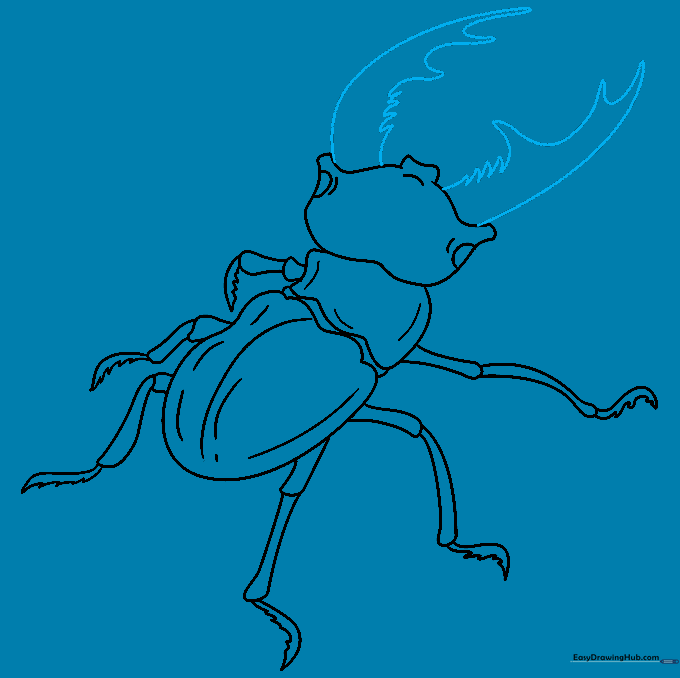
Step 9: Drawing the Antennae
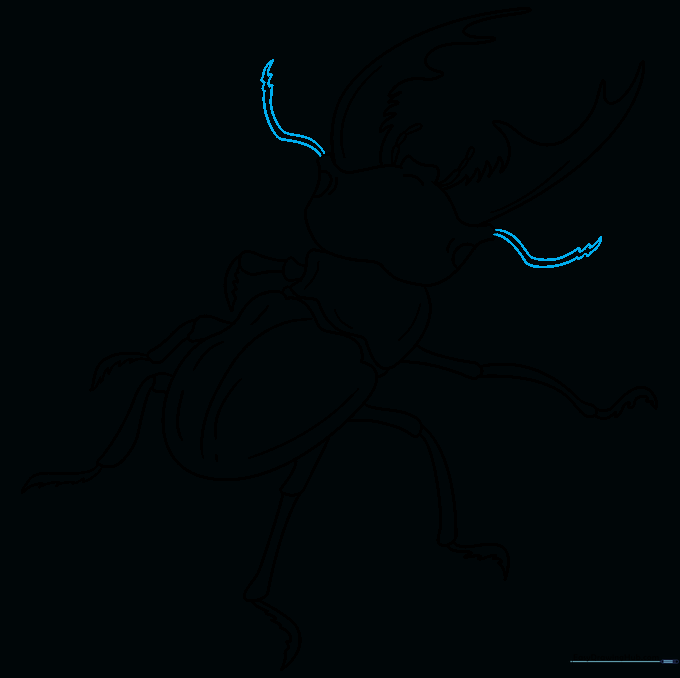
Add the long antennae extending from the head. Use jagged lines at the tips for texture. Teacher's Tip: Antennae are very sensitive, so draw them with light, flowing lines to show they are flexible.
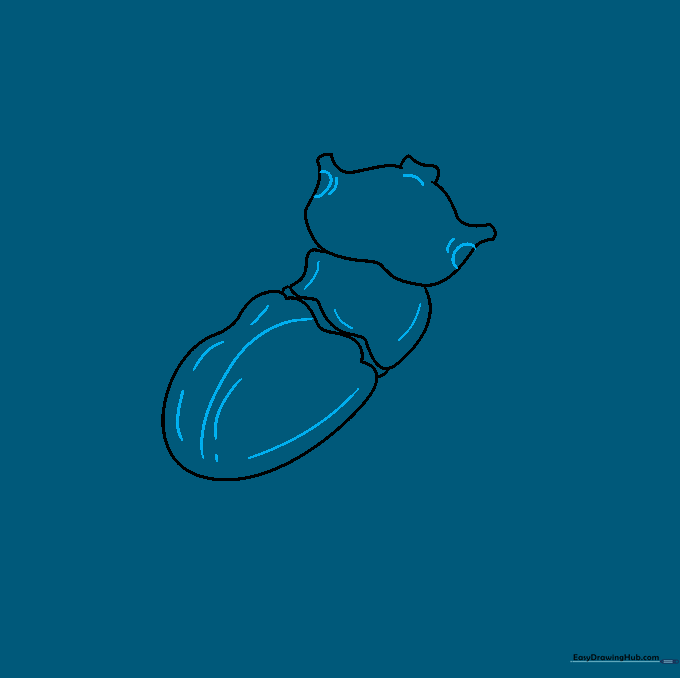
Step 10: Final Coloring
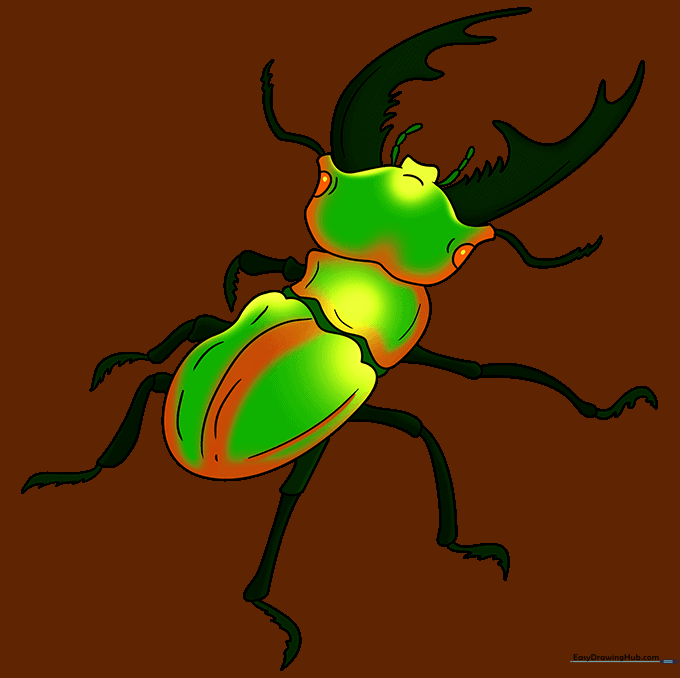
Time to bring your beetle to life! Use deep browns, blacks, or even metallic greens. Teacher's Tip: Leave a small white 'highlight' spot on the shell to make it look shiny and polished like a real beetle's exoskeleton.
More Tutorials


