How to Draw a Bed: Easy 10-Step Guide for Kids
Ready to design a cozy bedroom scene? This tutorial is perfect for ages 5 and up, using only a pencil, eraser, and paper. You will learn how to use basic geometric shapes to build a 3D structure, helping you master perspective in a fun, screen-free way.
🎯 Final Result

Step-by-Step Instructions
Step 1: Sketching the Mattress Base

Start by drawing a parallelogram to form the top of the mattress. Extend a vertical line down from each corner and connect them to create a 3D rectangular cube. Teacher's Tip: Use a ruler if you want perfect edges, but freehand lines help build better hand control!
Step 2: Adding the Bedposts

Draw a narrow rectangle at each corner of your cube, extending slightly above and below the mattress. Teacher's Tip: If your lines overlap the mattress, gently erase the extra marks to keep the drawing clean.
Step 3: Creating the Headboard
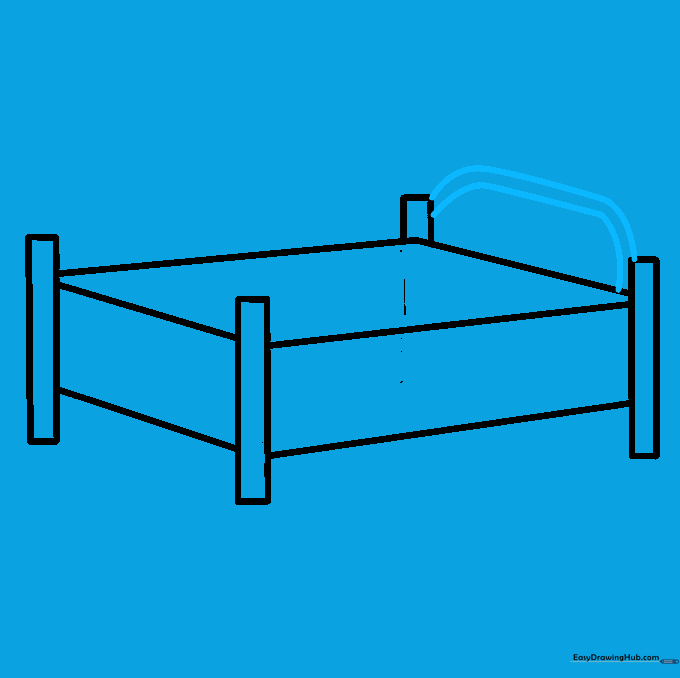
Connect the two back bedposts with a large, rainbow-shaped curved line. This creates the headboard. Teacher's Tip: Draw this with one smooth motion for a more professional-looking curve.
Step 4: Drawing the Finials
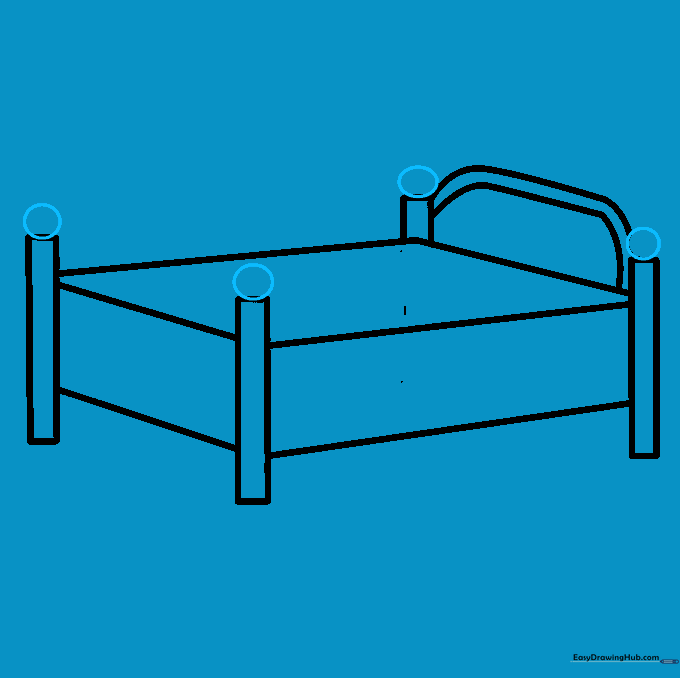
Place a small circle on top of each bedpost to act as the decorative knobs. Teacher's Tip: Try to make all four circles the same size for a balanced look.
Step 5: Adding Depth to Posts

Draw a straight line down the center of each bedpost. This simple detail adds a 3D effect. Teacher's Tip: Keep this line light so it doesn't look like a crack in the wood.
Step 6: Sketching the Blanket

Use overlapping curved lines across the mattress to represent the blanket. Teacher's Tip: Think about how a real blanket bunches up—keep your lines soft and wavy, not rigid.
Step 7: Adding Pillows
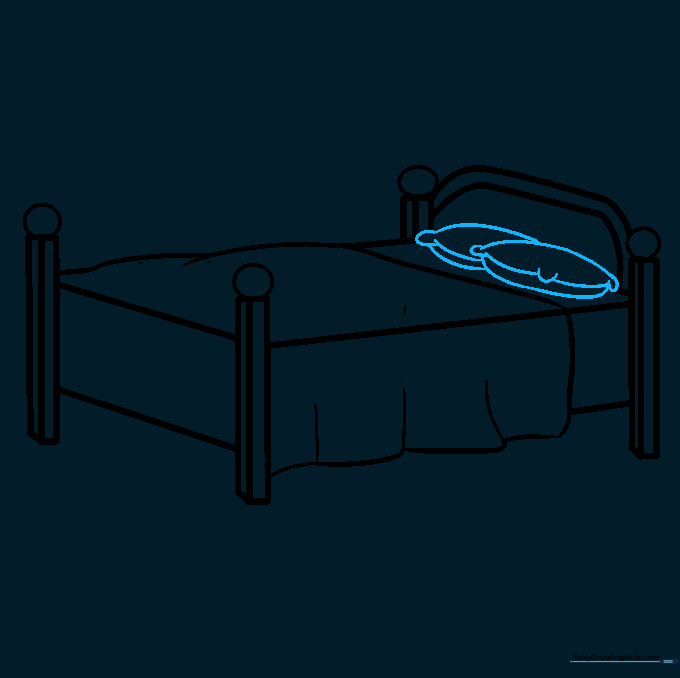
Draw two ovals at the head of the bed. Add 'U' shapes at the corners and a curved line for the seam to make them look fluffy. Teacher's Tip: Pillows are soft, so avoid sharp corners!
Step 8: Detailing the Footboard
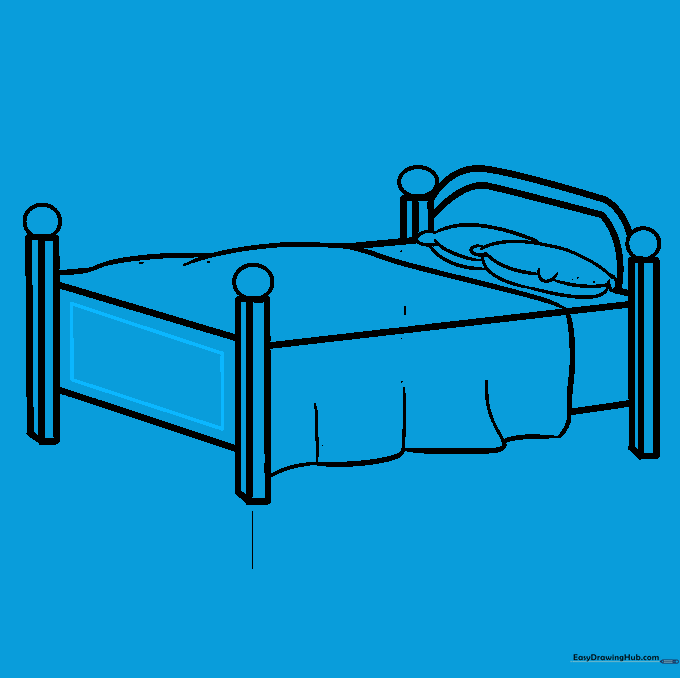
Draw a rectangle inside the footboard area to add a panel design. Teacher's Tip: Ensure the rectangle lines are parallel to the outer edges for a neat, finished look.
Step 9: Adding Texture

Add small, light curved lines to the blanket and pillows to suggest fabric texture. Teacher's Tip: Less is more! A few subtle lines are better than too many messy ones.
Step 10: Bringing it to Life with Color

Color your bed using your favorite shades! Use darker colors for the bed frame and softer tones for the bedding. Teacher's Tip: Use light pressure with your colored pencils to create a soft, cozy look.
More Tutorials


