How to Draw a Bed Bug: Easy 10-Step Cartoon Guide
Ready to practice your insect anatomy? This tutorial is perfect for young artists ages 6+ looking to master cartoon-style bugs. Grab a pencil, an eraser, and a piece of paper to follow along as we break down this complex little creature into simple, manageable shapes.
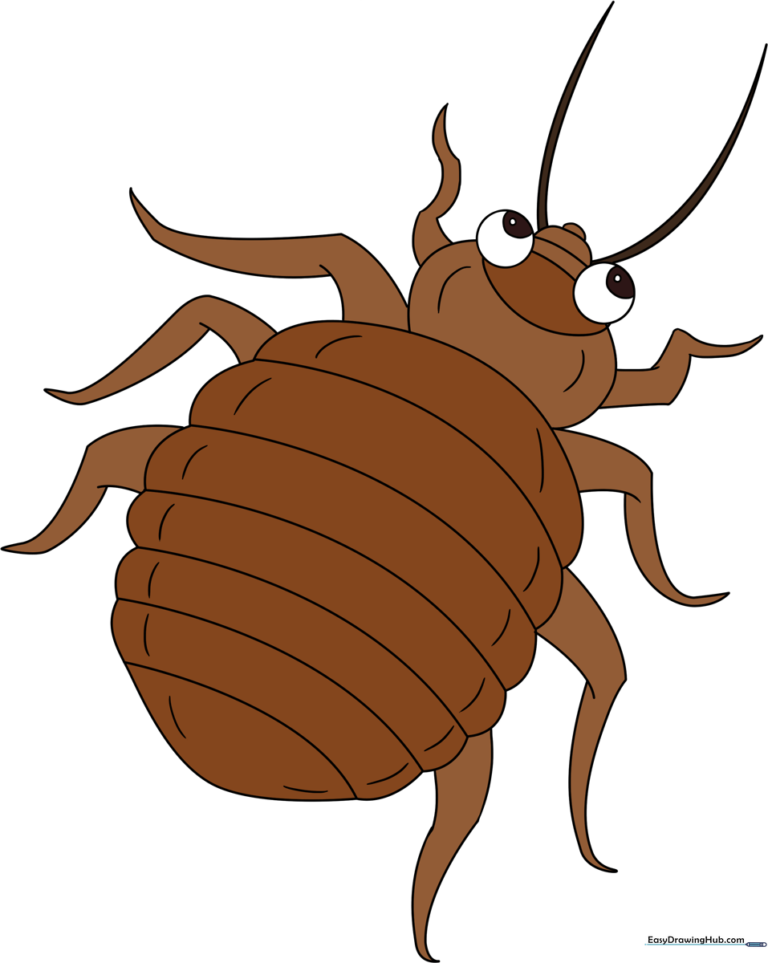
🎯 Final Result
Step-by-Step Instructions
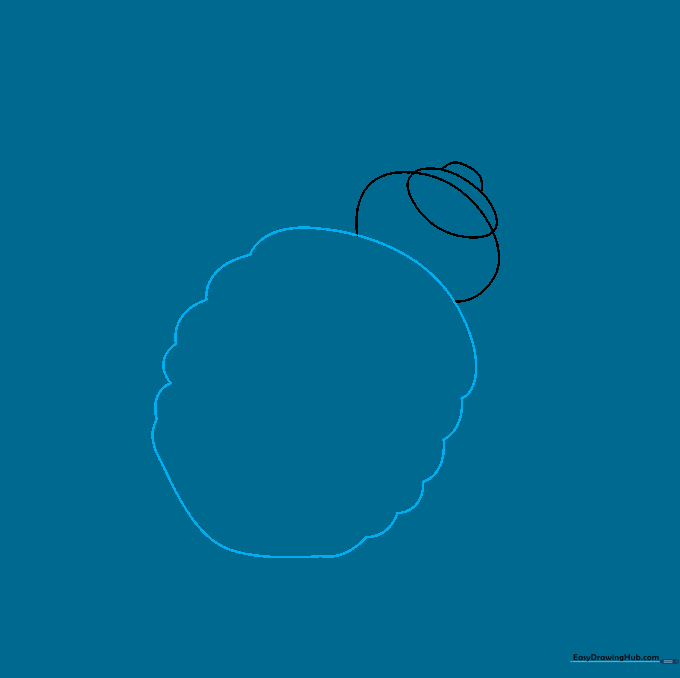
Sketching the Thorax

Start by drawing a soft "C" shaped line. This forms the midsection of your bug. Teacher's Tip: Keep your pencil pressure light so you can easily adjust the shape if it looks a bit lopsided.
Defining the Head

Draw an oval that overlaps your first line, then add a smaller rounded shape on top. This creates the head. Tip: Think of this as stacking two pebbles—keep the proportions small to make the bug look cute.
Outlining the Abdomen
Draw a long curved line connecting the ends of your thorax, then add small curves to create the abdomen. Tip: Symmetry is key here, so try to mirror your curves on both the left and right sides.
Adding Abdominal Segments
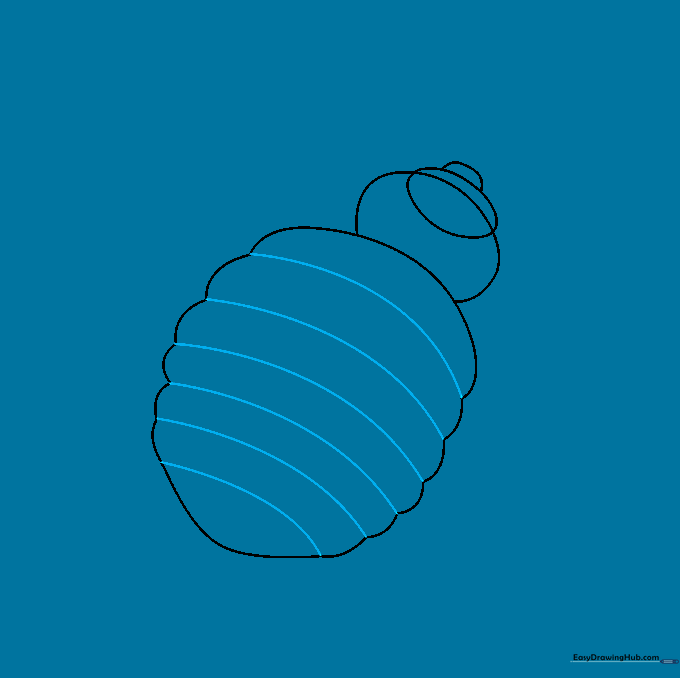
Add horizontal curved lines across the abdomen to show its segments. Tip: These lines should follow the curve of the body to give the drawing a 3D, rounded appearance.
Drawing the Eyes
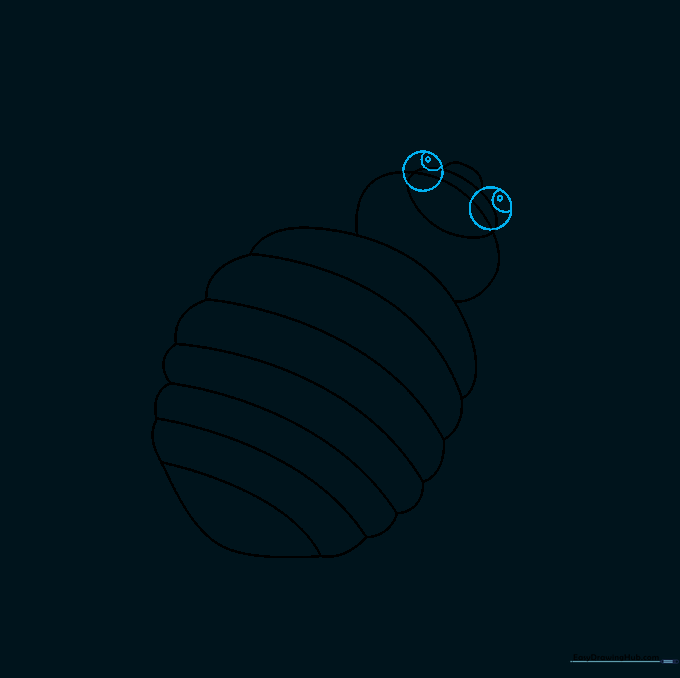
Draw two circles overlapping the head and thorax, with smaller circles inside for pupils. Tip: Placing the eyes slightly apart gives your bug a friendly, curious expression.
Sketching the First Set of Legs
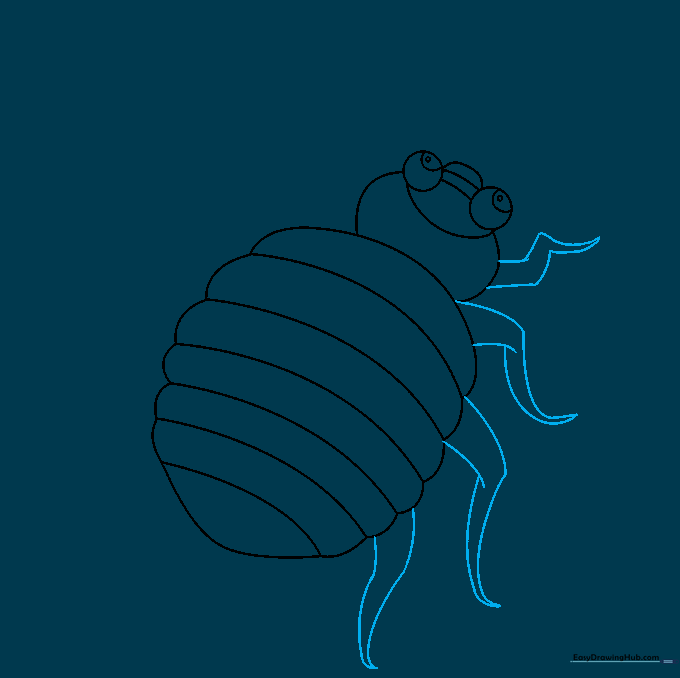
Draw the legs using pairs of curved lines that meet at sharp points. Tip: Notice the joints—draw them as small angles to make the legs look like they are bending.
Adding the Opposite Legs
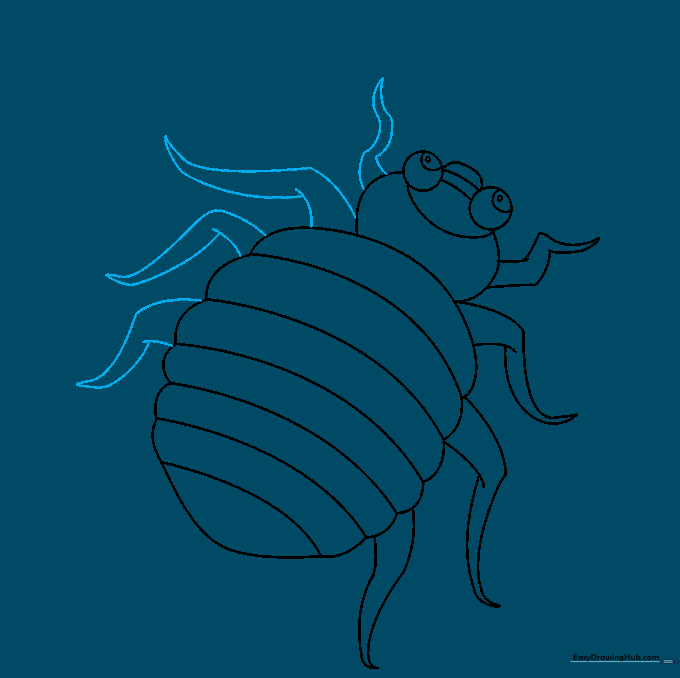
Repeat the process for the legs on the other side. Tip: Try to make them look slightly different in position to give your drawing a sense of movement.
Adding Antennae and Details
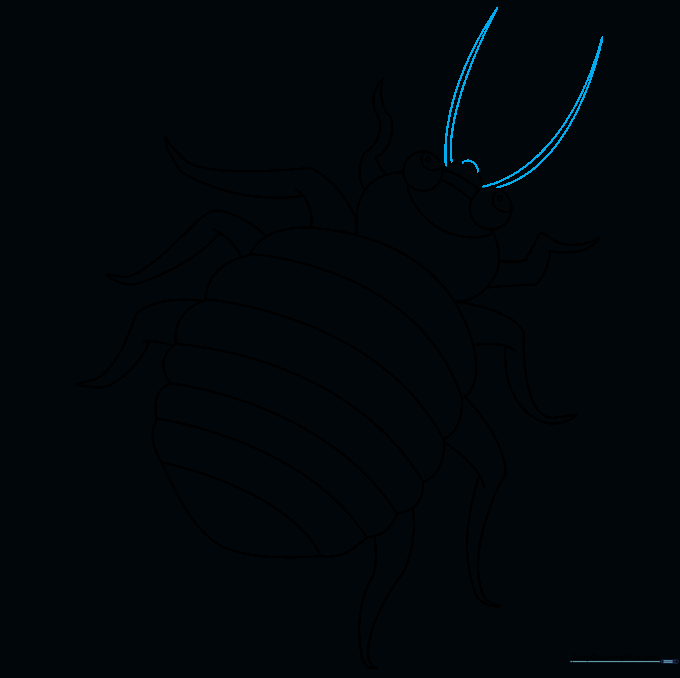
Add a small semi-circle for the mouth and two long, pointed antennae. Tip: Keep the antennae thin and elegant to balance out the chunky body of the bug.
Finalizing the Texture
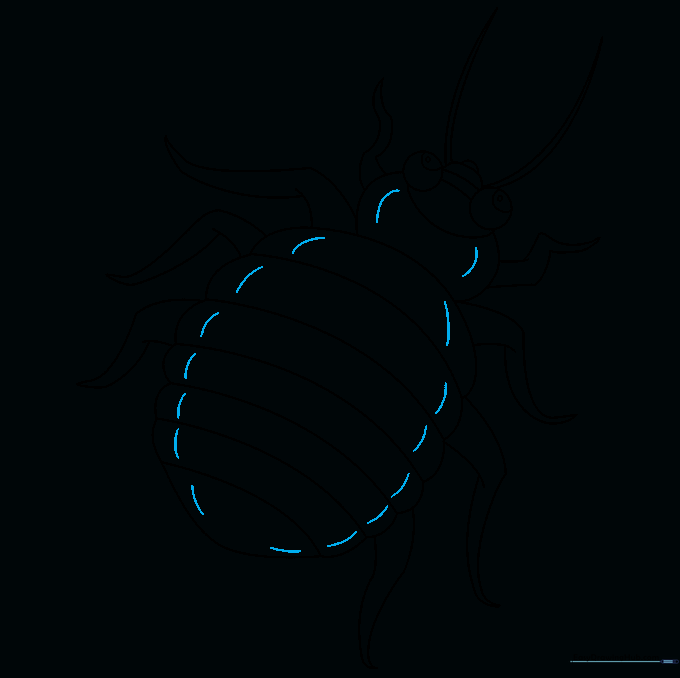
Add short, quick curved lines along the sides of the thorax and abdomen to create texture. Tip: Don't overdo it! A few well-placed lines are better than a messy, cluttered drawing.
Coloring Your Creation
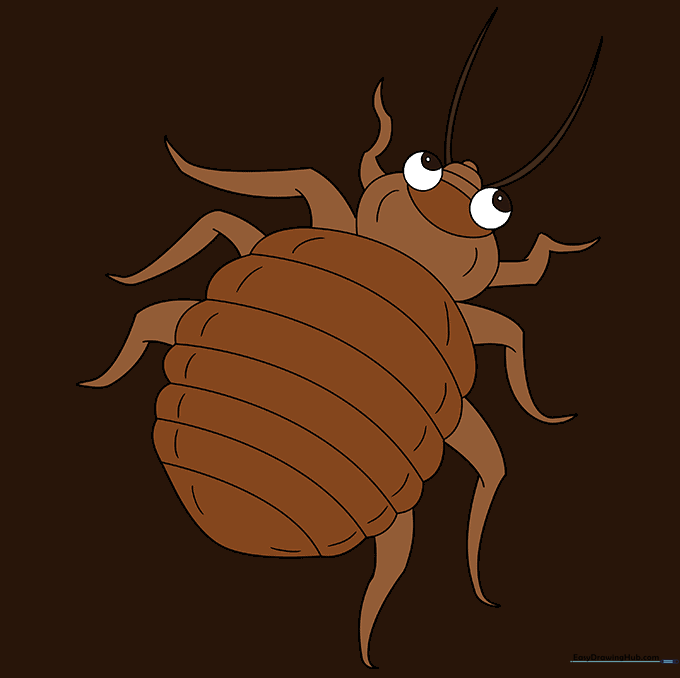
Bring your bug to life with reddish-brown tones. Tip: Use a darker shade for the edges and a lighter shade in the center to create a simple highlight effect.
More Tutorials


