How to Draw a Bearded Dragon: Easy Step-by-Step Guide
Bring a cool reptile to life with this beginner-friendly drawing tutorial. Perfect for artists ages 5 and up, you only need a pencil, eraser, and paper to get started. Follow along to master the unique spikes and scaly textures of a bearded dragon.
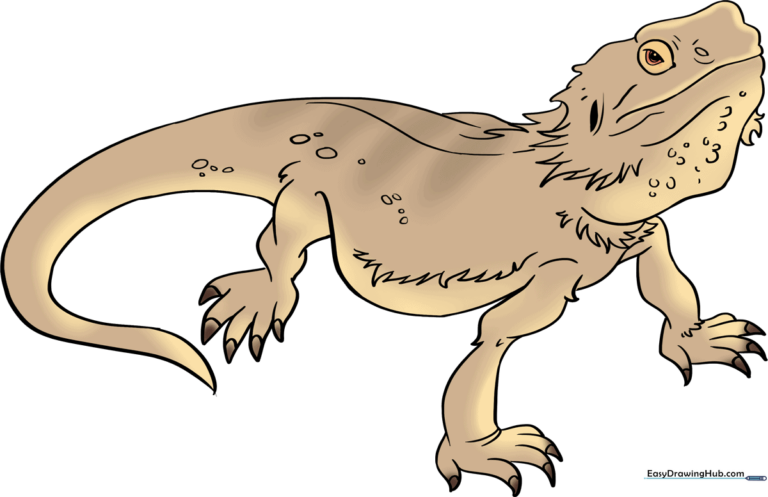
🎯 Final Result
Step-by-Step Instructions
Step 1: Sketching the Head Shape
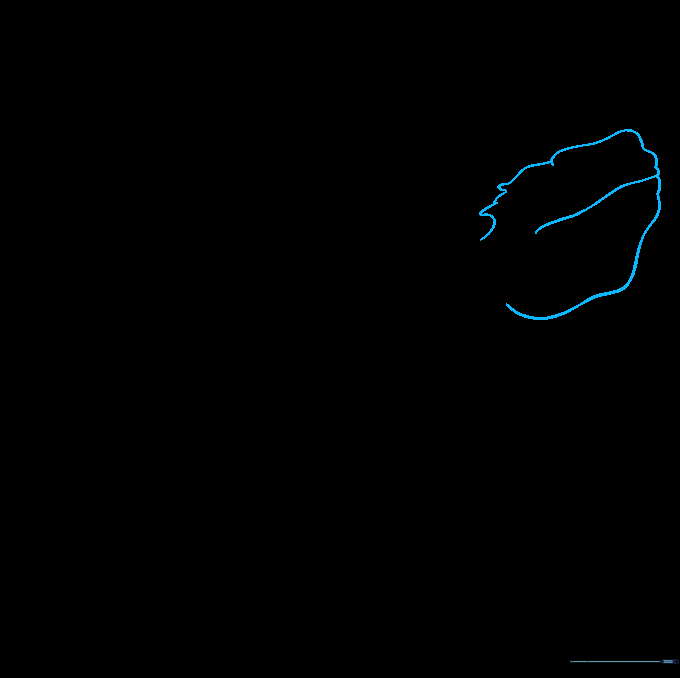
Start by sketching the head using short, connected curved lines to create the spiky crown. Use a wavy line for the face and a simple curve for the mouth. Teacher's Tip: Keep your pencil pressure light so you can easily adjust the shape if it looks a bit lopsided.
Step 2: Adding the Beard Spikes
Draw a curved line under the mouth and add jagged, triangular spikes along the sides of the head. Teacher's Tip: Think of these spikes as little 'V' shapes connected together to create that iconic bearded dragon texture.
Step 3: Outlining the Body and Tail

Use long, overlapping curved lines to form the body, tapering them toward the back to create a pointed tail. Teacher's Tip: Make sure the tail curves slightly to give your dragon a more natural, relaxed posture.
Step 4: Drawing the Rear Leg
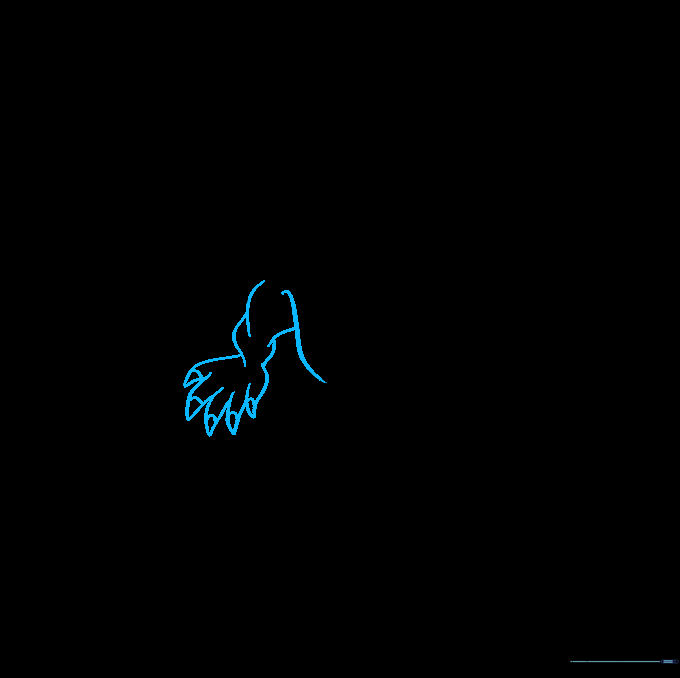
Sketch the back leg using overlapping curves and add 'U' shapes for the toes. Finish each toe with a small triangle for the claw. Teacher's Tip: If the leg looks too thick, use your eraser to thin out the lines before moving on.
Step 5: Sketching the First Foreleg
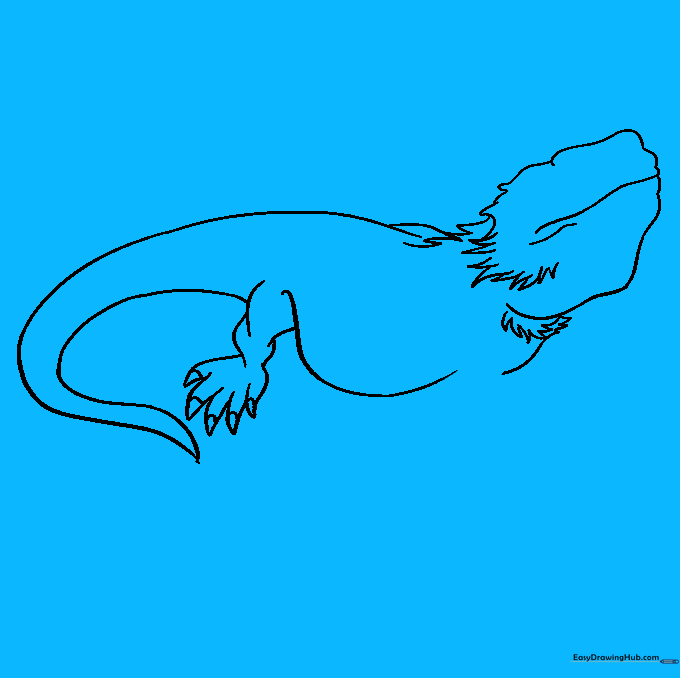
Draw the front leg using smooth, curved lines for the limb and small triangles for the claws. Teacher's Tip: Keep the joints rounded to make the lizard look like it's resting comfortably on the ground.
Step 6: Adding the Second Foreleg
Repeat the process for the other front leg, ensuring it matches the scale of the first one. Teacher's Tip: Drawing the second leg slightly behind the first creates a sense of depth in your drawing.
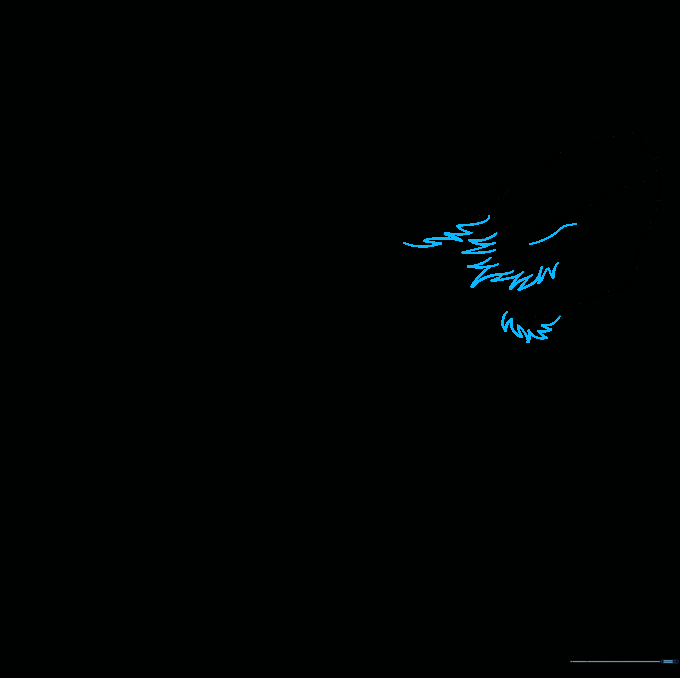
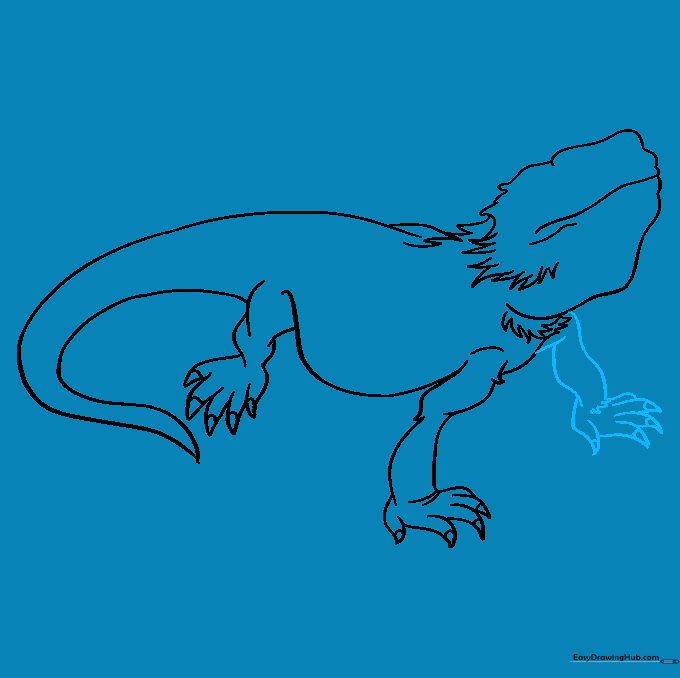
Step 7: Adding Body Texture

Draw a line down the center of the back and add jagged spikes along the sides. Sprinkle in small circles to represent scales. Teacher's Tip: Don't make the scales too uniform; nature is messy and random!
Step 8: Refining the Scaly Details
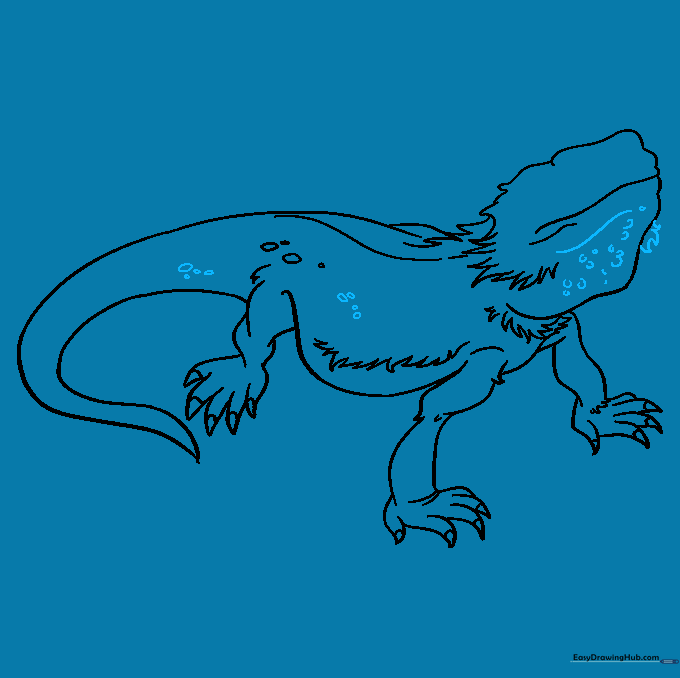
Continue adding circles and half-circles under the mouth and along the tail to enhance the scaly look. Teacher's Tip: Use varying sizes of circles to make the texture look more realistic.
Step 9: Drawing the Face

Draw a large circle for the eye with a shaded pupil, add a nostril, and sketch a small oval for the ear. Teacher's Tip: The eye is the most important part—take your time to get the shading right so the lizard looks 'alive'.
Step 10: Adding Color
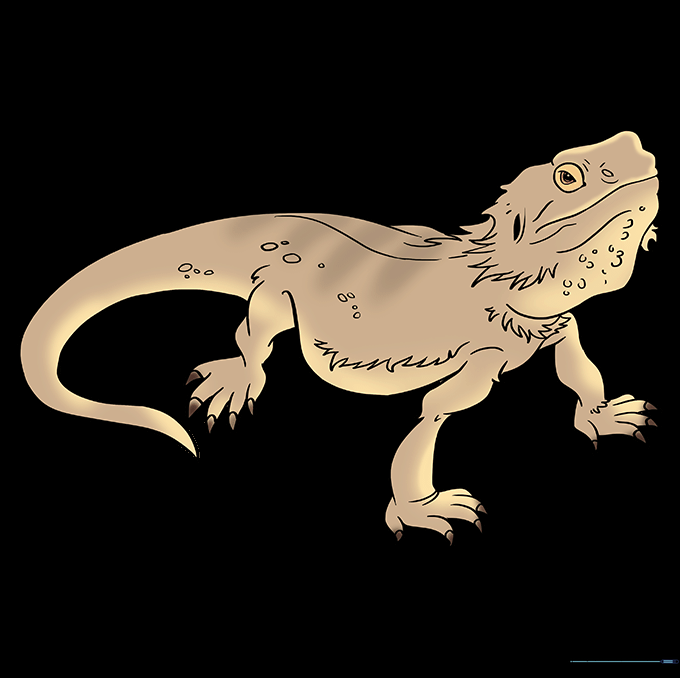
Bring your dragon to life with color! Use earthy tones like brown, orange, or yellow. Teacher's Tip: Try adding stripes or spots to give your dragon a unique, custom pattern.
More Tutorials


