How to Draw a Beach Ball: Easy 10-Step Guide
Ready for some summer fun? This tutorial is perfect for young artists ages 5 and up to practice drawing perfect spheres and symmetrical patterns. Grab a pencil, an eraser, and your favorite markers to bring this colorful beach toy to life.
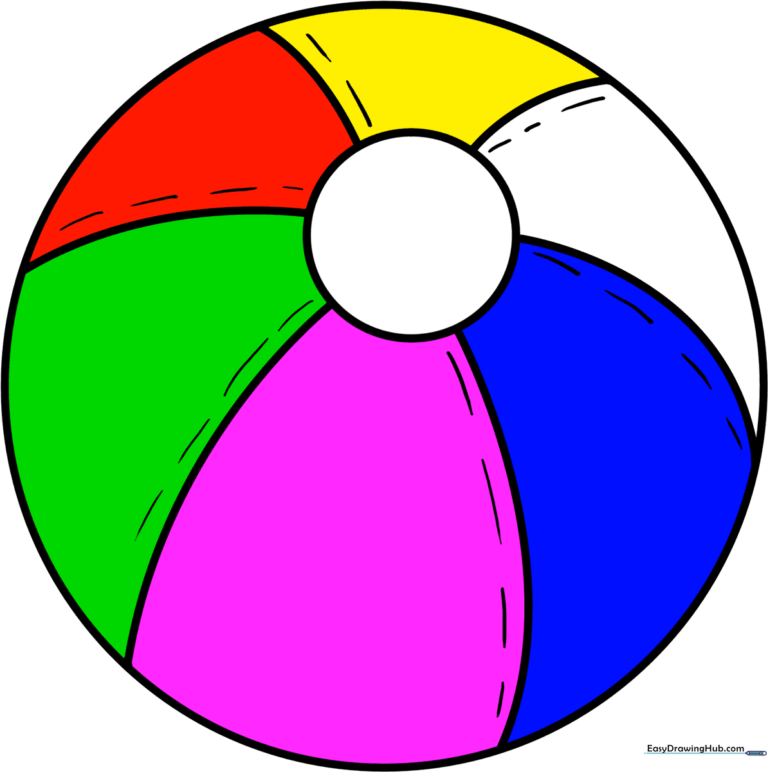
🎯 Final Result
Step-by-Step Instructions
Sketching the Main Sphere
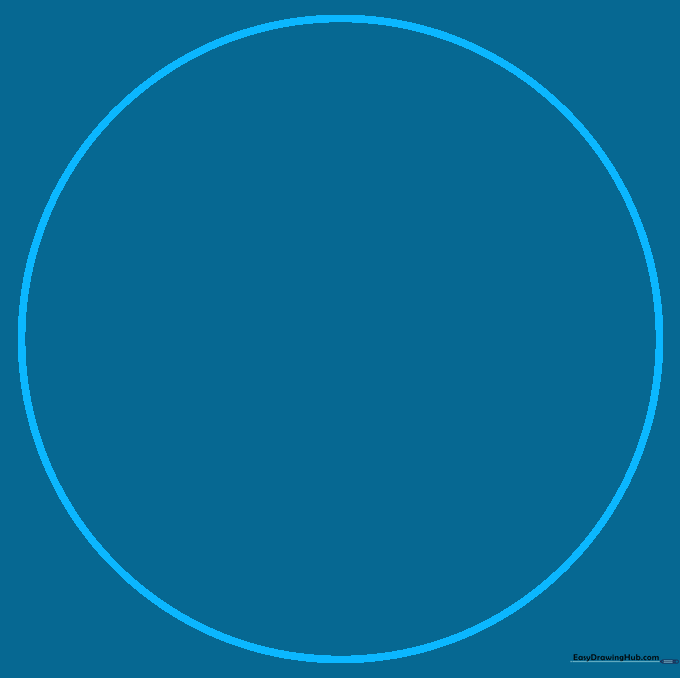
Draw a large, light circle to serve as the base of your ball. Teacher's Tip: Use a light touch with your pencil so you can easily erase any overlapping lines later.
Adding the Center Valve
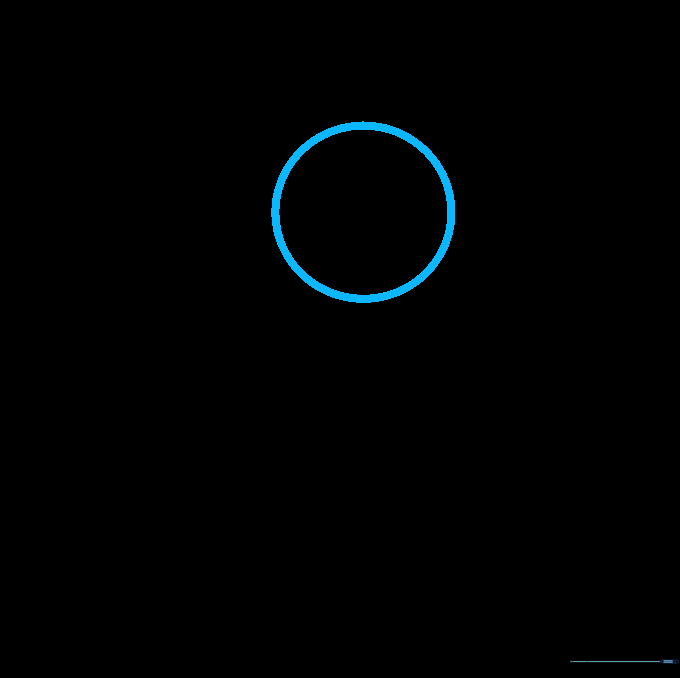
Draw a smaller circle right in the center of your large circle. Teacher's Tip: This represents the air valve where you inflate the ball—keep it small and perfectly round.
Drafting the First Panel

Draw a long, curved line extending from the center circle to the outer edge. Teacher's Tip: Imagine you are drawing a slice of a pizza to get the curve just right.
Defining the Second Panel

Draw another curved line from the center to the edge to complete your first panel. Teacher's Tip: Keep your spacing consistent so the ball looks balanced.
Creating the Third Panel

Add a third curved line from the center to the edge. Teacher's Tip: Rotate your paper if it helps your hand follow the natural curve of the ball.
Continuing the Pattern

Draw the fourth curved line to create another section. Teacher's Tip: Don't worry if the lines aren't perfectly identical; beach balls are often slightly irregular!
Adding the Fifth Panel
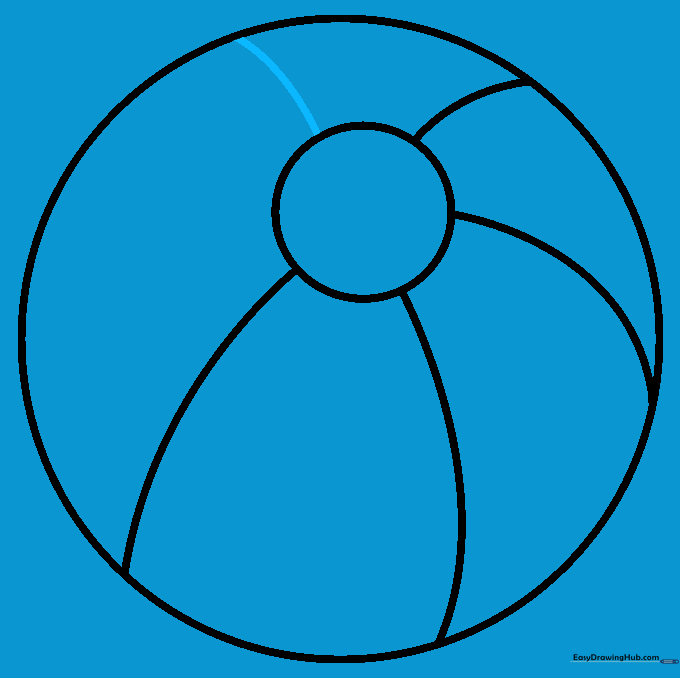
Add the fifth curved line. Teacher's Tip: Ensure your lines all originate from the center circle to keep the perspective accurate.
Closing the Pattern

Draw the final curved line to complete all six sections of the ball. Teacher's Tip: Now you have a full, segmented beach ball structure!
Adding Texture and Detail

Draw short, small lines along the seams of the panels. Teacher's Tip: These little marks represent the stitching, which adds a realistic, professional touch to your drawing.
Bringing it to Life with Color
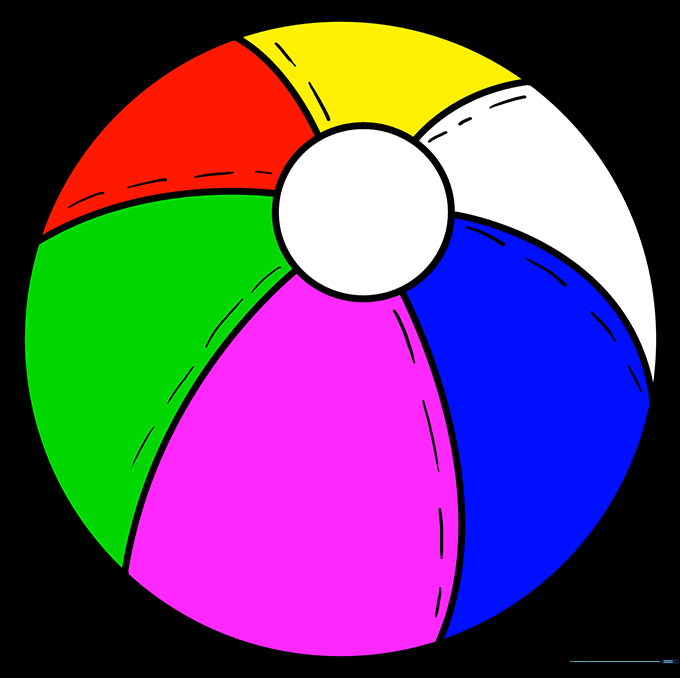
Time to color! Use bright, vibrant colors like red, yellow, blue, and green for each panel. Teacher's Tip: Leave a small white space on one side of each panel to create a 'shiny' highlight effect.
More Tutorials


