How to Draw a Bathtub: Easy 10-Step Guide for Kids
Ready to create a cozy bathroom scene? This tutorial is perfect for young artists ages 5 and up. All you need is a pencil, an eraser, and a piece of paper to practice these simple shapes and lines.
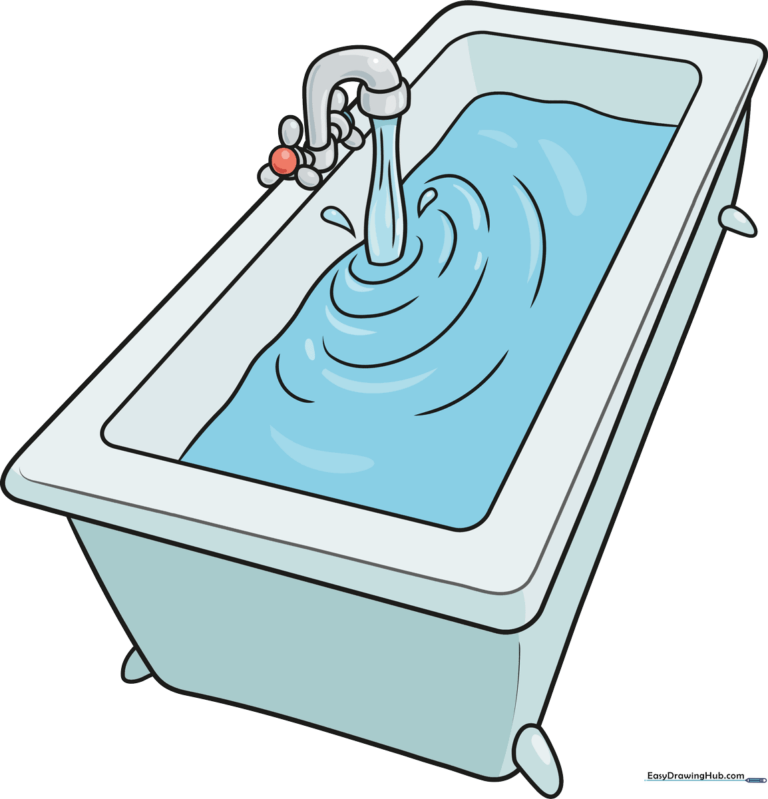
🎯 Final Result
Step-by-Step Instructions
Step 1: Sketching the Main Basin

Draw a large rectangle with rounded corners to form the top rim of the tub. Tip: Keep your pencil lines light so you can easily adjust the shape if needed.
Step 2: Defining the Tub Depth
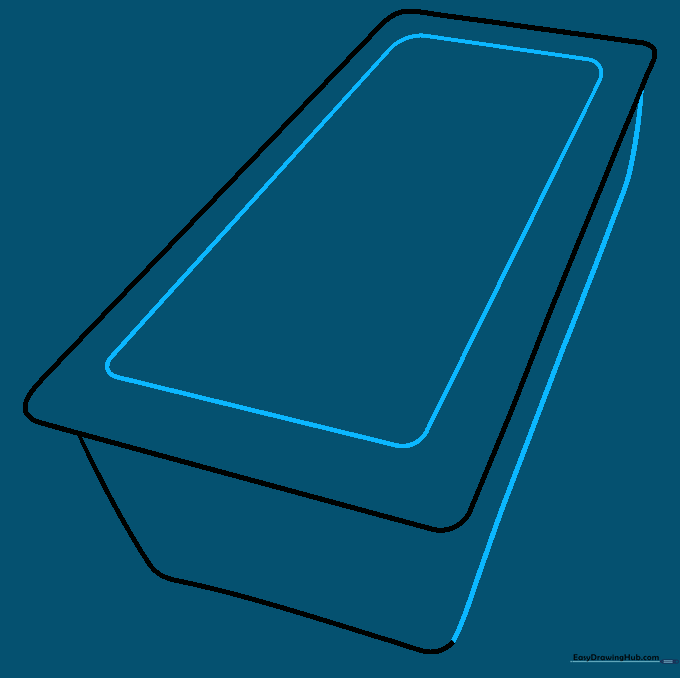
Draw a smaller, nested rectangle inside the first one to create the inner edge. Connect the sides with straight lines to give the tub a 3D look. Tip: Make sure your corners are rounded to keep the style consistent.
Step 3: Adding the Tub Feet
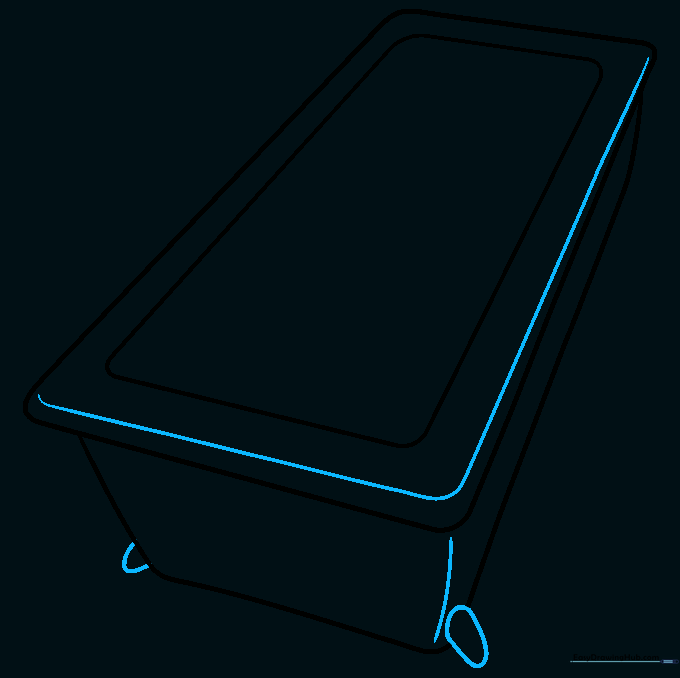
Contour the top edge with an 'L' shaped line and sketch two irregular oval shapes at the bottom for the feet. Tip: These feet give your tub a classic, vintage claw-foot style.
Step 4: Sketching the Faucet
Draw the back foot and start the faucet using 'J' shaped lines. Tip: If you make a mistake, use your eraser to gently clean up the lines where the faucet meets the tub rim.
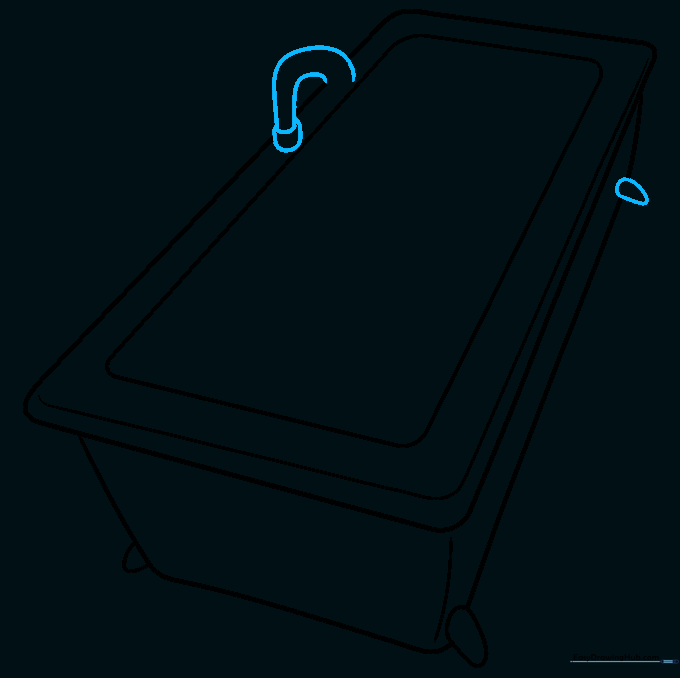
Step 5: Faucet Details

Add a curved rectangle for the spout and a circle with a small triangle for the handle. Tip: Keep the handle small so it looks proportional to the rest of the tub.
Step 6: Handle Mechanics

Draw a smaller circle inside the handle and add three tiny ovals around it. Tip: These ovals represent the grip or decorative bolts on the handle.
Step 7: Finishing the Handle

Use smooth, curved lines to define the shape of the remaining handle. Tip: Take your time here; slow, steady lines look much cleaner than fast, shaky ones.
Step 8: Adding Water
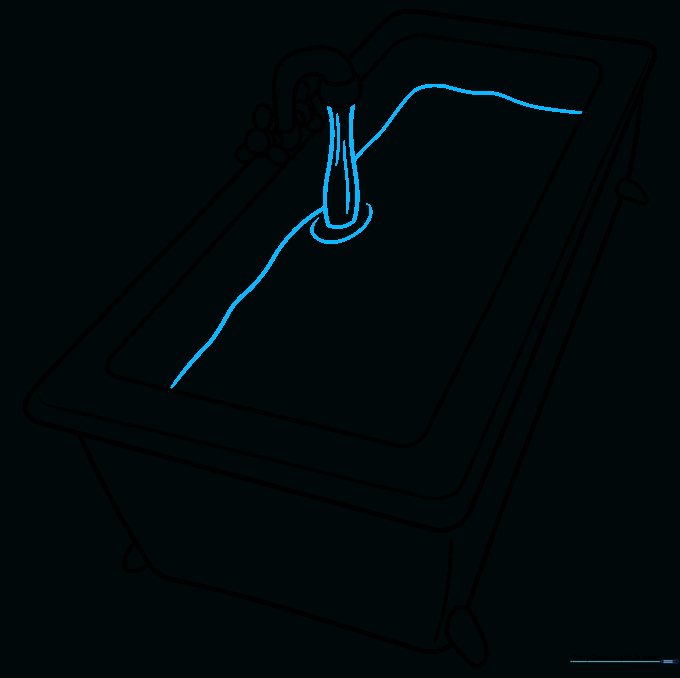
Draw water flowing from the faucet using curved lines and add a 'C' shaped ripple at the bottom. Tip: Use light, wavy lines to make the water look like it is moving.
Step 9: Final Splashes

Add teardrop-shaped splashes and more ripples to create a playful, bubbly effect. Tip: Vary the size of your splashes to make the water look more realistic.
Step 10: Adding Color
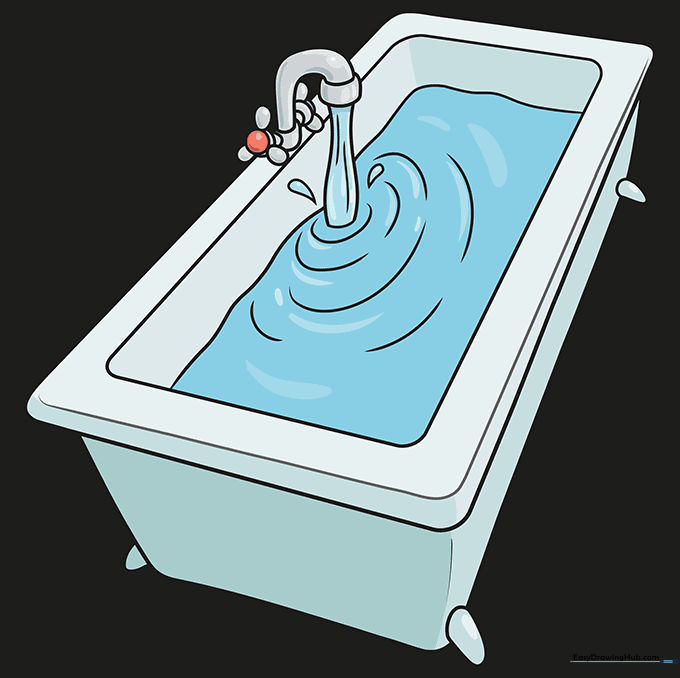
Bring your drawing to life with color! Use light blues for the water and white or cream for the tub. Tip: Add a few circles to represent soap bubbles for extra fun!
More Tutorials


