How to Draw a Bat: Easy 9-Step Guide for Kids
Ready to bring a nocturnal friend to life? This tutorial is perfect for young artists ages 6+ looking to master cartoon anatomy. All you need is a pencil, an eraser, and a piece of paper to start building your bat's expressive face and wings.
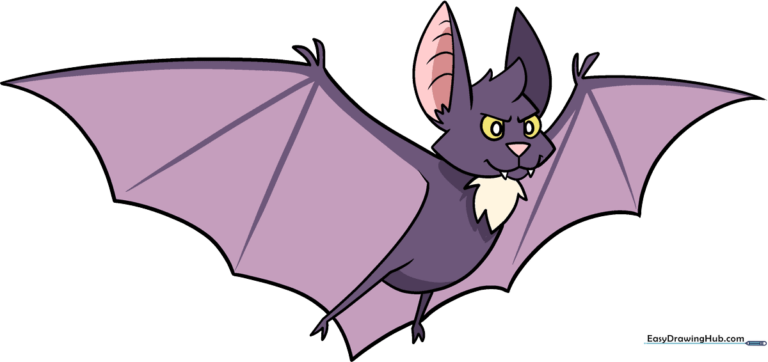
🎯 Final Result
Step-by-Step Instructions
Step 1: Sketching the Furry Head
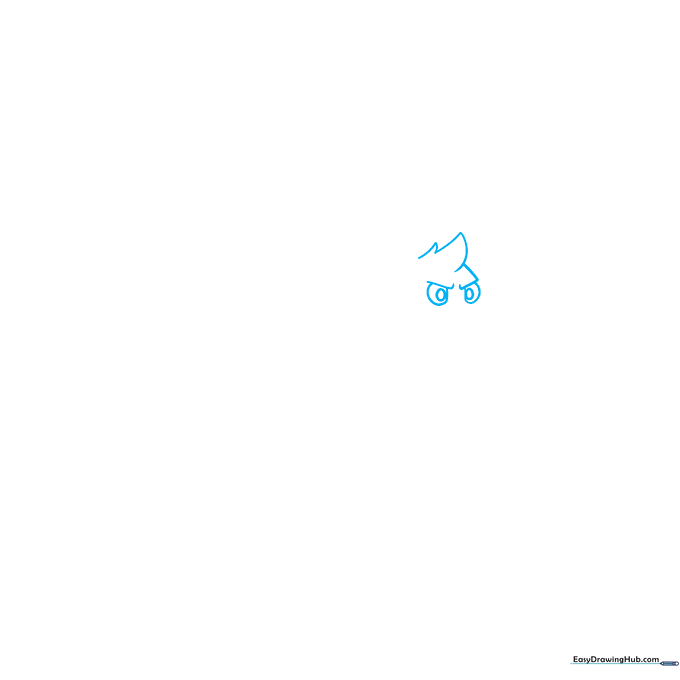
Start by drawing two 'L' shaped lines for the furrowed brows. Add a partial circle under each for the eyes, then use jagged, zigzag lines on top of the head to create a tuft of fur. Teacher's Tip: Keep the zigzag strokes short and quick to make the fur look soft and realistic.
Step 2: Defining the Face
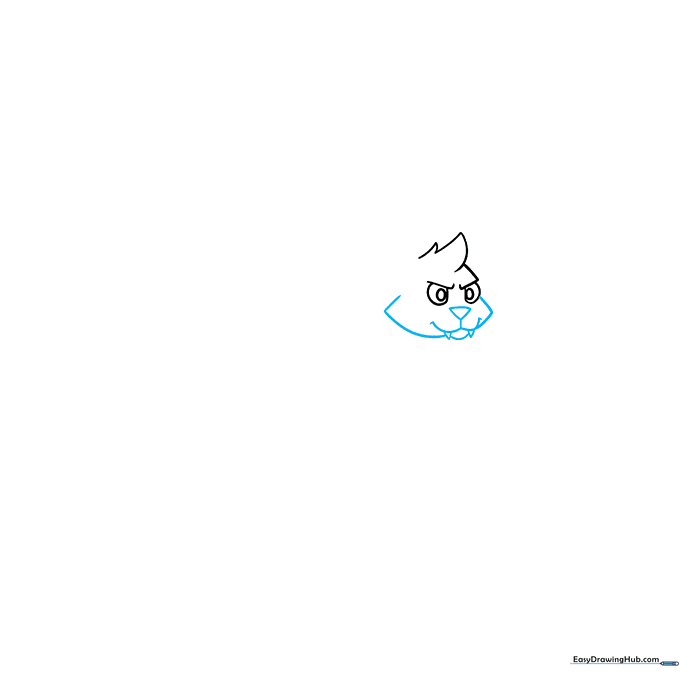
Draw an inverted triangle for the nose and curved lines for the mouth. Add two small triangles on the sides for fangs. Teacher's Tip: Make the fangs small and sharp to give your bat a friendly, not scary, cartoon look.
Step 3: Drawing the Ears
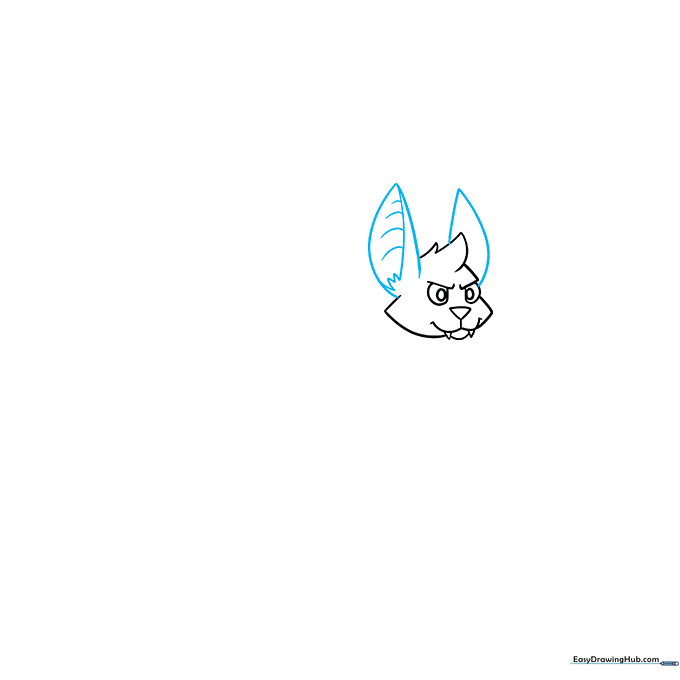
Create two large, pointed ears using long curved lines. Add a jagged pattern at the base of each ear to match the fur on the head. Teacher's Tip: Bats use their ears to 'see' in the dark, so make them nice and tall!
Step 4: The Chest and Belly
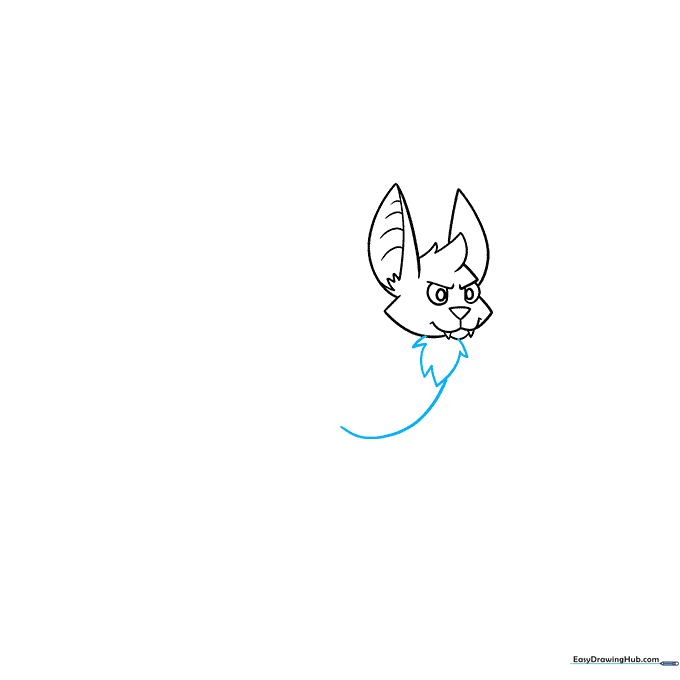
Use jagged lines to draw a tuft of fur on the chest, then extend a long, smooth curved line to form the belly. Teacher's Tip: A smooth belly line helps balance out the jagged fur texture above it.
Step 5: Adding the Legs
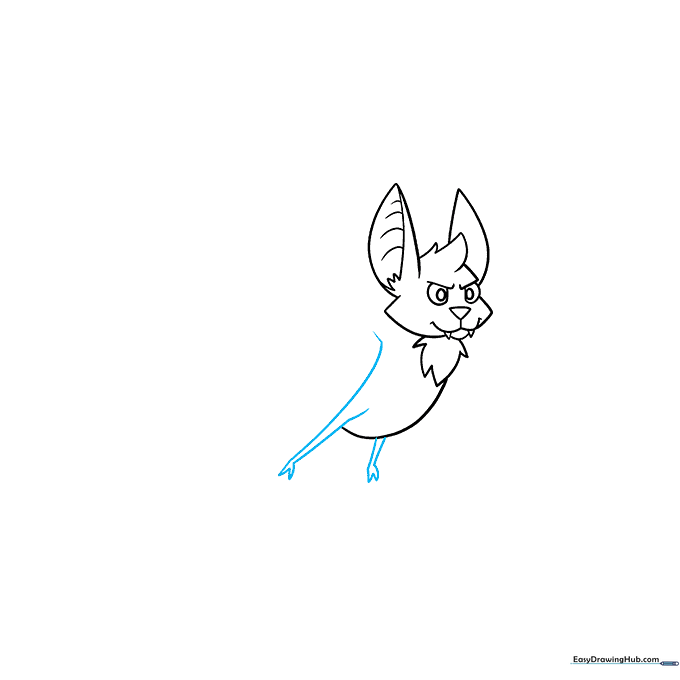
Draw two pairs of lines for the legs, connecting them with a 'V' shape at the bottom for the toes. Teacher's Tip: Keep the legs close to the body so the bat looks compact and ready for flight.
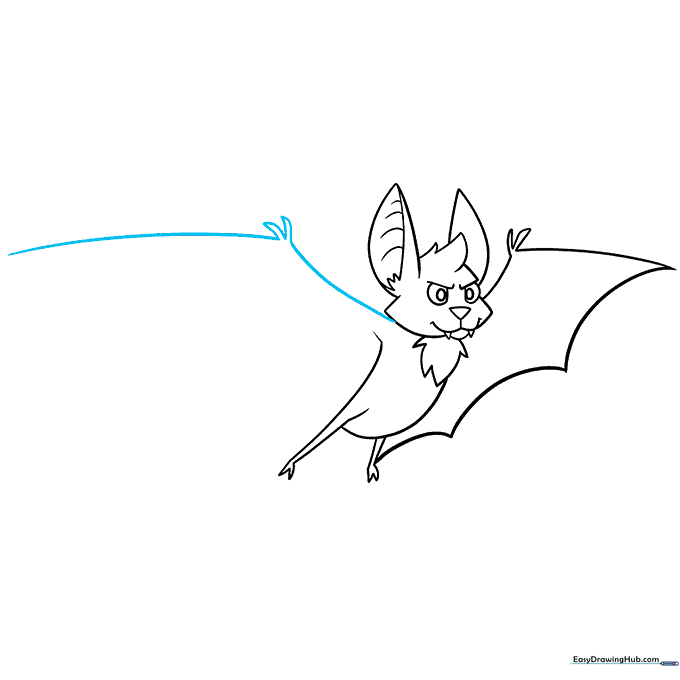
Step 6: Starting the Wing
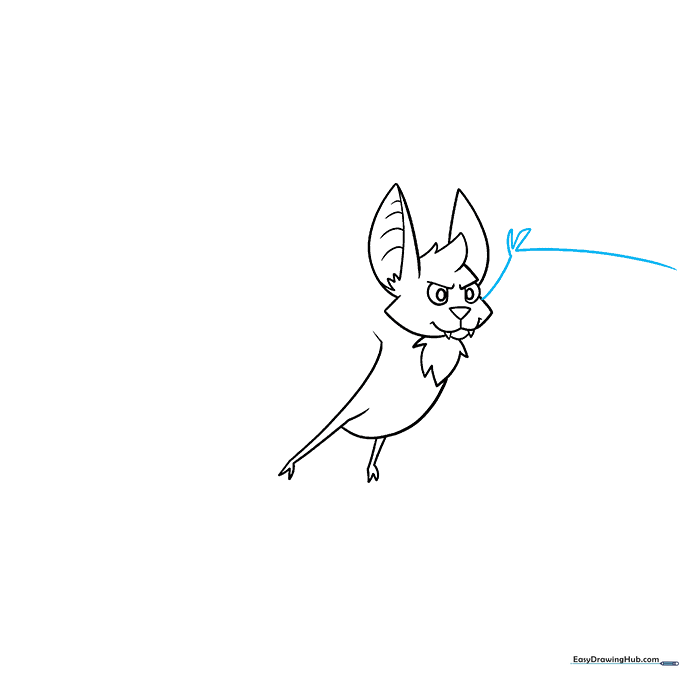
Draw the arm and fingers using curved lines. This forms the leading edge of the wing. Teacher's Tip: Imagine the wing is like a hand with very long fingers—this helps with the spacing.
Step 7: Creating the Wing Membrane
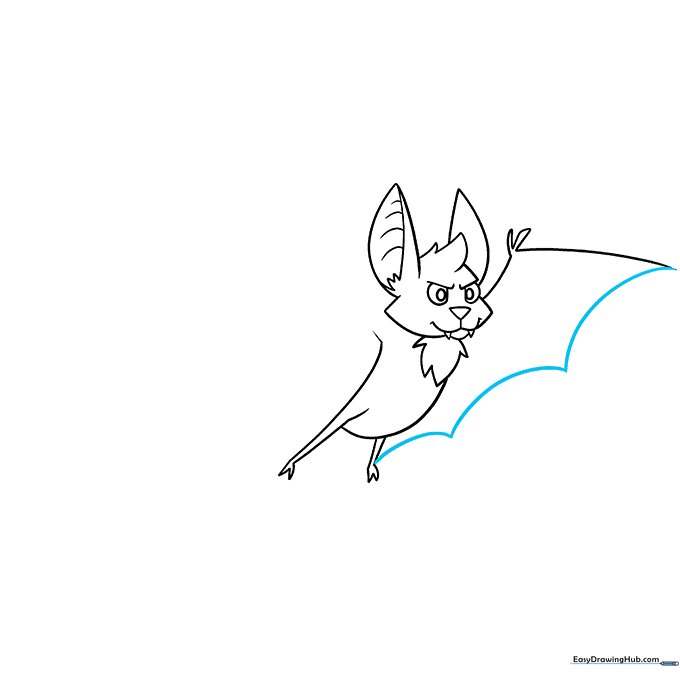
Use a series of scalloped, 'U' shaped lines to connect the fingers and create the wing membrane. Teacher's Tip: Think of these as little waves connecting the fingers together.
Step 8: Drawing the Second Wing
Repeat the process for the other wing, using a long curved line for the arm and jagged points for the fingers. Teacher's Tip: Try to keep the second wing symmetrical to the first for a balanced look.
Step 9: Finalizing the Outline
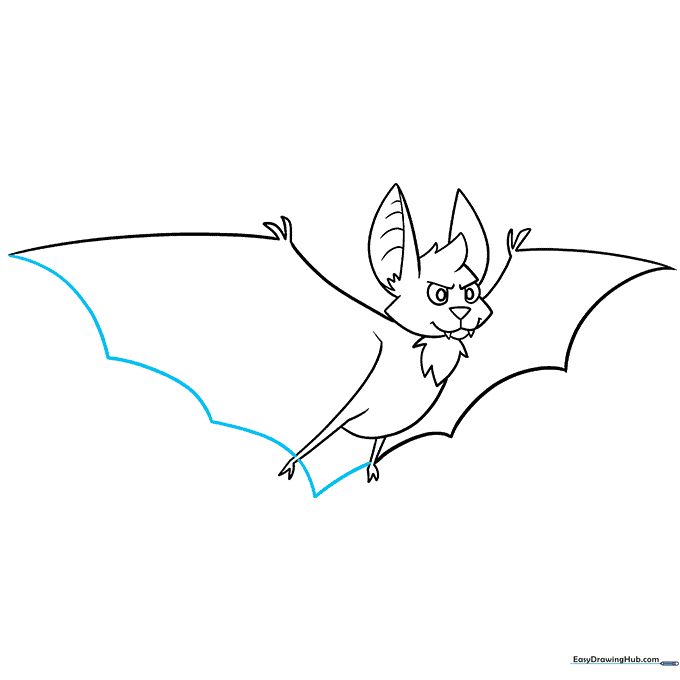
Complete the second wing with scalloped lines and draw a small 'V' shape between the legs to define the tail. Teacher's Tip: Now is the time to go over your lines with a dark marker or pencil to make your drawing pop!
Step 10: Color Your Bat
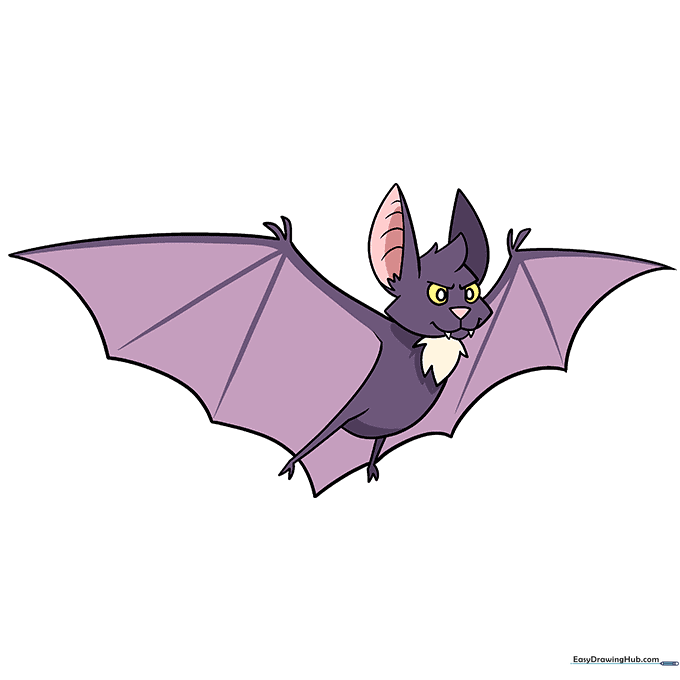
Bring your bat to life with color! Use black, brown, or gray for a realistic look, or get creative with bright colors. Teacher's Tip: Use a lighter shade of gray for the wing membranes to create contrast with the darker body.
More Tutorials


