How to Draw a Baseball Player: Easy 10-Step Guide
Ready to hit a home run with your art? This tutorial is perfect for young sports fans ages 7+ looking to master character proportions. Grab a pencil, an eraser, and some paper to bring your own baseball hero to life.
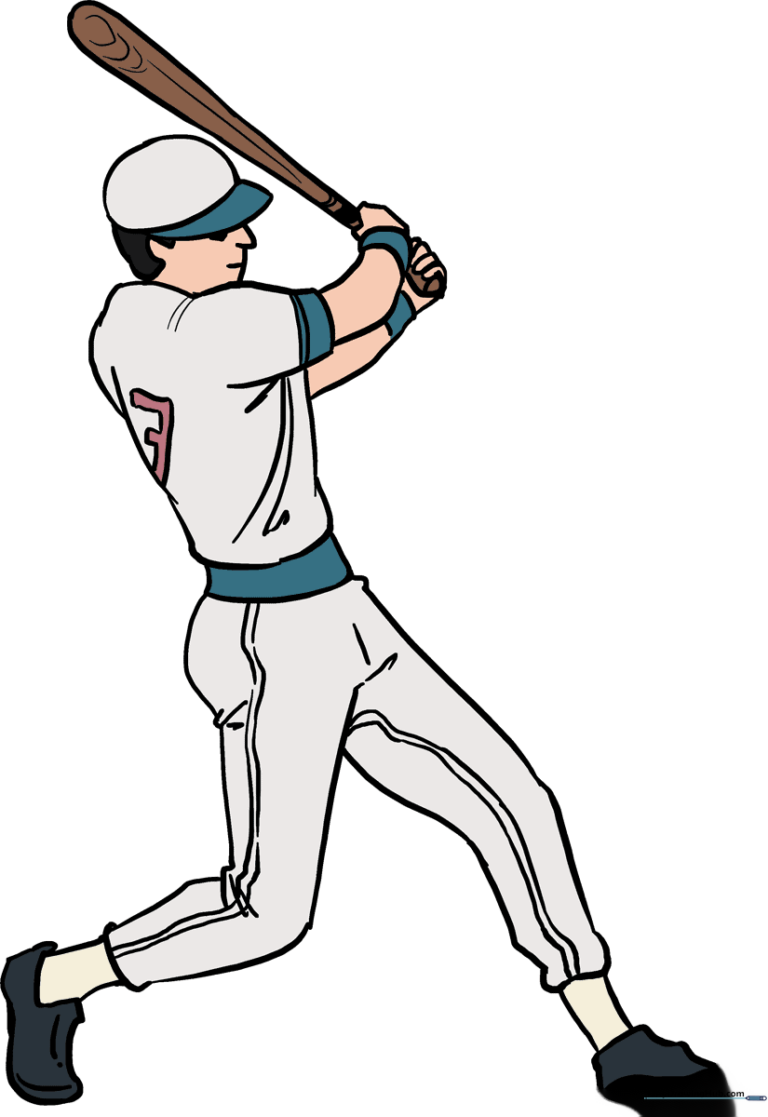
🎯 Final Result
Step-by-Step Instructions
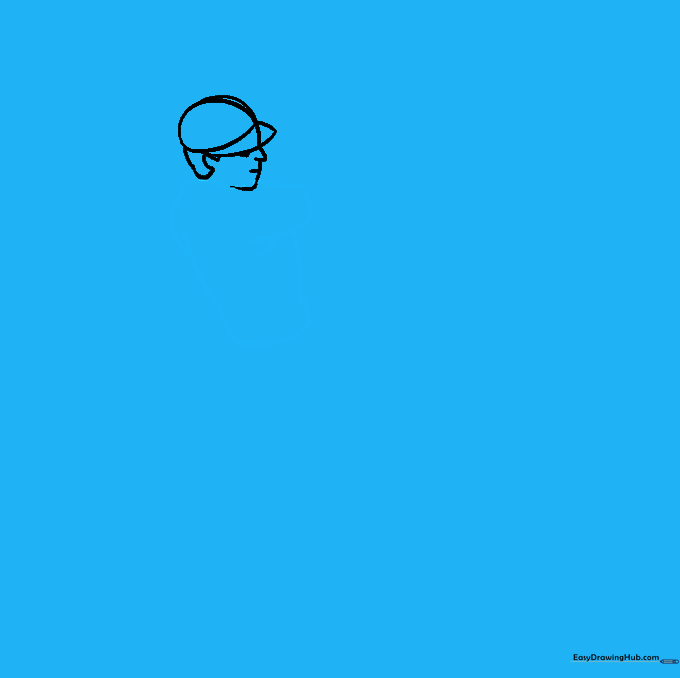
Step 1: Sketching the Head

Start by sketching the player's face. Use a "C" shaped line for the top of the head, a "U" for the nose, and an "L" for the chin. Teacher's Tip: Keep your pencil pressure light so you can easily refine these shapes later.
Step 2: Adding the Baseball Cap

Outline the cap on top of the head using a rounded curve, then add the bill extending forward. Teacher's Tip: Think of the cap as a dome sitting snugly on the head; don't let it float too high!
Step 3: Detailing Hair and Ears

Use small, curved lines to outline the hair peeking out from the cap. Add a "U" shaped line for the ear. Teacher's Tip: Keep the hair lines short and choppy to give it a natural, textured look.
Step 4: Drawing the Shoulders
Use curved lines to outline the shirt, ensuring the near shoulder overlaps the chin area. Teacher's Tip: Those extra overlapping lines under the arms represent fabric folds—this adds realism to your drawing!
Step 5: Cleaning Up

Carefully erase any overlapping guide lines from the hat and shirt. Teacher's Tip: Use a kneaded eraser if you have one; it’s great for picking up graphite without smudging your clean lines.
Step 6: Adding Arms and Hands
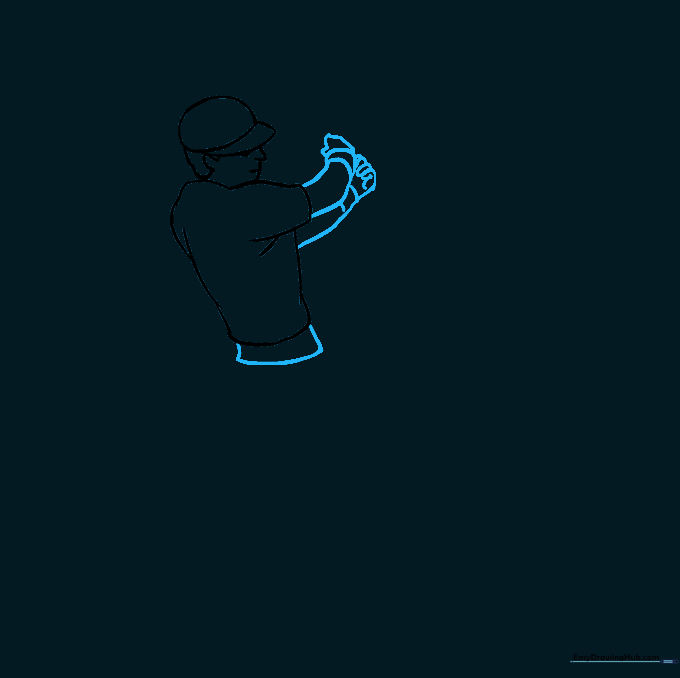
Draw the arms and hands, using 'U' shapes for fingers and double lines for wristbands. Teacher's Tip: Since one arm is partially hidden, focus on the visible hand to anchor the pose.
Step 7: Sketching the Legs
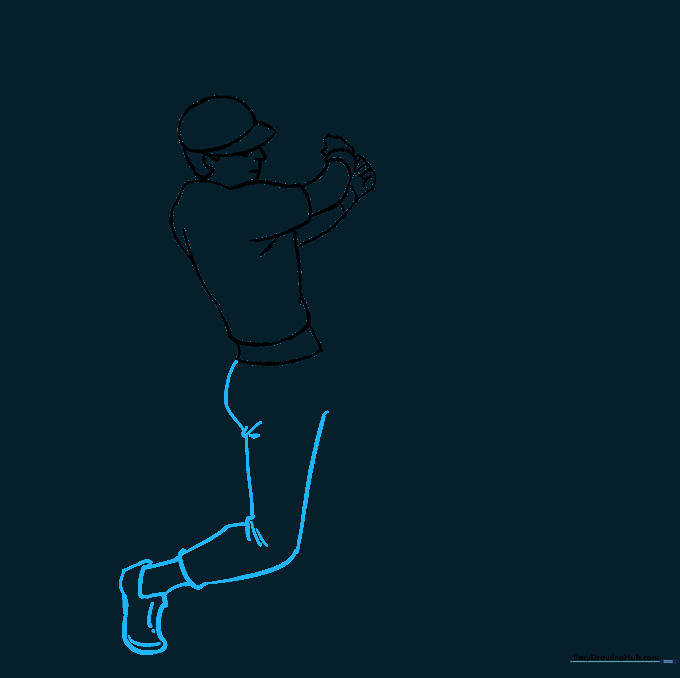
Sketch the pant leg with curved lines, adding small marks for fabric folds at the knee. Draw the shoe at the bottom. Teacher's Tip: Keep the shoe shape slightly irregular to look like a real athletic cleat.
Step 8: Completing the Lower Body
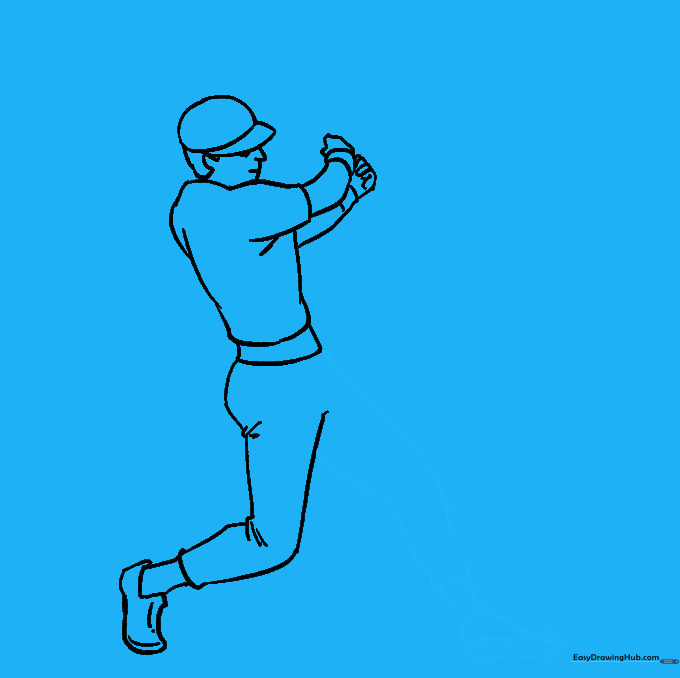
Outline the second pant leg and shoe. Notice the peanut-shaped sole of the shoe. Teacher's Tip: Ensure the legs are roughly the same length to keep your player balanced.
Step 9: Final Details and Bat
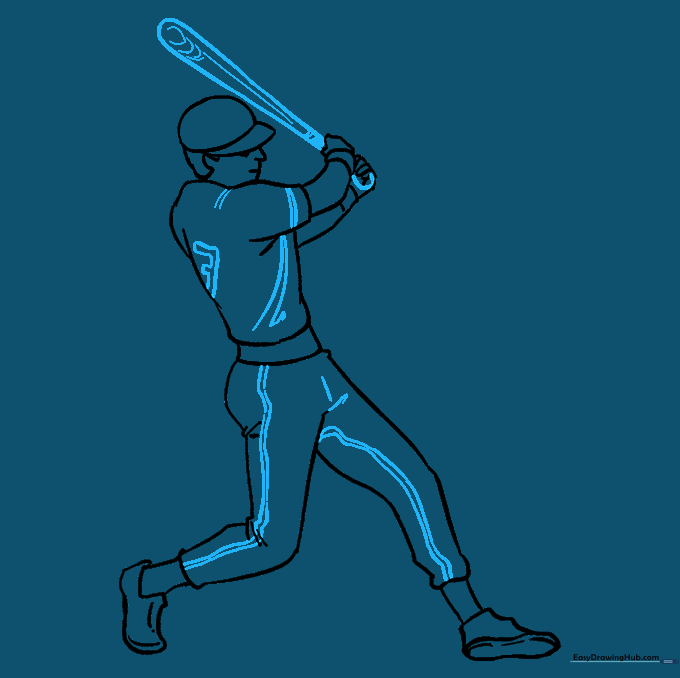
Add stripes to the uniform and draw the baseball bat using a long 'U' shape. Teacher's Tip: Use a ruler if you struggle with the straight lines of the bat, but try freehand first for practice!
Step 10: Bring It to Life with Color
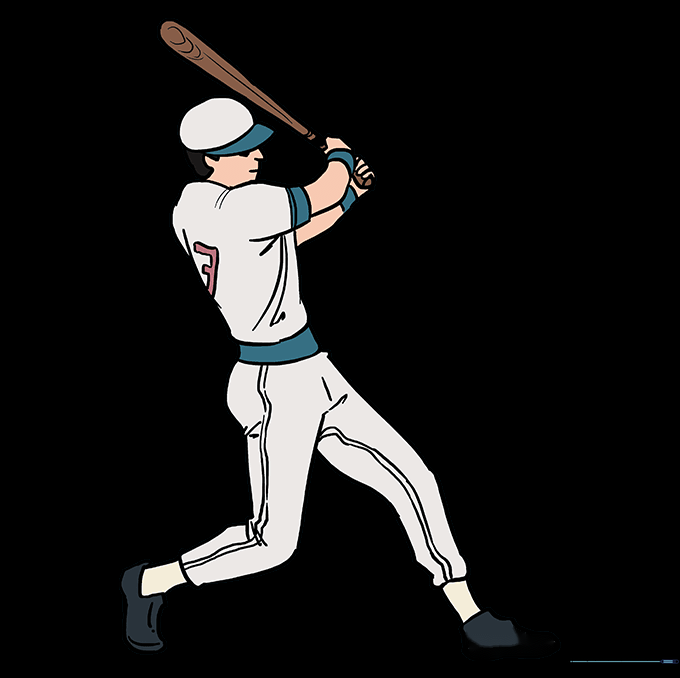
Color your player! Use your favorite team's colors for the uniform and cap. Teacher's Tip: Use markers for bold team colors or colored pencils for softer shading on the uniform fabric.
More Tutorials