How to Draw a Barbie Doll: Easy 10-Step Guide for Kids
Ready to bring a fashion icon to life? This tutorial is perfect for young artists ages 6+ looking to practice character proportions. Grab a pencil, an eraser, and some paper to start sketching your own stylish doll today.
🎯 Final Result

Step-by-Step Instructions
Step 1: Sketching the Face Shape

Lightly sketch the face using a curved line for the cheeks and chin. Add the hair outline with two curved lines that meet at a point above the forehead. Teacher's Tip: Keep your pencil pressure very light here so you can easily adjust the shape if it looks a bit lopsided.
Step 2: Adding Hair Volume

Draw the long hair using flowing, overlapping curved lines. Add a few extra strokes to create the look of hair strands. Teacher's Tip: Think of the hair as big, soft shapes rather than individual lines to make it look fuller.
Step 3: Drawing Expressive Eyes

Outline the eyes with thick, almond-shaped lines. Add smaller circles inside for the iris and pupil, shading the center dark. Finish with thick, curved eyebrows. Teacher's Tip: Symmetry is key! Try drawing both eyes at the same time to keep them balanced.
Step 4: Adding Facial Features
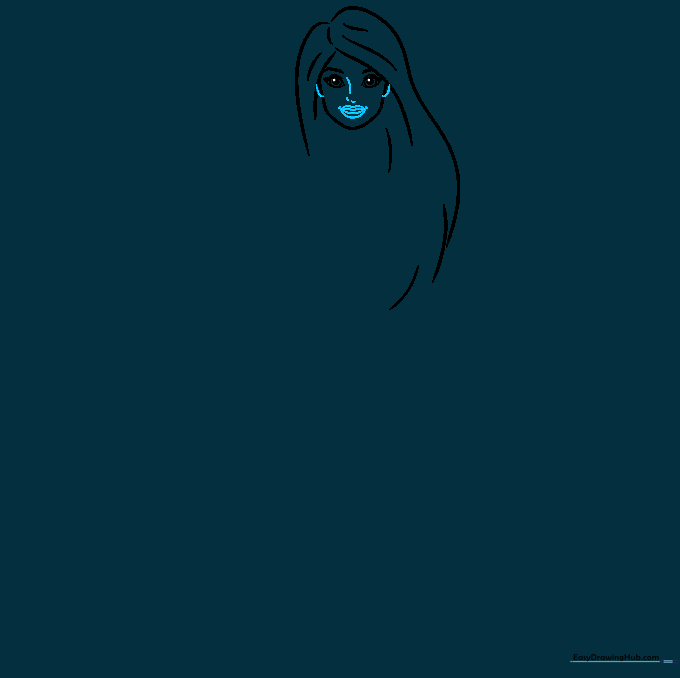
Use small, delicate curved lines to define the ears, a tiny nose, and a cheerful smiling mouth. Teacher's Tip: Keep the nose and mouth small; it helps maintain the 'doll-like' aesthetic.
Step 5: Sketching the Torso
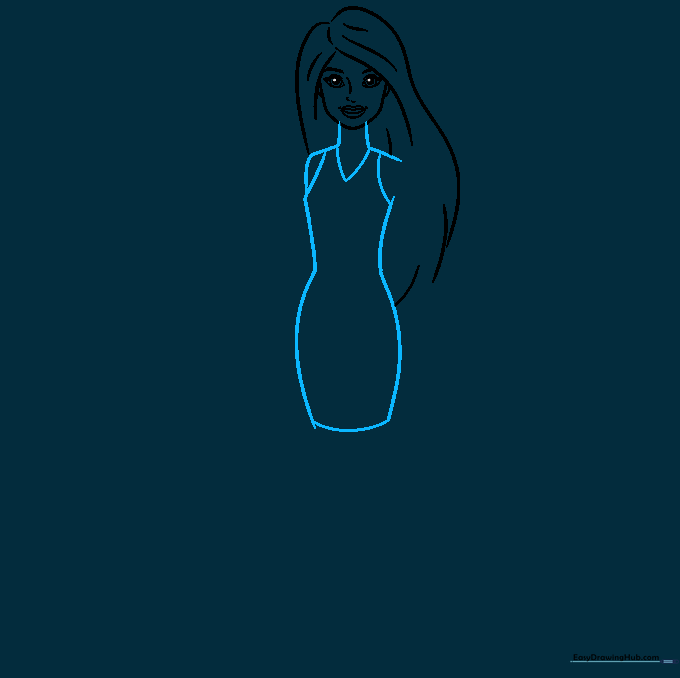
Extend two lines down from the chin to create the neck, then connect them with a 'V' shape for the dress neckline. Outline the shoulders and the bodice. Teacher's Tip: Use a ruler if you struggle with straight lines, but freehand is great for practice!
Step 6: Drawing the Arms
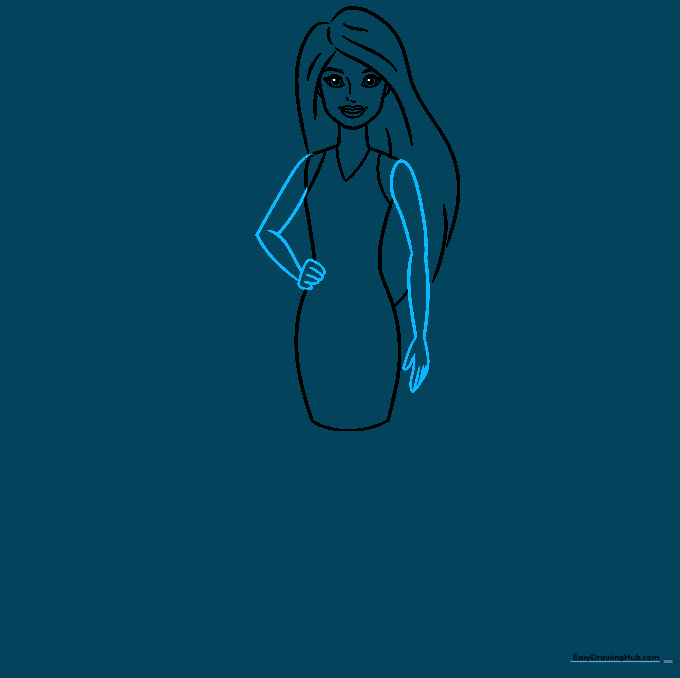
Use pairs of curved lines to form the arms. Position one arm bent with the hand resting on the hip for a classic pose. Teacher's Tip: If the hands look tricky, start with a simple mitten shape and refine the fingers later.
Step 7: Adding the First Leg
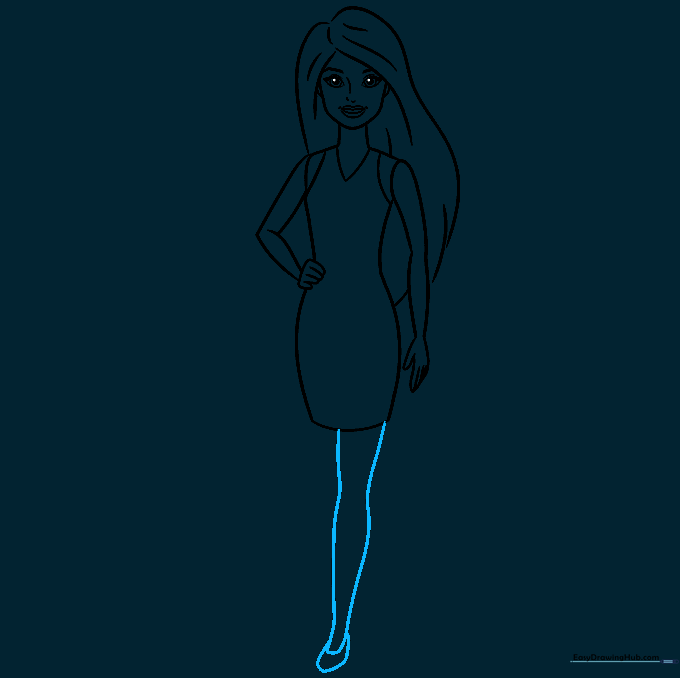
Draw the first leg using long, smooth curved lines. Add a small curved shape at the bottom to represent the high-heeled shoe. Teacher's Tip: Make sure the leg is long to keep the proportions looking elegant.
Step 8: Adding the Second Leg
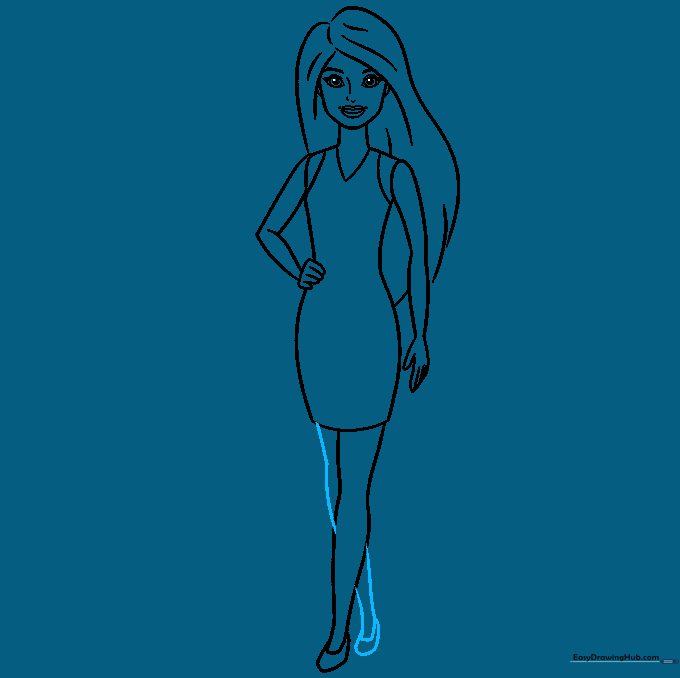
Draw the second leg slightly behind the first to create depth. Add the second shoe to match. Teacher's Tip: Overlapping lines is a great way to show that one object is behind another.
Step 9: Adding Accessories
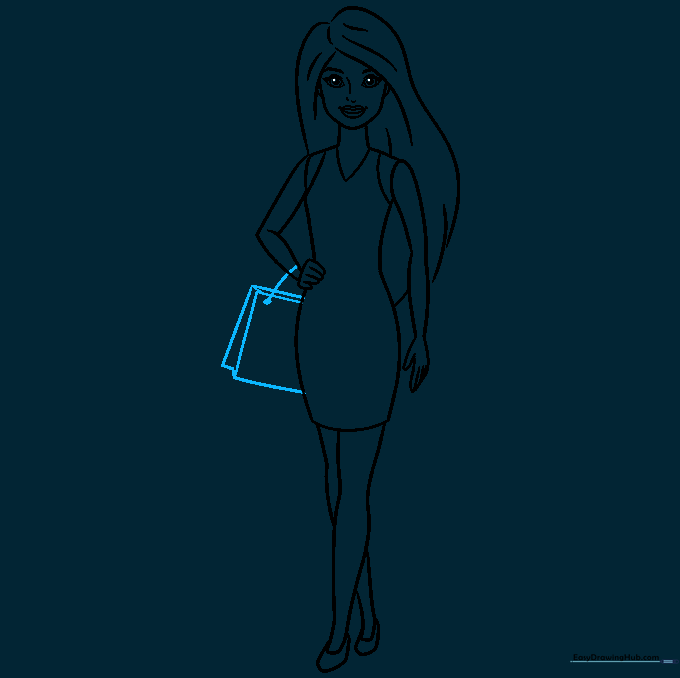
Draw a small purse by sketching a square and adding a handle. Connect the handle to the hand. Teacher's Tip: Adding accessories is the best part—feel free to draw a different bag or even a piece of jewelry!
Step 10: Bringing it to Life with Color

Now for the fun part! Use your favorite markers or colored pencils. Don't forget to use plenty of pink to give it that classic look. Teacher's Tip: Use light pressure for a soft look or heavy pressure for vibrant, bold colors.
More Tutorials


