How to Draw a Barbeque Grill: Easy 10-Step Guide
Ready for a summer-themed art project? This tutorial is perfect for artists ages 5 and up who want to practice drawing 3D shapes like cylinders and ovals. Grab your pencil, eraser, and paper, and let’s bring a backyard barbecue to life with this fun, screen-free activity.
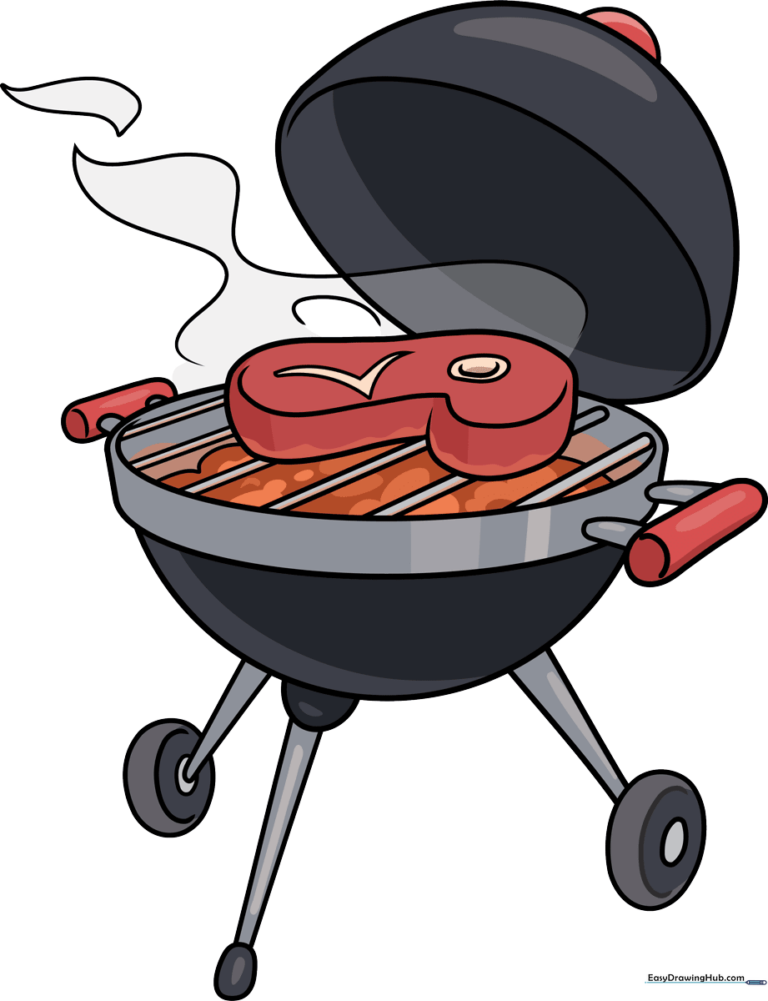
🎯 Final Result
Step-by-Step Instructions
Sketching the Grill Body
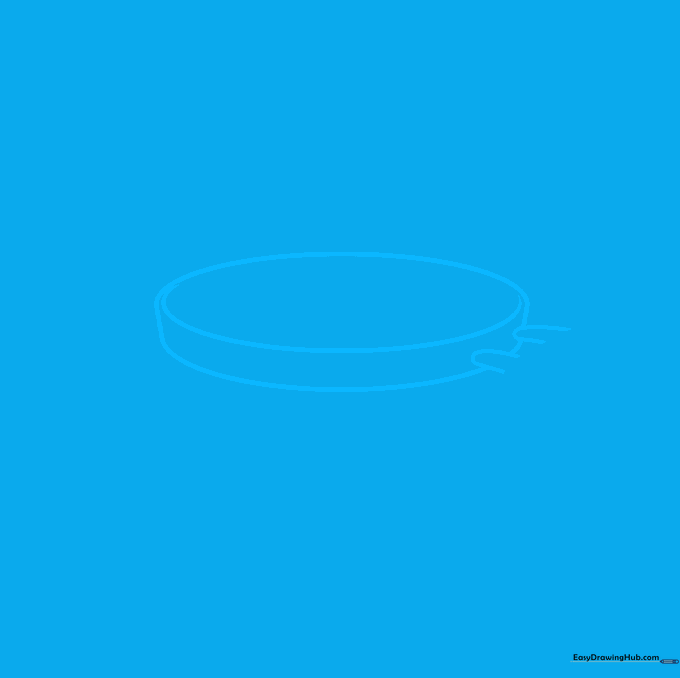
Start by drawing a wide oval for the top of the grill. Add a curved line across it to create a sense of depth. Next, draw two 'U' shaped lines on the side to form the handle. Teacher's Tip: Keep your pencil pressure light so you can easily erase the overlapping lines later.
Defining the Bowl Shape
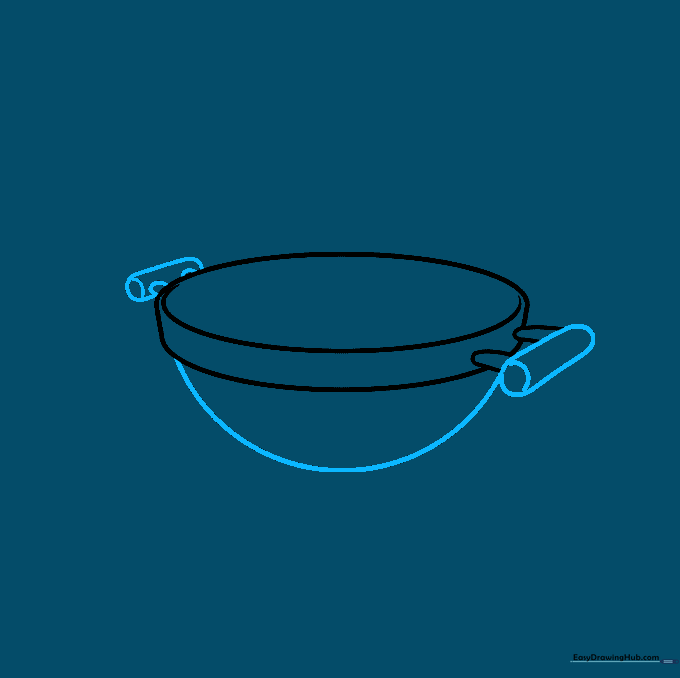
Complete the main body by drawing a large, smooth curve underneath your oval to create a half-circle bowl. Add small curved lines to define the cylindrical handle. Teacher's Tip: Focus on making your curve symmetrical to give the grill a balanced look.
Adding the Open Lid
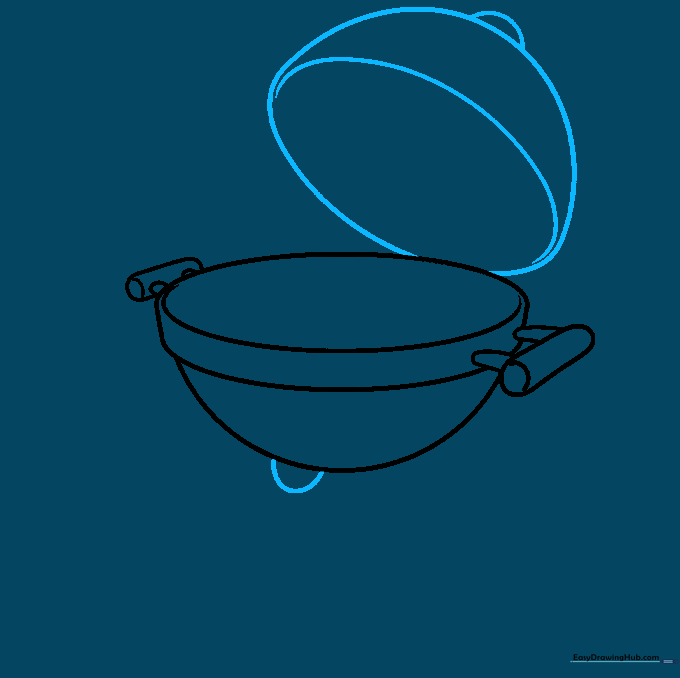
Draw the open lid above the grill using an irregular rounded shape. Add a small 'C' curve to show the thickness of the lid, and place a small half-circle on top for the handle. Teacher's Tip: Imagine the lid is hinged; keep it slightly tilted to show it's open.
Drawing the Legs and Wheels
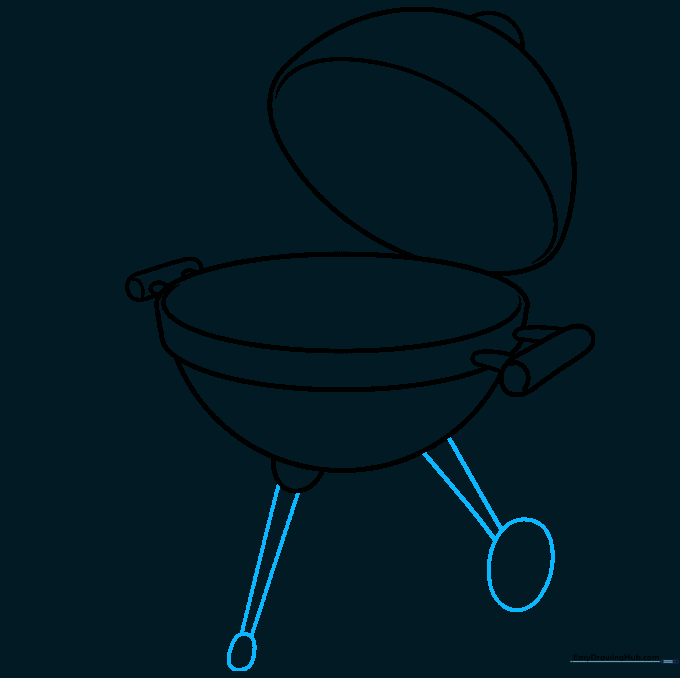
Extend two straight lines downward from the base to create the front legs. Add an oval at the bottom of these lines to represent the wheel. Teacher's Tip: Use a ruler if you struggle with straight lines, but freehand is great for practice!
Completing the Base
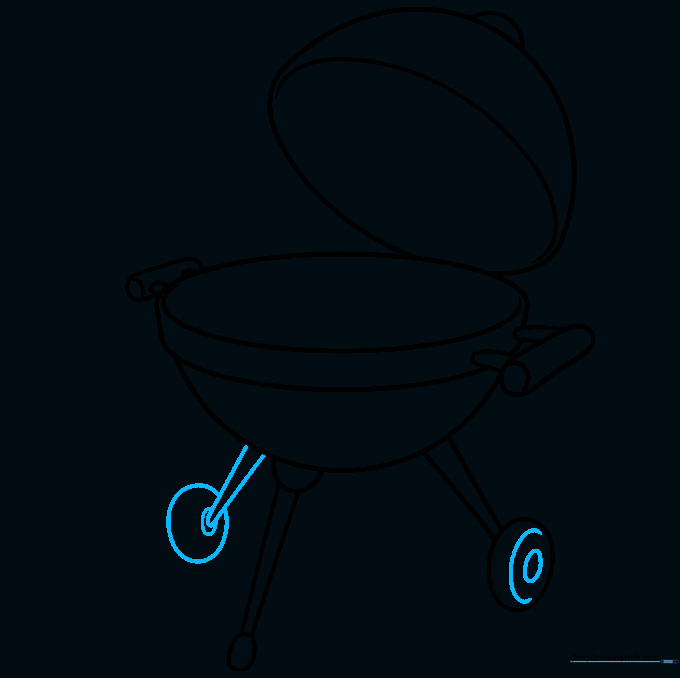
Add the third leg on the opposite side, connecting it to the ground with another wheel. Detail the wheels with a small inner oval. Teacher's Tip: Ensure the wheels are at the same level so your grill doesn't look like it's tipping over.
Adding the Steak
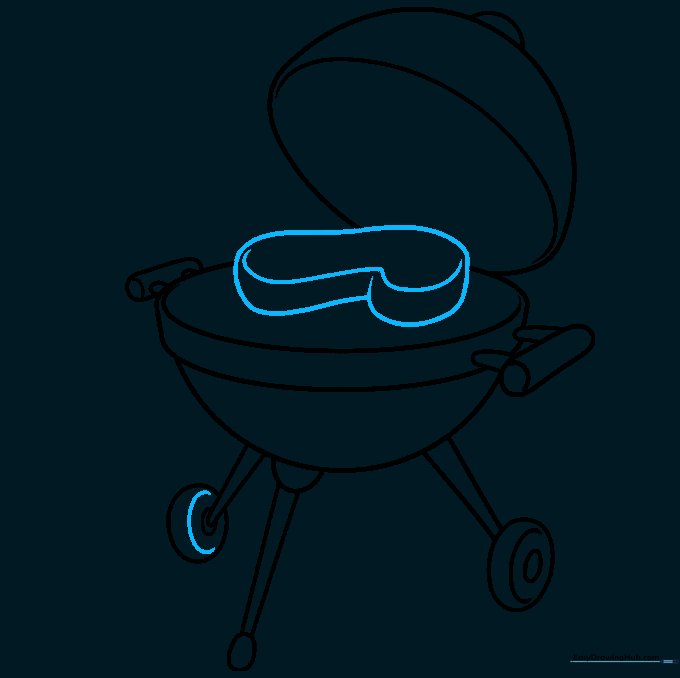
Draw an irregular, wavy shape inside the grill to represent a steak. Add a curved line to give it some thickness. Teacher's Tip: Don't worry about making the steak perfectly round; meat is naturally uneven!
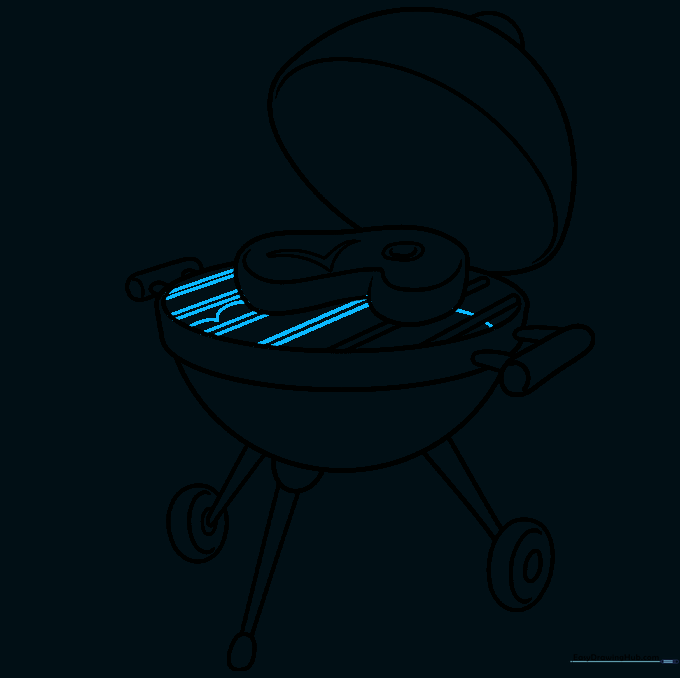
Detailing the Steak and Grates
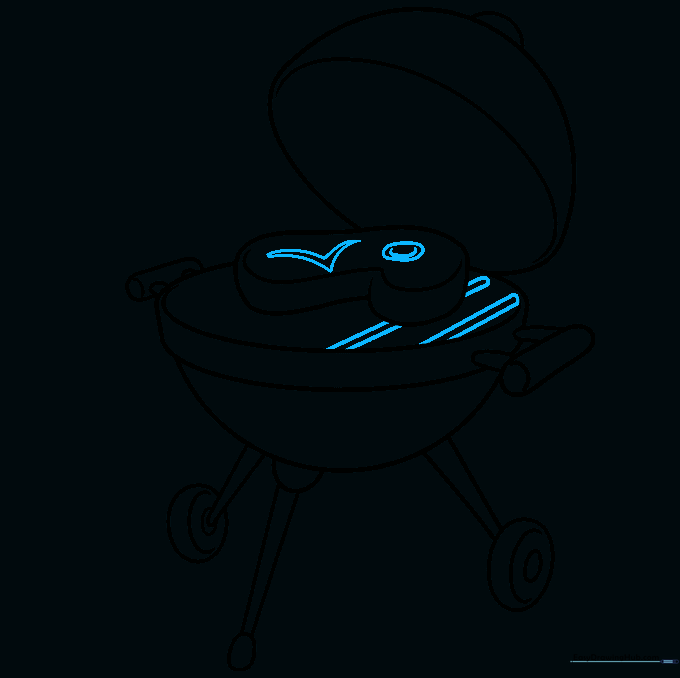
Add a small 'V' shape on the steak to show texture. Begin drawing the grill grates by creating parallel lines across the bowl. Teacher's Tip: Space your lines evenly to make the grate look professional.
Adding Charcoal Details
Finish the grates and add a few curved, jagged shapes at the bottom of the bowl to represent charcoal. Teacher's Tip: Use short, choppy lines for the charcoal to make them look like rough, burnt pieces.
Adding Smoke Effects

Draw soft, wavy lines rising from the steak to represent smoke. Teacher's Tip: Keep these lines light and airy—smoke shouldn't look heavy or solid.
Adding Color
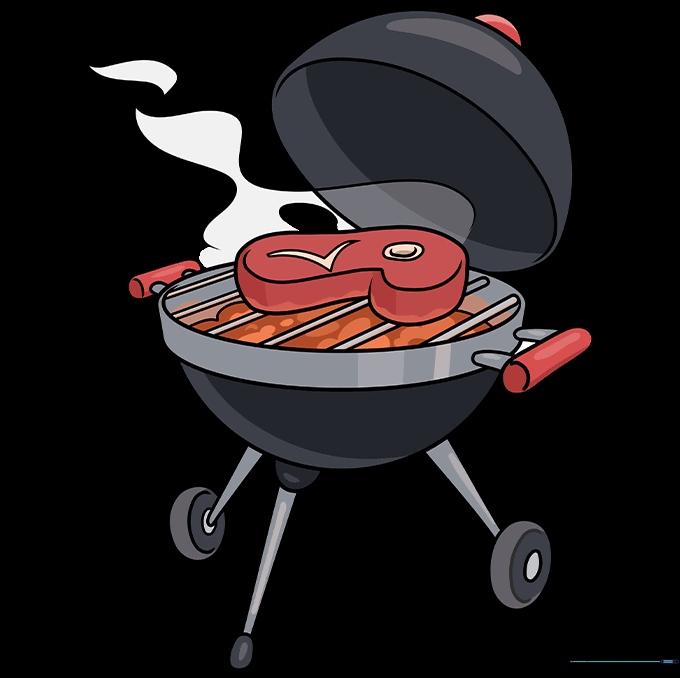
Bring your drawing to life with color! Use gray for the metal, and vibrant reds and oranges for the hot coals. Teacher's Tip: Use a darker gray on one side of the grill to create a simple shadow effect.
More Tutorials


