How to Draw a Barbed Wire Heart: Easy 10-Step Guide
Ready to add a bit of grit to your sketchbook? This tutorial is perfect for artists looking to practice consistent line weight and repetitive shapes. You'll only need a pencil, an eraser, and a steady hand to transform simple ovals into a stylized barbed wire heart.
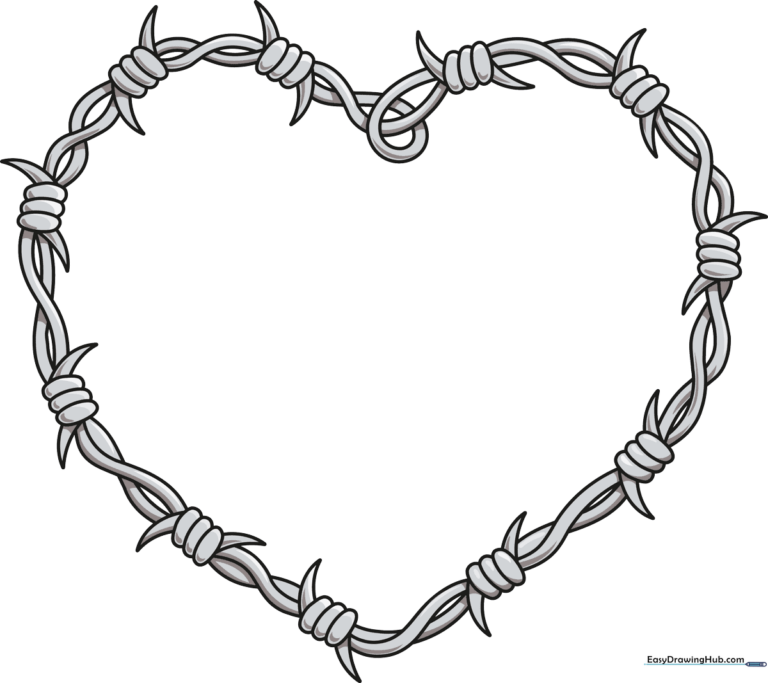
🎯 Final Result
Step-by-Step Instructions
Step 1: Establishing the First Barb

Start by drawing the first barb. Create three small, overlapping ovals, then attach a narrow, curved triangle to each side. Teacher's Tip: Keep these shapes small; they are the 'anchor' for your wire, so don't press too hard with your pencil yet.
Step 2: Connecting the Wire
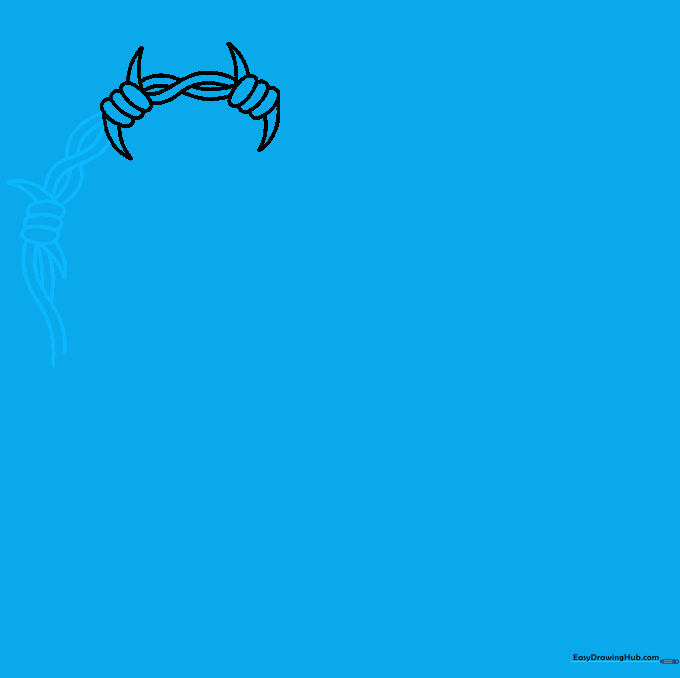
Extend two parallel 'S' shaped lines from your first barb to create the wire segment. Add a second barb at the end of this line. Tip: Ensure the two lines stay parallel to give the wire a realistic, metallic thickness.
Step 3: Building the Heart Curve
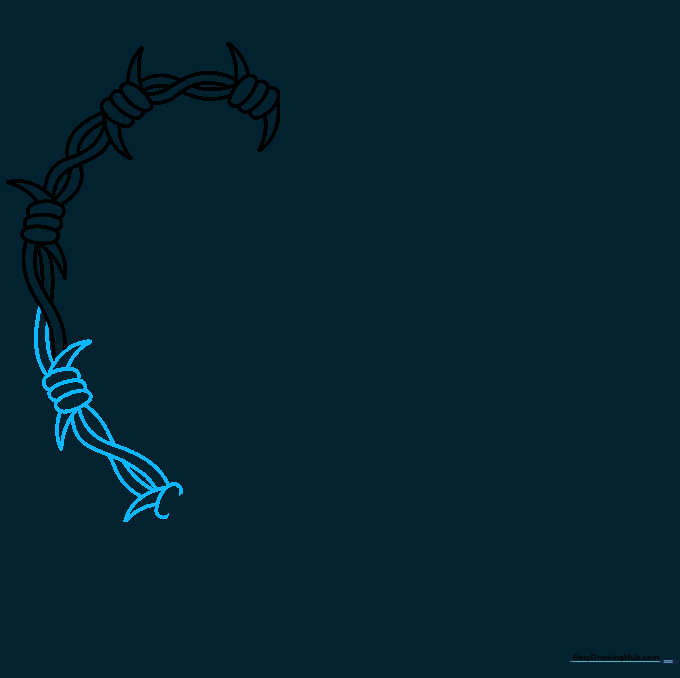
Continue the wire by adding another barb and connecting it with parallel curves. Start angling these segments downward to begin forming the top arch of the heart. Tip: Use a light touch to sketch the path of the heart first, then draw the wire over it.
Step 4: Reaching the Point
Draw a barb at the very bottom point of your heart. Connect it to the previous section with curved lines. Tip: Make this bottom barb slightly larger to ground the drawing and emphasize the heart's shape.
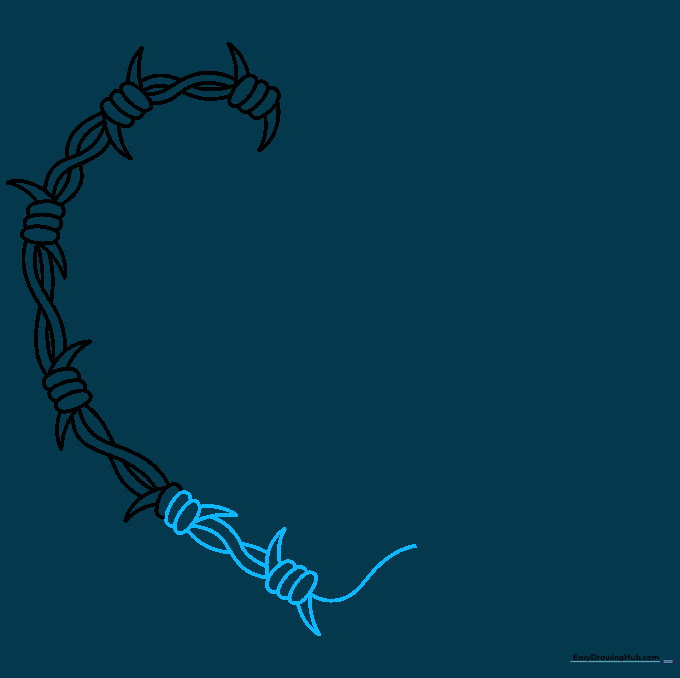
Step 5: Moving Upward
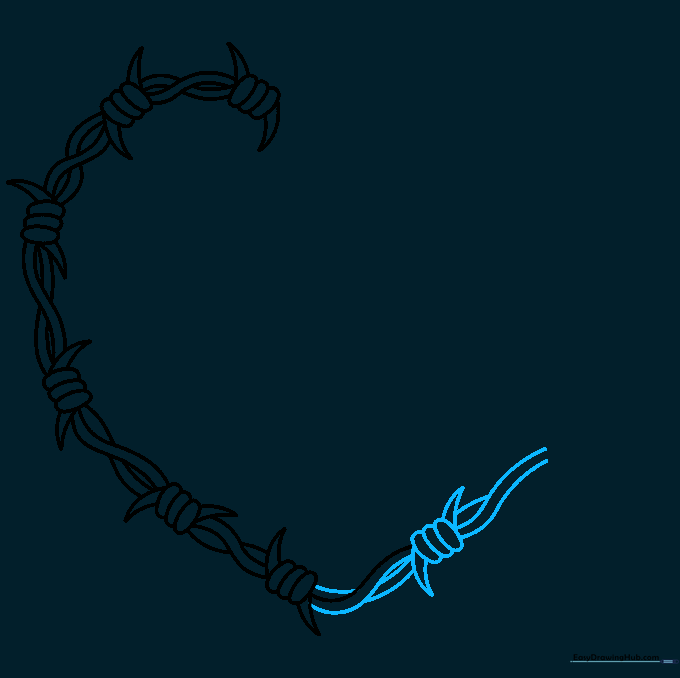
Now, begin working your way up the other side of the heart. Add a new barb and connect it to the bottom point. Tip: Keep your spacing consistent between the barbs to maintain a balanced look.
Step 6: Continuing the Arch
Add another barb further up the curve. Connect it with your signature parallel 'S' lines. Tip: If your lines get messy, use your eraser to clean up the overlapping sections before moving on.
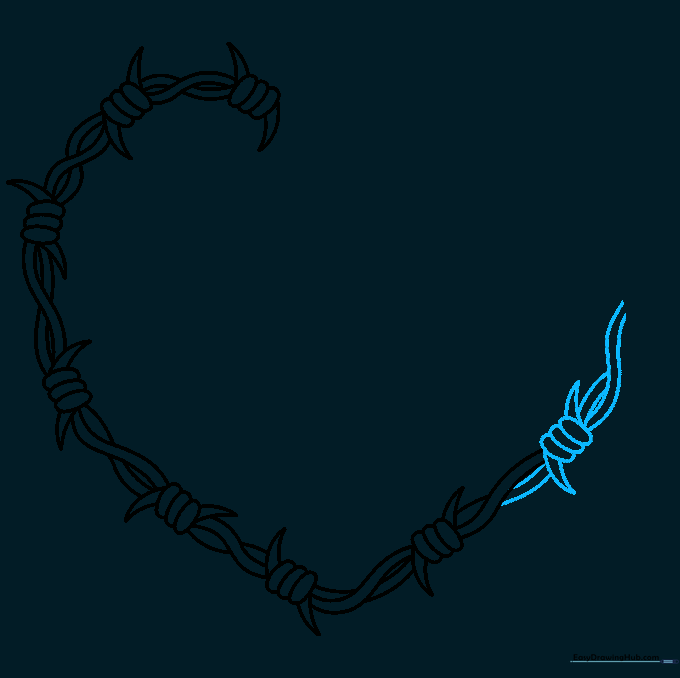
Step 7: Approaching the Top
Add one more barb near the top curve. Ensure the wire continues to follow the rounded shape of the heart. Tip: Imagine the heart is a wire frame; keep the curves smooth to make it look like real metal.
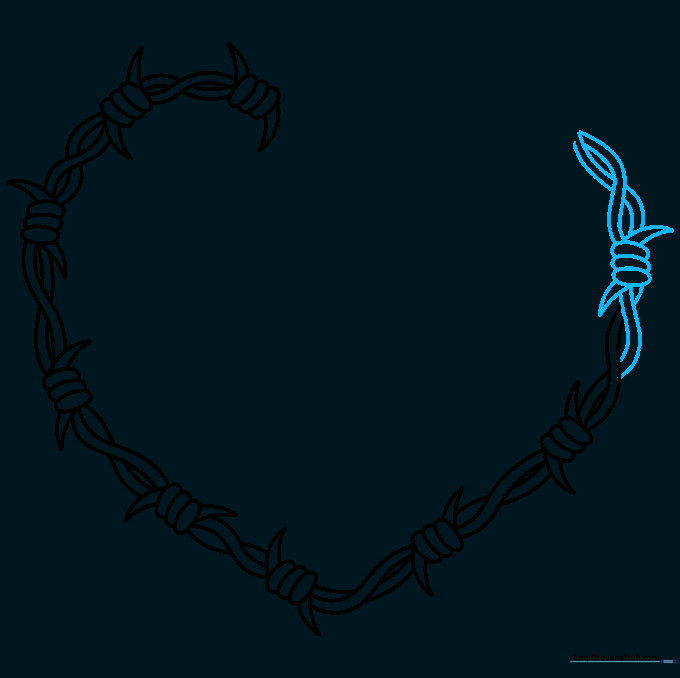
Step 8: Finalizing the Shape
Add two more barbs to complete the top arch. Connect them with the final wire segments. Tip: Check your symmetry here—if one side looks too wide, adjust your curves slightly.
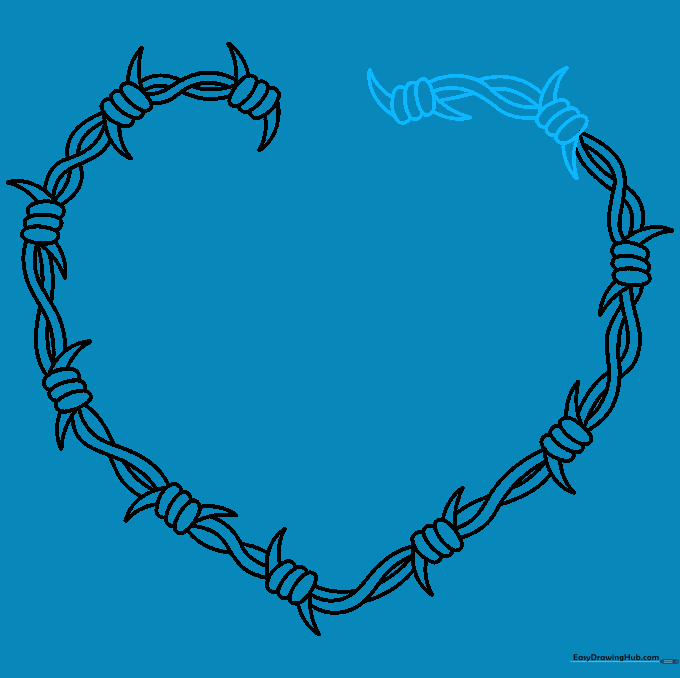
Step 9: Closing the Loop
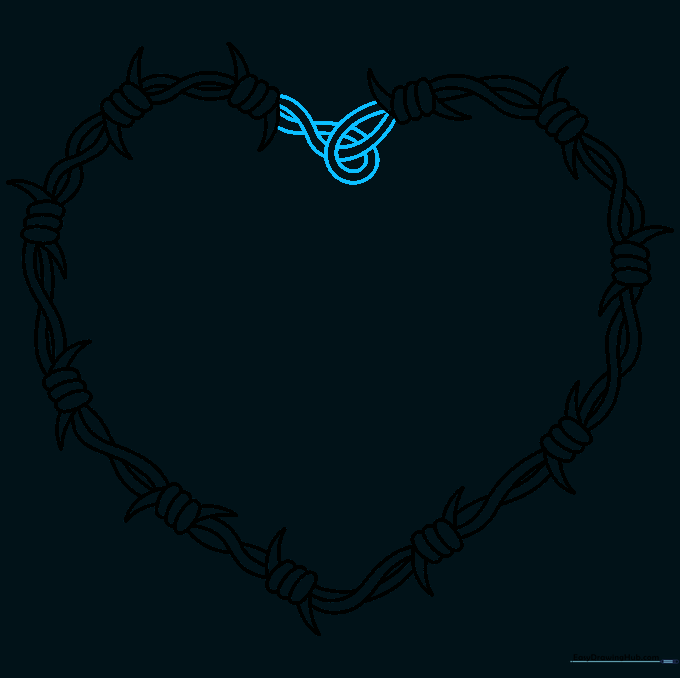
Complete the outline by looping the wire back to the start. Ensure the ends overlap naturally to form the top dip of the heart. Tip: Use a darker pencil stroke now to define the final outline.
Step 10: Adding Color and Texture
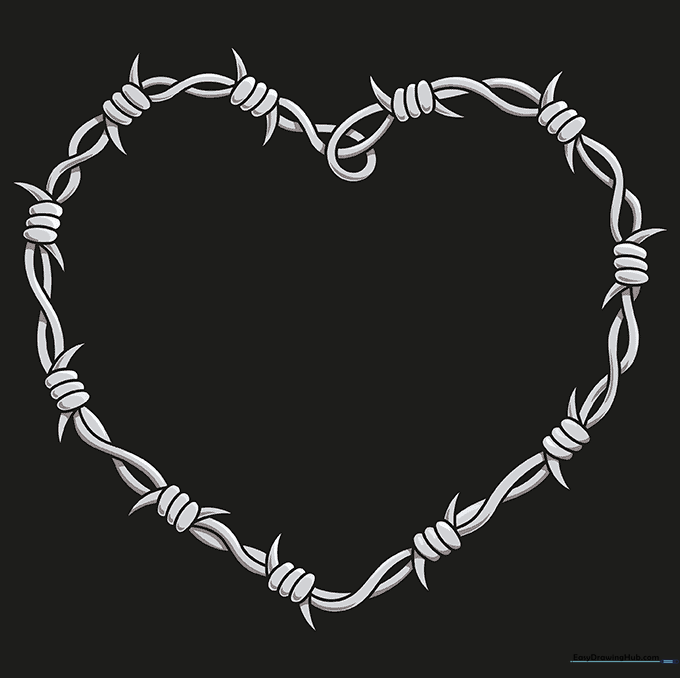
Time to color! Use metallic silver or gray for a clean look, or add touches of rust-red and brown to give it an aged, weathered appearance. Tip: Use a light gray marker for the wire and a darker shade for the shadows under the barbs to add depth.
More Tutorials


