How to Draw a Band-Aid: Easy Step-by-Step Guide
This tutorial is perfect for young artists looking to practice drawing hands and everyday objects. You will need a pencil, an eraser, and a piece of paper to get started. By the end of this lesson, you will have mastered the technique of drawing overlapping shapes to create a realistic, 3D-looking bandage.
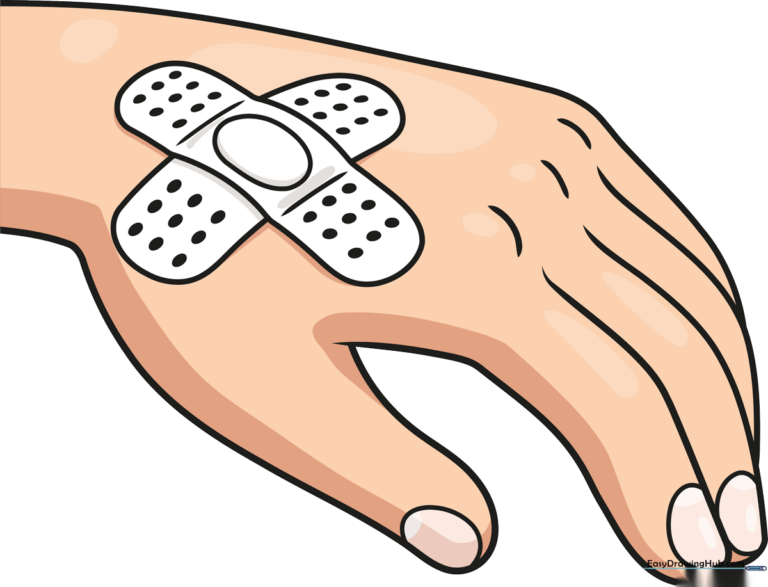
🎯 Final Result
Step-by-Step Instructions
Step 1: Sketching the Initial Curve
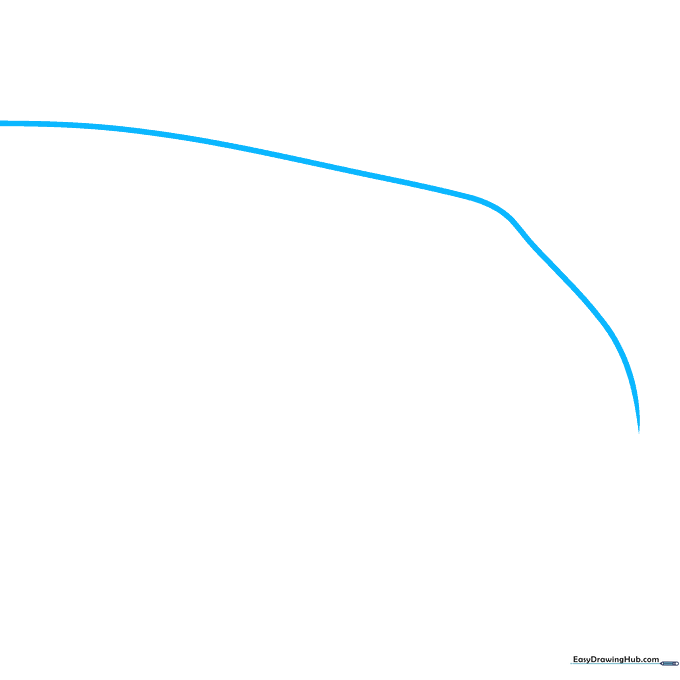
Draw a gentle, diagonal curved line near the top of your page. Teacher’s Tip: Keep this line light and loose; it serves as the foundation for the top of the hand.
Step 2: Defining the Finger Structure
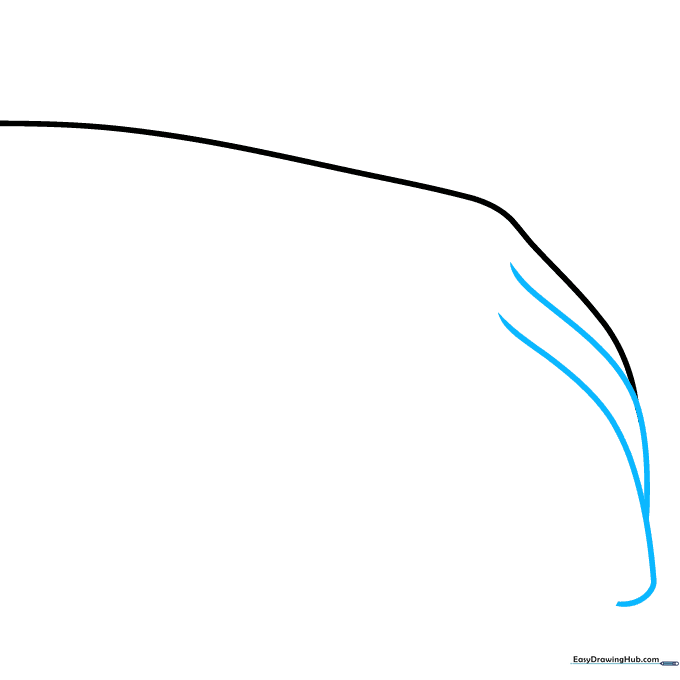
Draw two parallel lines extending from your curve to create the shape of a finger. Add a small hook at the bottom. Teacher’s Tip: Think of these as soft, rounded tubes rather than sharp rectangles.
Step 3: Adding the Second Finger
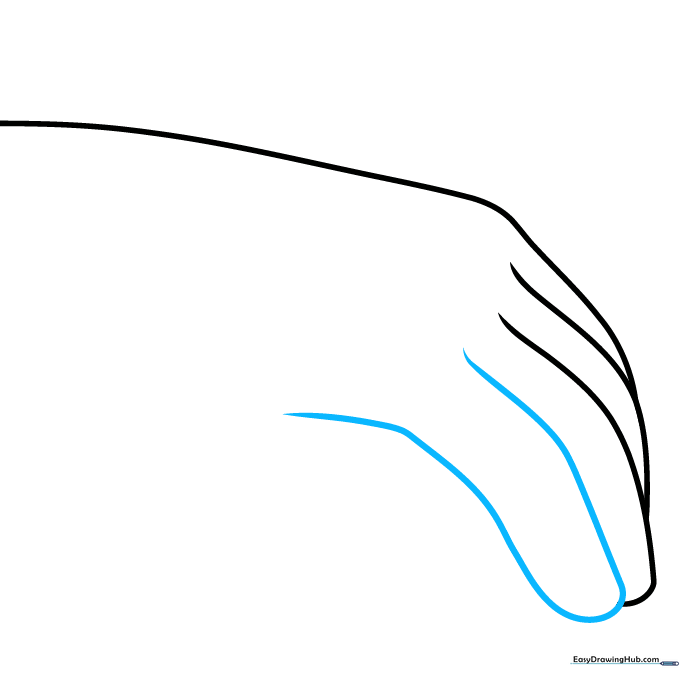
Sketch another parallel line next to the first to form the second finger. Round off the tip. Teacher’s Tip: Ensure the fingers look like they are sitting side-by-side by keeping the spacing consistent.
Step 4: Sketching the Thumb and Wrist
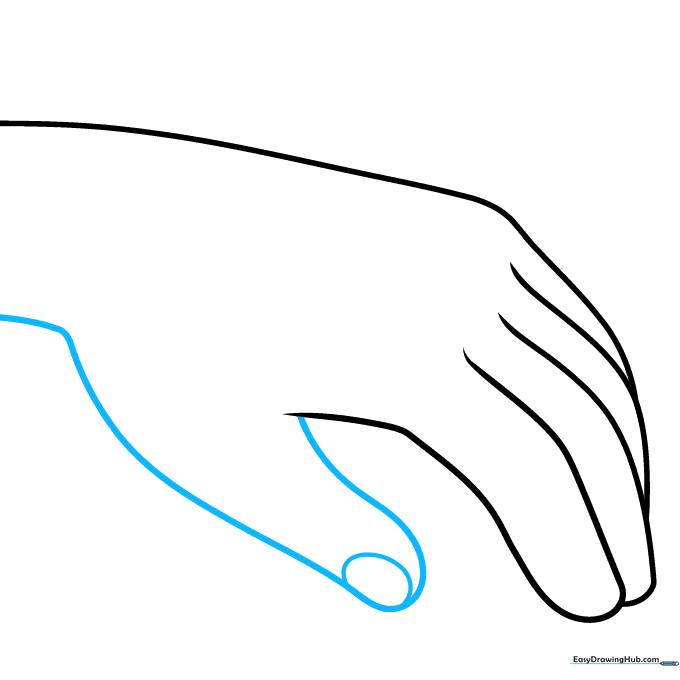
Outline the thumb as a separate tube and add a small oval for the fingernail. Draw a vertical line to suggest the wrist. Teacher’s Tip: Keep the thumb slightly shorter than the fingers for a natural look.
Step 5: Adding Hand Details
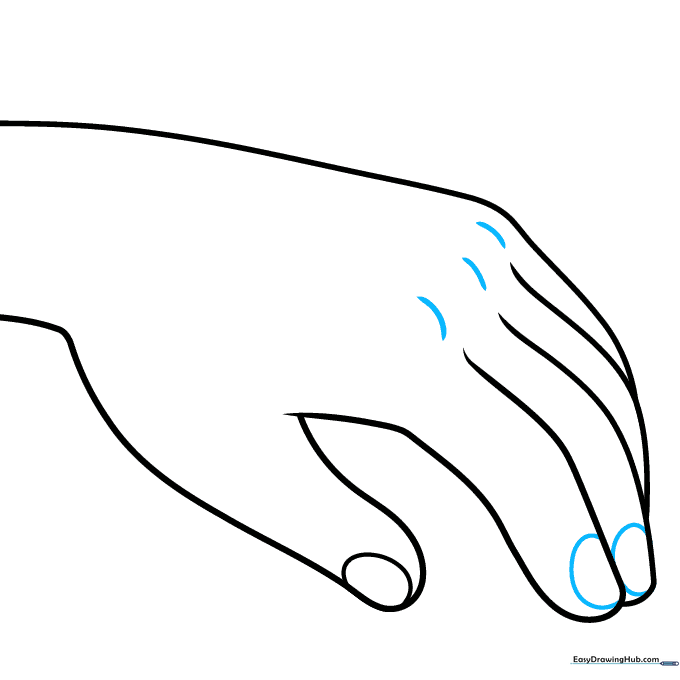
Add more fingernail ovals and small dashes to represent the knuckles. Teacher’s Tip: Use light, short dashes for knuckles so they don't look too heavy or old.
Step 6: Starting the Band-Aid
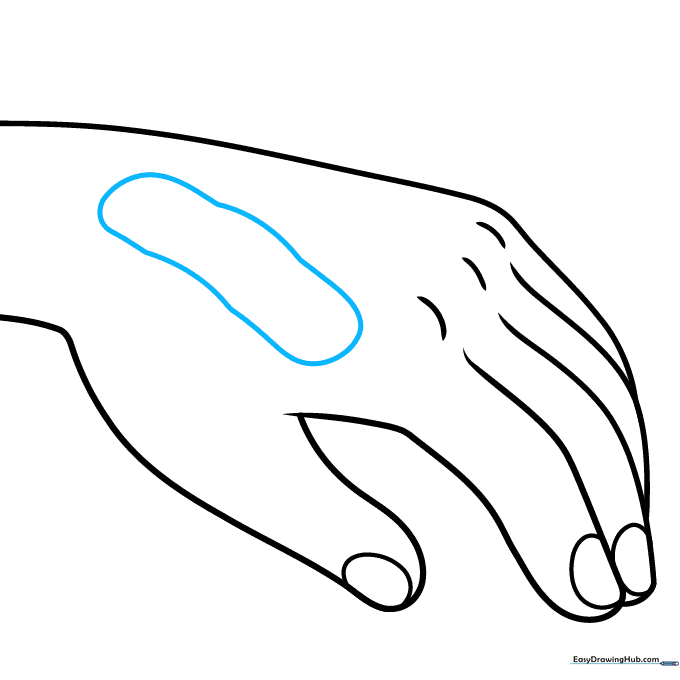
Sketch two diagonal lines across the center of the hand and connect them with loops to create a tube-like bandage. Teacher’s Tip: Ensure the bandage looks like it is wrapping around the finger by curving the lines.
Step 7: Adding the Second Band-Aid
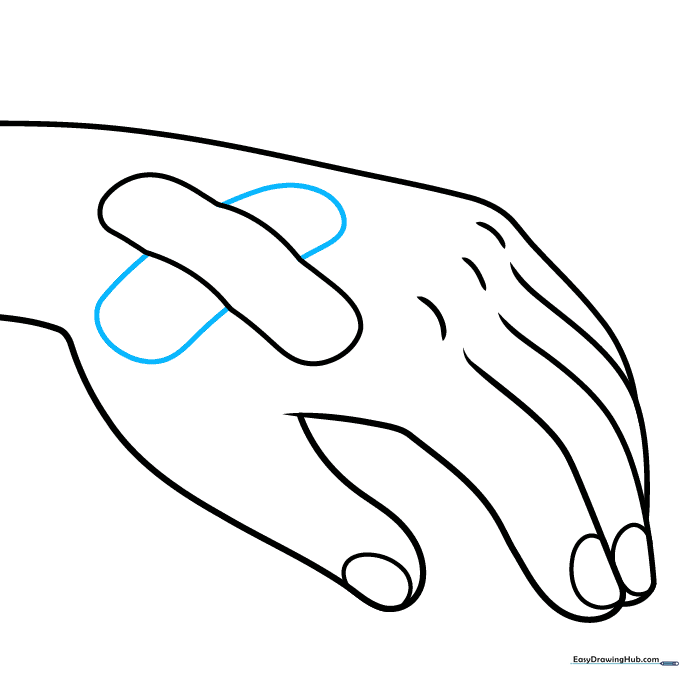
Draw another set of loops underneath the first bandage, pointing in the opposite direction. Teacher’s Tip: This 'X' shape creates the classic band-aid look.
Step 8: Adding Texture Details
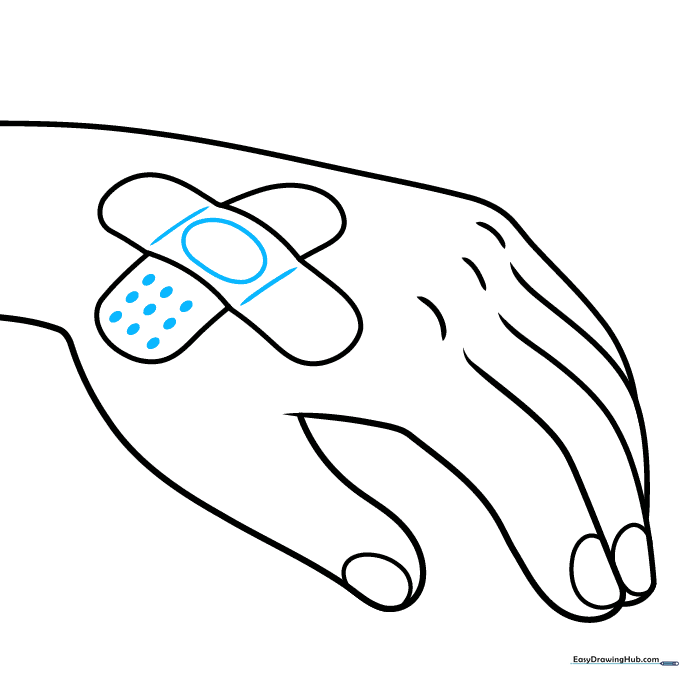
Sketch an oval and two lines on the top bandage, then add small ovals to the bandage underneath. Teacher’s Tip: These represent the absorbent pad and the adhesive holes.
Step 9: Finalizing the Grid
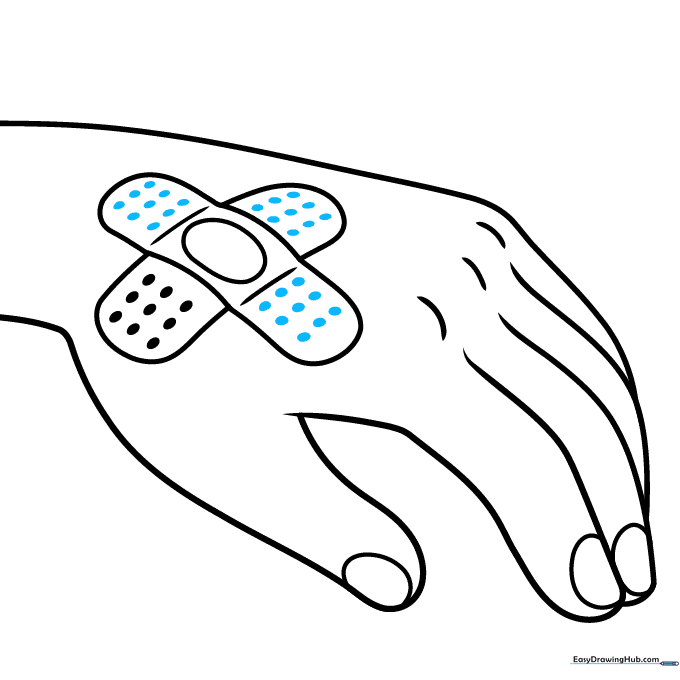
Add more ovals on the other sides of the bandages to complete the grid pattern. Teacher’s Tip: Keep the spacing even to make the bandage look professional.
Step 10: Adding Color and Depth
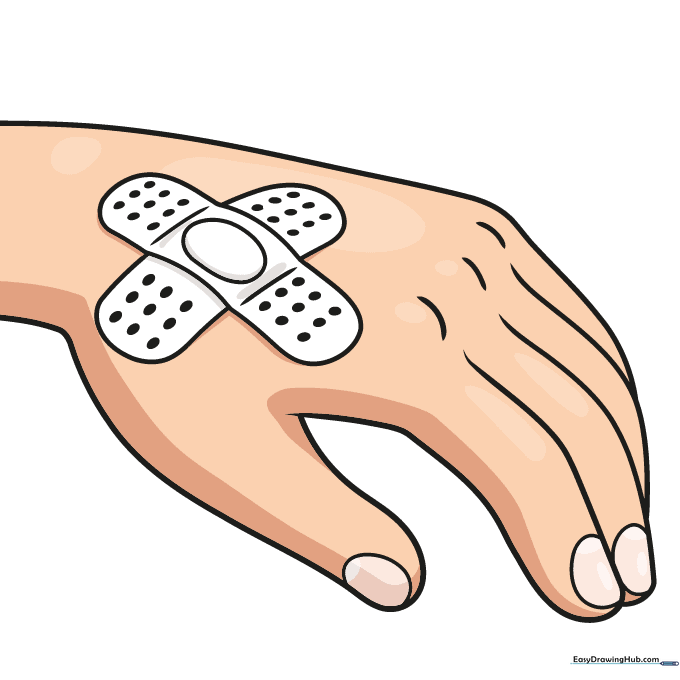
Outline your drawing with black ink. Use light gray for shadows on the bandage and your preferred skin tone for the hand. Teacher’s Tip: Keep the fingernails a shade lighter than the skin to make them pop!
More Tutorials


