How to Draw a Banana: Easy 10-Step Guide for Kids
This simple drawing guide is perfect for budding artists ages 5 and up. All you need is a pencil, an eraser, and a piece of paper to get started. Follow these steps to master curved lines and natural shapes while creating your own delicious-looking fruit masterpiece.
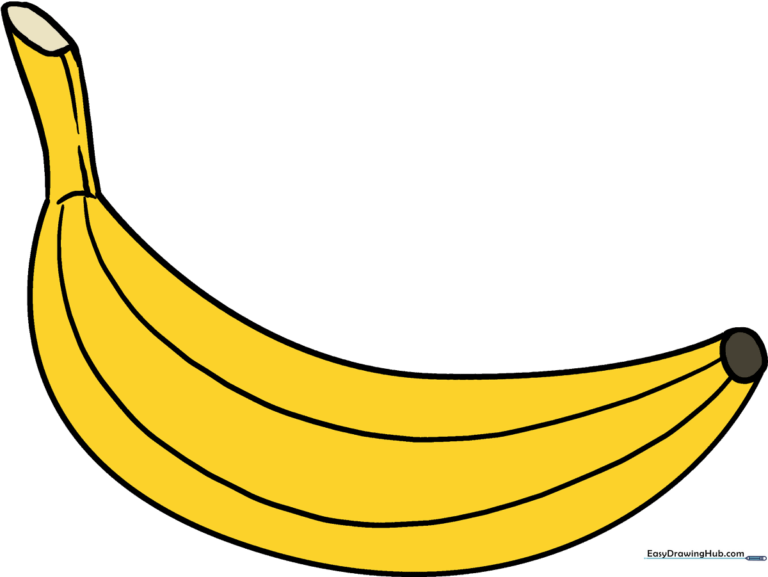
🎯 Final Result
Step-by-Step Instructions
Step 1: Sketching the Top Curve

Draw a long, gentle curved line to represent the top of the banana. Teacher's Tip: Keep your pencil pressure light so you can easily adjust the shape if it feels too straight or too curvy.
Step 2: Defining the Bottom Curve

Draw a second curved line underneath the first, mirroring the shape to create a crescent moon. Teacher's Tip: Try to keep the gap between the lines consistent for a balanced, healthy-looking fruit.
Step 3: Adding the Blossom End

Draw a small circle at one end to connect the two lines. Teacher's Tip: This represents the 'belly button' of the banana—a fun botanical detail that adds realism to your drawing.
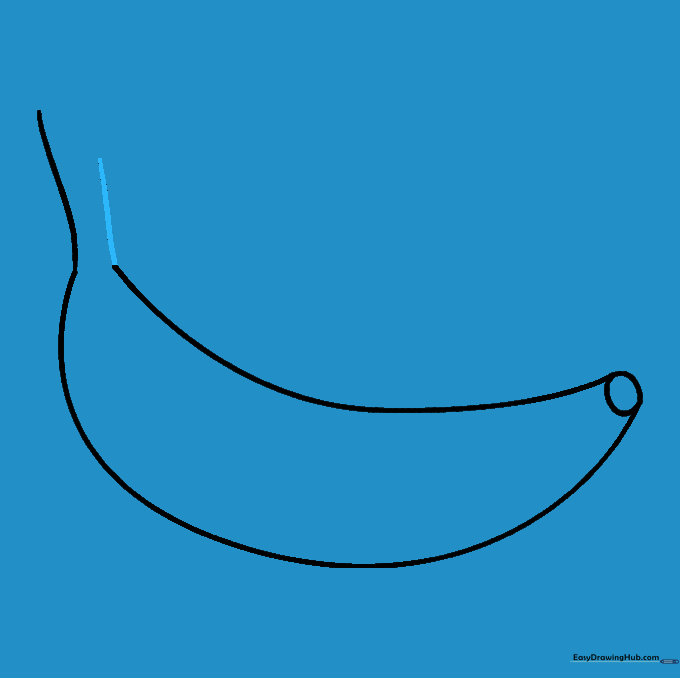
Step 4: Starting the Stem

At the opposite end, draw a short curved line extending from the bottom. Teacher's Tip: Think of this as the start of the banana's handle.
Step 5: Extending the Stem
Add another short curved line from the top of the banana to match the one below. Teacher's Tip: Keep these lines smooth to ensure the stem looks natural.
Step 6: Closing the Stem
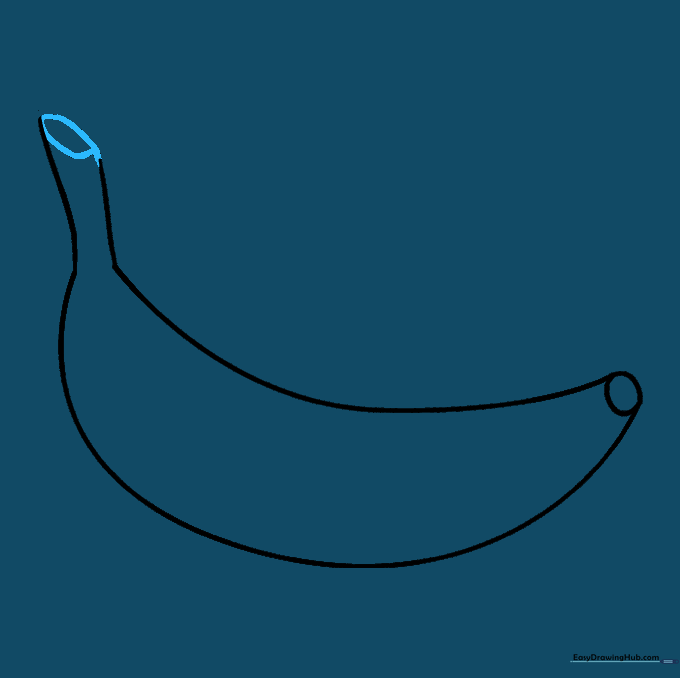
Connect the stem lines with a small, rounded rectangle. Teacher's Tip: This represents the flat surface where the banana was cut from the bunch.
Step 7: Detailing the Stem
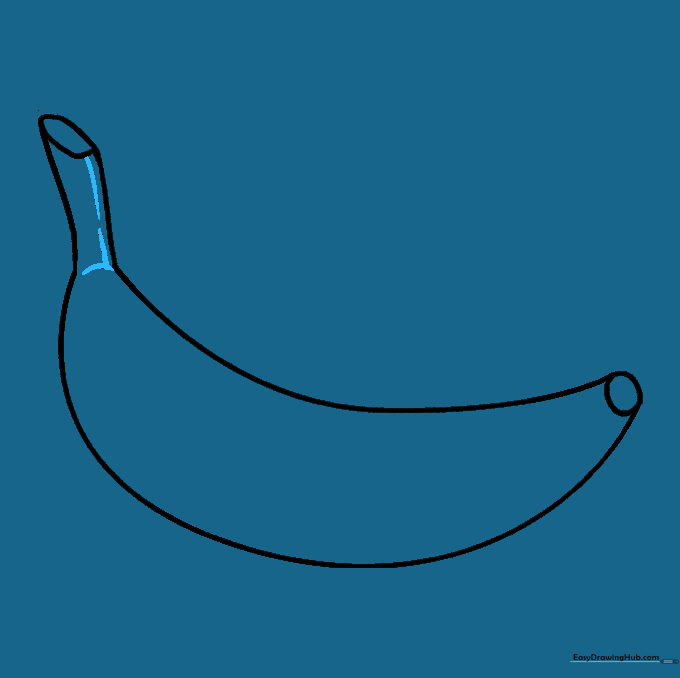
Draw a small curve across the base of the stem and add a few vertical lines. Teacher's Tip: These small lines add texture, making your drawing look more three-dimensional.
Step 8: Adding Peel Texture
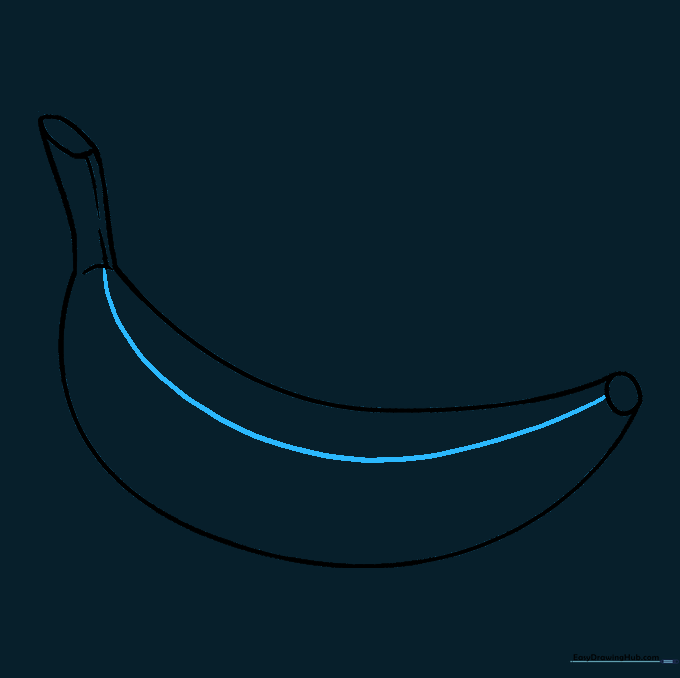
Draw a long, curved line running the length of the banana. Teacher's Tip: Follow the curve of the fruit carefully; this line represents the ridge of the peel.
Step 9: Finalizing the Outline
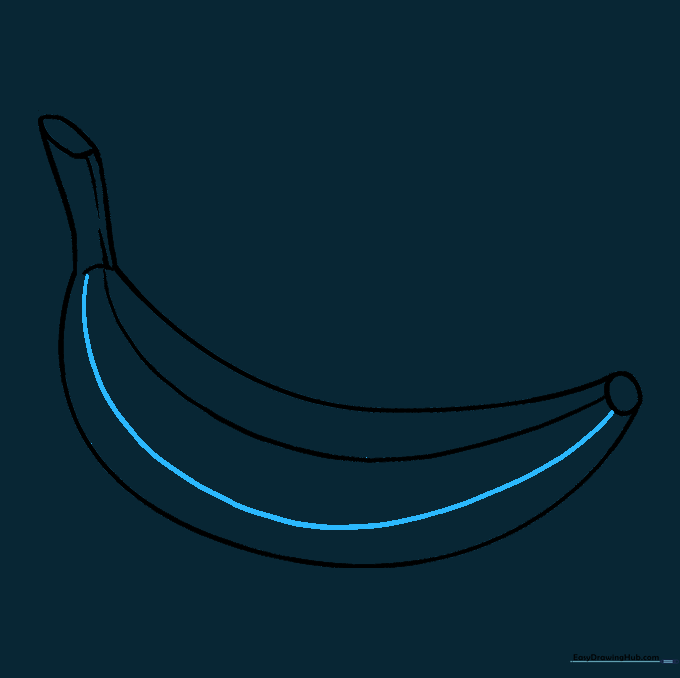
Add one more curved line parallel to the first to complete the peel segments. Teacher's Tip: Keep these lines light so they don't overpower the main shape.
Step 10: Coloring Your Banana
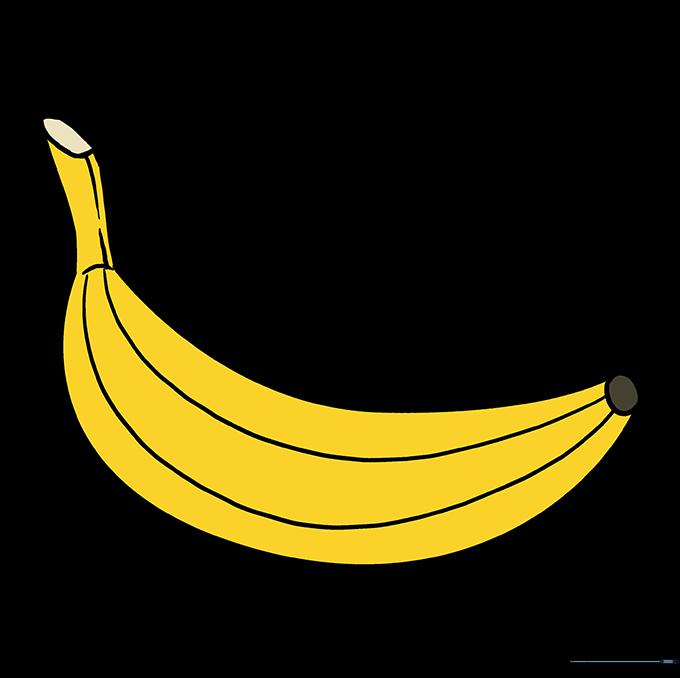
Bring your drawing to life with color! Use bright yellow for a ripe banana, or add brown spots for a 'perfect for banana bread' look. Teacher's Tip: Use light pressure with your yellow crayon to keep the texture smooth.
More Tutorials


