How to Draw a Bald Eagle Flying: Easy 9-Step Guide
Ready to capture the majesty of a bald eagle in flight? This tutorial is designed for young artists and beginners, requiring only a pencil, paper, and an eraser. Follow these steps to build confidence in your sketching skills while creating a dynamic, soaring bird.
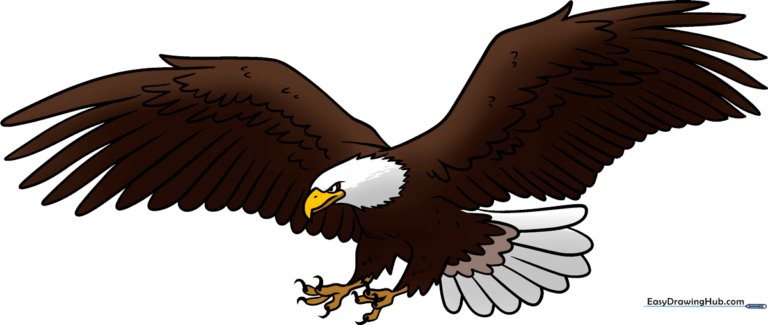
🎯 Final Result
Step-by-Step Instructions
Sketching the Eagle's Head

Start by sketching the head using curved lines to form a triangular beak. Tip: Keep your pencil lines light so you can easily refine the shape later. Add a small oval for the nostril and a circle for the eye to give your eagle personality.
Outlining the Primary Wing
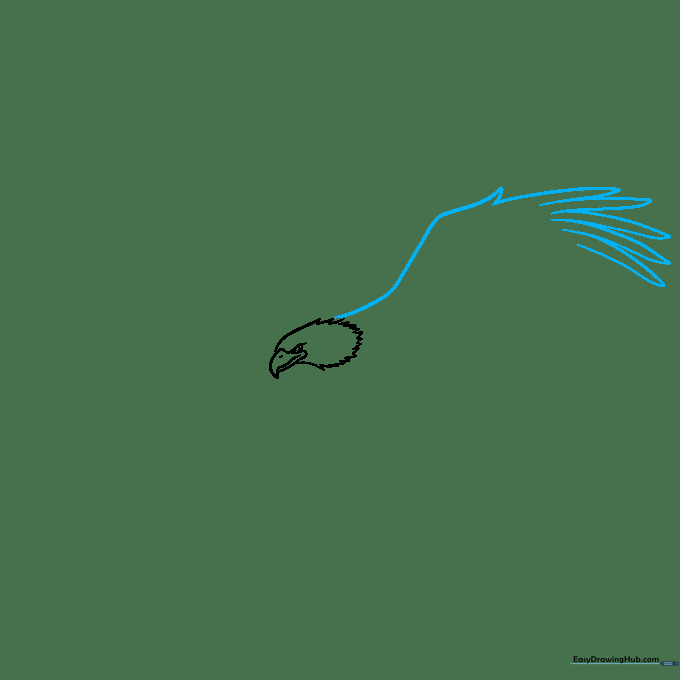
Draw a long, sweeping curved line to define the top of the wing. Use elongated 'U' shapes along the bottom edge to represent the primary flight feathers. Tip: Vary the length of your 'U' shapes to make the wing look more natural and less stiff.
Adding Feather Texture
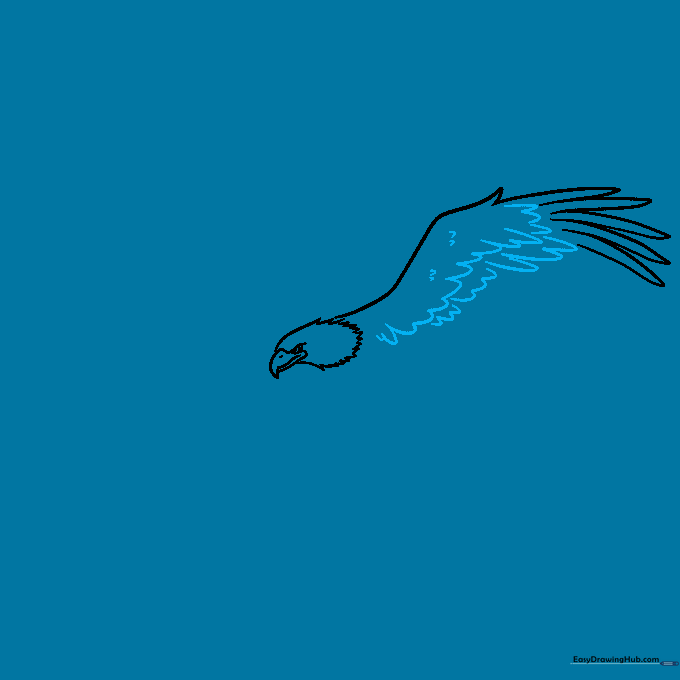
Layer smaller 'U' shaped lines across the wing surface to create texture. Tip: Think of these as overlapping shingles on a roof; keeping them connected helps the wing look like a solid, powerful structure.
Extending the Wing Feathers
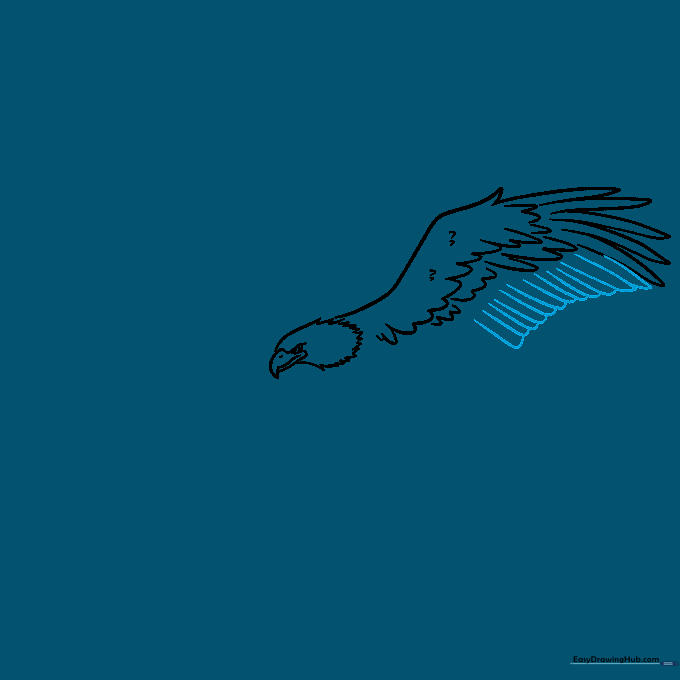
Continue adding longer feathers along the bottom edge using overlapping strokes. Tip: Ensure the feathers point away from the body to emphasize the eagle's forward motion in flight.
Starting the Second Wing
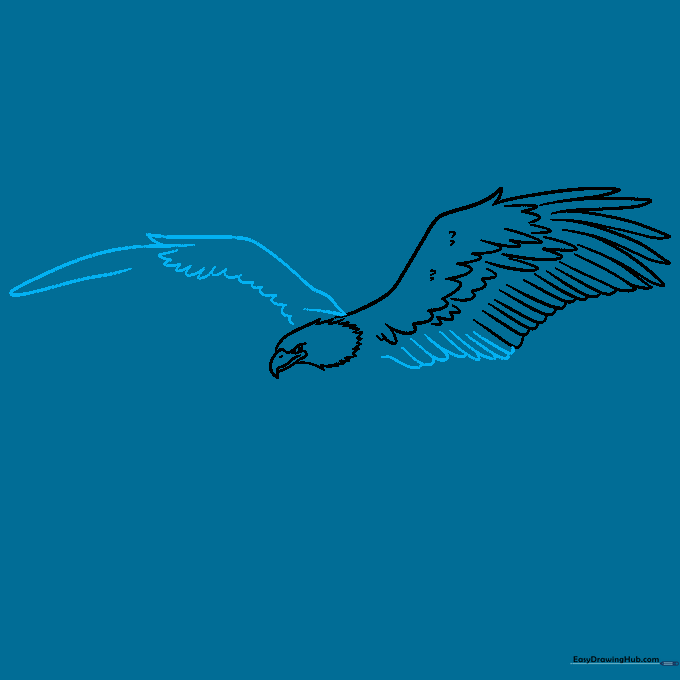
Begin the second wing by drawing a curved line that tucks behind the head. Use the same 'U' shape technique to create the first set of flight feathers on this wing. Tip: This creates depth, showing that one wing is further away than the other.
Detailing the Second Wing
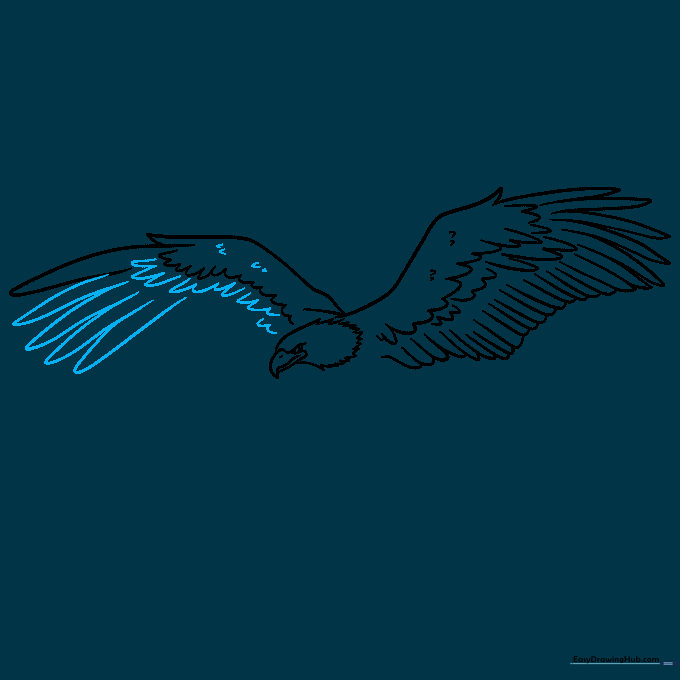
Continue the second wing by adding more flight feathers. Tip: Keep your strokes consistent with the first wing to maintain the eagle's proportions.
Refining Wing Feathers
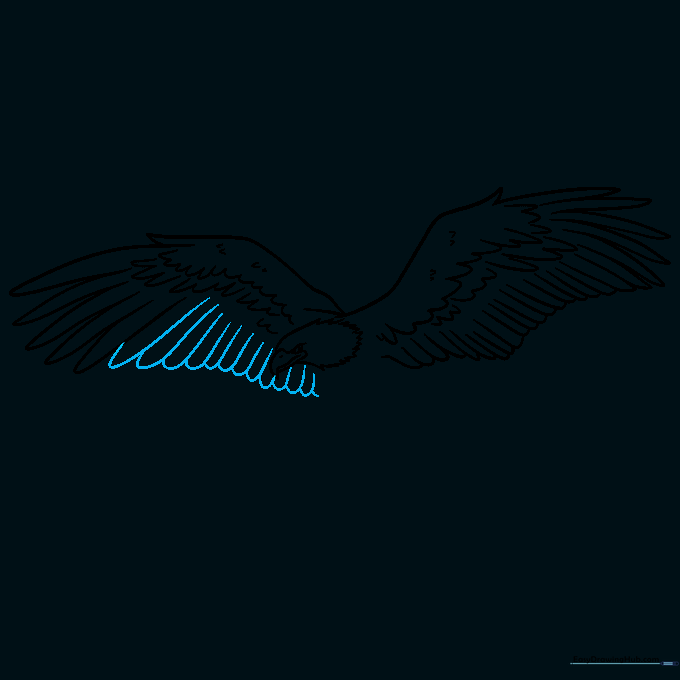
Add a final layer of feathers along the bottom of the second wing. Tip: Use overlapping lines to make the feathers look dense and strong, just like a real eagle's wings.
Drawing Body and Talons
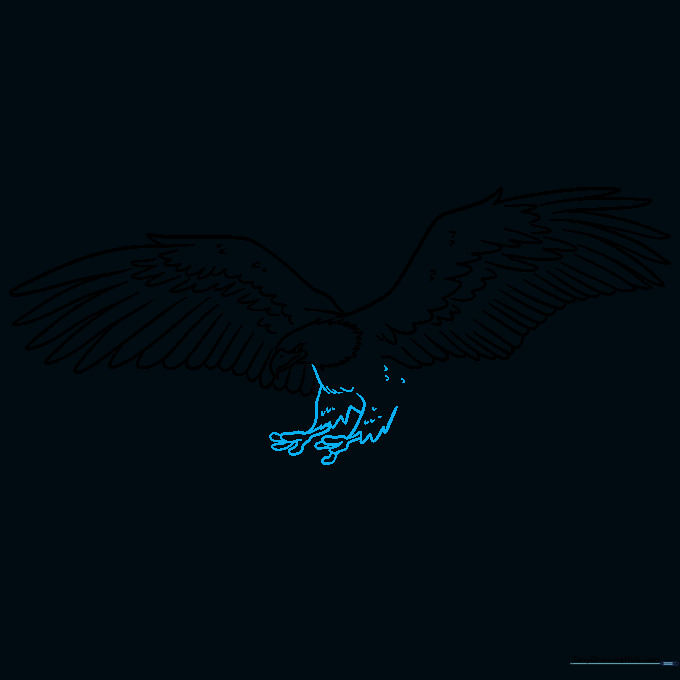
Sketch the body using jagged lines to suggest fluffy feathers. Add the feet by drawing 'Y' shapes for the legs and small 'U' shapes for the toes. Tip: Don't forget the sharp talons at the end of each toe!
Finalizing the Tail

Complete the drawing by adding the tail feathers. Use two layers of connected 'U' shapes for the base and longer lines for the tips. Tip: Make sure the tail feathers fan out slightly to show the eagle is steering in flight.
Coloring Your Masterpiece
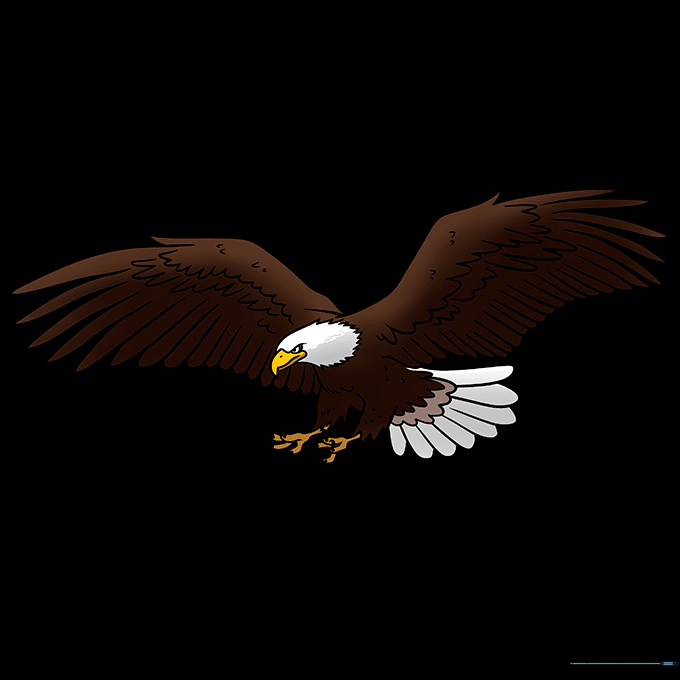
Bring your eagle to life with color! Use a bright yellow for the beak and talons, and classic brown and white for the feathers. Tip: Use light pressure with your yellow pencil to keep the beak looking natural.
More Tutorials


