How to Draw a Badminton Player: Easy 10-Step Guide
Ready to hit the court? This tutorial is perfect for young athletes and aspiring artists ages 6+. You will need a pencil, an eraser, and your favorite markers or colored pencils to bring your badminton player to life. Follow along to master drawing dynamic sports poses and gear.
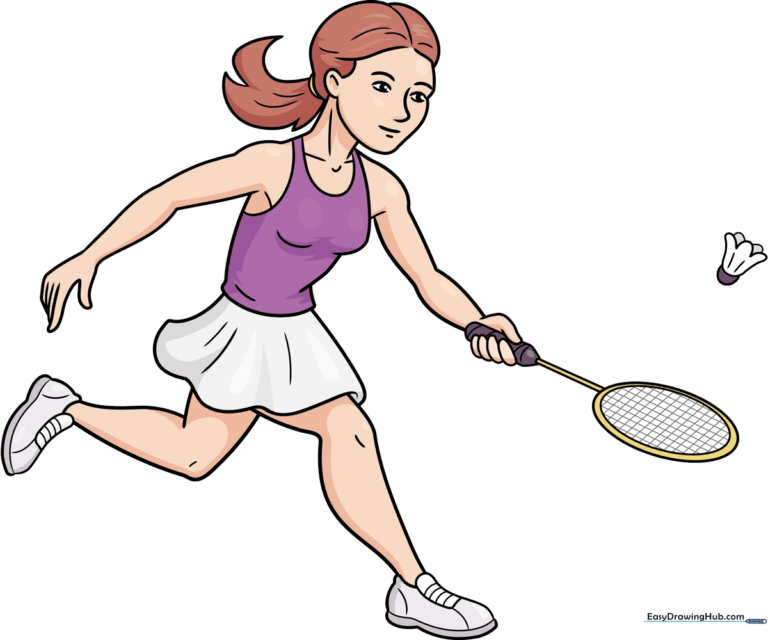
🎯 Final Result
Step-by-Step Instructions
Step 1: Sketching the Face and Eyes
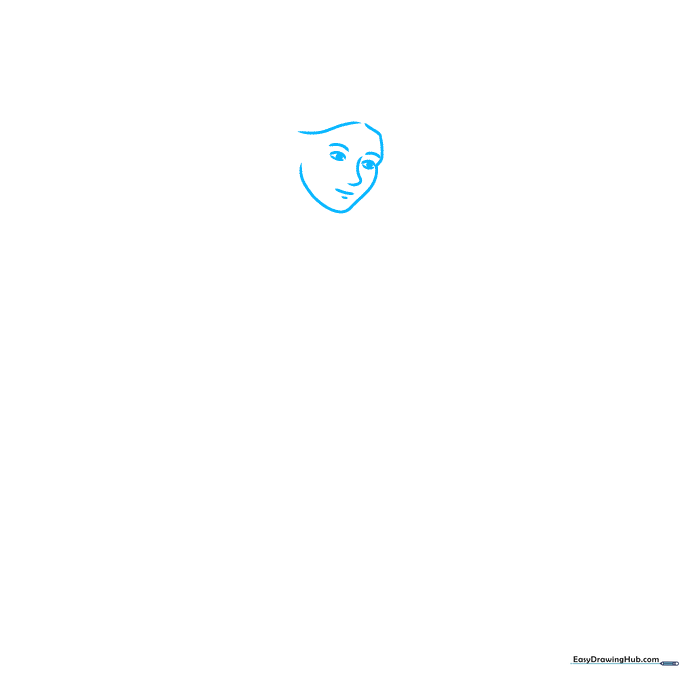
Draw two lemon-shaped eyes with circles inside for pupils, then add a small backward L-shape near the right eye. Add tiny dashes for eyebrows and a nose. Tip: Keep your pencil pressure light here so you can easily refine the heart-shaped face outline later.
Step 2: Adding Hair and Neck
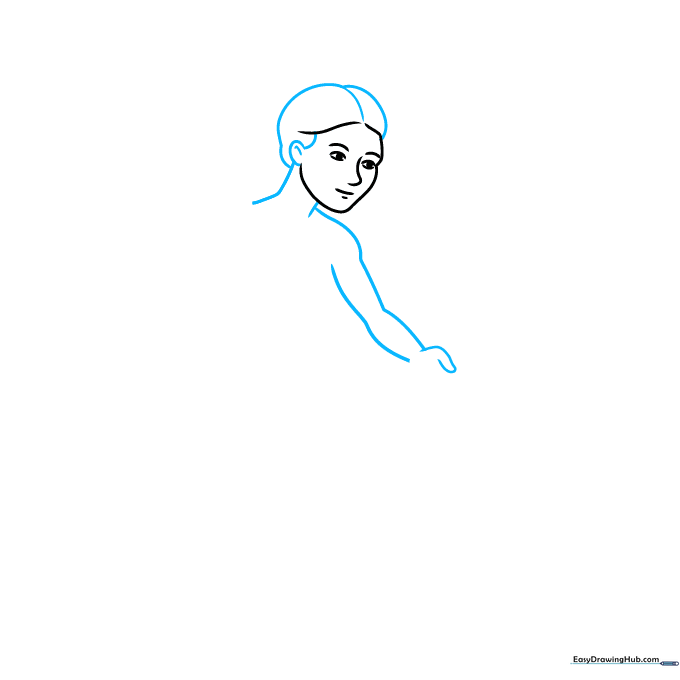
Draw an oval for the ear and two gentle hills on top for the hairstyle. Add the neck using three straight lines. Tip: Use short, quick strokes for the hair to give it a natural, textured look.
Step 3: Drawing the Racket
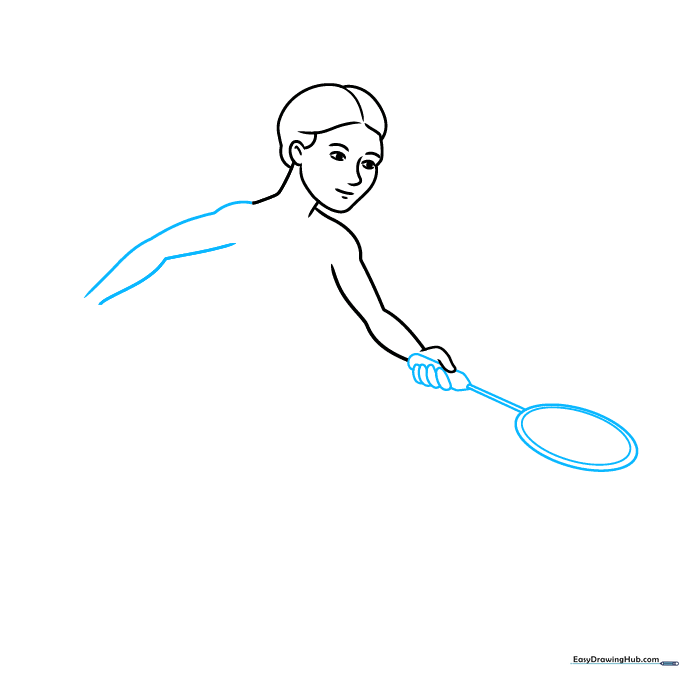
Outline the arm and draw the racket handle as a cylinder. Add a sideways oval for the racket head. Tip: Connect the handle to the head with two straight lines to ensure the racket looks sturdy.
Step 4: Shaping the Torso
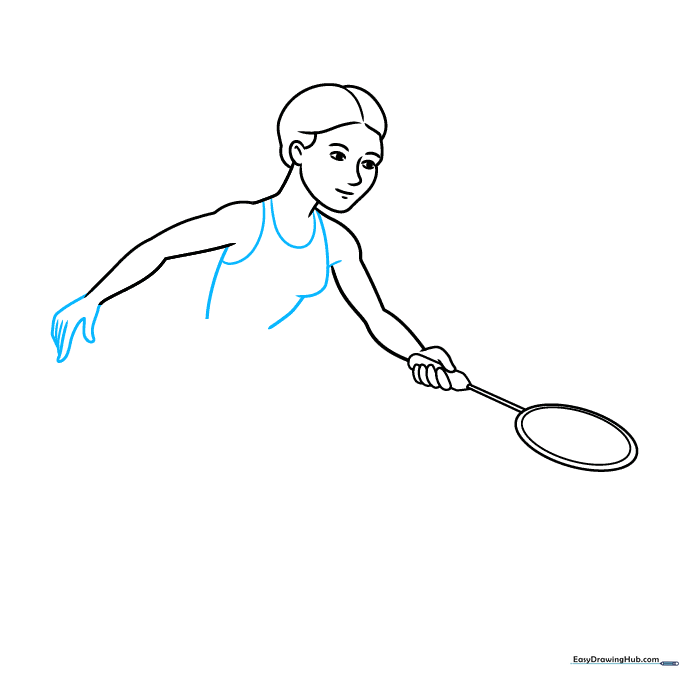
Use long, narrow cylinders for the arm. Outline the body with three smooth curves, adding a U-shape at the neck. Tip: Think of the arm as a series of connected tubes to make the pose look more realistic.
Step 5: Adding the Skirt and Legs

Sketch the shirt bottom and create a skirt using a wavy line. Draw two V-shapes for the legs. Tip: Make one leg slightly curvier than the other to show movement and balance.
Step 6: Drawing the Shoes
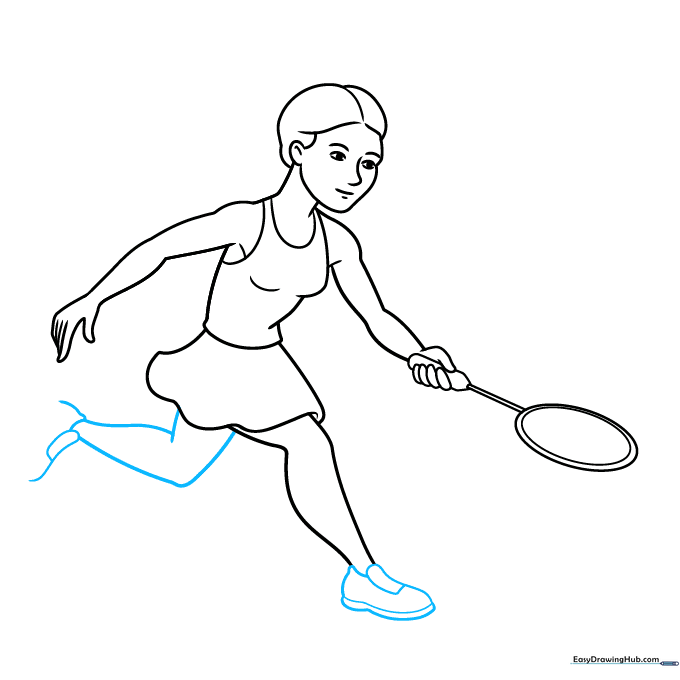
Add two more V-shapes for the legs and outline the shoes using loose ovals and banana shapes for the soles. Tip: Keep the shoe shapes rounded to give them a sporty, athletic look.
Step 7: Finalizing Details
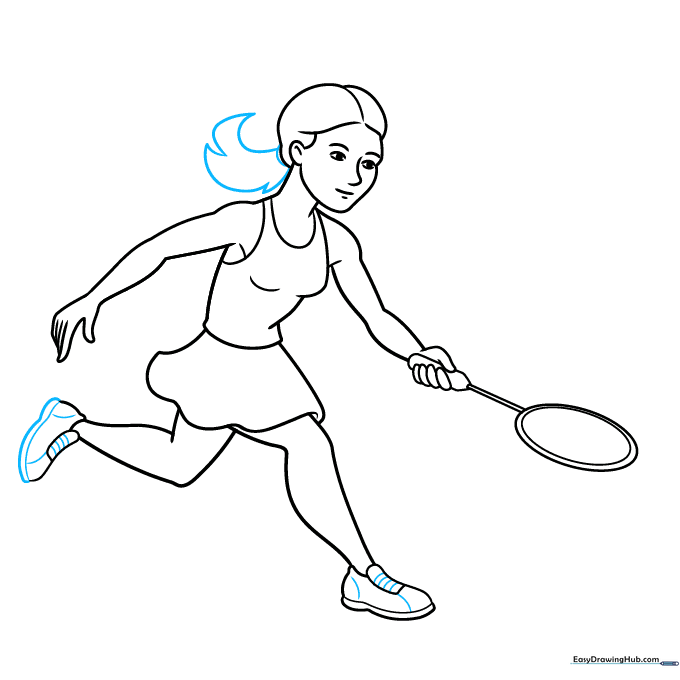
Refine the shoe soles and add texture to the hair with three loose, curvy triangles. Tip: Use a darker pencil for these final details to make them pop.
Step 8: The Shuttlecock
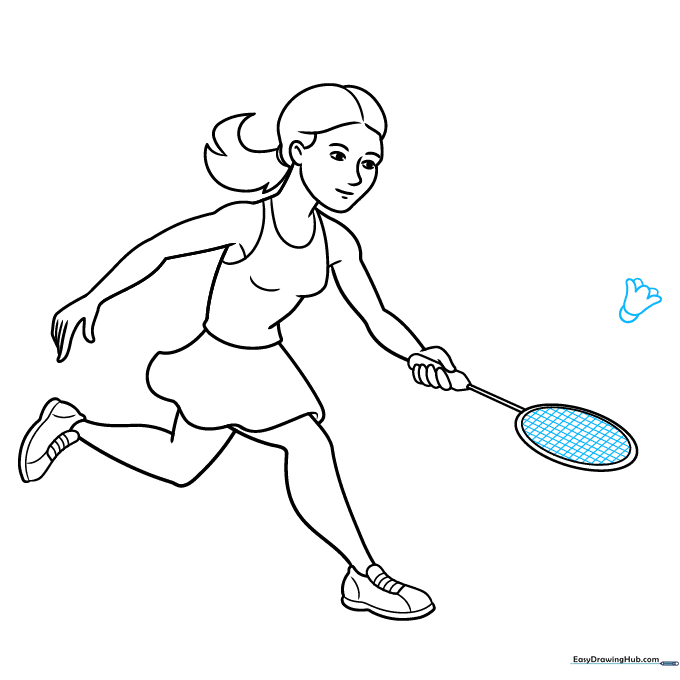
Sketch a grid inside the racket oval. Draw the shuttlecock using a semicircle with three hills on top. Tip: Keep the shuttlecock small so it doesn't distract from the player.
Step 9: Outlining
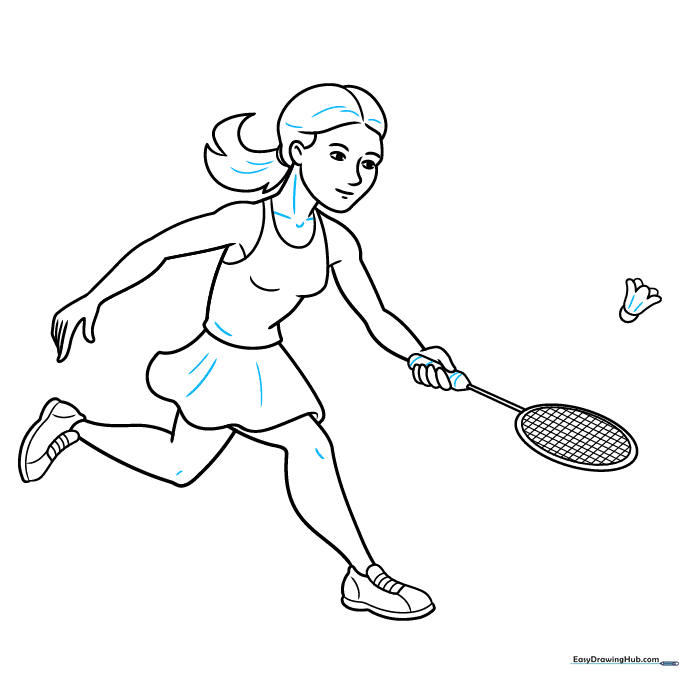
Add final lines to the clothing and gear. Use a black ink pen to trace your pencil lines for a clean, professional finish. Tip: Go slowly on the curves to ensure a smooth outline.
Step 10: Adding Color
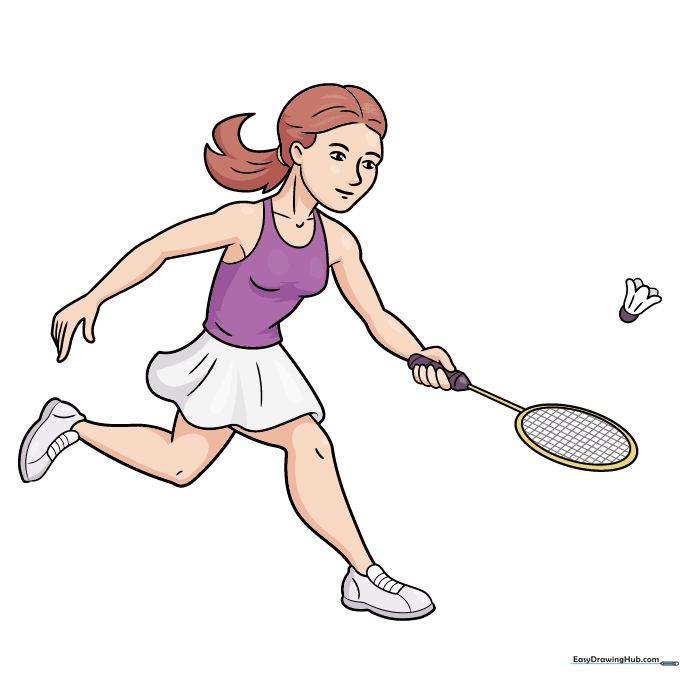
Bring your drawing to life with color! Use grey and gold for the racket, and your favorite colors for the uniform. Tip: Use light and dark grey shading on the shuttlecock to give it a 3D effect.
More Tutorials


