How to Draw a Baby Wolf: Easy 10-Step Guide for Kids
Looking for a fun, screen-free activity? This step-by-step guide is perfect for young artists ages 5 and up. All you need is a pencil, an eraser, and a piece of paper to bring this adorable baby wolf to life while practicing basic shapes and line control.
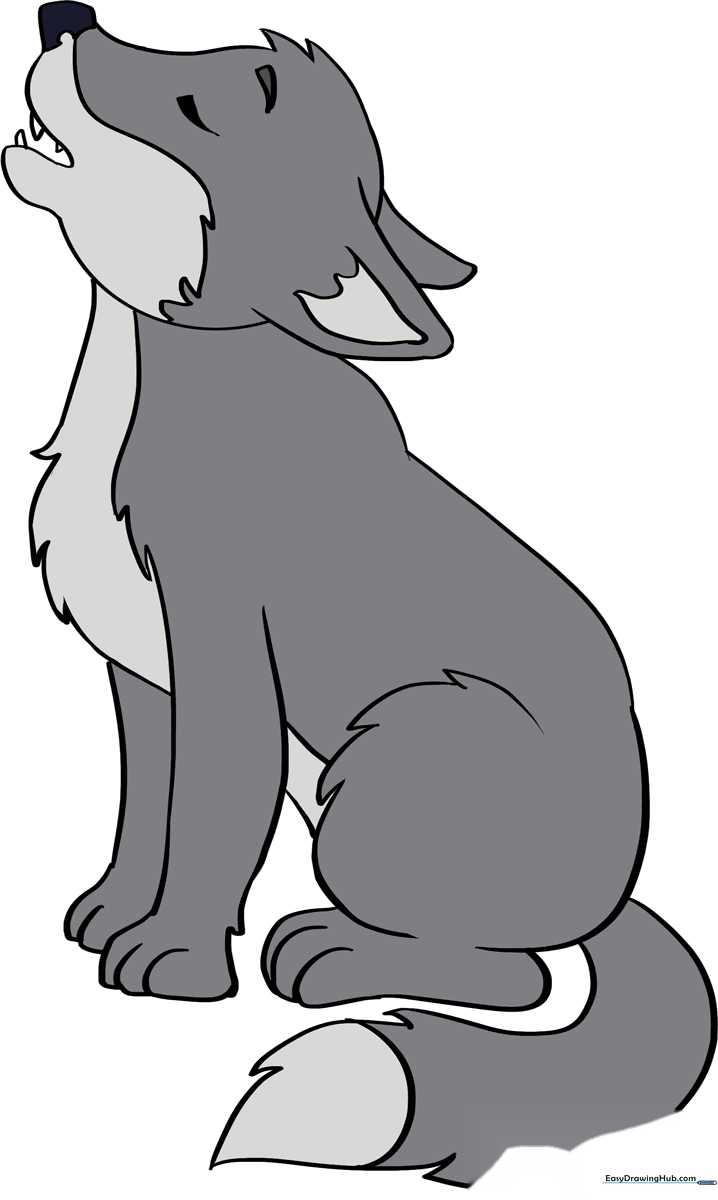
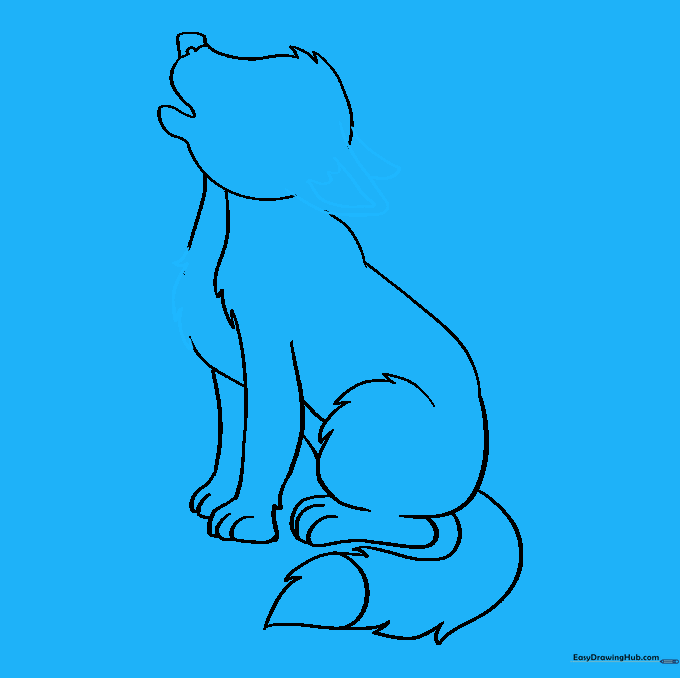
🎯 Final Result
Step-by-Step Instructions
Step 1: Sketching the Head Base

Draw a light circle to serve as the head. Teacher's Tip: Keep this circle about the size of a coin; drawing lightly now makes it much easier to clean up your sketch later.
Step 2: Defining the Snout and Fur

Use a wavy line to outline the forehead, snout, and jaw. Add small, pointed curves on top of the head for scruffy fur, and a small oval for the nose. Tip: Use short, quick strokes to make the fur look soft rather than perfectly smooth.
Step 3: Cleaning the Guidelines

Gently erase the overlapping lines from your original circle. Teacher's Tip: Use a soft eraser and hold the paper down firmly so you don't accidentally wrinkle it.
Step 4: Sketching the Back and Chest
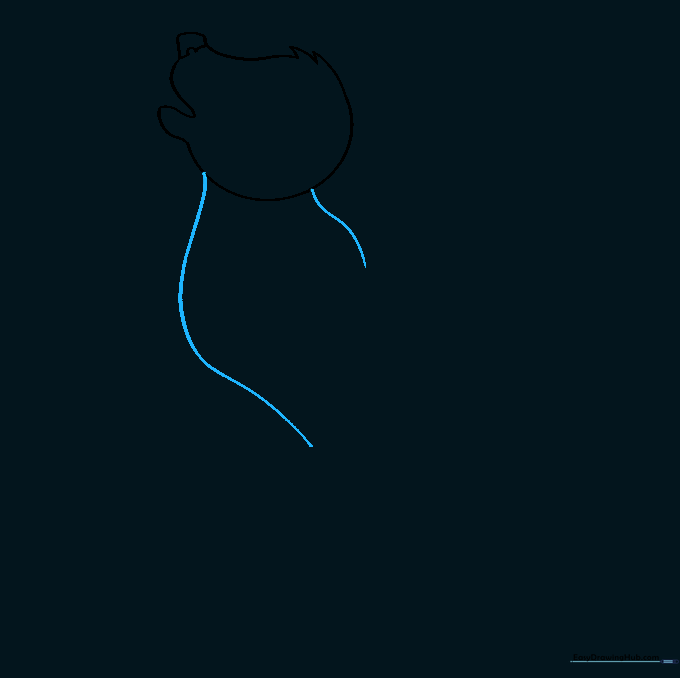
Draw two long, graceful curved lines descending from the head to create the back and chest. Tip: Imagine the wolf is sitting comfortably; keep these lines relaxed and flowing.
Step 5: Connecting the Body
Connect the back and belly with a long, curved line. Leave a small overlap for the rear leg. Tip: This is where the wolf starts to look like a real animal, so take your time to make the curve smooth.
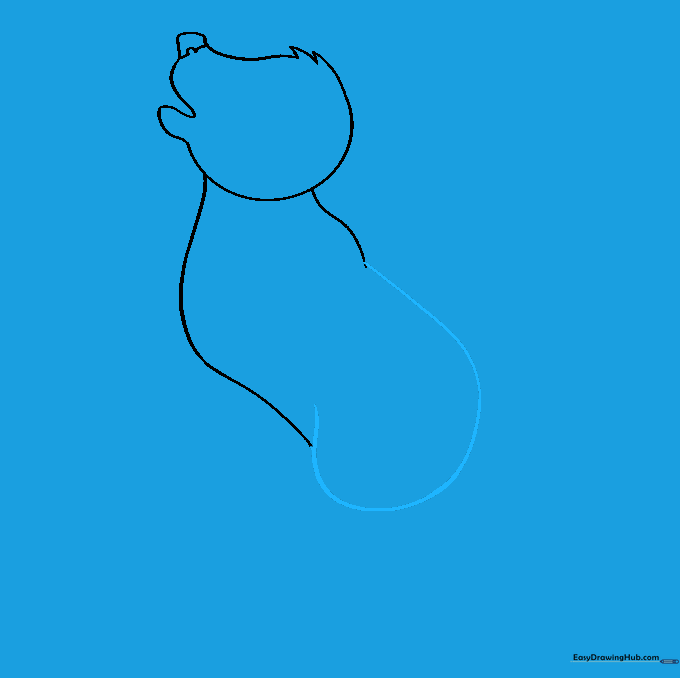
Step 6: Adding the Tail and Rear Leg
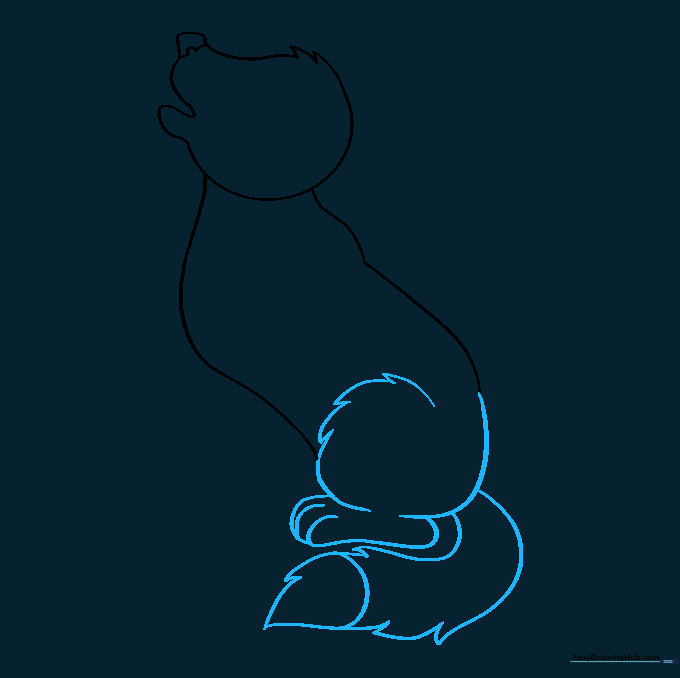
Draw a bushy tail using short, jagged lines. Then, round out the rear leg and foot. Tip: Use 'U' shapes for the toes to make them look cute and rounded.
Step 7: Drawing the Front Legs

Add the front legs by extending lines down from the chest. Use small 'U' shapes for the paws. Tip: Ensure the legs look sturdy by making them slightly wider at the top than the bottom.
Step 8: Adding Fur Texture and Ears
Add jagged fur lines to the chest and draw two curved 'V' shapes for the ears. Tip: Adding a small triangle inside the ear creates depth and makes it look more realistic.
Step 9: Facial Details

Draw the closed eye, eyebrow, and tiny triangles for teeth. Tip: Keep the eye simple—a small, curved line is enough to show the wolf is resting or happy.
Step 10: Bring Your Wolf to Life with Color
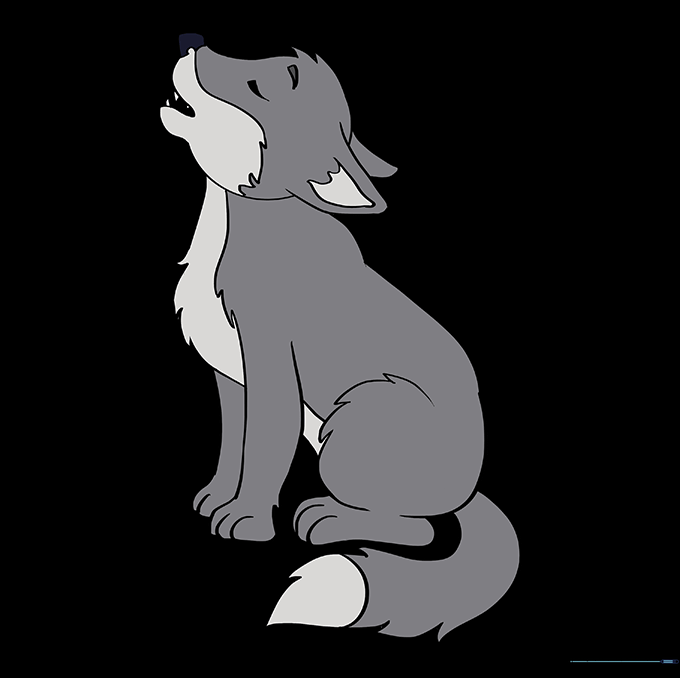
Time to color! Use shades of grey, brown, or white. Tip: Try using light pressure with your colored pencils to create a soft, fuzzy look for the fur.
More Tutorials


