How to Draw a Baby Shark: Easy 9-Step Guide for Kids
Ready to dive into art? This guide is perfect for children ages 5 and up to practice basic shapes and character design. All you need is a pencil, an eraser, and a piece of paper to bring this friendly shark to life. Follow along to build confidence and improve your hand-eye coordination with this fun, step-by-step project.
🎯 Final Result

Step-by-Step Instructions
Step 1: Sketching the Eye

Start by drawing a slightly curved line for the top of the eye, then close it with a circle. Add a smaller oval inside for the pupil. Teacher's Tip: Keep the pupil off-center to give your shark a cute, curious expression!
Step 2: Defining the Snout
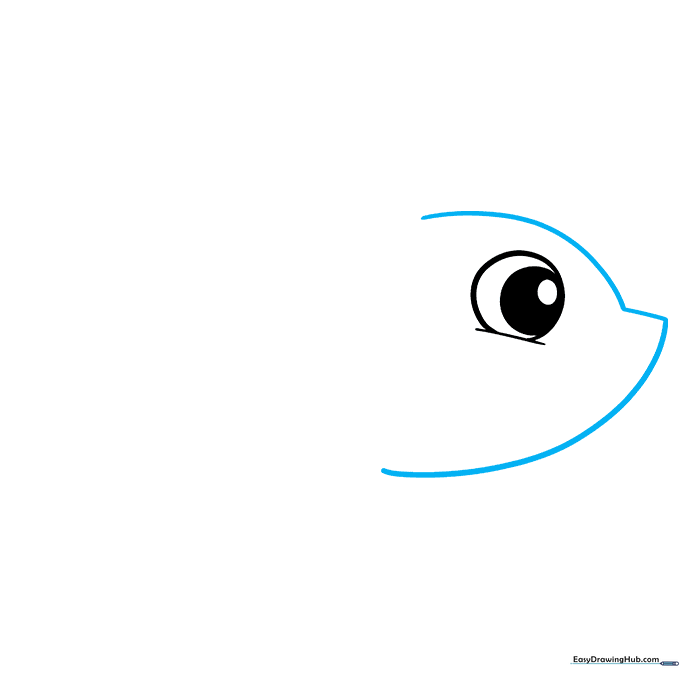
Use smooth, curved lines to outline the shark’s face, creating a gentle point for the nose. Teacher's Tip: Think of this shape like a soft 'C' that curves outward to give the shark a friendly, rounded look.
Step 3: The Pectoral Fin
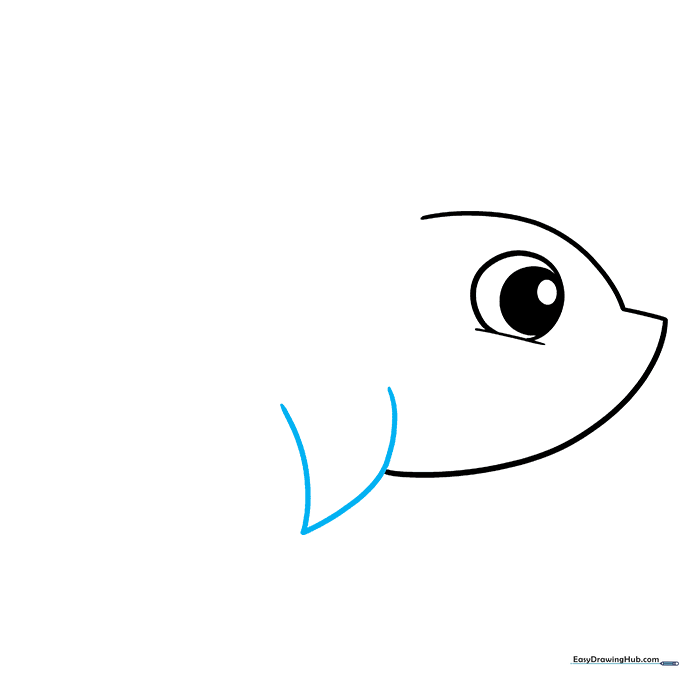
Draw a 'V' shaped line extending from the body to form the pectoral fin. Teacher's Tip: Make the fin slightly rounded at the tip so it looks soft and cartoonish rather than sharp.
Step 4: The Smiling Mouth
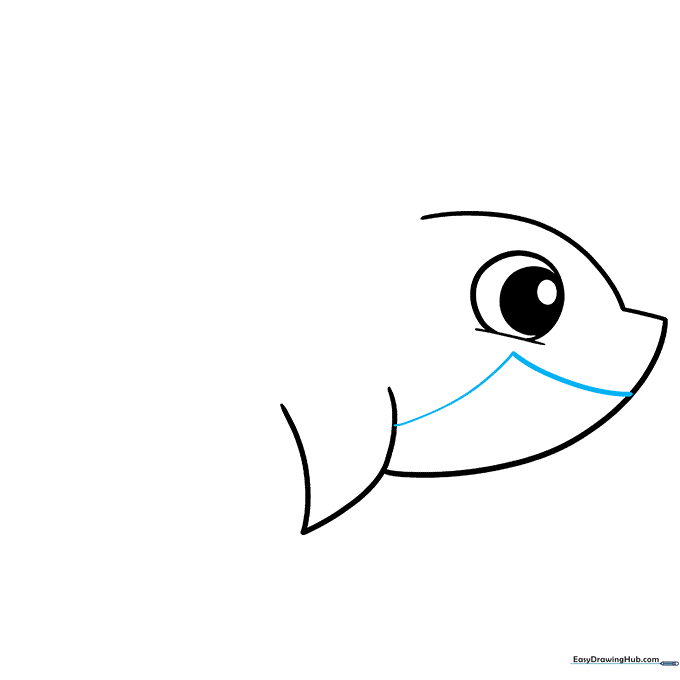
Add a 'V' shaped line below the eye to mark the start of the mouth and the shark's lighter underbelly. Teacher's Tip: A slight curve in this line helps the shark look like it's smiling.
Step 5: Adding Teeth
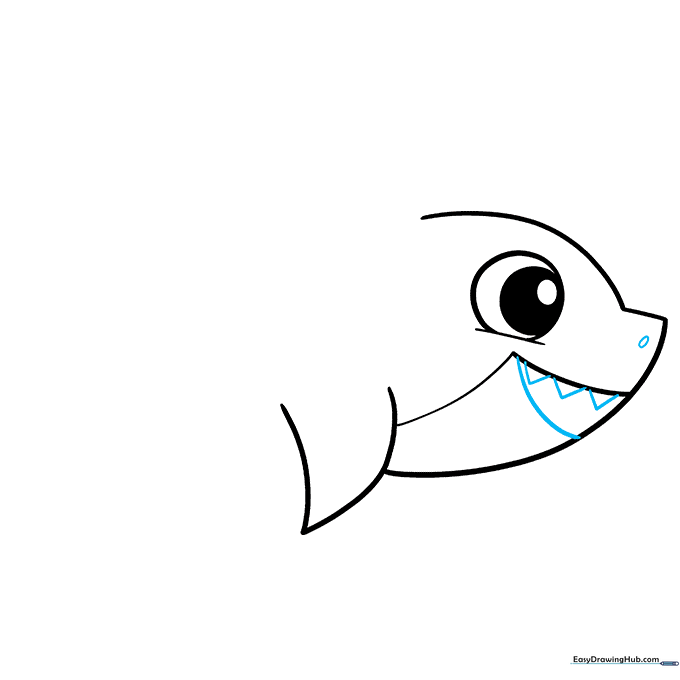
Draw a curved line for the bottom jaw, then add small 'V' shapes for the teeth. Teacher's Tip: Keep the teeth small and uniform so they look cute instead of scary!
Step 6: Gills and Second Fin
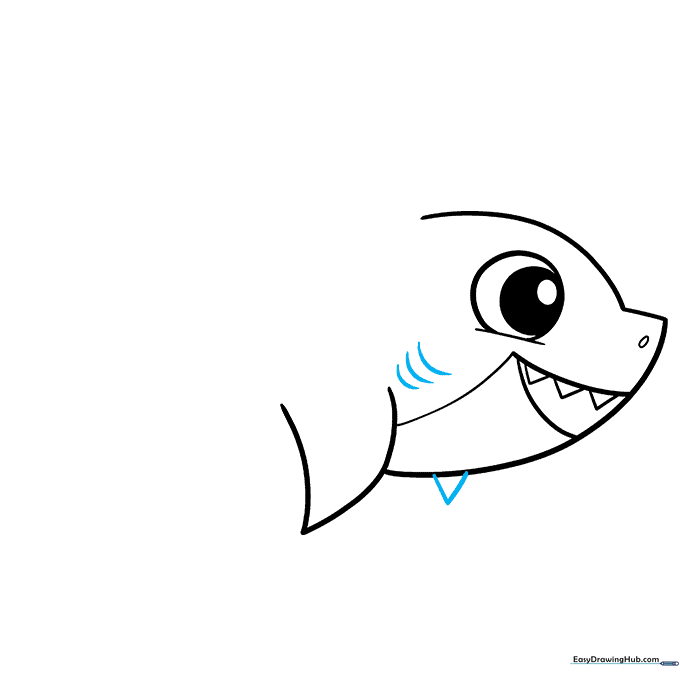
Add a second fin behind the first one, and draw three short, parallel curved lines for the gills. Teacher's Tip: The gills should be slightly curved to match the shape of the shark's body.
Step 7: The Dorsal Fin
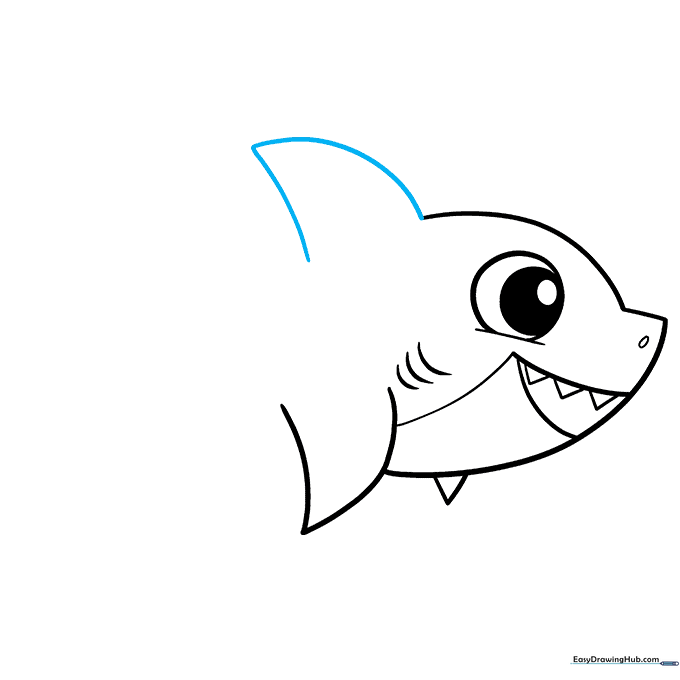
Draw two curved lines meeting at a point on the shark's back to create the dorsal fin. Teacher's Tip: Make sure the base of the fin is wide enough to look sturdy.
Step 8: Shaping the Tail
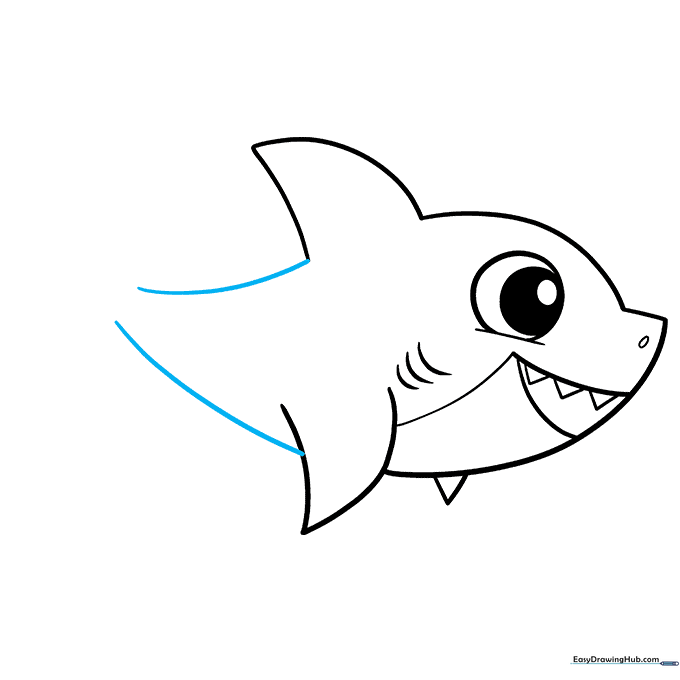
Extend long, sweeping curved lines from the back to outline the tail. Teacher's Tip: Use a fluid motion with your wrist to get a smooth, natural curve.
Step 9: Final Touches
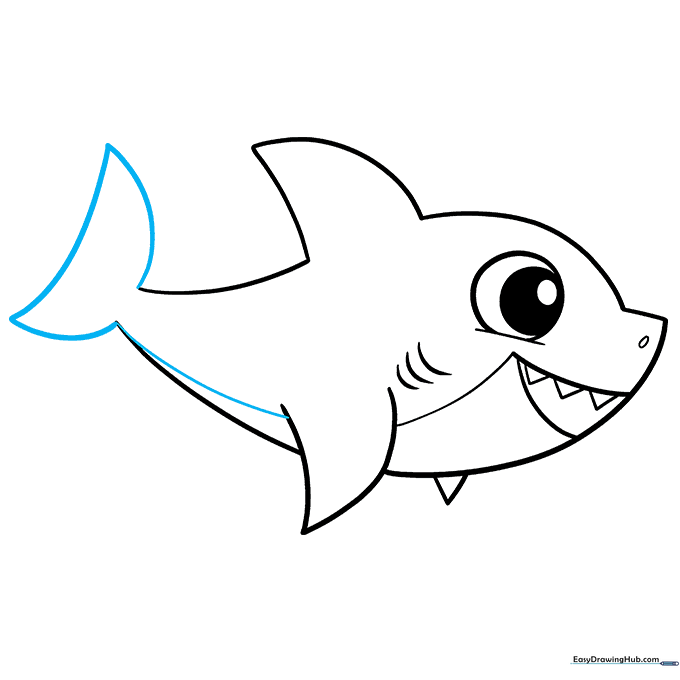
Complete the tail fin with a half-circle shape and connect the underbelly line. Teacher's Tip: Double-check your lines and erase any overlapping marks to make your drawing look clean and professional.
Step 10: Color Your Shark

Bring your shark to life with color! We used yellow, but you can use blue, pink, or even purple. Teacher's Tip: Use a darker shade of your main color to add a little shadow under the fins for a 3D effect.
More Tutorials


